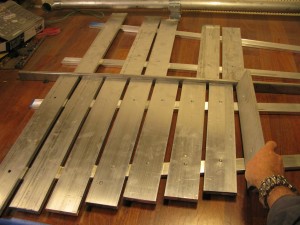
 Now that the keys are all cut, price we have to lay out the frame.
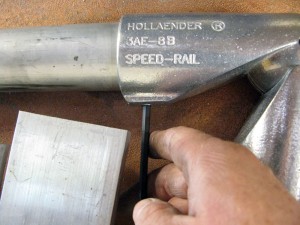
As I said, I don’t have strict engineering plans for this thing, I’m going by the seat of my pants. But I know what the materials will be, so I’ve laid out the frame – it’s 1-1/2-inch aluminum scaffold tubing, held together with Hollaender Speed Rail and then the keys ride on custom-fabricated 1/2 x 1-1/2-inch aluminum stringers …
We then tighten the corner brackets to prepare the frame for marking.
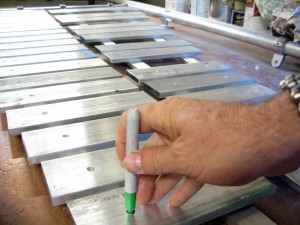
I first lay out and align the upper and lower keyboards on the stringers, then mark the location of the already-drilled mounting holes from each key to the points on the stringers that must be drilled.
After drilling, we then have to tap the holes, cutting threads into them for the mounting bolts to ride in. 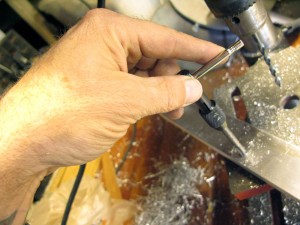
alienrobot here mounts the bolts into the stringers.
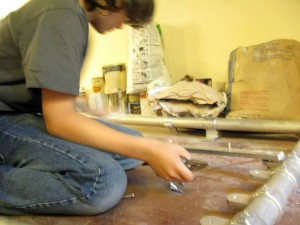
… and lays out a couple of keys. Turns out I can’t find enough stainless steel machine screws at the local hardware store (or Home Depot), but the two that he mounted rang beautifully. Screws now ordered. Thank you, o internet.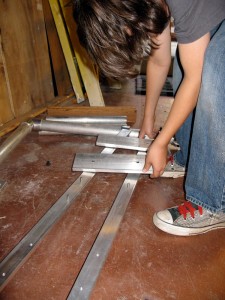
We lug it upstairs to check it out.
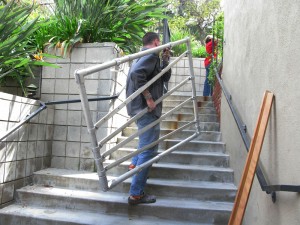
Nice and big – it’ll fill the side of the van …
But I realized it can’t be mounted like I planned – hinged just beneath the windows so that it flips up to playing position.
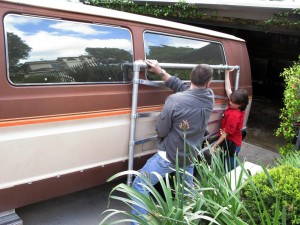
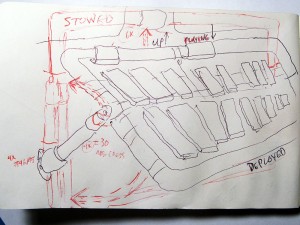
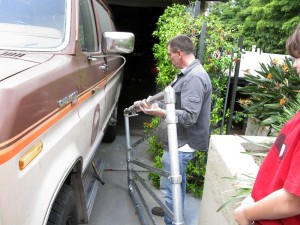
After staring at it for a good hour, I figured out a mounting system that ought to work. I’ll post a sketch when I get a second. Here’s what it should look like if I can find the appropriate joints:

3 thoughts on “Roughing out the frame for keyboard 1”