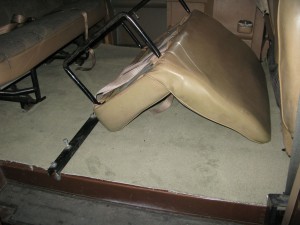
 So I spent Saturday morning in the junkyard with Dave (thanks, abortion Dave!), who helped me pull a rear door, a ladder and an extra panel of headliner.
Then I picked up a chunk of carpet remnant (right) which should mesh nicely with the body color and look pretty clean once I get it glued and screw all the floor moldings down again.
I spent a couple of hours cutting it to the shape of the vomitrocious (as my wife says) poo-brown carpet that had served as the van floor for a sober living facility taxi-bus and and for numerous band tours including one (or so John told me whilst selling it to me) involving the Germs.
I then promptly forgot to take a photo of the new interior until all the furniture was back in the van, none of it bolted down.
On Sunday, we yanked off the trim all the way around …
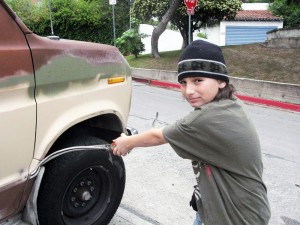
Then we had to Dremel off all the trim hardware, which was mounted in such a way as to make the bolts inaccessible, and cut off all the little mounting studs …
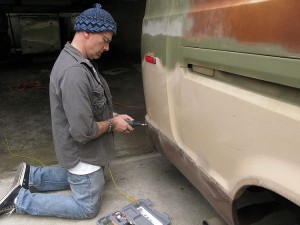
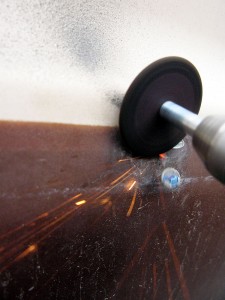
… (went through quite a few cutting discs) …
Then we spent quite a lot of time (with no kids on the camera to document it) sanding, wiping the dust off with a tack cloth, applying Bondo and letting it dry, before sanding everything smooth again. We’ll need a final pass with Bondo and sanding to get out the worst of the nicks, then paint he whole thing. But this weekend’s task turned out to be body work.
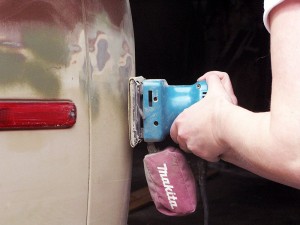
After pulling the tail lights, masking off the bumper and trim and masking the windows …
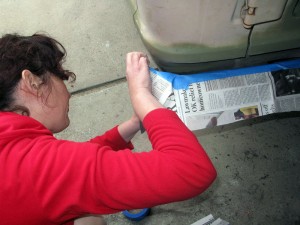
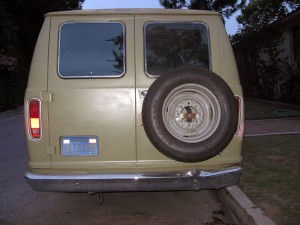
… I shot it with our body color – Rustoleum in “Oregano”, satin finish – and then mounted the tire rack (I’d been itching for a while to get that monster out from underfoot).

One thought on “Makeover, step 1”