Category Archives: Vehicle modifications

Mad dash to the finish

We have a deadline.

I have to finish this by 7/30, since other obligations will prevent me from working on it much more until the week before Burning Man.

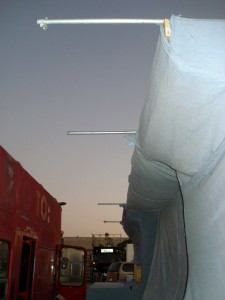
So I’ve spent the past week solid (nearly) chopping through task after task. At right are the steel-conduit outriggers I installed at the top of the framework – this will give me something to hang light-bars and speakers from.
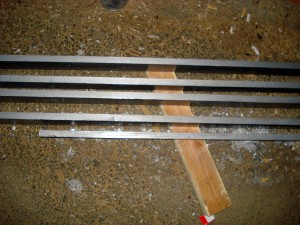
Here are the lightbars, cut from 1x4s and painted with a dull-silver hammertone paint.

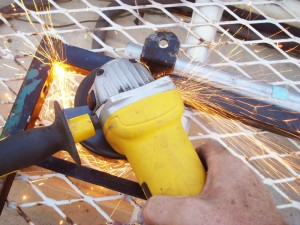
David (our architect) spent much of last night using a cutting wheel (courtesy of the Disco Kremlin crew – thanks!) to cut out cloud shapes from the sheets of perforated steel that is usually used in plastering walls.

These will be screwed to the crown rail around the top of the pianos once we get to the playa.
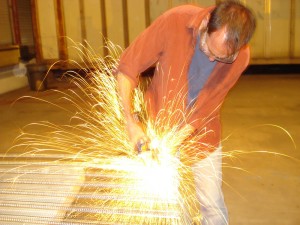
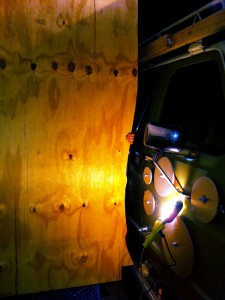
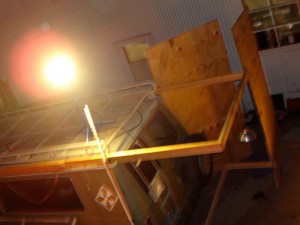
Here’s another shot of the work, with the camera flash turned off. Much better.
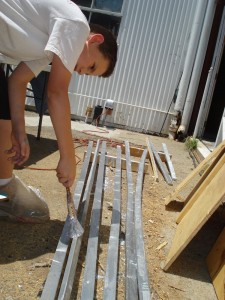
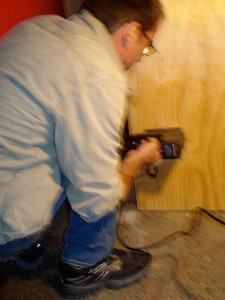
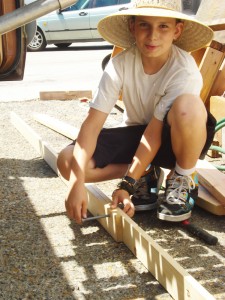
Earlier, my son had silver-painted all the 1×2 pine furring strips we had, which I tacked up as proof-of-concept for a design layer on the pianos’ top edge. We’ll be getting more of these and painting them the week before the burn so that we can batten down the top and bottom edges of JANUS’ skin.
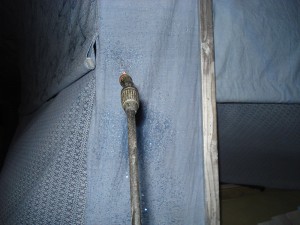
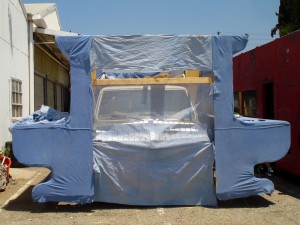
We then gave JANUS a healthy bath of Flame-X – a fire retardant chemical to protect the otherwise pretty-flammable cotton from following the path of combustion.
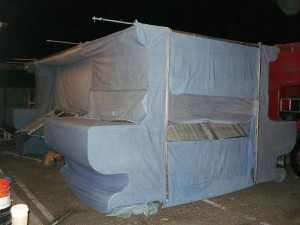
Then David and I stood back for a minute to admire our handiwork …

… and started the teardown. We basically un-built JANUS – stripping off the canvas skins, unscrewing all the framing, unbolting the foundational lumber, and then removing the hinge-pinned profiles. It took about two hours.

David peeled off for bed at around 1 a.m. this morning, and I finished up, stacking everything as neatly as I could on top of the van. I got done around 4 a.m., came home to catch a few hours sleep, and returned with a new set of come-along straps from Pep Boys to secure the load.

Ready to roll!

There’s still much to do, but we’ll attend to that the week before the burn – and on the playa:

– Wiring the light-bars
– Re-wiring XyloVan’s roof to fit JANUS’ light- and speaker-positions
– Sewing pipe sleeves into the rear fabric panels
– Acquiring 170 linear feet of furring strips for battens – and painting them silver

But for now, JANUS is complete.

I just want to give thanks here to some good friends, old and new, without whom this would never have happened – or would have ended badly:

– Dave LaFontaine, John Amussen and Alan Hagman for excellent company and assistance
– The crew next door building the Disco Kremlin bus – Mac, Bernie and Tina, for being endlessly helpful, friendly and generous. Thanks for the use of all the tools and materials that helped us solve more than a couple show-stoppers
– David Hoffman, who took my half-assed architectural ideas, and made my mutant vehicle design concept into a portable, reusable, customizable and easily-assembled reality.
– My kids, Biomass and Hitgirl, for lending a hand when it was needed most, and finally my long-suffering wife, Kristina, whose encouragement, support and patronage made it happen.

We built an art car in 30 days or less. Now all we have to do is get it to the playa.

Skinning JANUS

After sewing JANUS’ skin out of cotton dropcloths and then dyeing said dropcloths blue, I discovered the fabric had shrunk.

Yyyeah. All that fabric that I had meticulously fitted to the frame, and then sewn tightly together, was now smaller.

I remedied this by slipping the covers onto JANUS’ piano-keyboard “shoulders,” (which still – miraculously – fit), wetting down the fabric, and then stretching it, foot by foot.

In the end, it roughed out pretty nicely. We’ll be stapling all the top and bottom edges of the fabric to 1×2 pine furring strips (painted silver) on the playa, then screwing them to the crown rail at the top and the bottoms of the profiles a few inches off the ground.

Assembling the cloud deck

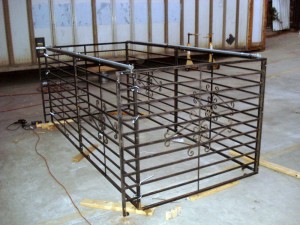
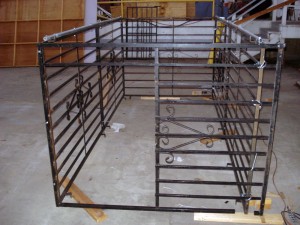
The security bars that I acquired turned out to be nearly the perfect size to fit XyloVan’s monster roof rack when turned on their sides – one pane wide and two panes long.

Alan and I spent most of Sunday measuring the bars and then drilling holes through them for 3/8-inch bolts.

We created a top-rail by drilling through 1.25-inch steel conduit and bolting it to the tops of the four side panes.


Then we cut an access hatch in one half of the rear pane, and cut notches in the bottom rail of the rear and front panes so that they could fit over the rack’s existing side rails. (the panes were 5’4″, order while the rack is only 5′ wide). Passengers will mount the deck by climbing XyloVan’s rear ladder and then ducking under the railing.

Huge thanks here to Alan for helping build – and to Bernie from the endlessly generous crew next door building the Disco Kremlin bus, for doing a little tack-welding to reattach a couple bars that came loose during cutting.

The long panes take two men to lift only because they’re bulky – they’re actually fairly light.

Once we loose-bolted it together on the roof rack, we realized that the security grates’ original mounting tabs stuck out and got in the way of things, wo we cut ’em off – then everything fit neatly.

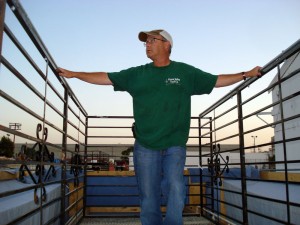
Here’s Alan with our handiwork. I may paint it a pale blue so that it blends into the background better when we reach the playa.
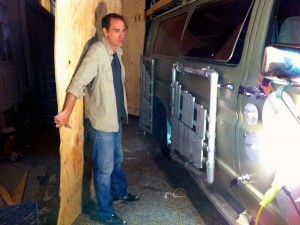
The whole thing folds down to a stack only four inches thick, yet should be stout enough to keep even the burliest drunks from plunging off the van. Knock wood.

Color

I chose blue to counterpoint XyloVan’s shiny aluminum keyboards – I had in mind a Moroccan blue – sort of ashy, like it had been fading for a while …

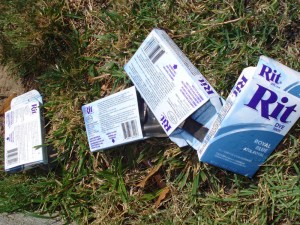
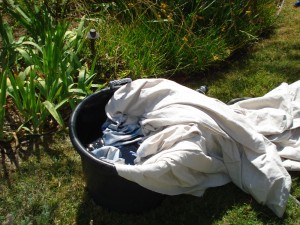
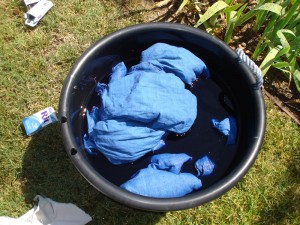
so it’s four boxes of Royal Blue to one box of Denim, and then it’s a matter of shoving all that fabric into that one tiny tub.

Once saturated, it fit in just fine.

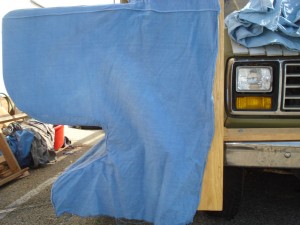
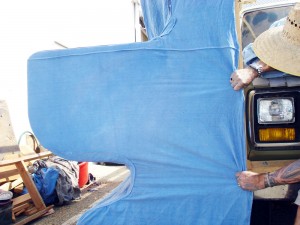
Here’s the left-front panel. Why do I fear that – when I get the lace up over the vehicle’s “eyes” – I will have become some sort of van seamstress, forever building art cars and my latest model will be a laughingstock because it resembles a massive burkha. (shudder)

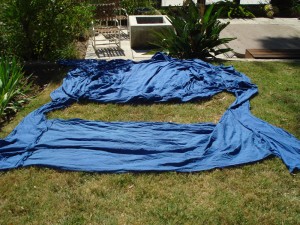
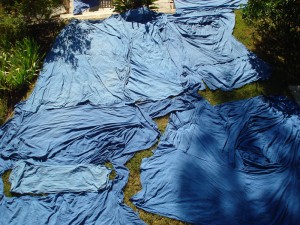
I laid out the panels on the lawn to dry – then when they were partway there, I pulled them up to the deck railing.

Here’s what that looked like just beforehand.

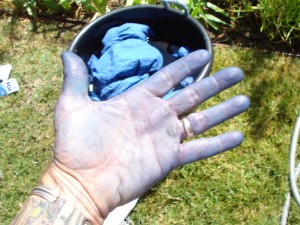
And here’s what you get when you dye without gloves on.

Observation deck, ho!

I’ve been running around like a madman the past week. I looked at my first post on this project – it was less than three weeks ago. I’m going to have completed an entire vehicle mutation within a single month. It’s a blur of hardware store runs, power tools and raw material.

Fencing worried me the worst. If there’s to be a cloud deck, I need something to keep the happy people from plunging off of it.

A contractor promised to drop off some recycled fence railing, gratis – and then he welched.

Fresh metal was going to cost at least $300 (yes, as a matter of fact, we are on a budget.) so that wouldn’t work.

So I dropped an ad into FreeCycle:

need about 35 linear feet of scrapped metal railings, the sort you see
on balconies, etc.

It can be rusted, bent or painted funky, but it must be at least 36″
high, with a top rail of at least 1″ thickness (round or square).

I will happily pick it up, and even help you clean up around it if it’s
buried among your construction debris.

Don’t own it, but know where I can get it? Let me know! I need this for
an art car I”m building – need to secure this in next 2 weeks! Thanks!

And lo and behold I got a call the next day. From a Burner.

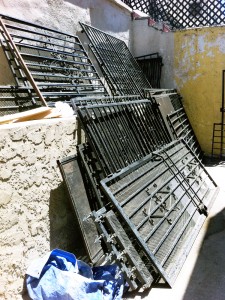
Having just given birth a few months ago, she was resigned to skipping the Burn this year. But she had a whole slew of steel security bars that she just had taken off a building she’s renovating – and offered them up for free.

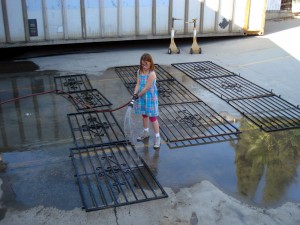
I cajoled the kids into helping scrub the crapola off of them

Next I’ll be bolting them together. They’ll be perfect. You’ll see …

Connecting the dots

Once I re-hung all the profiles, I realized (yet again) that I am a complete idiot.

The saying goes “measure twice, cut once” but it does NOT say “measure three times, taking into account three-dimensional design, the fact that you’re not on level ground and that you’re a complete numbskull, cut once.”

I had failed to take into consideration the … aw, hell, I won’t bore you with the details. Anyway, the top-line `1x4s were misaligned by a good 4.5 inches.

Suffice to say, I trimmed the tops of the front profiles on both sides to bring them into line with the rear profiles, then kludged together the 1x4s – the whole line will be hidden somewhat by the cloud shapes that we’re attaching later to the top of the piano lid, so all’s well … Continue reading Connecting the dots

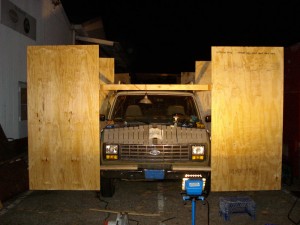
How to turn a 1985 Ford into a double-faced player piano

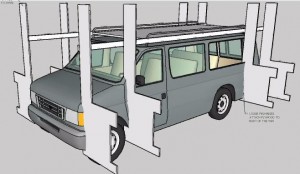
Start with a video visualization (click to see animation, courtesy of David, our architect)

This looks about the furthest thing possible from the double-faced god, Janus, much less a double-faced upright piano. But we gotta start somewhere.

The loose-pin hinges make re-mounting the plywood as easy as 1 … 2 …

… 3 …

Continue reading How to turn a 1985 Ford into a double-faced player piano

Building JANUS – roughing out the profile

David Hoffman’s architecture for JANUS is based on my design and his experience as a Hollywood scenic designer.

I originally planned to monkey together some kind of framework from metal tubing – I had a couple of old Ikea deck-rocking-chair frames out of swoopy-looking 5/8-inch steel and had planned to (somehow) hang them from tubing bolted to the roof rack. But David came up with something far better – a lightweight, somewhat rigid framework of 2x4s, 1x6es and 4×8-foot sheets of half-inch plywood.

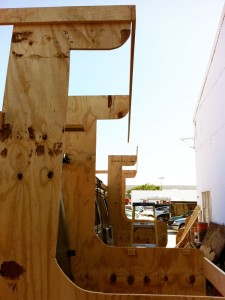
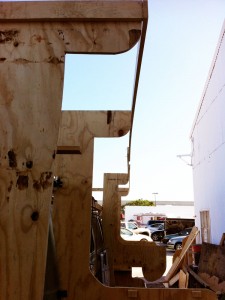
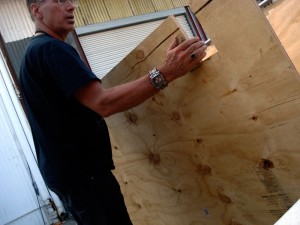
The first order of business after bolting the major framing to XyloVan’s burly roof rack was to cut the plywood’s edges to fit the contours of a 1985 Ford ClubWagon XLT.

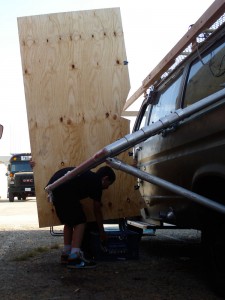
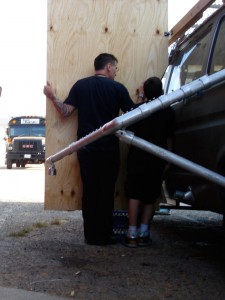
We set the sheets up on blocks beside the van, leveled them, then drew the van profile with a stick – one end of which traced the shape of the sheet metal, the other end of which held a Sharpie that drew the shape onto the wood.

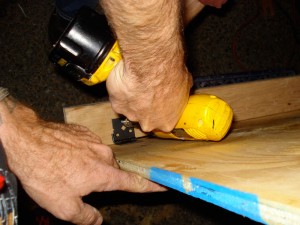
Then David and John installed loose-pin hinges, which we’re using so the plywood profiles can be mounted and unmounted easily.

This involved quite a bit of finagling with the jigsaw, as we shifted the panels up/down/left/right to bring them into line with the vehicle and the ground.

This is the right-rear corner, where we’ve cut and installed two plywood sheets. They’re on hinges so, they swing a bit, but we’ll get that sorted out.

The mounting point for Right 2 gave David and me pause ,,,

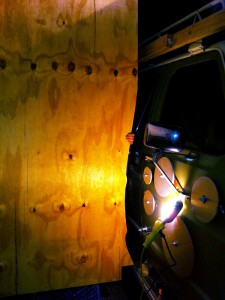
We had to mount it to the doorjamb – which is about 1.5 inches wide – so that both the passenger front door and the big sliding door (with xylophone keyboard #3 mounted on it – open and shut smoothly. Once we cut down the hinges a bit, removed one of the circular door gongs and trimmed the profile about six times, that panel fits perfectly, and both doors operate smoothly.

Here’s the finished product.

Next – cutting out the profiles’ outer shapes.

Roughing out the framework – the right way

We roughed out the major framing today that will turn XyloVan into JANUS, the Celestial Player Piano.

My excellent son, Biomass worked tirelessly with me all day, regaling me with jokes and generally kicking ass on every little task.

Here, he’s disassembling the 1×6 framework that Alan and Dave roughed out yesterday, to make way for the same structure made of 2x4s … Continue reading Roughing out the framework – the right way