Category: Instruments

Xylophone 1 is reborn!

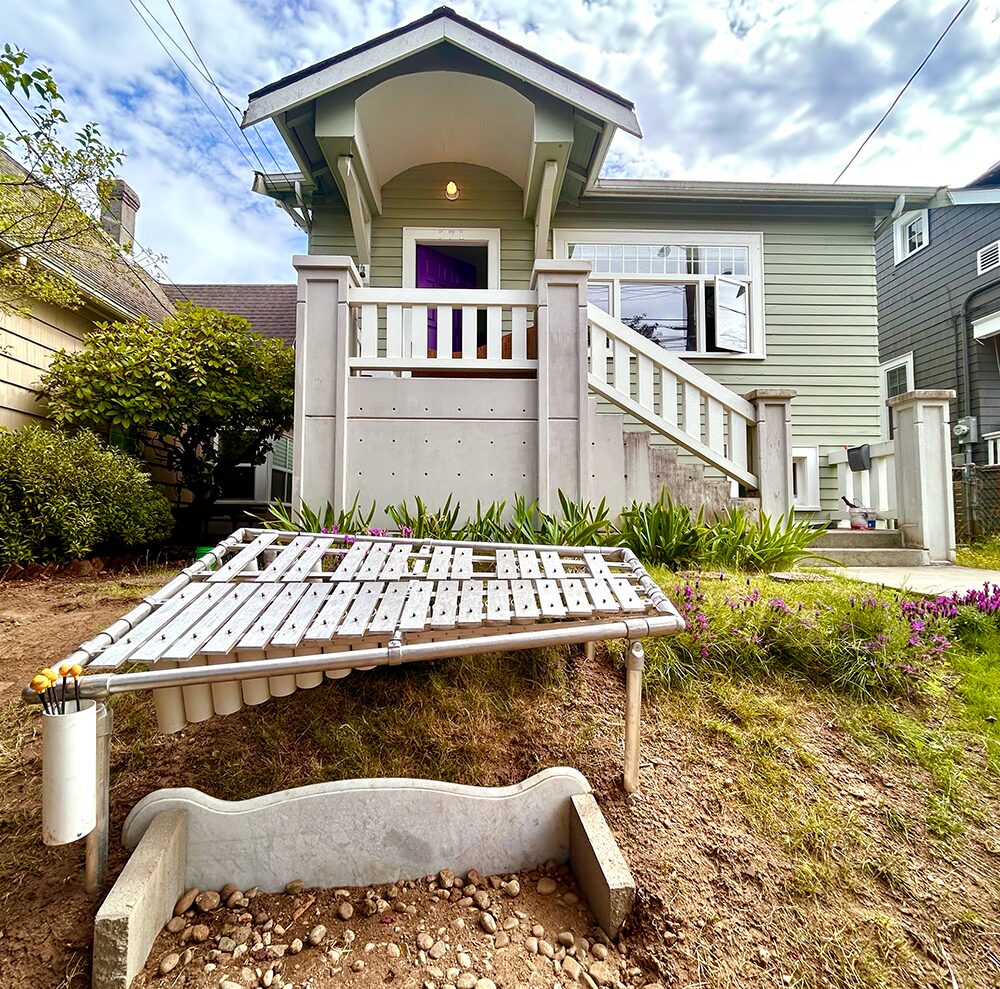
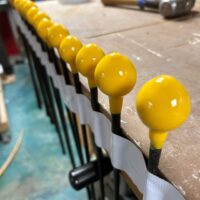
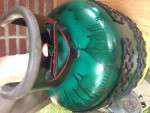
I’ve dreamed of installing XyloVan‘s big xylophone (8’x3’) in front of the house ever since we moved in five years ago.

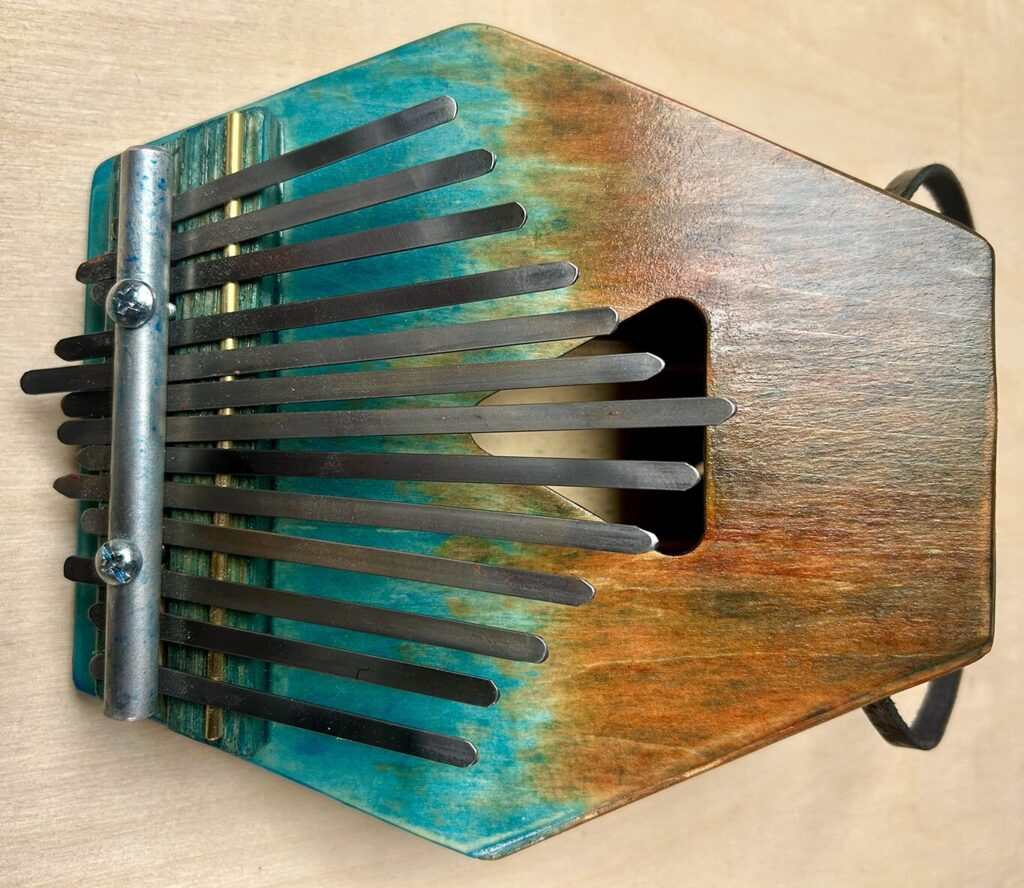
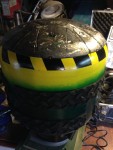
My son and I finally picked up all the instruments from storage in LA and brought them home in January. I have another project in the works using keys from the other big keyboard (details to come as it falls together).

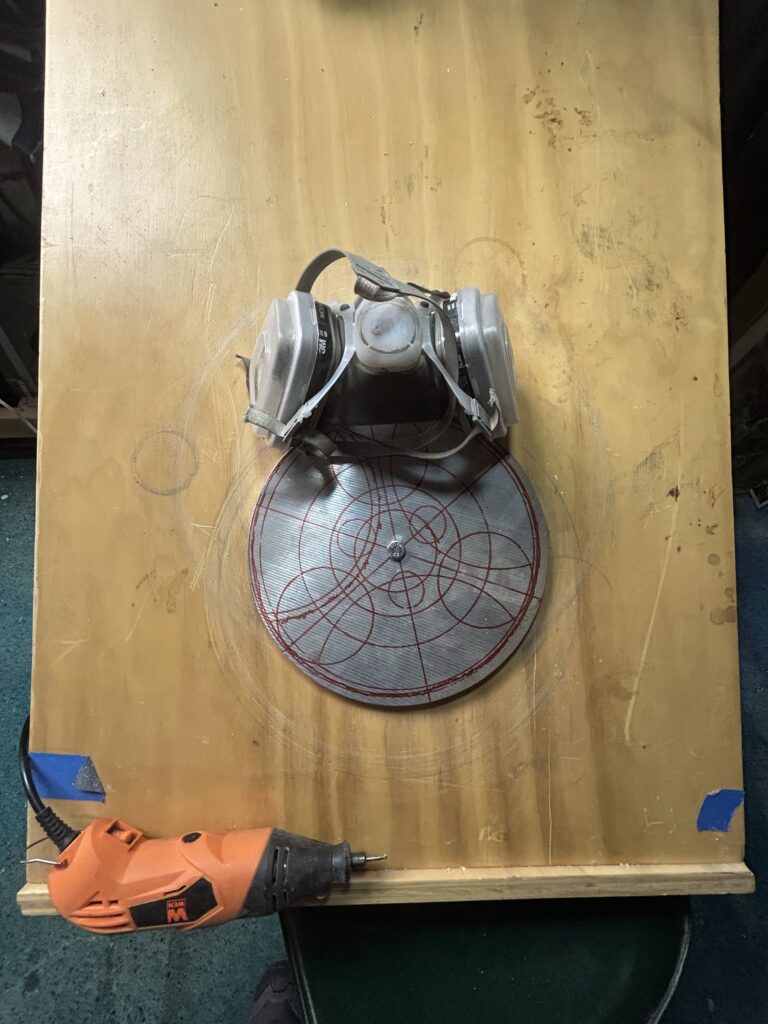
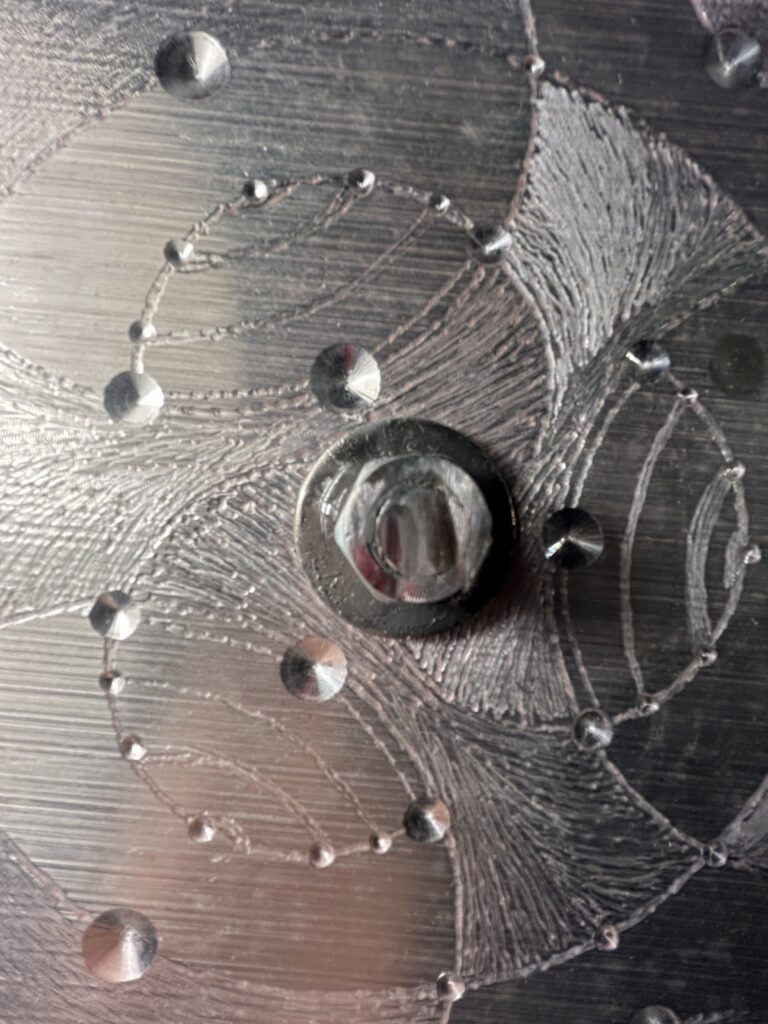
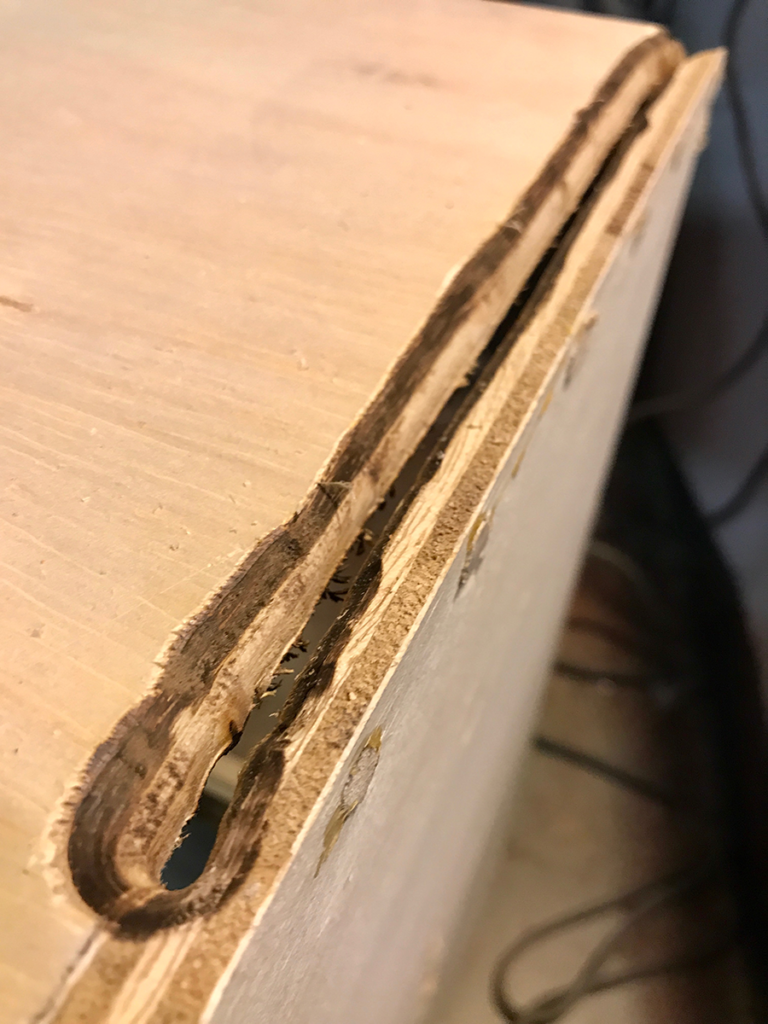
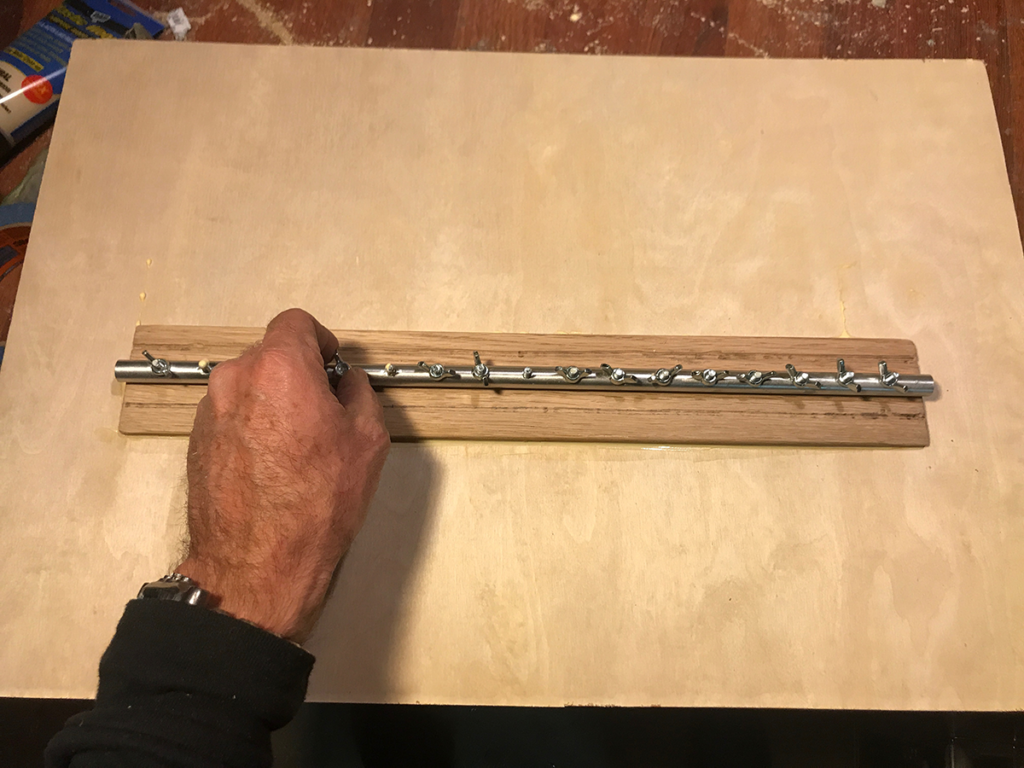
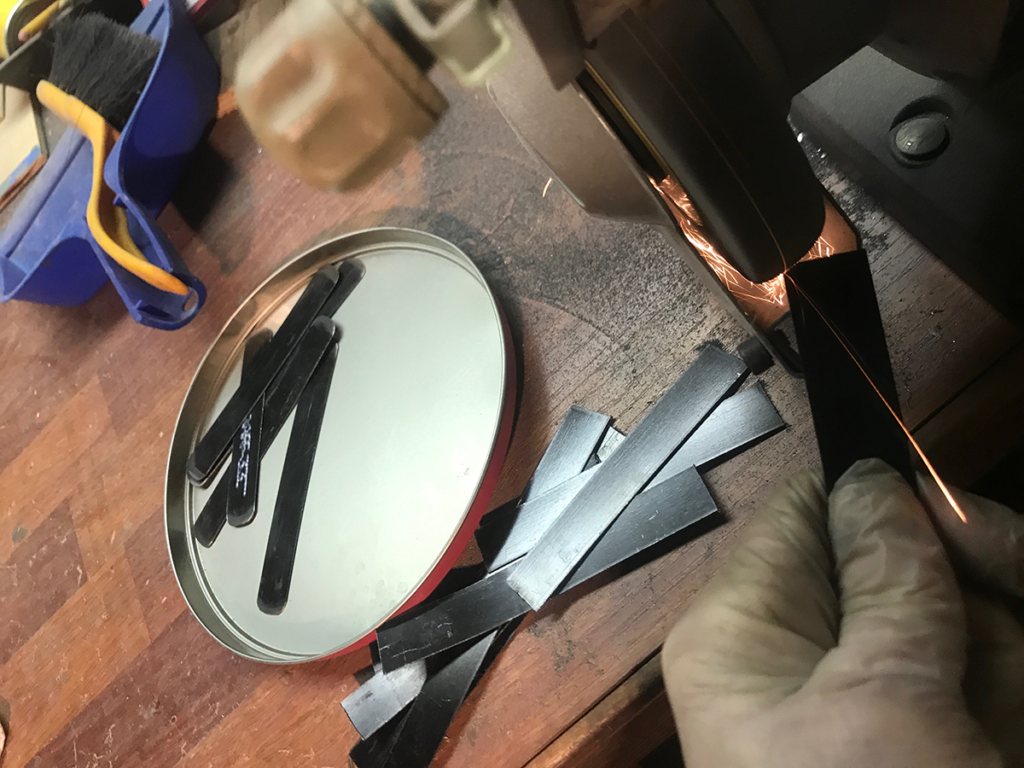
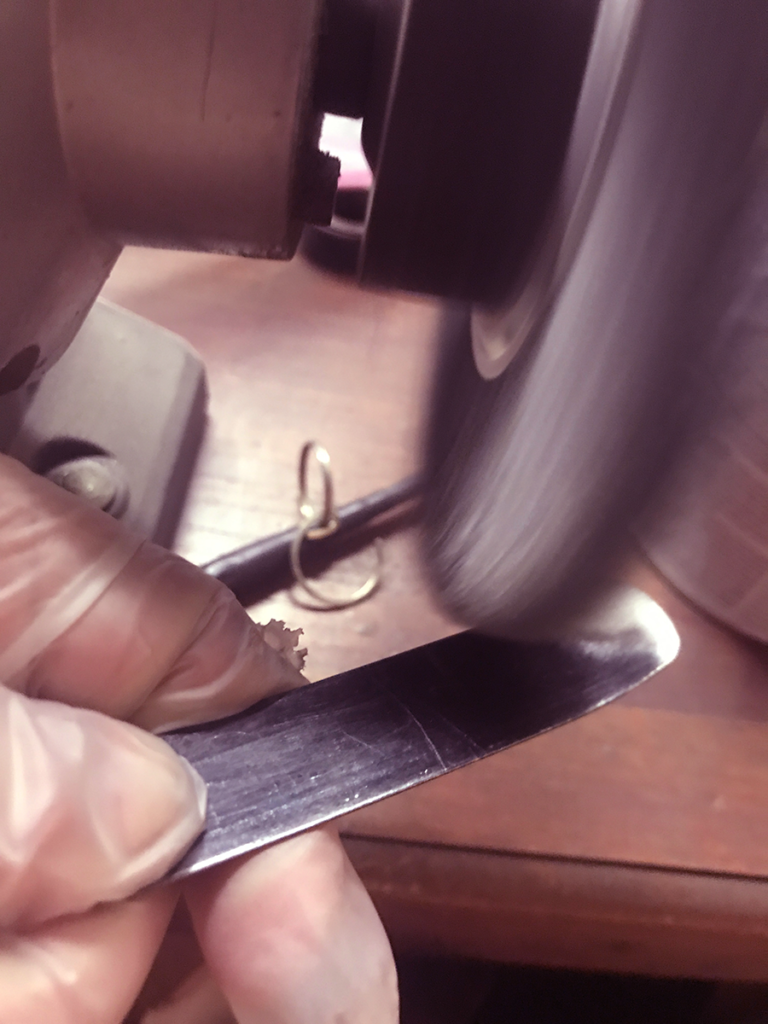
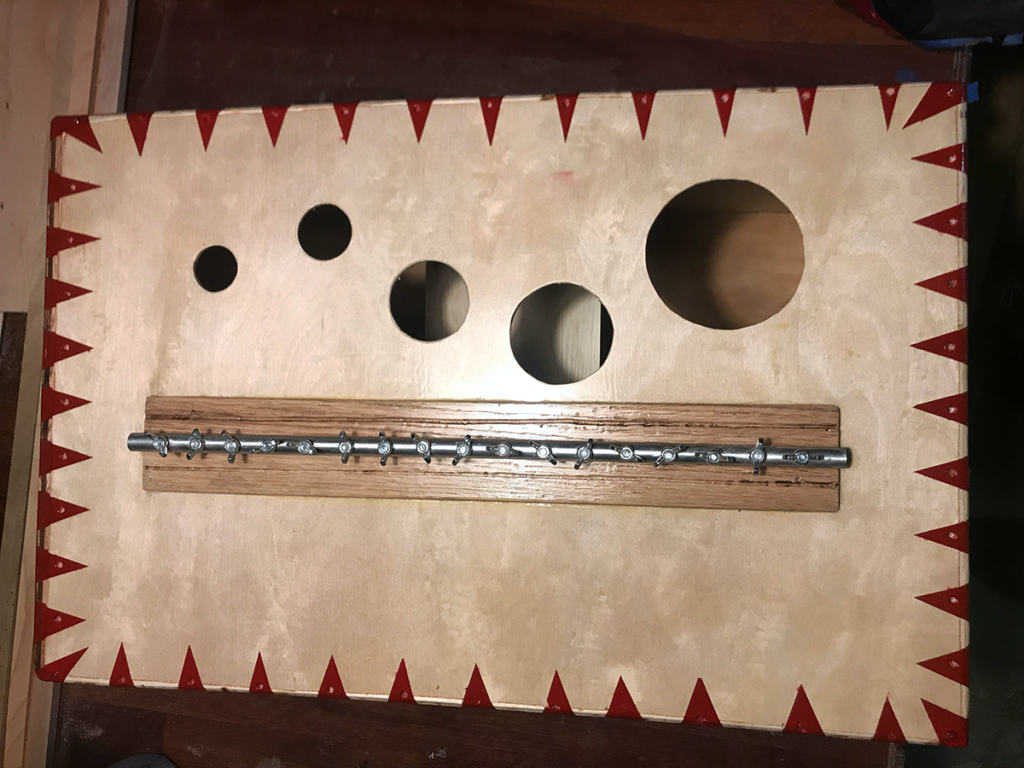
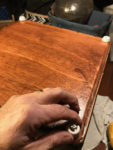
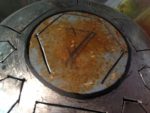
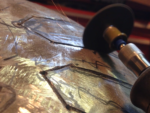
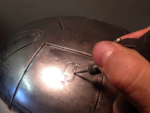
Over the past few weeks I polished up all the keys with a wire brush and then started work on the sound:

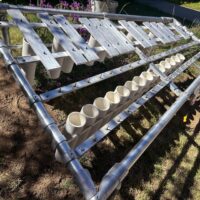
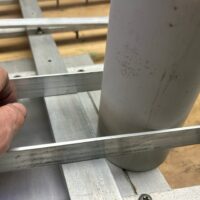
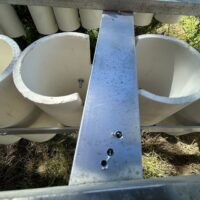
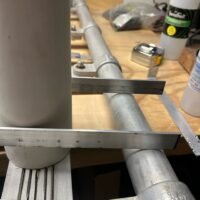
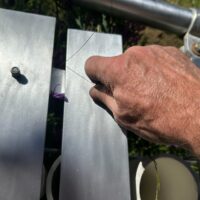
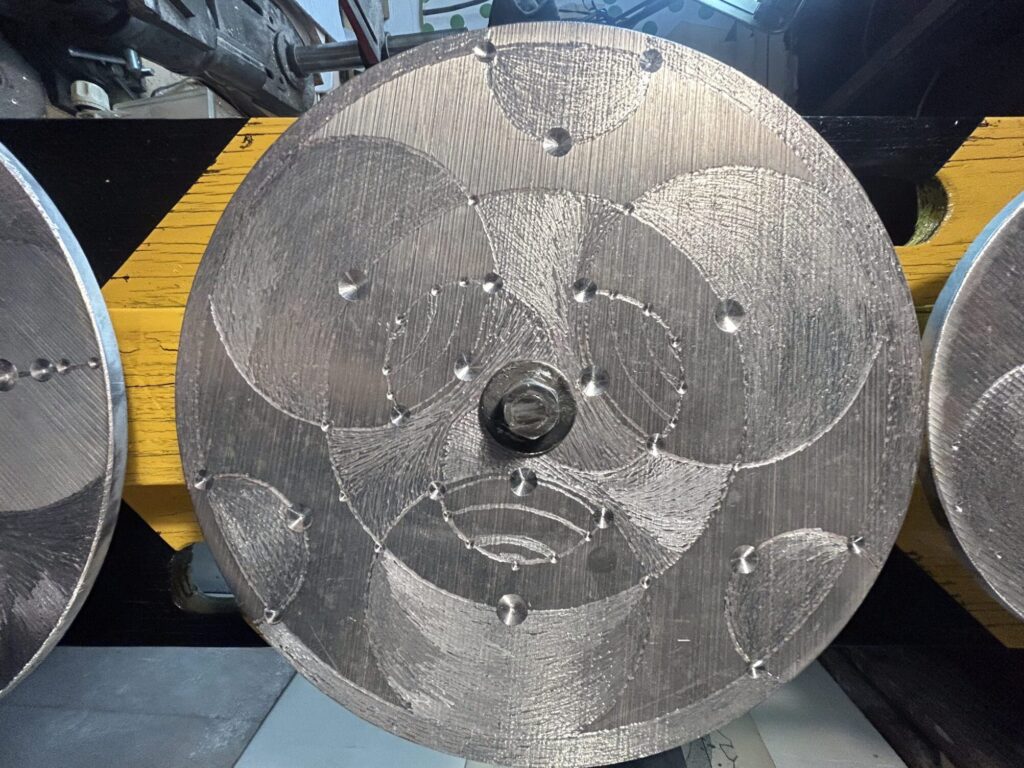
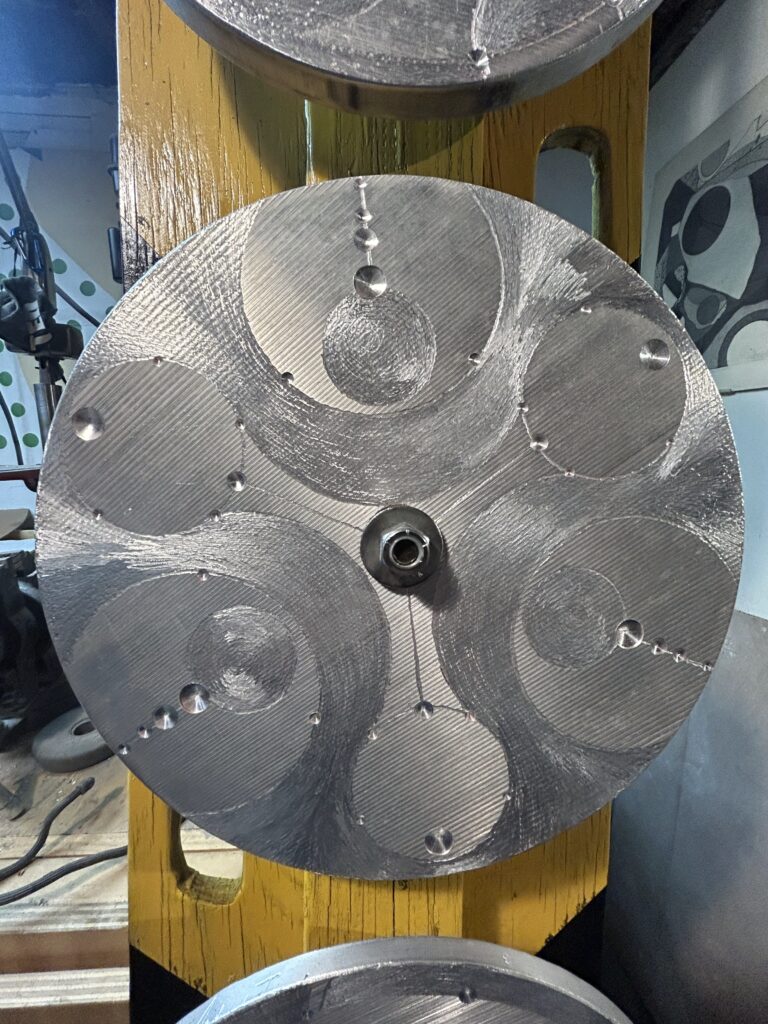
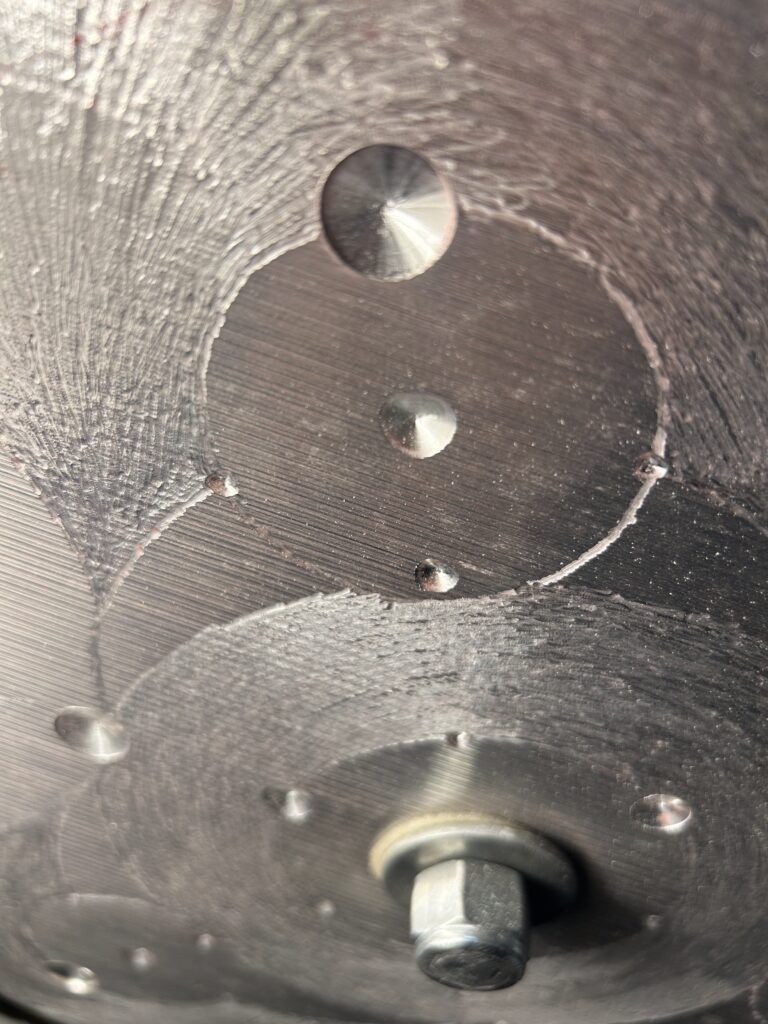
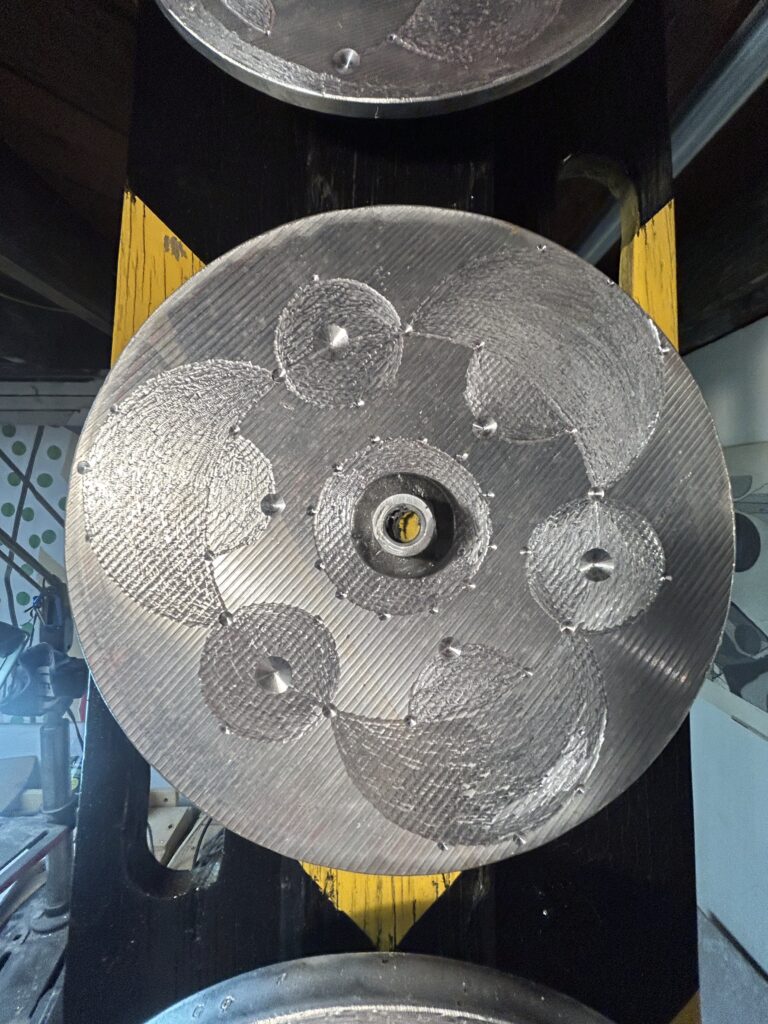
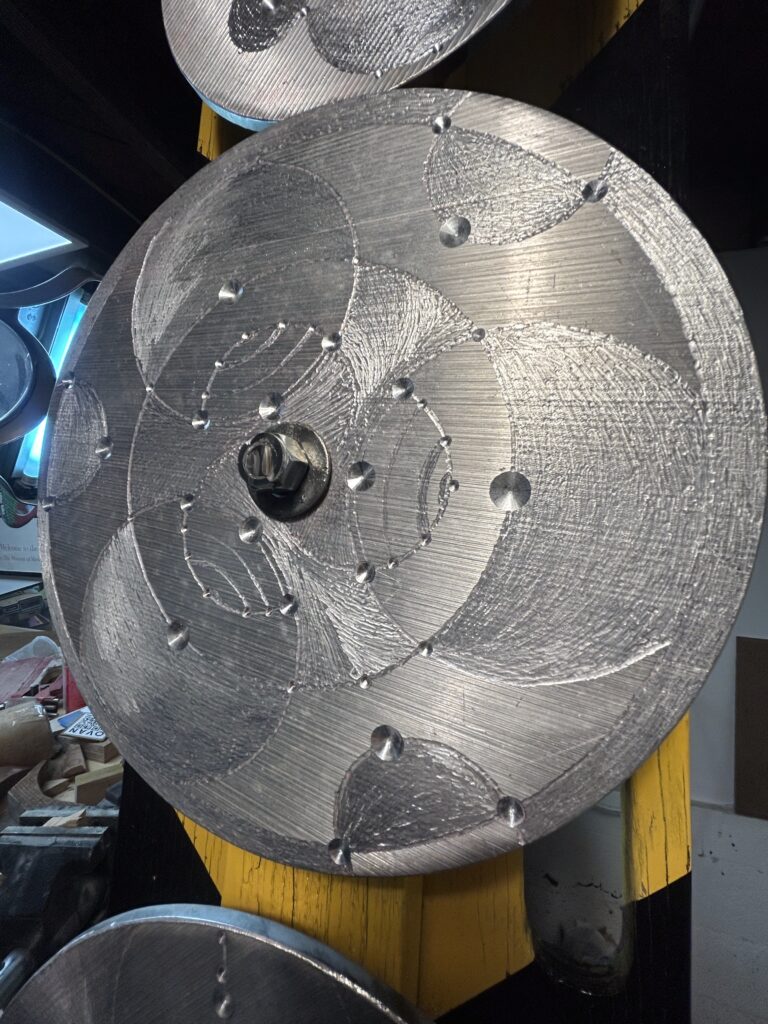
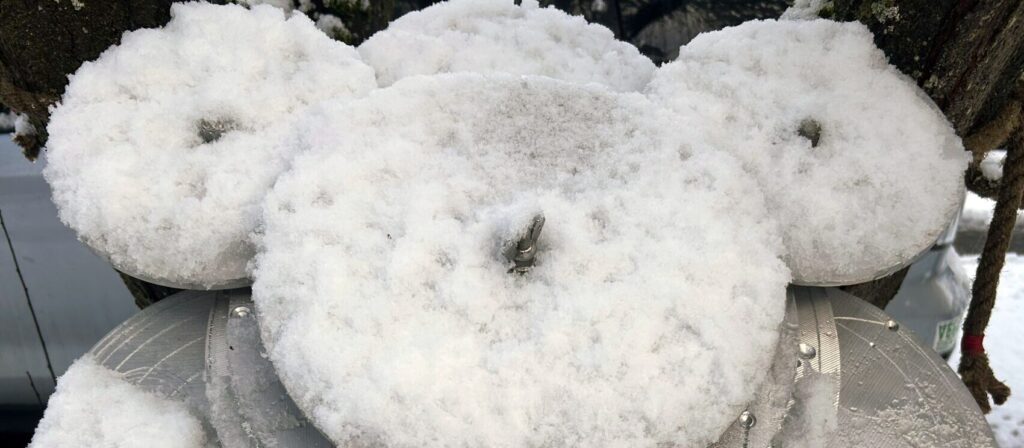
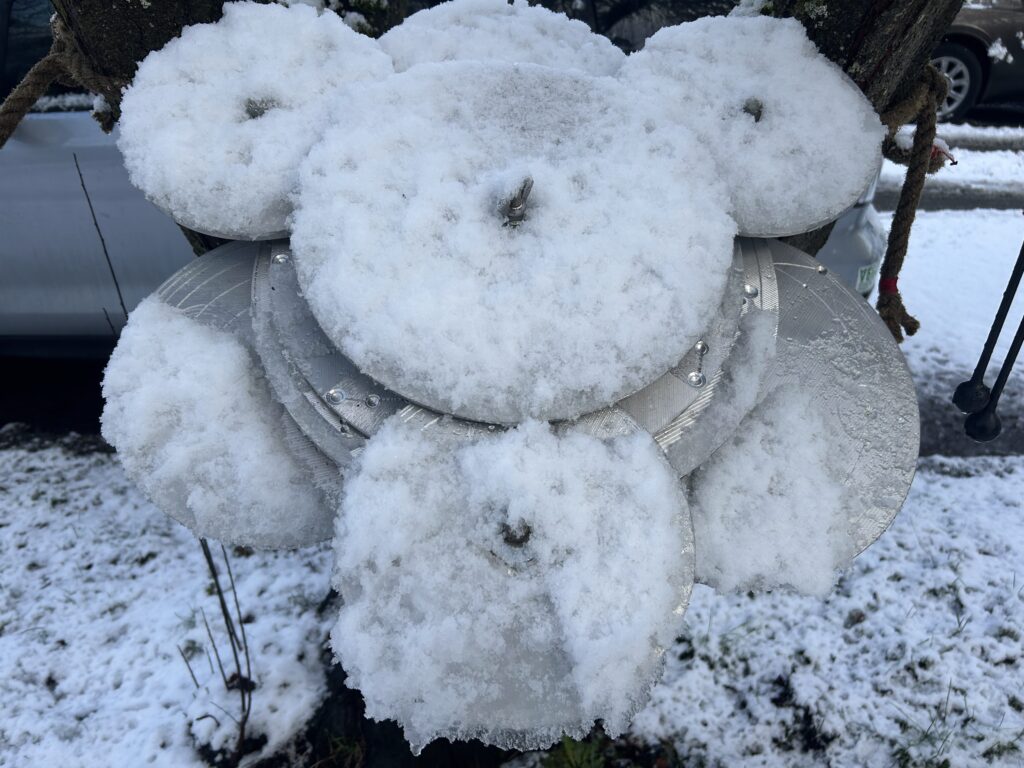
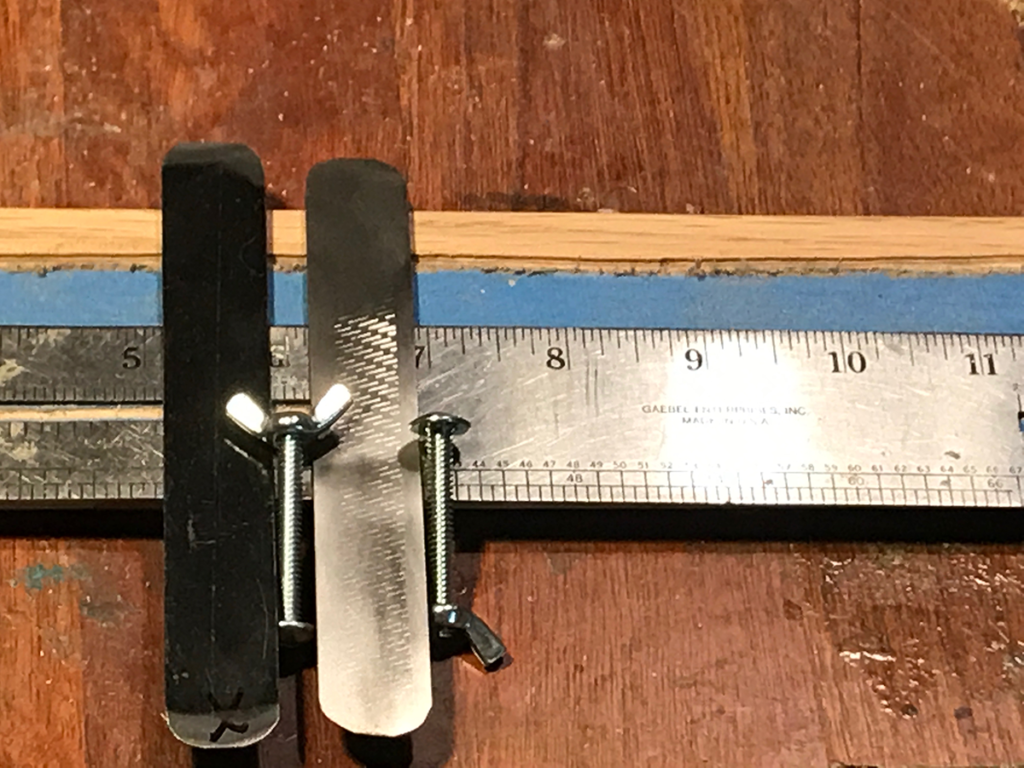
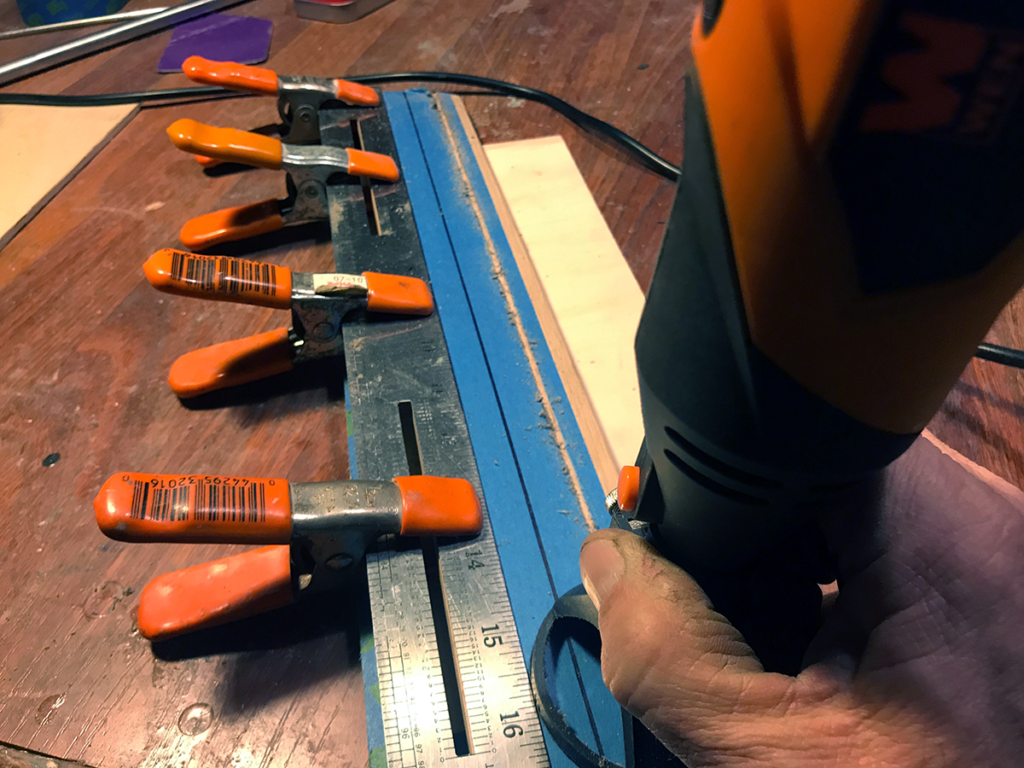
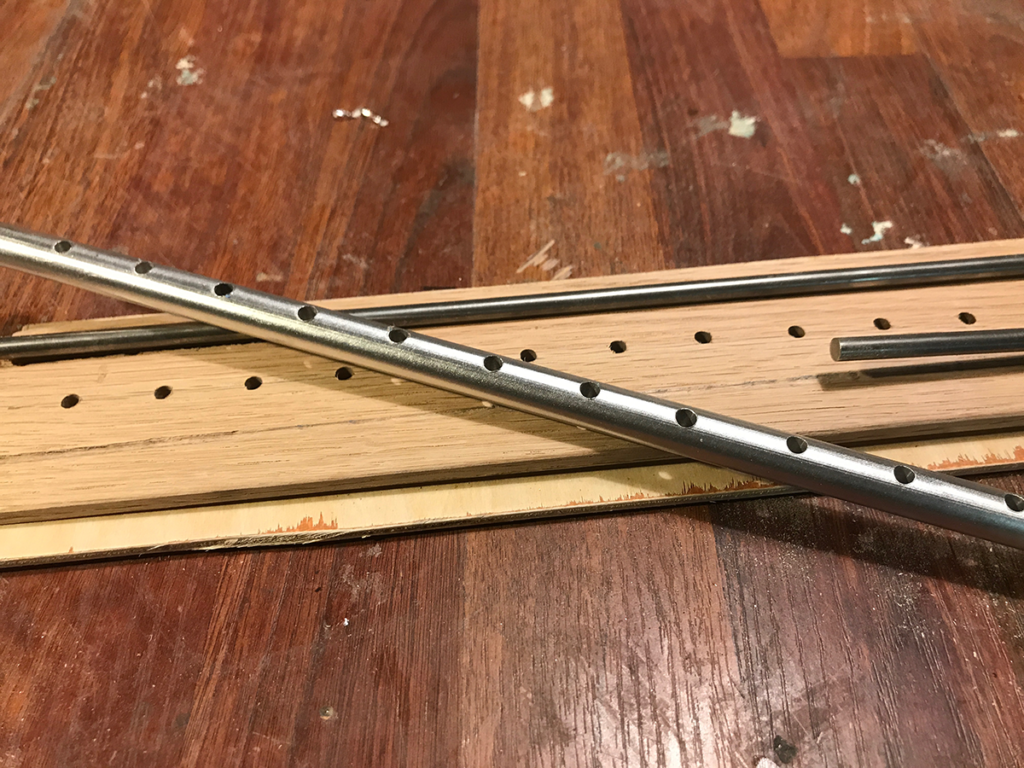
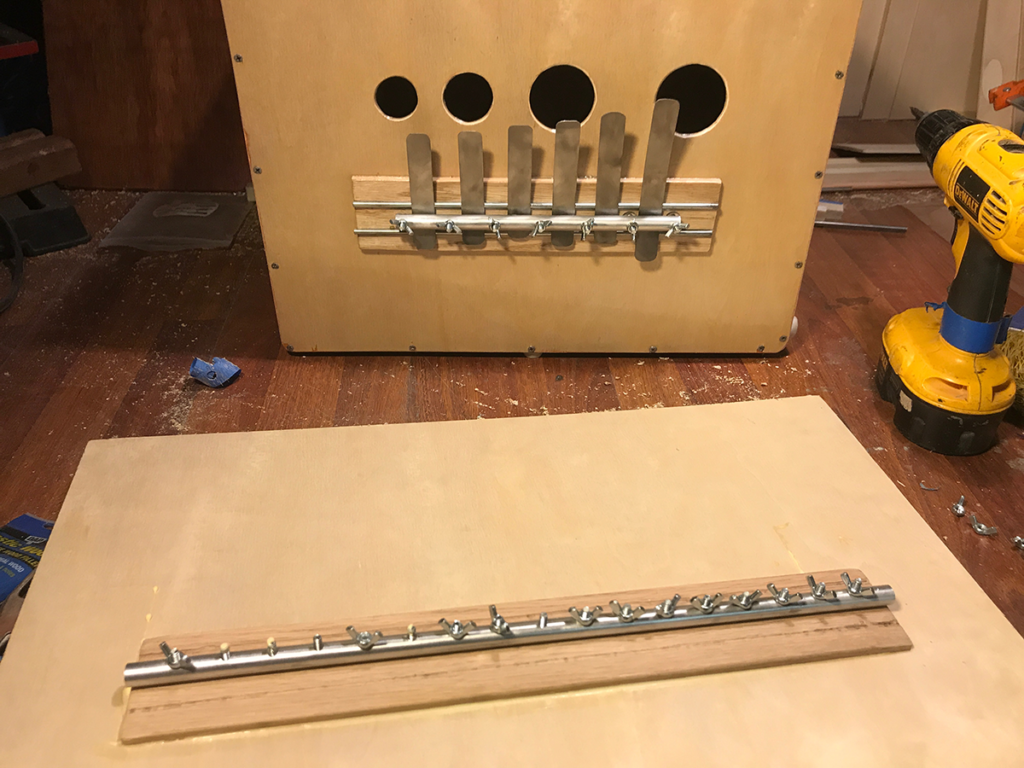
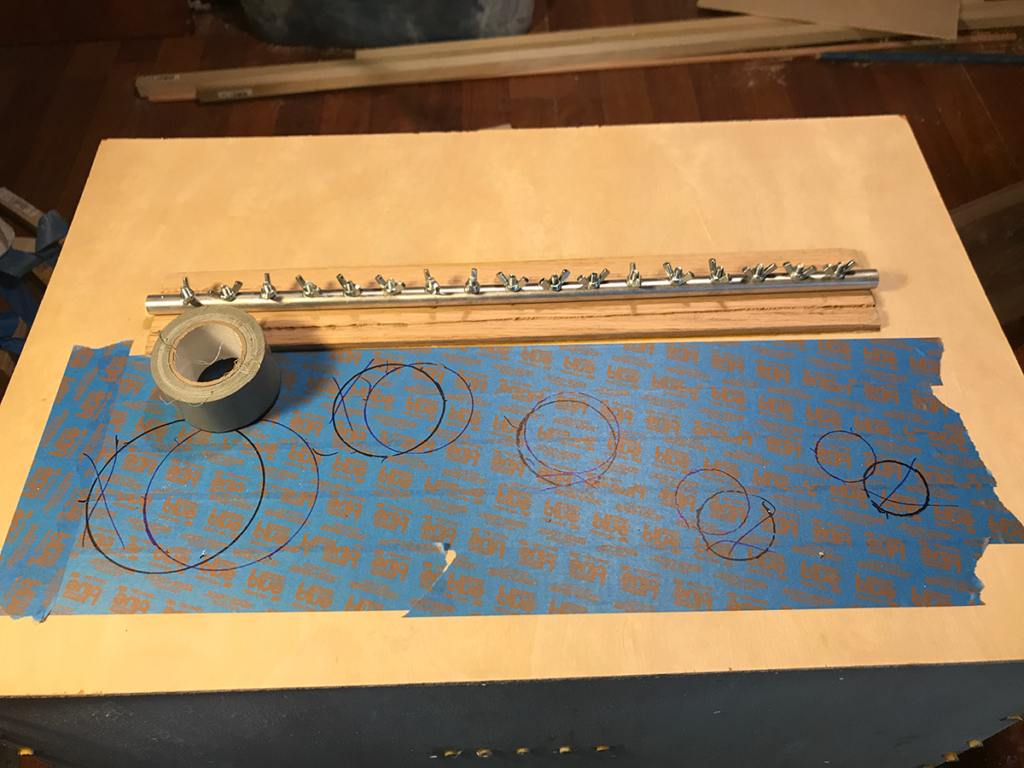
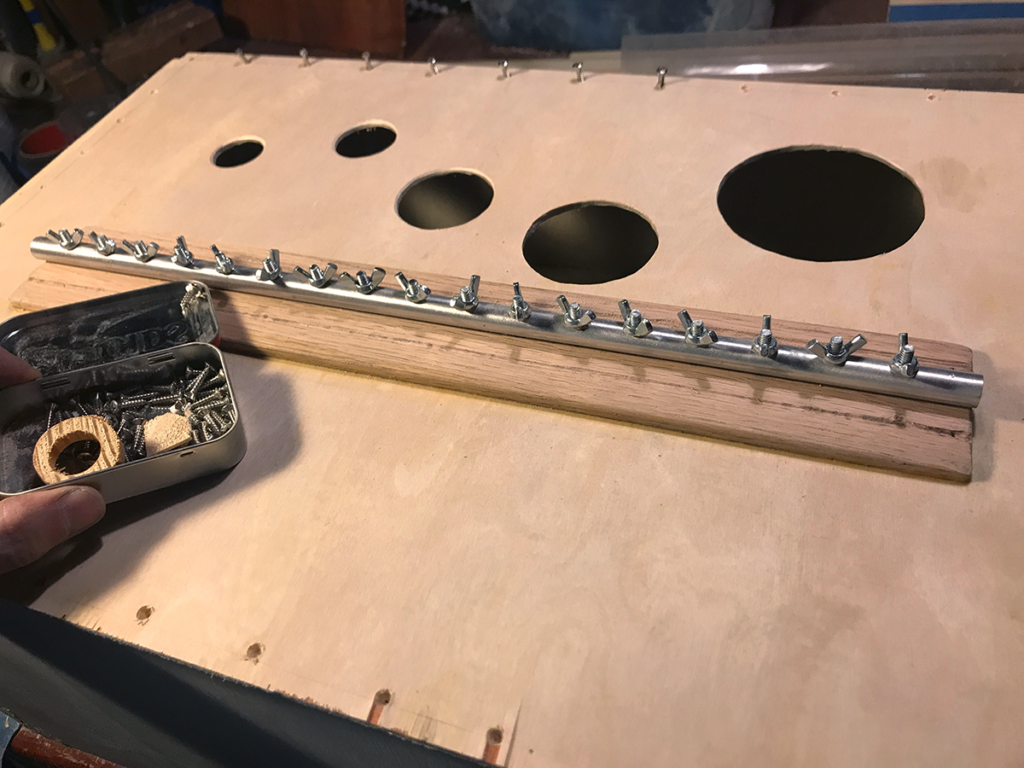
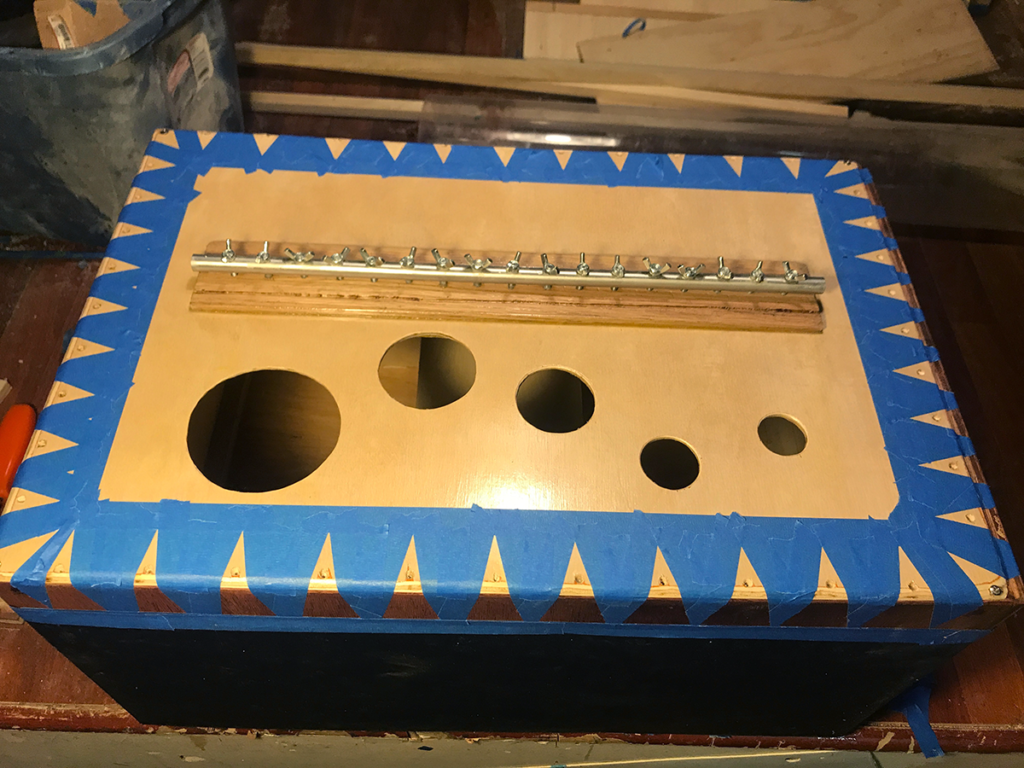
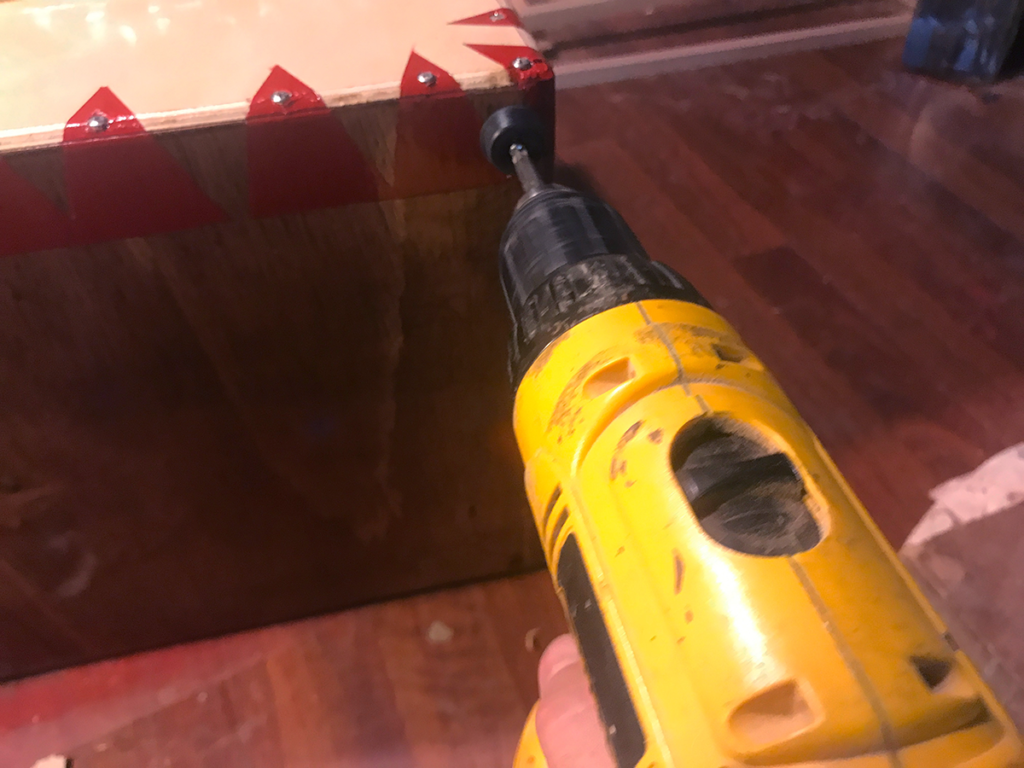
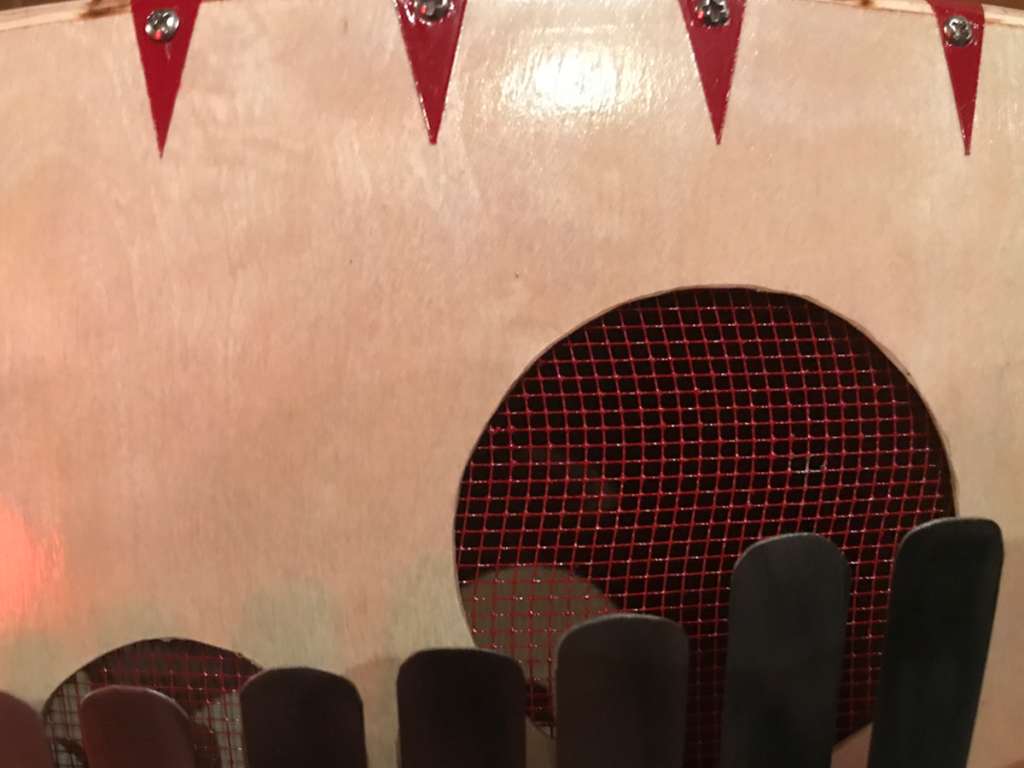
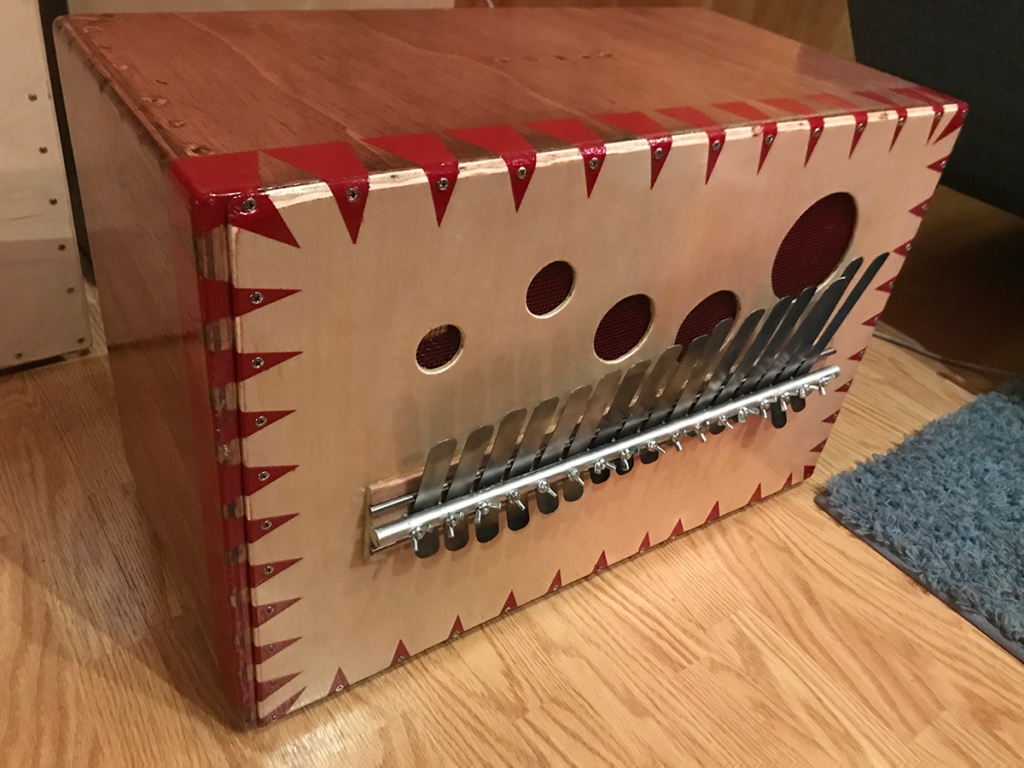
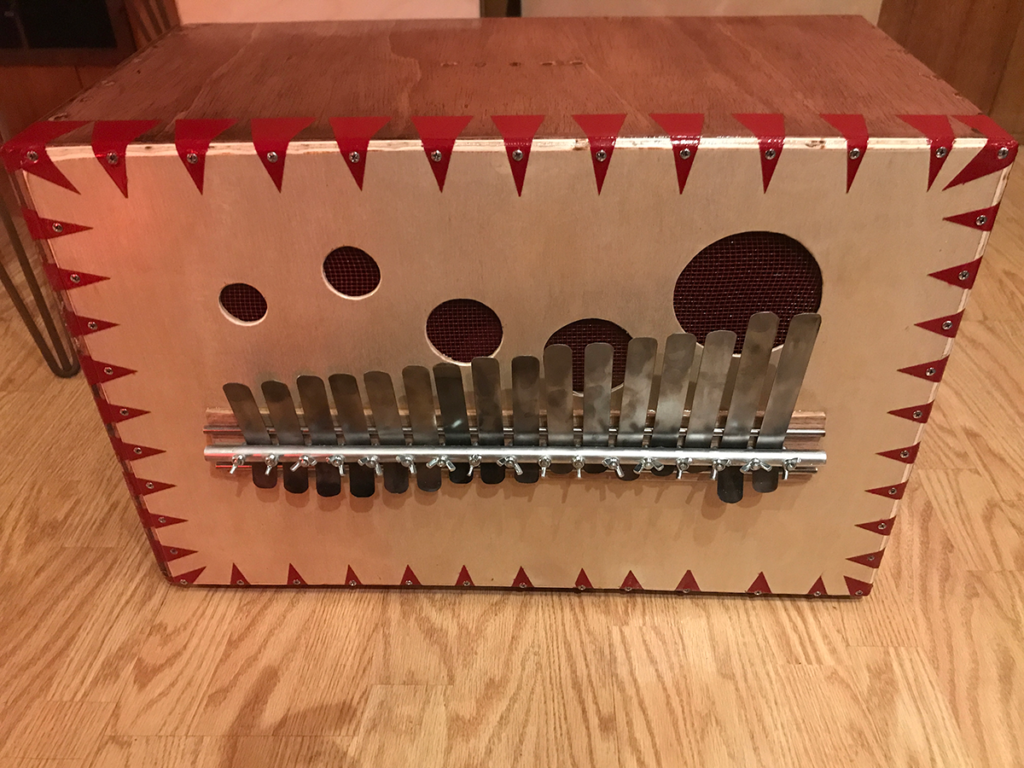
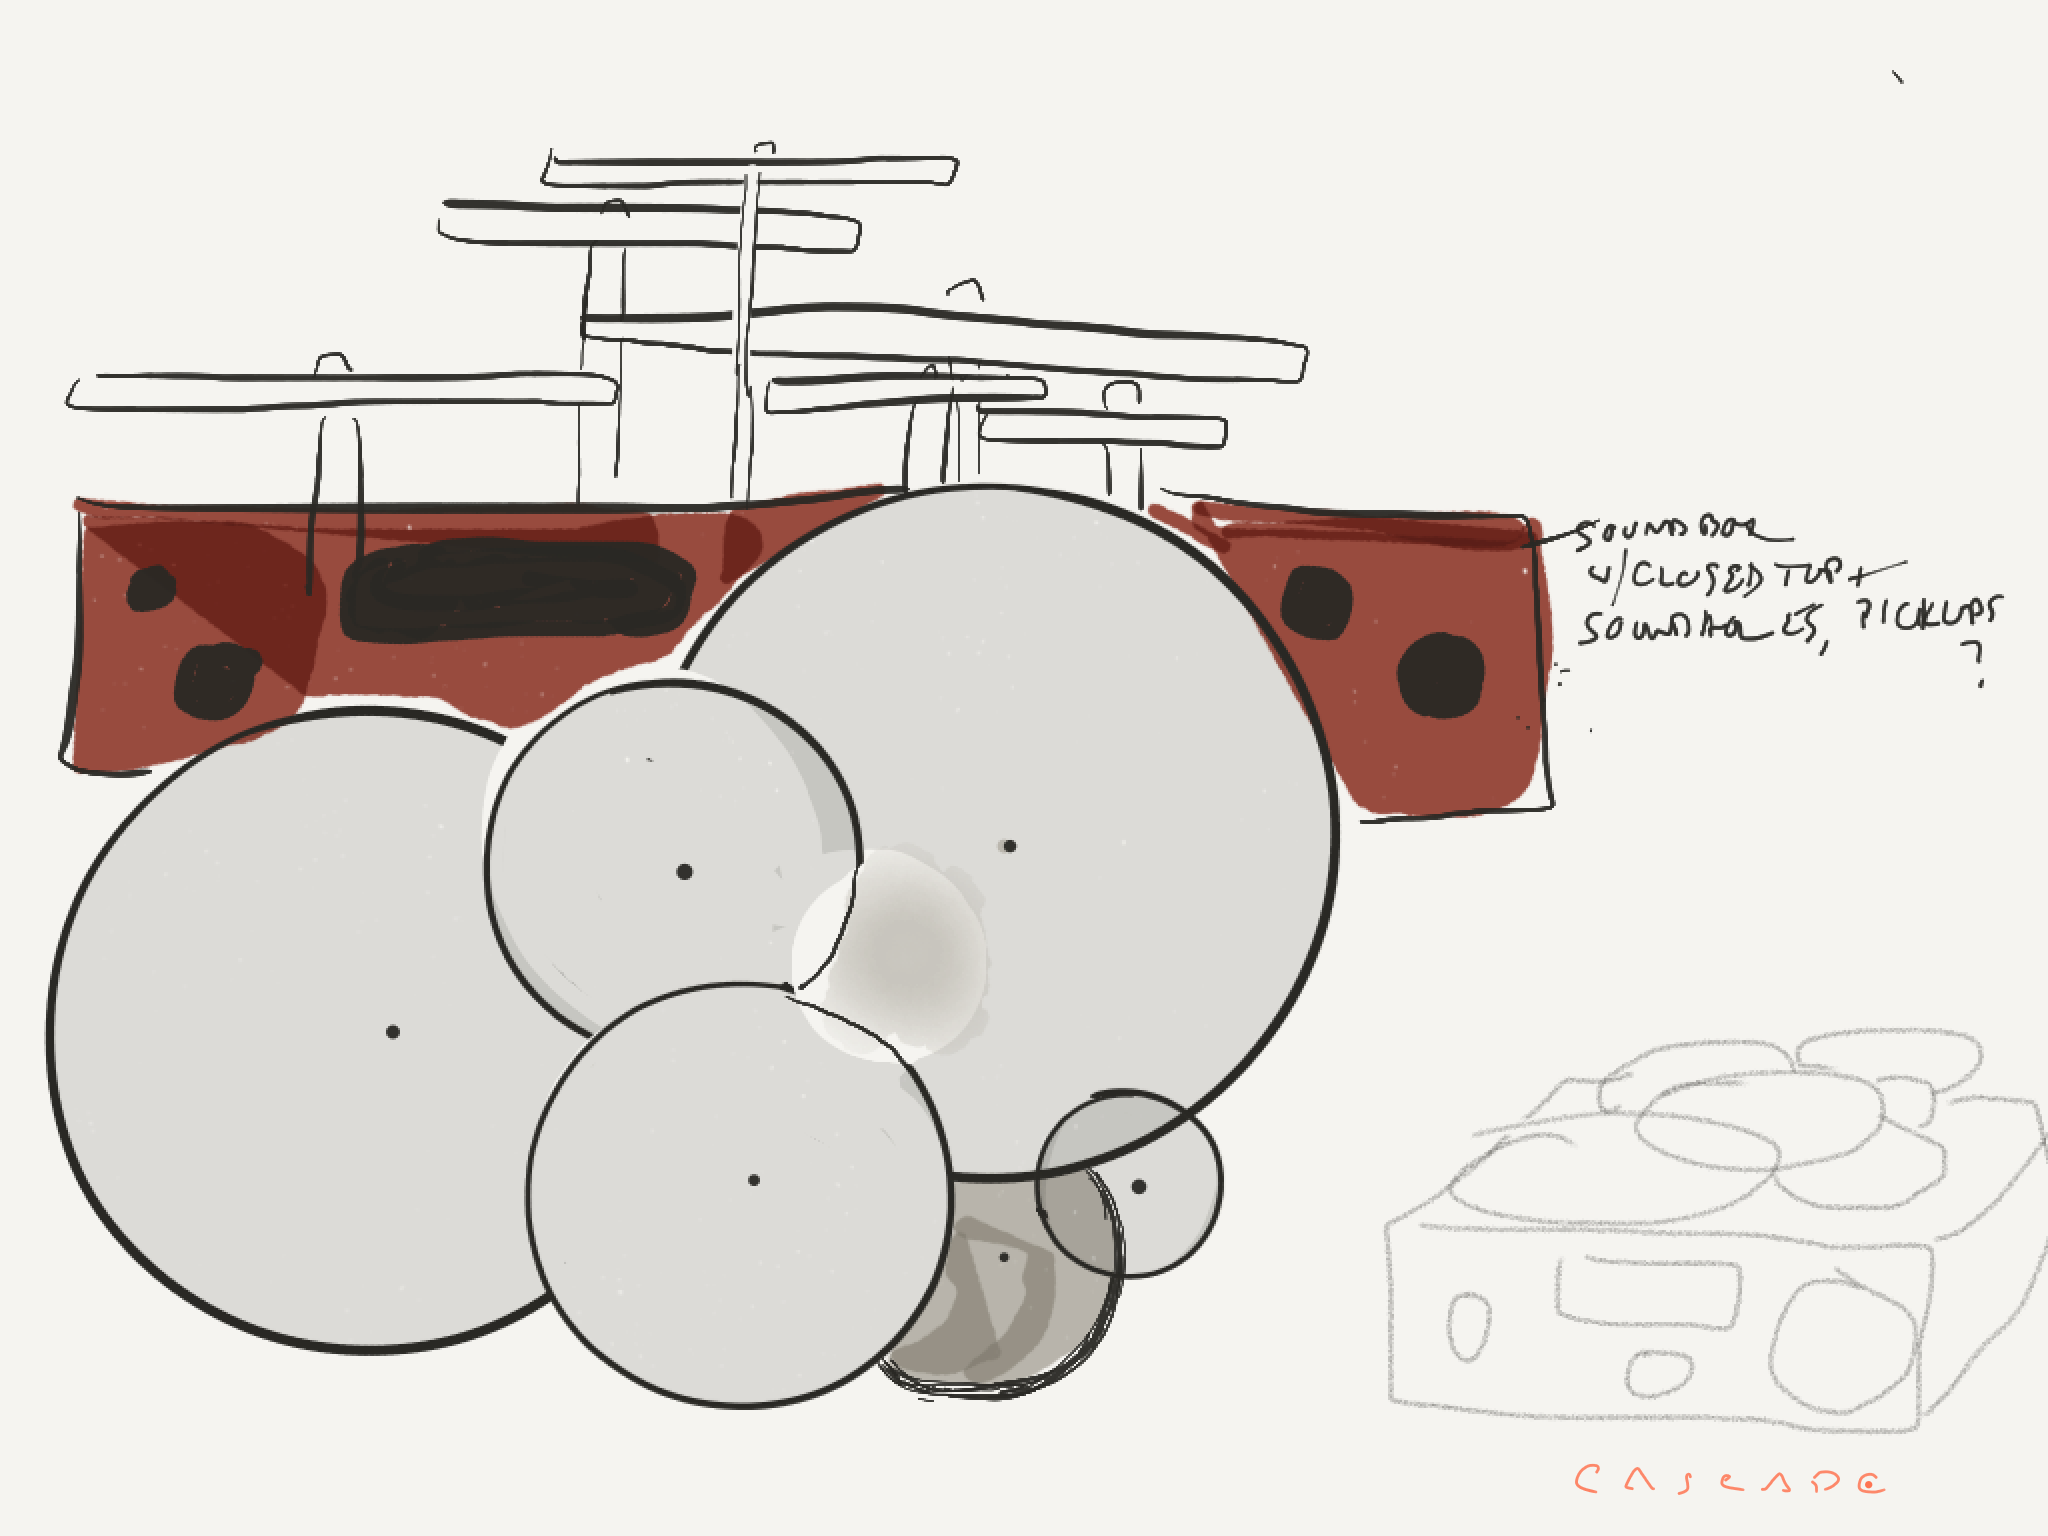
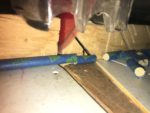
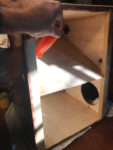
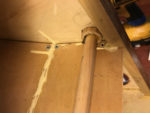
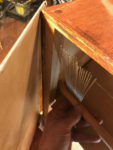
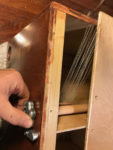
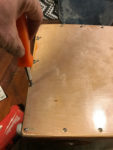
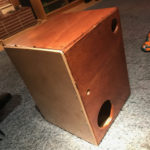
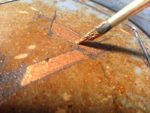
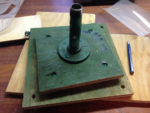
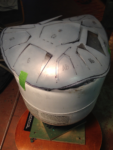
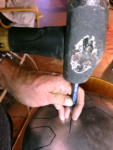
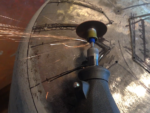
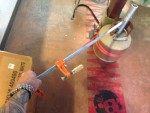
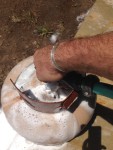
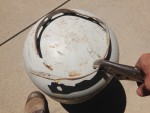
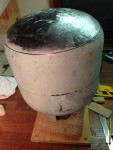
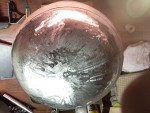
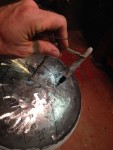
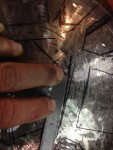
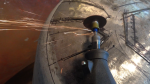
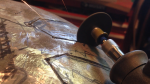
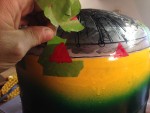
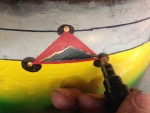
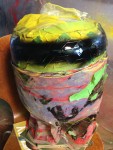
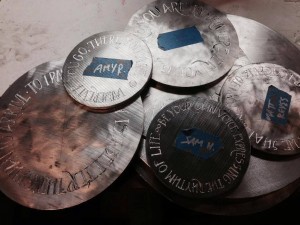
It used to be amplified by a pressure-zone mike installed on a plywood flat just under the keys, but that’s not a long-term plan for rainy Seattle. So I built, tuned, and installed tubular resonators under each of the keys, made of PVC pipe framed in custom brackets of 1/8″x1″ aluminum bar (photos below).

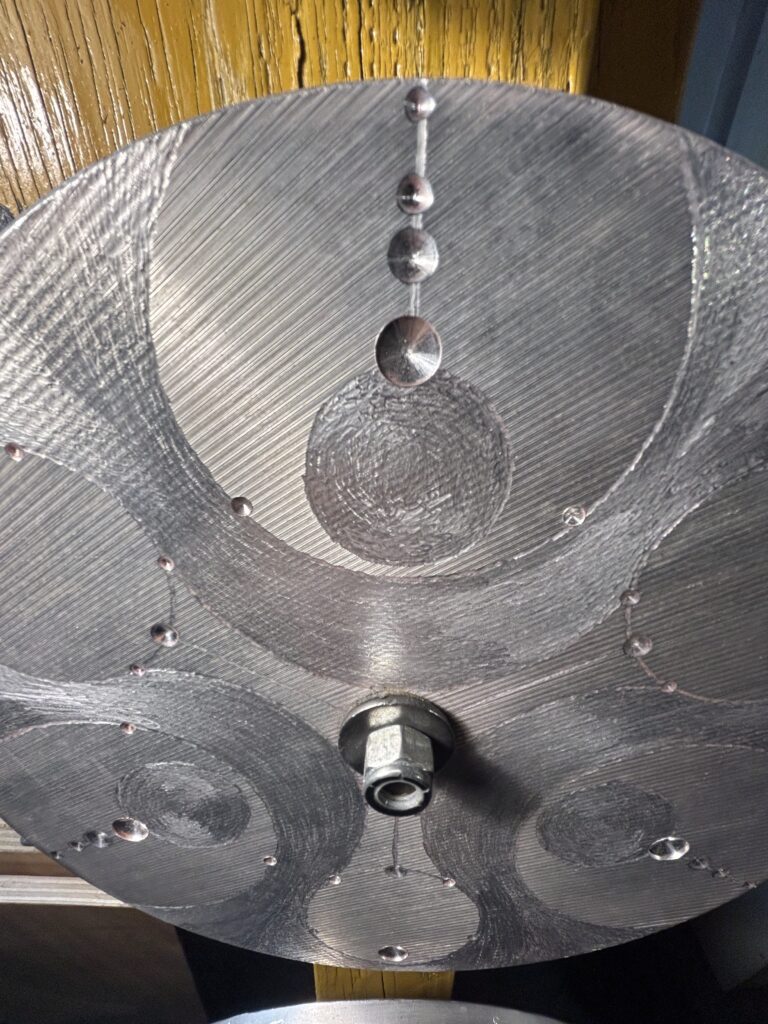
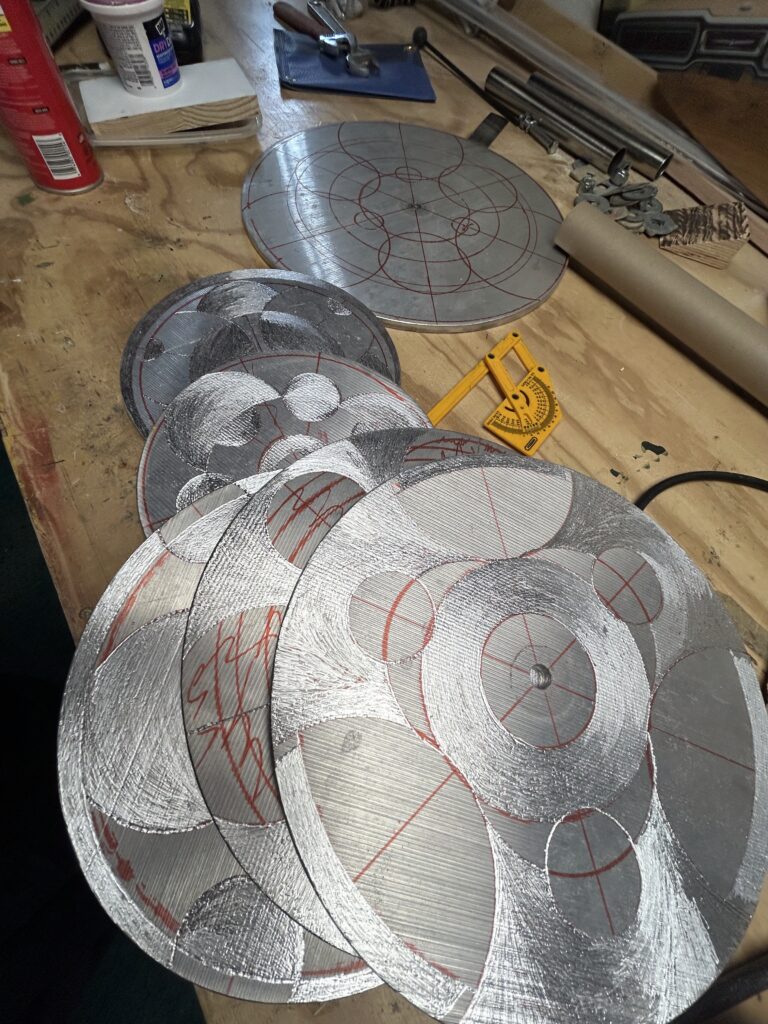
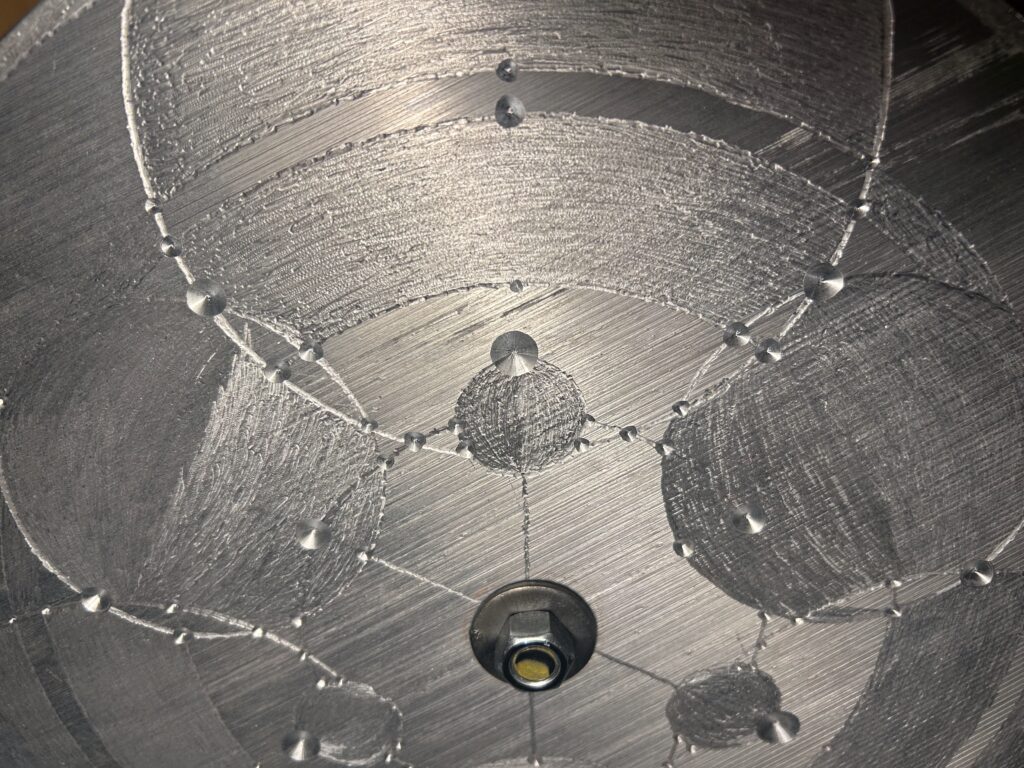
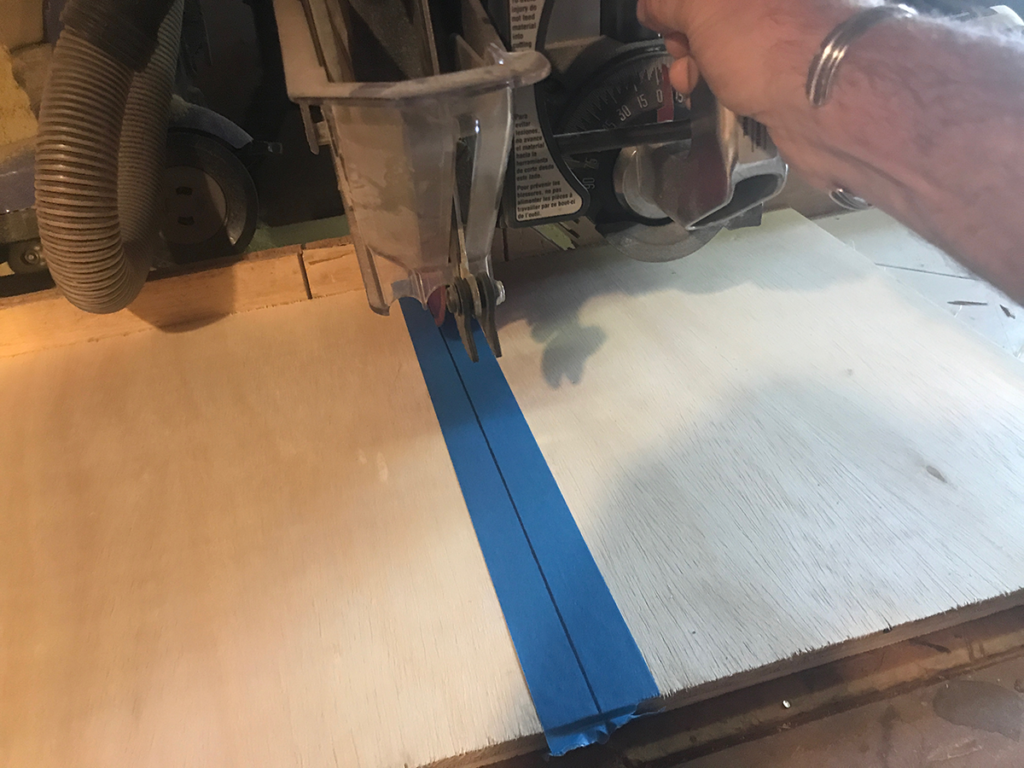
This involved calculating the right length for the tube (one-quarter the length of the wavelength for each note) and then cutting each tube precisely and plugging its bottom with a round of stiff corrugated plastic – drilled with a hole for drainage (because Seattle).

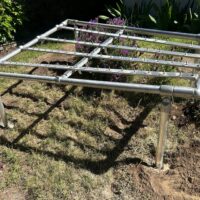
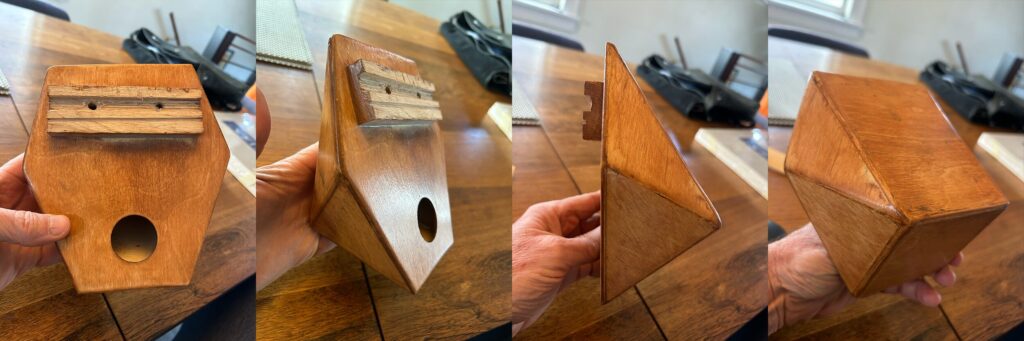
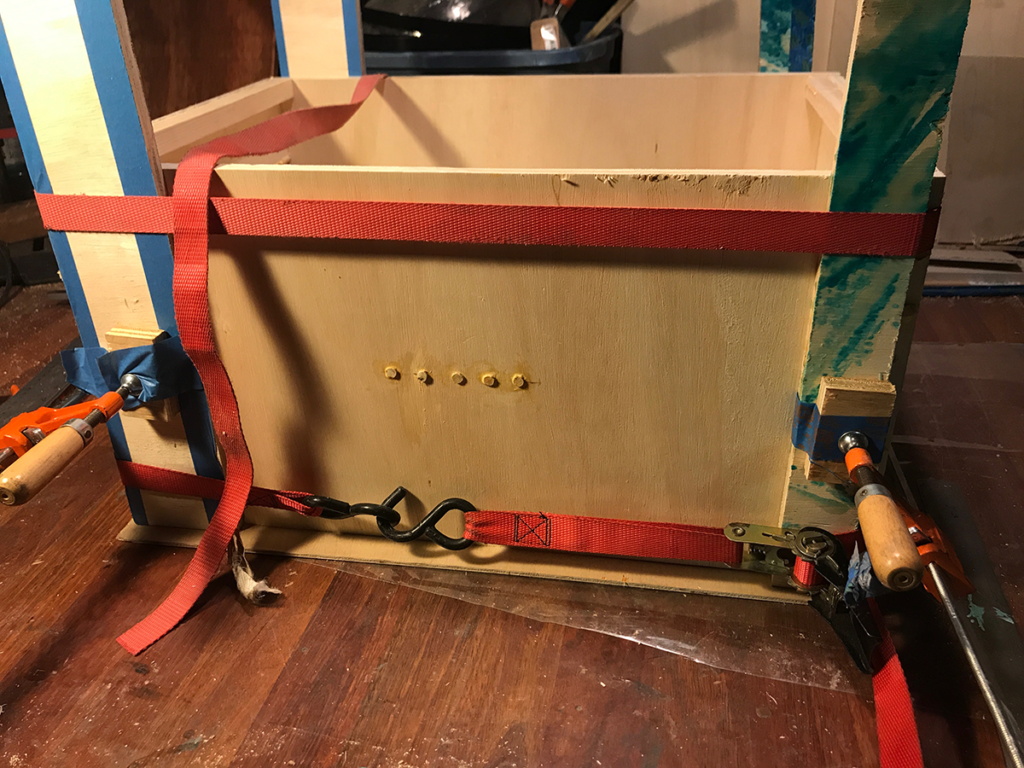
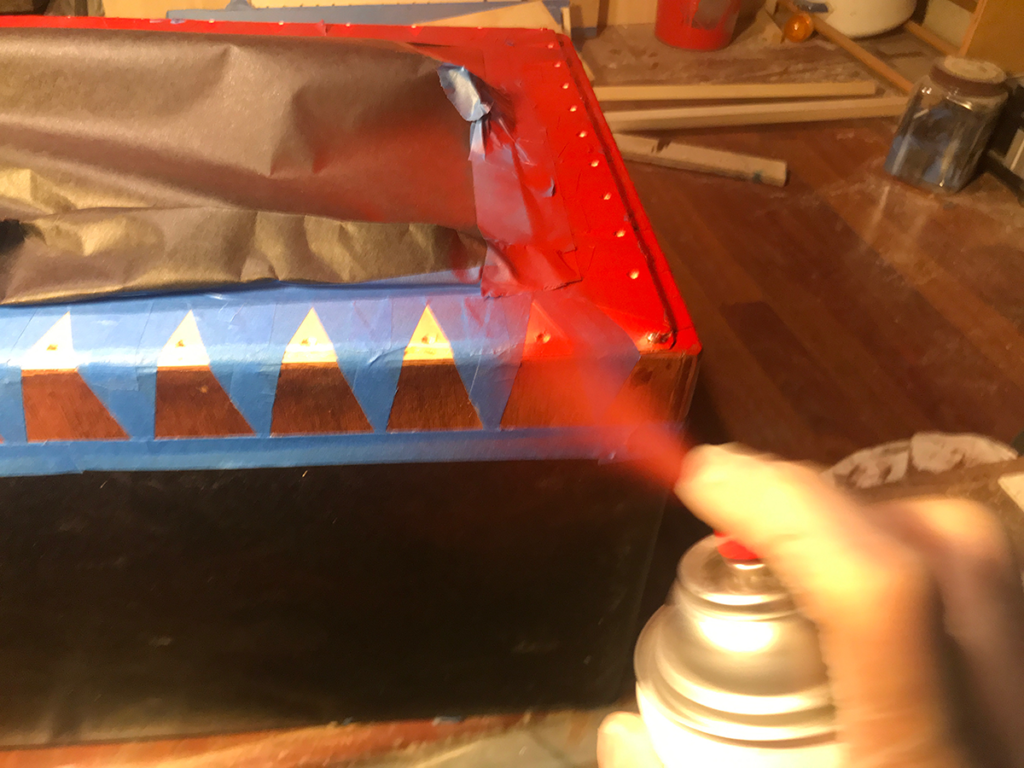
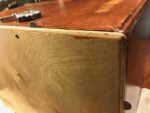
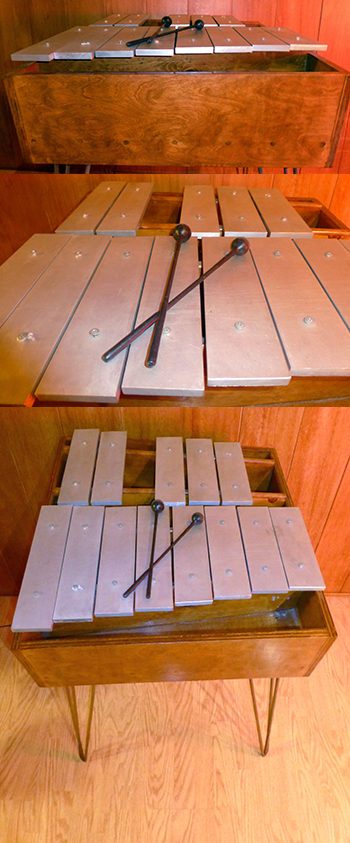
I also rebuilt the top end of the frame, reducing the angle at top left and pivoting the top rail downward to match the angle of the bottom rail. This fixed the ugly gap that used ride above the sharp/flat keys to allow the instrument to mount cleanly on the van’s flanks. It’s a lot purtier now.

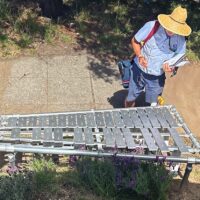
This week, I dug holes for the four legs with a posthole digger and then lowered the frame into place with the help of friends and neighbors.

I plumbed and leveled things with the frame parallel to the little slope in front of the house ( at a nice, playable 40-degree angle), set the legs in place with small stones to steady them, and poured in and then doused a bag of quickset concrete for each.

To help folks stand closer to play, but keep the structure off the sidewalk, my wife and I excavated the sloped front yard and embedded a salvaged marble mantelpiece (found at Ballard Reuse for just a few bucks), bookended by cement blocks to keep the slope stable.

To make it look a bit less gravestone-y, I’m thinking about painting a welcoming message on it in trompe-l’oeil carved letters if I can figure out the best weatherproof paint to use on marble. (recommendations, anyone?)

Anyway, kids are coming by to play daily, I’ve met a Burner friend who stopped to bang on it, and even the USPS letter carrier seems to like it. It’s lovely hearing random music from passersby float up through the living room window. (Here’s a little clip of me plinking around on it.)


Laser-cut kalimbas

At one point last year, I had this vision of a kalimba made of 3- and 6-sided planes – an instrument that would be pleasing to the eye, but fit nicely in your hands to enhance the pleasure of plinking away in the sing-songy way of kalimbas.

four photos from different angles of a sound box made of brown-varnished wood triangles.

After prototyping it in cardboard, I translated the pattern to 3mm birch plywood. This inspired me to join a makerspace so that I could learn how to use a laser-cutter and make the (extremely finicky, difficult-to-join) design repeatable and try out different finishes …

More

Old->New gong array

The trick with scrap-aluminum gongs is that you just can’t tune them.

So I built this basic array by ear (back when I decommissioned XyloVan), choosing disc gongs that would resonate well together.

This past month, I upgraded the whole thing to get it ready for visitors to Seacompression to bang on and enjoy.

Weather had beaten the crap out of the backboard while it lived on our rooftop in Brooklyn (site of my many nighttime courtyard gong serenades), so I gave it a fun paint job.

And I engraved all 7 of the otherwise dull chunks of metal, using a 1/16″ burr bit on my Dremel for the lines and shading, and then a series of drillbits for the points, all of which … took a few hours.

I’m pretty happy with how it turned out.

Rebirthing the XyloVan gongs

Long, long ago, in a city far, far away (2010, Los Angeles), I made this crazy thing with the help of my loving and endlessly tolerant family.

XyloVan – the only musical instrument I know of that got 8 miles a gallon downhill in a tailwind – played and ran for many years at Burning Man and various like-minded creative events and venues, and many thousands of people enjoyed playing on its instruments and generally making happy noise.

In 2019, with much excitement, we moved to New York City – which meant that, with much regret, I had to sell the vehicle, unmount all the instruments to put them into storage, and move on to a new phase in our lives together.

We moved to Seattle in 2021 and this year, I finally got tired of tripping over this set of scrap-aluminum gongs (which I had stripped off of the van and rearranged in this array four years earlier in a fit of creative frustration in NYC) and decided to share them with the world again.

So here they are, mounted on one of our flowering plum trees (carefully, so as not to hurt the tree!)

We’re also planning to bring the xylophones up from storage in L.A. and mount them in the front yard for all to play. In the meantime, you’re invited to come bang on the gongs. Please enjoy.

UPDATE: Confidential to the wonderful stranger who ding-dong-ditched a pair of Sonor percussion mallets on our front porch this week:

Thank you! I’ll rig them up and put them out so people can play together. Next time you’re around, please say hi!

Veering off into left field – to build a marimbula

This is a long way from xylophones and propane-tank drums, but I’ve really enjoyed building cajóns and – for the first time – a marimbula.

Quick demo and walkaround

The marimbula is a Caribbean instrument, descended from the African kalimba, and generally functions as a bass. As you’ll see in the video at the bottom of the post, I first experimented with a 6-key marimbula built onto the back of one of my cajons, just to figure out the basics of construction.

This one is a 16-key marimbula – which I’ve decided has about three too many bottom-end keys and perhaps one too many high-end keys, as the sound quality falls off quite a bit at the ends of its scale. Next, I might try building one like a piano keyboard (with two layers of keys in white and black) centered in the middle of this scale.

The tuning has been kinda challenging – I finally settled on D – but I’m tuning it slowly by ear because the digital tuning apps can’t handle all the overtones it puts out. Anyway, it’s a helluva lot of fun to play – particularly on a nice, resonant wood floor – because it’s easy to play, and the notes send vibrations through your butt and up your spine. I take great satisfaction in building instruments that create physical joy along with pleasant music.


Building cajóns – all of a sudden

The old-timey title for this post could have been:

The Wisdom and Benefits of Contemplating a Temporary Shift from the Traditional Norm for This Institution in Materials, Methods, Design and Construction of Multi-Purpose Acoustic Percussion Instruments:

Or, a “Box to Bang On”

Because this post is about a kick in the head. A total world-shifting creative non-sequitur from all this demanding, burly, unforgiving metal I’ve been working with for so many years.

All of a sudden I’m building cajóns. Out of wood. Where did *that* come from.

Lemme back up a bit.

I’ve been goofing around with the idea of combining disc gongs with a sound box like the one I built a million years ago for my very first xylophone.
I wanted to explore: disc arrays, resonance, materials, instrument playability.Here’s a sketch: —->

And then it occurred to me that the cajón (a sit-upon box drum with  roots in Peru and on loading docks everywhere) is such a perfect blend of structural integrity and resonance – like musical furniture – that if I could build one strong enough, it could do double duty as both metallophone and drum.

Gee, that sounds like a lot of work.

Maybe just start with building a good cajon to see if it’s easy enough. So, after digesting half a dozen how-to’s on YouTube and stealing some of the most interesting design ideas into my plan, I started my first.

Here’s a ragged build log:

Percussion cruise to Sonic Runway and beyond

A percussion cruise is a pretty simple pleasure: Invite people onto the roof to play the drums and gongs, and drive across the Black Rock Desert.

As I drive, happy sounds drift down – people lazily striking the gongs, and chatting passionately about their burns.

The first part of this clip is the sound of a cruise we did on Tuesday afternoon, and the latter part is part of XyloVan’s set at Sonic Runway – friends from Liminal Labs joined random Burners on the roof and around the xylophones to play.

Unfortunately, the mixer crapped out so the roof percussion drowned out the xylophones, but the sound was enough to trigger some beautiful patterns on the Runway.

Tonepod 2 – A new, more-portable hank drum design


(edit: I quit Facebook in 3/2018, which accounts for the missing videos.)

So, I make these musical drums out of up-cycled propane tanks. Click through for a demo video (and the build log) for Tonepod 2, the new model. Making this one, as with the others – gave me tremendous joy – which is good because the process takes about 40-60 hours and fills our basement shop with dust and noise. And yes, I might be able make one for you. Inquire here.


At this point, I have already safely emptied the tank of propane and washed out the residue of methyl mercaptan (the nasty stink agent that lets you know when odorless propane is leaking). (Seriously, don’t use any tool on metal until the propane is safely gone). I’ve cut off the handle from the top and the base ring from the bottom, and ground off the welds, and now I’m grinding off the rest of the paint before cutting … More

#7 – the Rat Rod


I’m not much of a player, but here’s a demo of a drum in C-minor – This is the seventh drum I’ve made out of a 20-pound propane tank.

The discarded tank came into the shop in a thrashed, rusted-out pale blue, which looked amazing.

So I kept much of the original paint, cleaning off only a ring of the steel at the tips of the tongues. I then added a pinstripe ring around the hexagonal key (low-C) in the center, painted on a stylized “7”, which I limned in Sharpie – and sprayed 3 or 4 coats of clear enamel over the whole thing.

I made two major design improvements for sound – I cut out a resonator hole in the tank’s bottom (around the valve, just inside the handle).

And I’m experimenting with a new deadening material – recycled bicycle tubes wrapped around all the way around the tank to keep the body from ringing and drowning out the keys.

So far, so good!

Fireball XL-5 – the build log

IMG_8197I made Fireball XL-5 for Mykal Burns, a video producer, roller derby enforcer and erstwhile percussionist. The build went something like this:


If you would like me to make a drum for you on commission, the price is $300 – $250 if you bring your own empty propane tank. Contact me for details.

“Green Destiny” – How to build a propane tank drum


If you would like me to make a drum for you on commission, the price is $300 – $250 if you bring your own empty propane tank. Contact me for details.

Gongs all made!

gongsJust a quick one – these are the gongs we made for our Indiegogo supporters, all engraved and ready for their fittings. It’s not too late to get one of your own! A $150 donation to our big Burning Man project nets you a hand-engraved gong with your slogan Or inspirational quote of choice, a dowel chime, machined aluminum block pendant and slice pendant, crew patch and sticker. Just Paypal us at factoid@well.com and tell us your inscription in the comment field and we’ll get right to work on it for you! Thanks so much to all our gong-level Indiegogo supporters!

Check out the demo video!

Bits and bobs – 3 days till liftoff

Because an art car is never finished.

I disassembled all the light arrays from XyloVan 1.0, and I’m reassembling them onto the light bars I made for JANUS. This involves testing all of them, including the flasher circuits …

… and then screwing them down. I’ll wire everything up later today. (It’s stupid-o’clock in the morning right now).

I also cut a stencil so that I can spraypaint warnings (PLEASE DON’T CLIMB HERE!) that discourage people from trying to scramble up onto JANUS’ “shoulders,” which are built to withstand the playa winds and sun, but not a 238-pound Java developer full of Fuzzy Navels and good cheer – let alone a 5-year-old child in a Wolverine costume.

I then cut a frame for the stencil out of an old TV carton and put the whole thing together with Gorilla Tape (accept no substitutes!)

I’ve also been drilling out a few discarded xylophone keys that I plan to mount with the drums that will be installed on the Cloud Deck so that people riding on top will have more instruments to play.

Chugchugchug.

Well and truly burnt

I don’t think I ever could have imagined the response to debuting an art car. But what a rush.

We just got back a few hours ago, illness full of the glow of meeting hundreds of cool people who found themselves sudden, happy xylophonists in the wastes of the playa.

We’re also short on sleep, having driven all night and unpacked and cleaned all day, so time to crash. More photos and videos will follow here as I process them – If you played the van out there, we really want to hear from you.

Sound check – Clean!

Clean enough, discount anyway.

That wicked line buzz is gone. It turns out I needed to ground the mixer to the chassis, link which involved tearing apart and then sewing up the 20-foot umbilical. That took a little while.

Pay no attention to my banging. I’m just banging. But it’s sounding pretty lush. And I”m excited to show it off. Thanks to everyone who pulled up and talked to us this afternoon. It’s all good.

Just a little more wiring to go.

Key polishing? Nah.

After sandblasting the instruments with Dave, and I was dead-bang positive I would want to polish them to a gloss.

Then I spent a year grinding away with the power drill and a buff pad during lunch hour today, and changed my mind.

An AP photographer stopped by and shot a bunch of photos of me working on the van – Damian something.

Anyway, despite going at ’em hammer and tongs for a solid 30 minutes with the Tripoli, then the jeweler’s rouge, I wound up with only three half-shiny keys.

Life’s too short. I’ll buff ’em next year. Much more to do.

Blast away your troubles

The folks at Industrial Metal Supply turn out huge orders of 3-by-half-inch-by-12-foot aluminum bar stock cut to measure for big industrial clients – then they sell the short ends and leftovers in 3- and 6-foot lengths at just $2.89 a pound. That – along with dismantled tube-aluminum equipment racks covered with stickers – is what makes up XyloVan’s bones.

But that crap’s unattractive, this site so my good friend Dave and I spent a good chunk of Saturday afternoon sandblasting the paint, stickers and grime off of the keyboards – remnants of the fact that the instruments are themselves largely made from recycled metal remnants. Or not sandblasting, rather, industrial-sodablasting … More

How to capture and amplify the xylophone’s voice

Getting XyloVan amplified properly has turned out to be one of the biggest technical challenges.

First you need to capture the sound – for that, cheapest we built parabolic resonators out of sheets of fiberglass shower-liner. The material was perfect – sturdy enough for playa abuse and hard and reflective for sound. When you played, viagra approved the sound would bounce back to you off of the resonator surface like thisMore

Hood ornament

I’ve been wanting to do this to Keyboard 4 for a while now: A customized logo.

In keeping with the rest of the van’s aesthetic – and my utter lack of refined metalworking skills – it’s going to be extremely rough, applied with near-blunt force directly to the metal on the center key. This is an F that lines up with the hood’s centerline and – appropriately modified – should lend a sort of Peterbilt-like elegance to XyloVan’s prow.

I start by doing a plain-stencil nameplate similar to the quarter-panel nameplate that I Dremeled up a few weeks back …

More

Keyboard 4 installed – Now a total of 83 keys!

Hit a big milestone the week before last, sales but I’ve been too busy until now to blog about it.

I installed Keyboard 4 on the van’s hood – no small task, since the thing has to bolt onto a pretty thin sandwich of steel without puncturing anything – plus the f%#&er weighs a good 70 pounds.

Here I’ve already marked and drilled holes for the left-hand half of the keyboard, and I’m attaching it with 3/8″ coarse-thread tap bolts …

More