 A neodymium magnet around the neck makes for a convenient third hand.
Extra pro tip: Don’t forget to strip it before crawling into bed. Messy.
A neodymium magnet around the neck makes for a convenient third hand.
Extra pro tip: Don’t forget to strip it before crawling into bed. Messy.
What do you call a 1985 Ford Van with three xylophone keyboards and some gongs bolted to it?
Not enough xylophones.
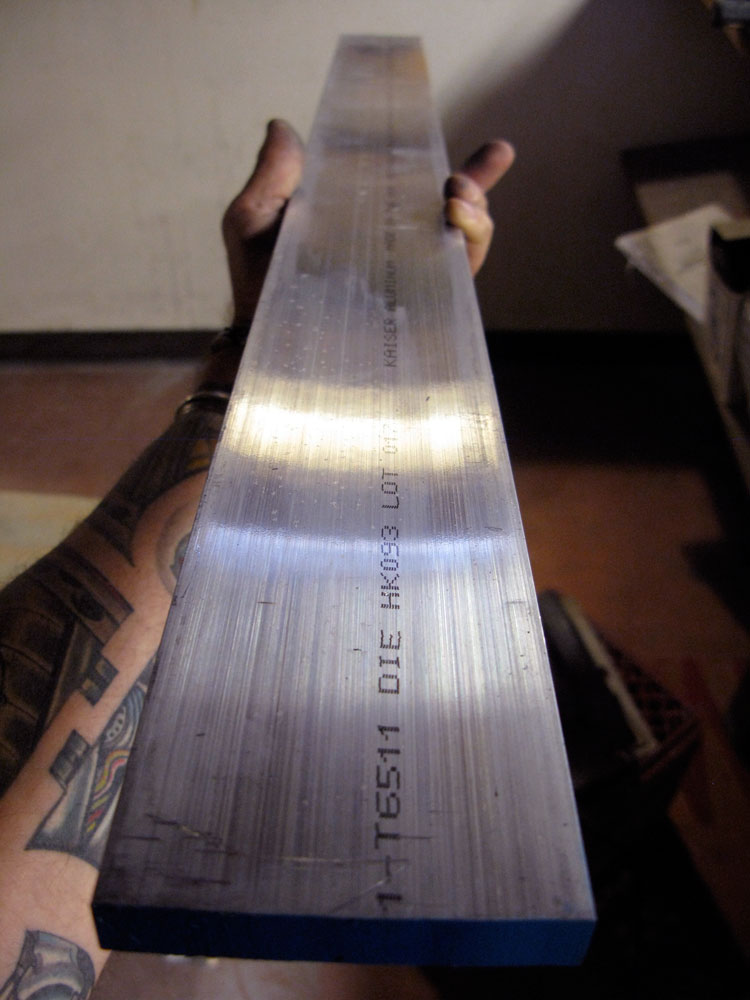
I wanted to give the van more presence, approved more weight visually (and, coincidentally enough, literally). So I’m building Keyboard 4 from the same raw aluminum (3-inch by half-inch 6106 T6 aluminum – at right) and monkeyed-together hardware contained in Keyboards 1, 2 and 3 …
More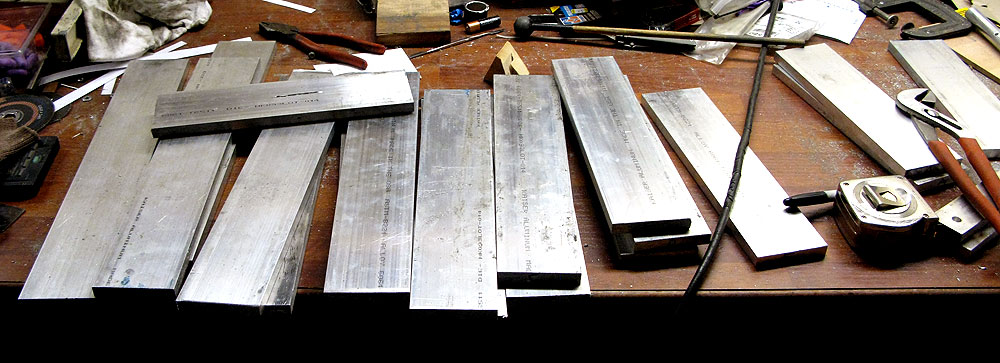
Ladies and gentlemen – because I don’t have a “xylophone problem, ” and I can really stop any time I want – I’m building a little whole-note, bi-directional keyboard in C for the hood of the van.
The lowest key will actually stick out near-vertically from the hood, decease with two identical keyboards of 9 notes each spreading away on either side of it. Mounting it’s going to be … fun.
Meanwhile, I got a little overzealous while tuning one of the F keys tonight. I was deepening gouges in the bottom that I had made earlier with the cutting blade mounted on the circular saw, and dug right through …
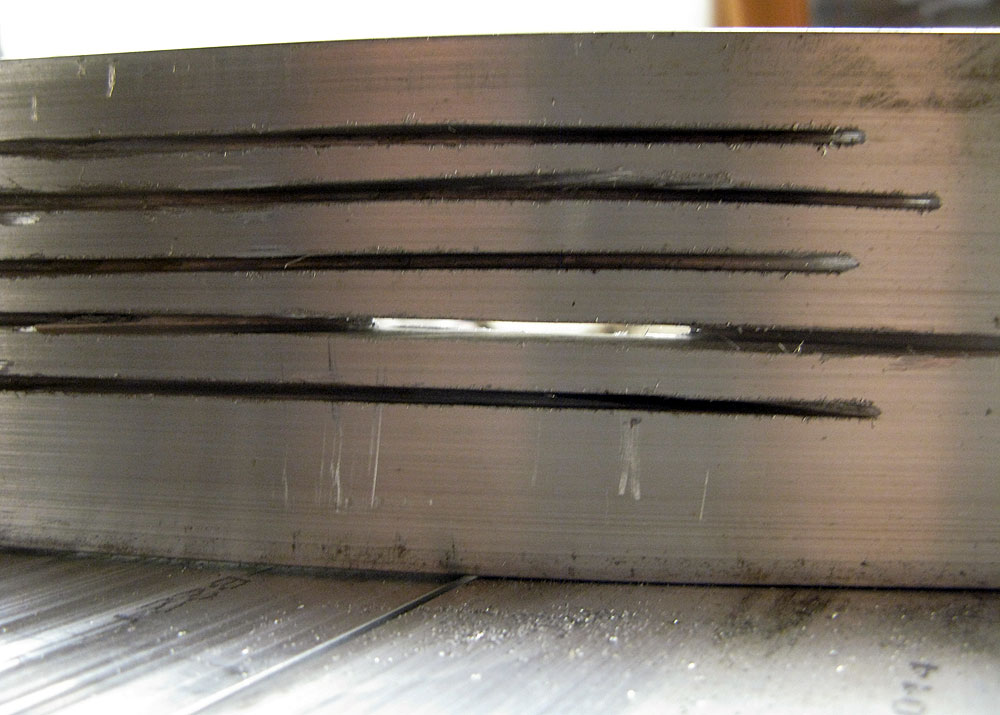
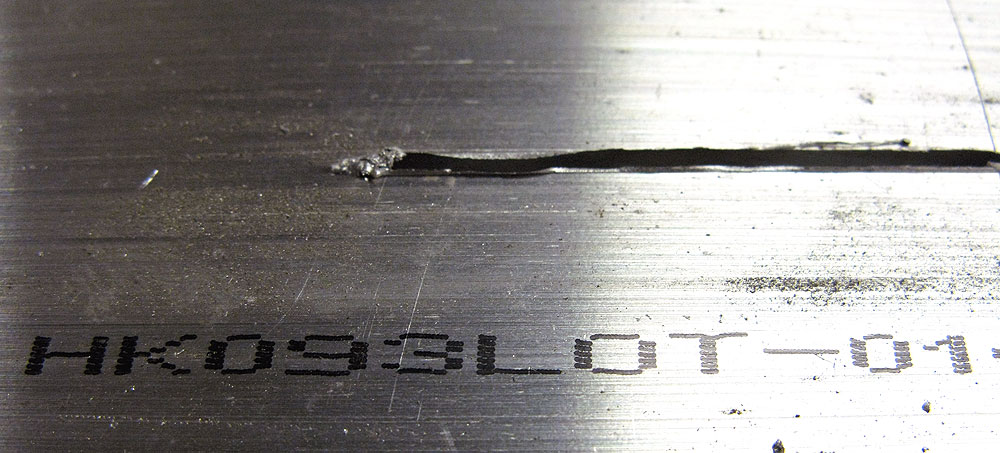
… to the other side.
Because I am powerful simian. With opposable thumbs. And power tools.
Grunt. Snort.
(video lost when we quit Facebook)
I cut a lot of metal. I’m still cutting. It sounds like this. It’s a little loud but the earplugs and dual-can respirator mask keep it from killing me.
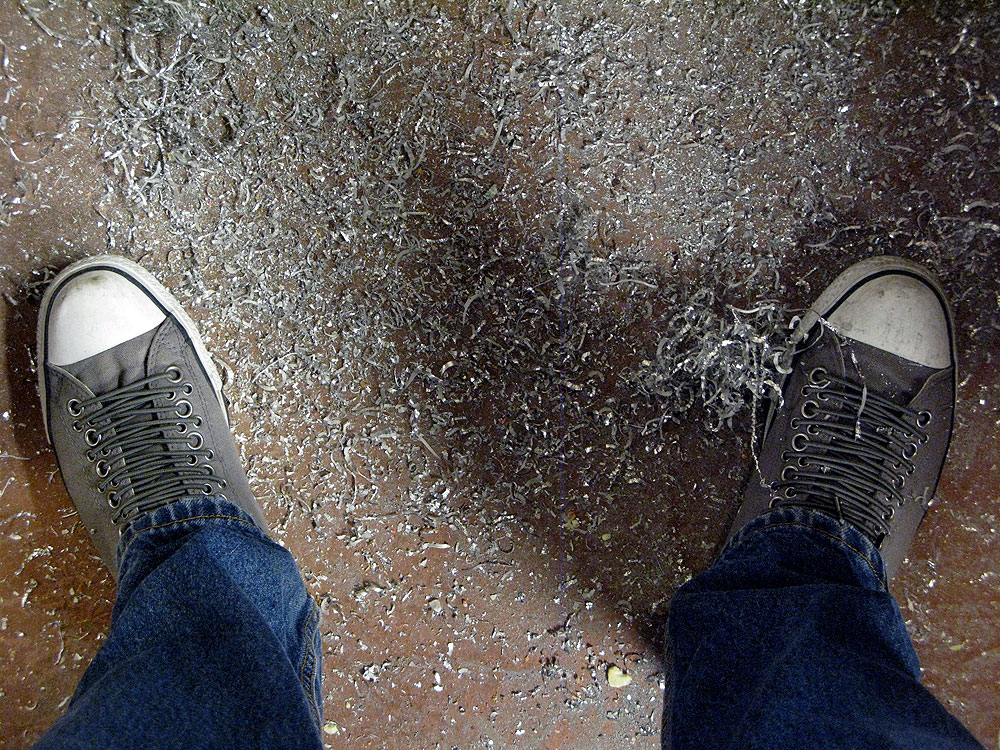
When I’m done, the floor looks like this:
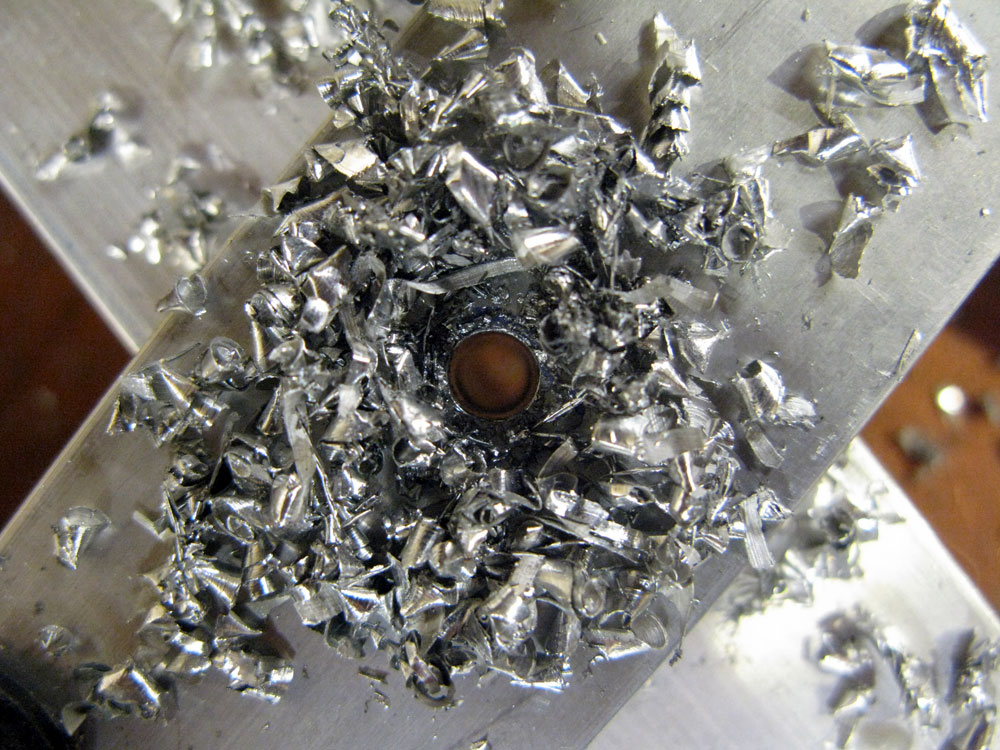
Like a drunk tiptoeing into his AA meeting with actual quitting on his mind, I’m finally ready to quit breaking taps – and pay attention to all the solid advice I’ve been getting along the way.
Tonight, I took it all in hand and put it to work on my one surviving 6mm tapping tool – and the dozen-plus very serious holes I had left to tap:
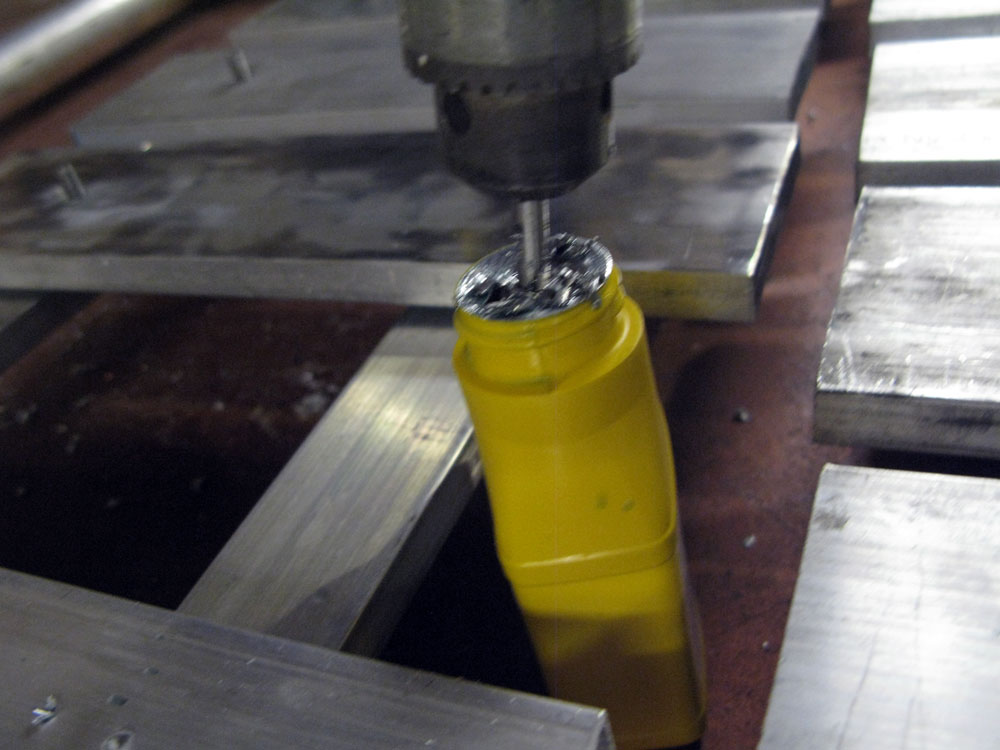
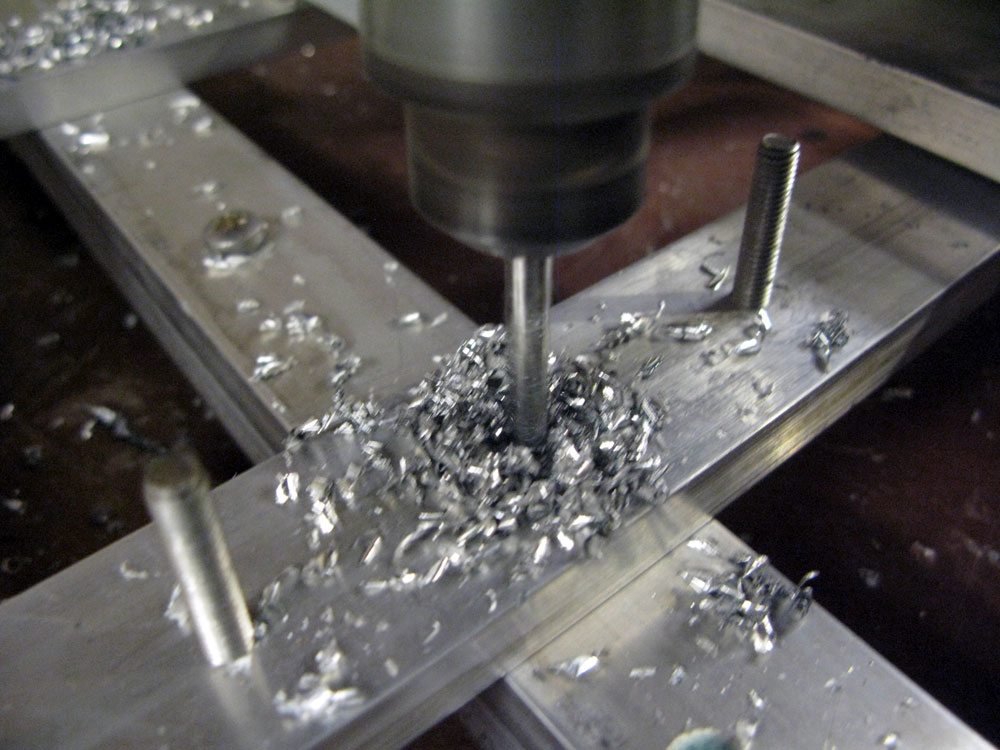
Straight down, through three layers of aluminum, half an inch thick each. Nice, clean, smooth holes. Thanks to the guys at Baller Hardware for assuring me that “any light oil ought to do it” after I realized the only actual tapping fluid they had comes in a huge industrial jug.
I chose 2-stroke engine oil.Then, many thanks to Jeremy and others over at CrashSpace for the invaluable reminder of something I forgot since tapping engine heads more than 20 years ago: For every three or four turns of the tap as you cut the threads, you have to back the tap out a turn or three, to clear out the cuttings that might bind up its tip …
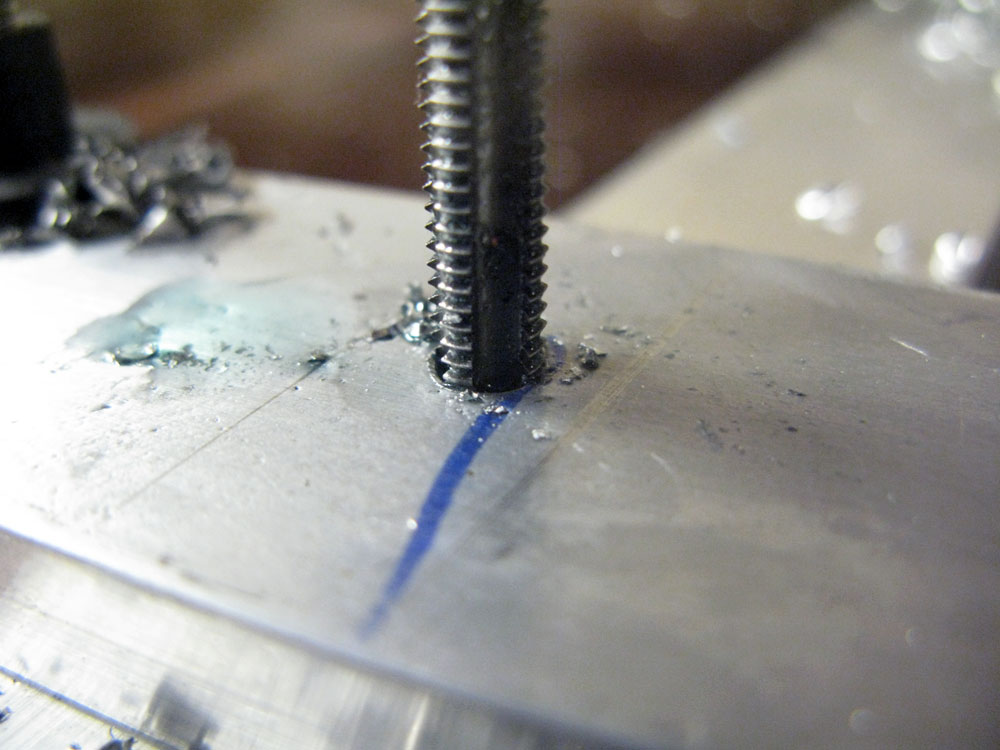
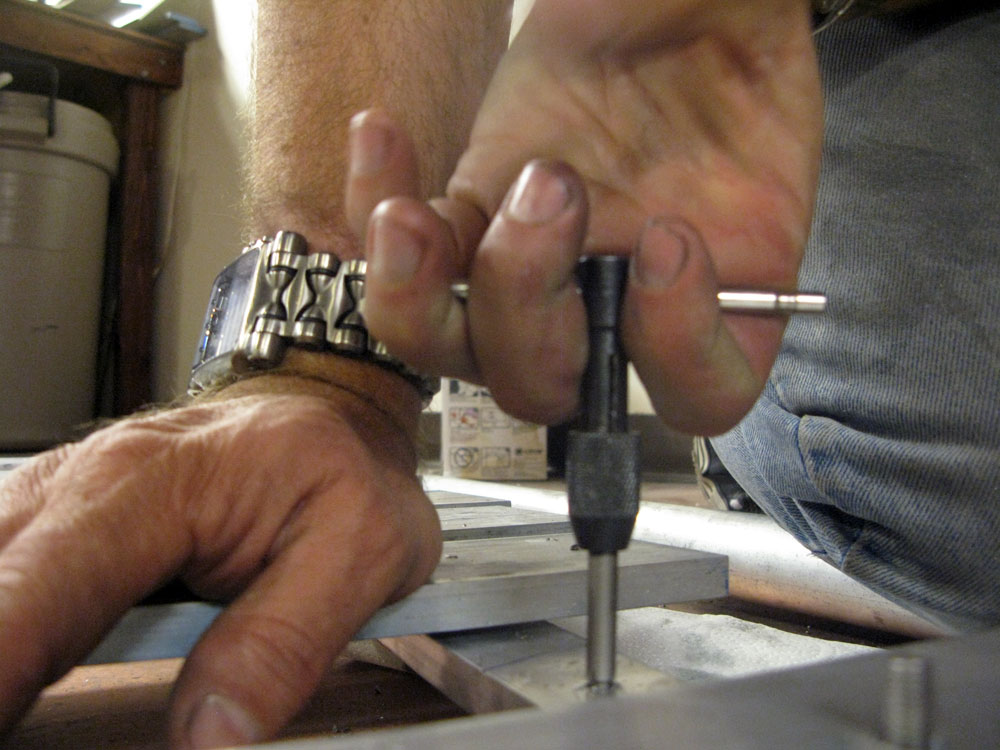
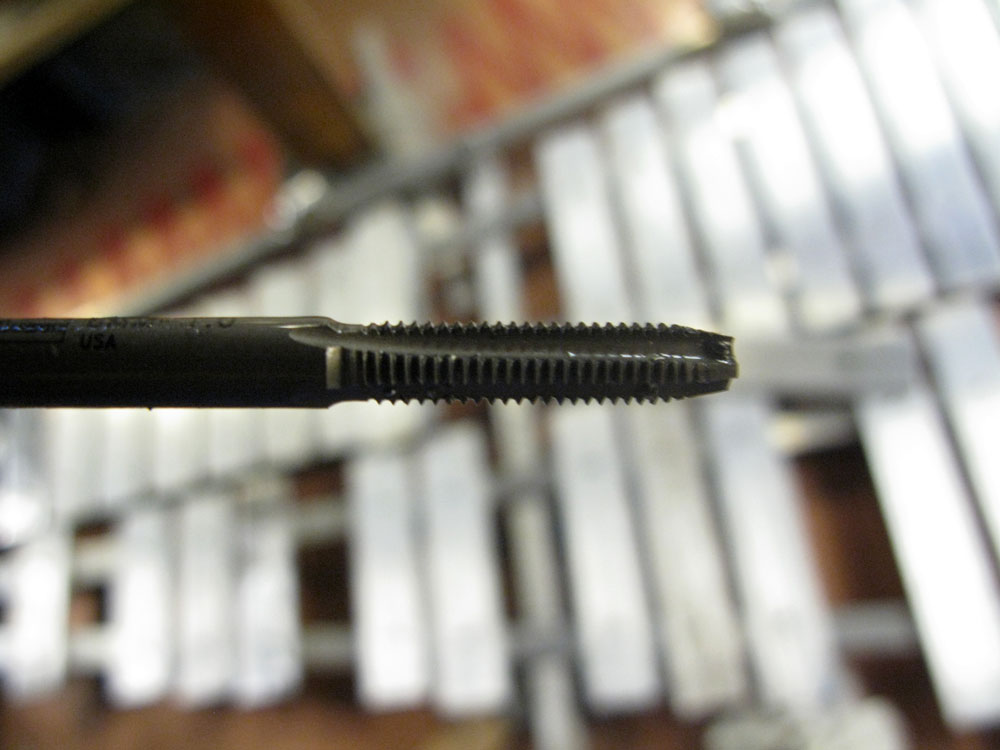 I also followed my own instincts after comparing notes with Vinny, my oldest friend in the world and an inveterate shade-tree mechanic: “You know that point where you *know* you’re turning too hard, but you keep going, and then it snaps” – I tried to stop myself every time I felt the tap binding up to the ppoint where it might snap … and I backed the thing all the way out, cleaned off the metal cuttings, and resumed tapping …
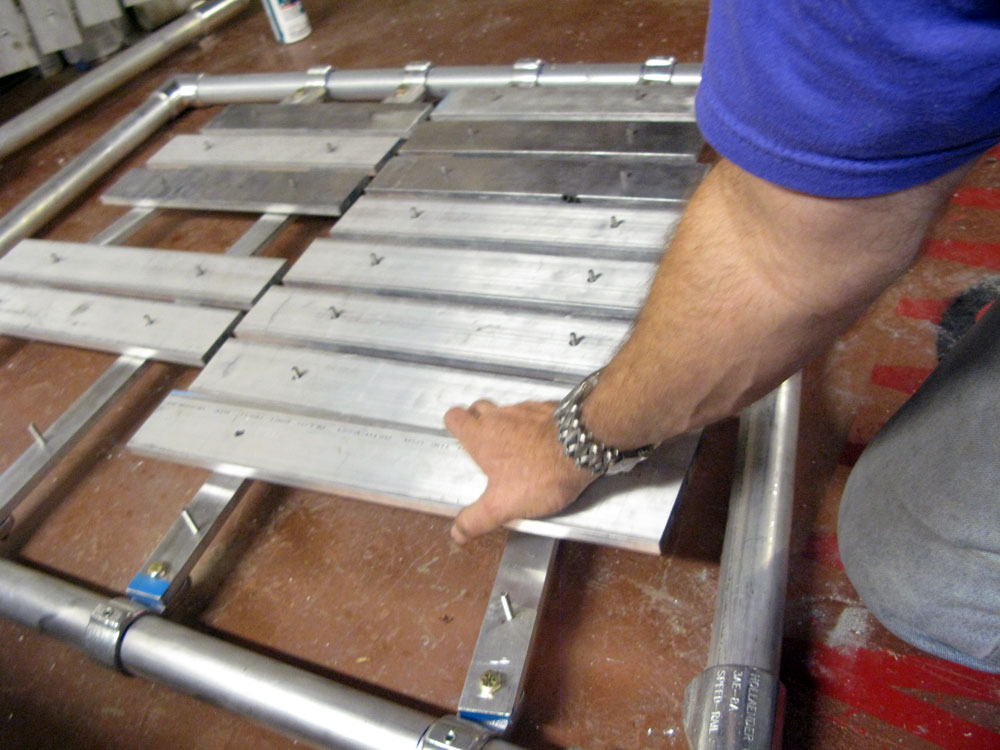 This let me proceed to building Keyboard 2 …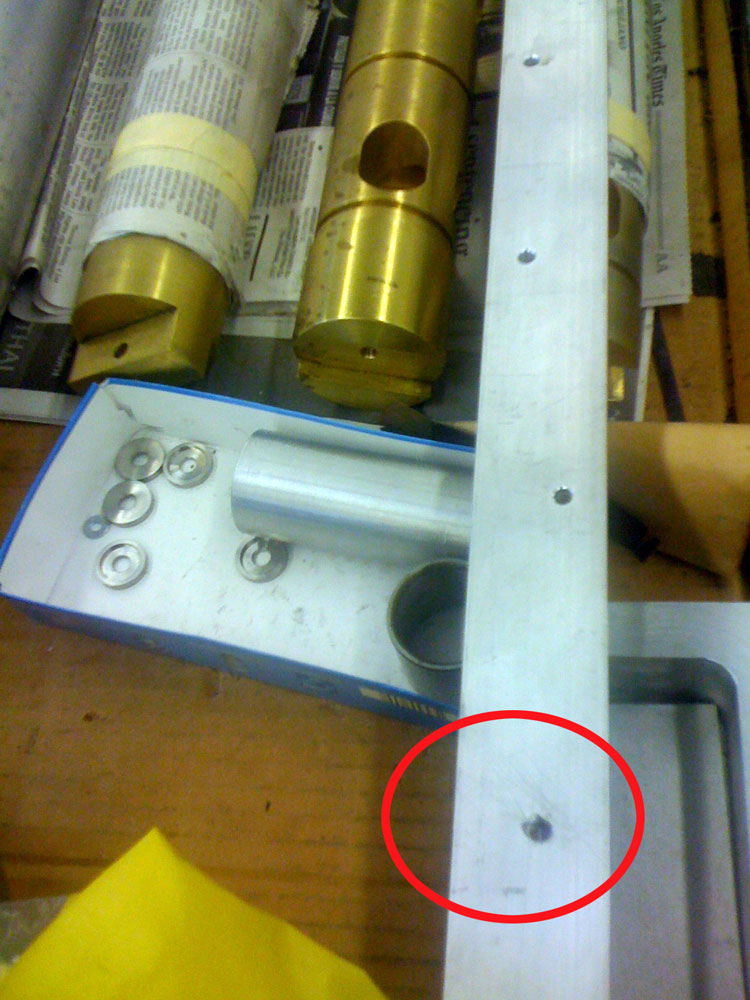
All the geek opinion and doomsaying in the world can’t beat a crusty old Chicano machinist in a crusty old machine shop.
After Googling and dialing all over Hollywood, Los Feliz and Glendale in search of an EDM-equipped shop, I phoned a local machine shop and described my two mistakes.
“Ehhh, bring it in, we’ll see what we can do,” says the crusty old voice at S&K Precision Engineering Co.
So I bring it in. Within an hour and a half, I get a call saying “It’s all set.” They drilled in with a carbide bit (probably a better one than I used, and used an extractor on one broken tap, and a punch on the other – and now the holes are cleared.
The guy even took pity on me and told me the secret: countersink the holes from now on before tapping them – and use some cutting oil.
Done. I’ll be attacking that just as soon as the best little hardware store in Silver Lake restocks their 6mm Irwin thread taps. The ones that I seem to keep steadily depleting.
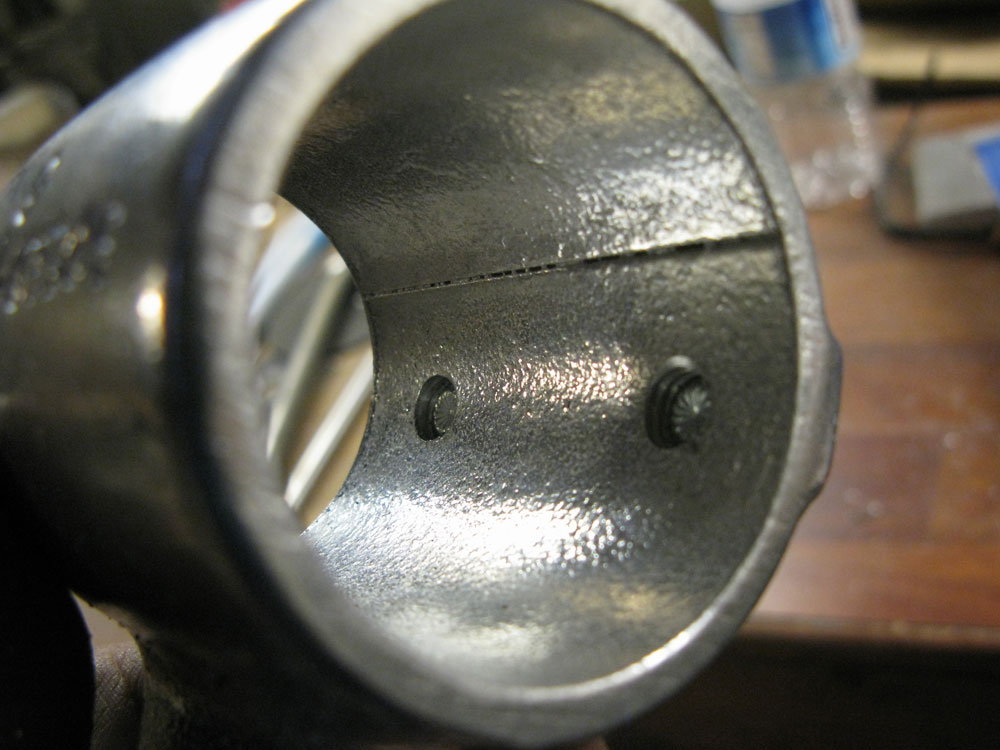
My plans for a productive evening of xylophone-building thus foiled, I turned to slapping together the rest of the frame-mounting hardware.
Unfortunately, the Hollaender company turned out a couple of SpeedRail parts with nasty burrs inside that kept them from sliding onto the 2-inch aluminum tubing that we’re using for xylophone frames.
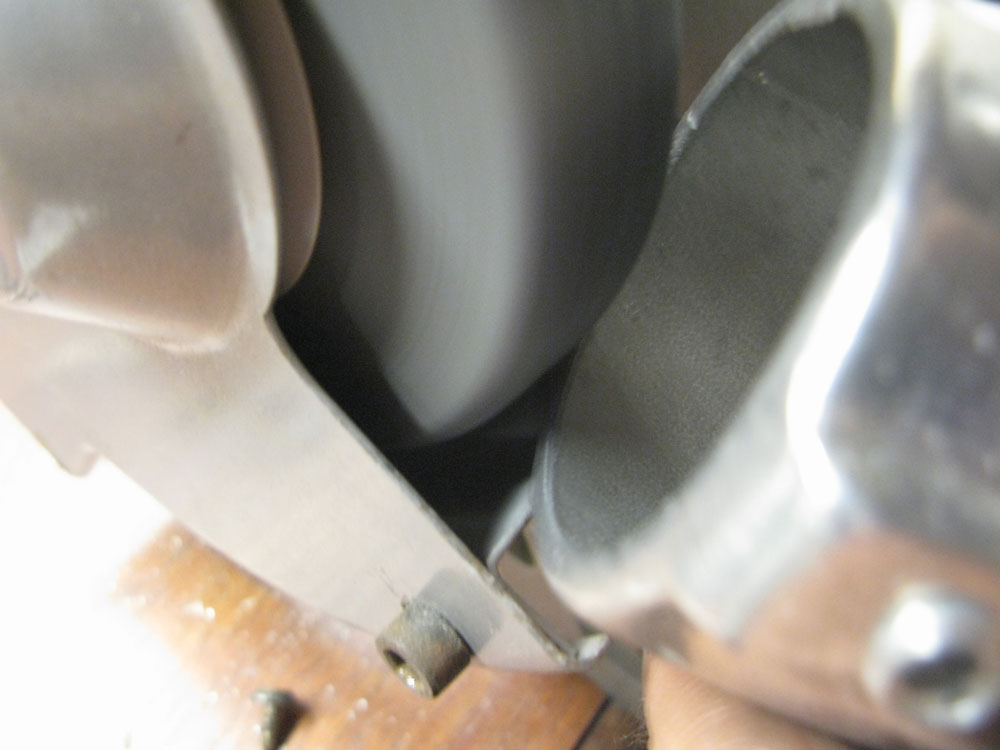
I tried grinding out the lip on both sides of the mount …
But no luck. The collar still wouldn’t slide on over the tubing …
More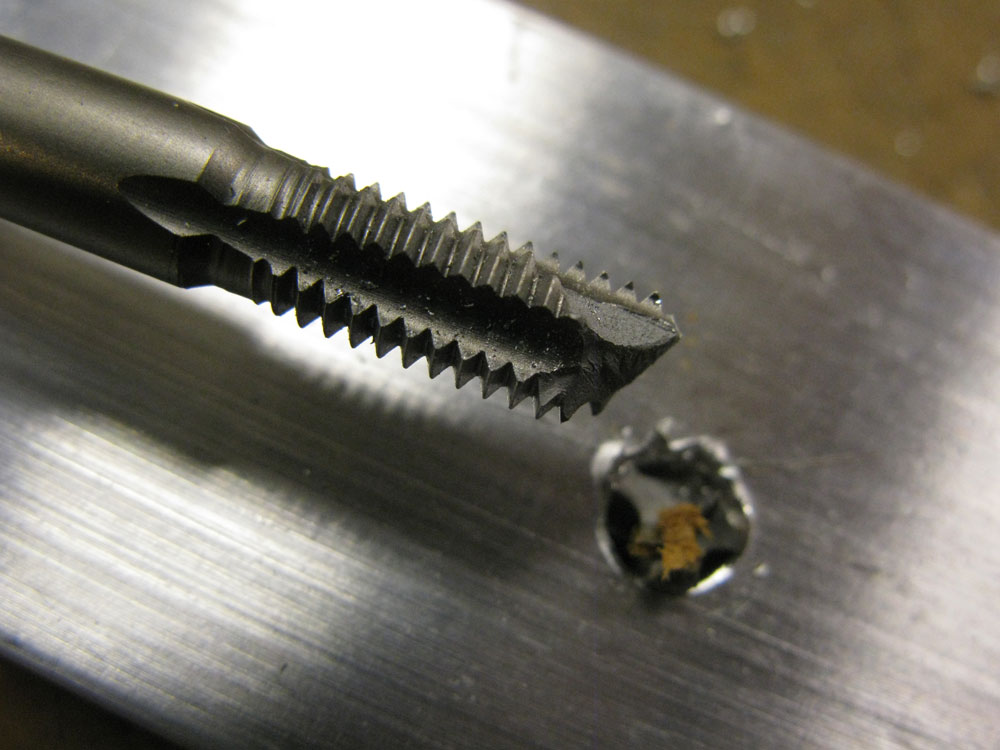
In machining – as in lovemaking and war – if it hurts, you’re not doing it right.
I seem to keep making the same damn mistake. alienrobot did a great job of tapping most of the mounting holes in Keyboard 1 using just the little 4-inch tap handle that came with the set.
Then I got all clever, applied excessive leverage and snapped a tap off in a hole by using too much leverage. It came out with a pair of pliers … but then I did it again.
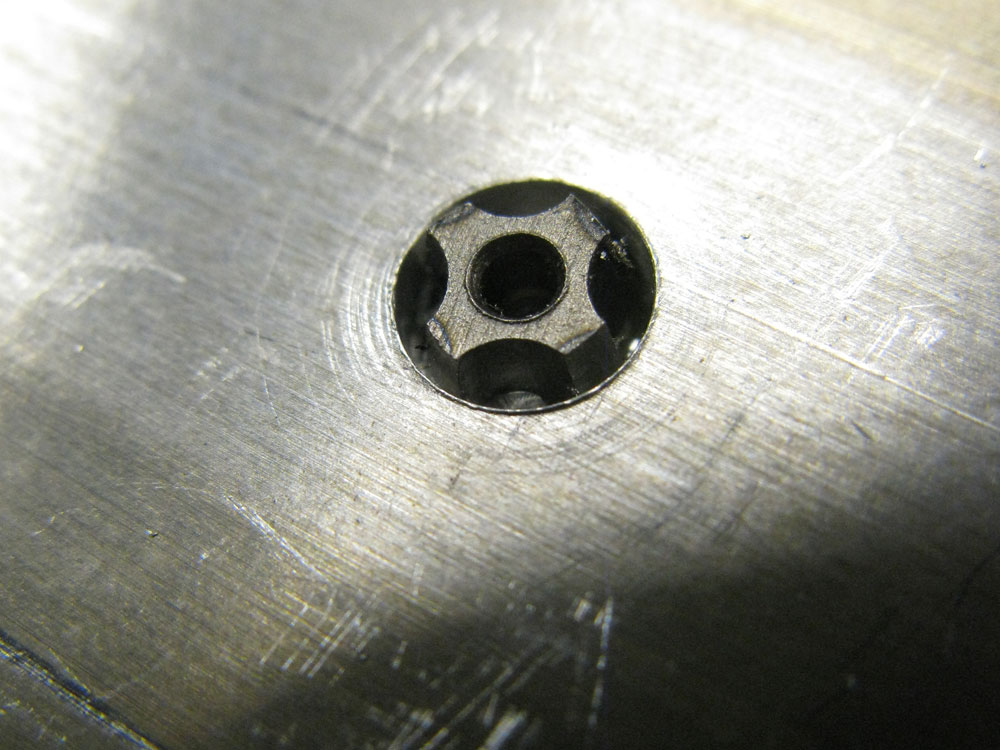
And I just did it again tonight. Here’s what it looks like from the back.
Opinions on the CrashSpace forum ranged from “A high-end machine shop will need to use EDM to burn the tap out of there” to “Yep, you’re fully fucked.”
Guess I’ll go look up a machinist. And hope I’m not fully fucked.
So I was tapping a stringer on Keyboard 1 and the tap snapped off in the hole.
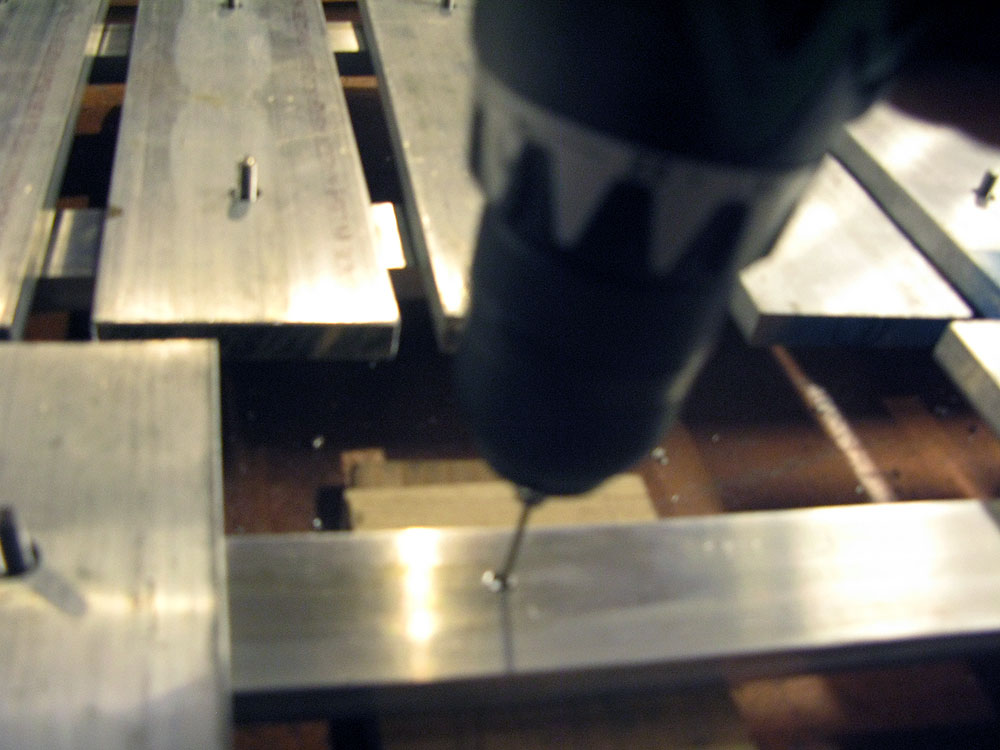
Below the surface. That’s hardened steel. Drilling it out so I could use a reverse-extractor was fruitless: I blunted, and finally snapped a cobalt bit, which the hardware store said was the hardest thing they sell.
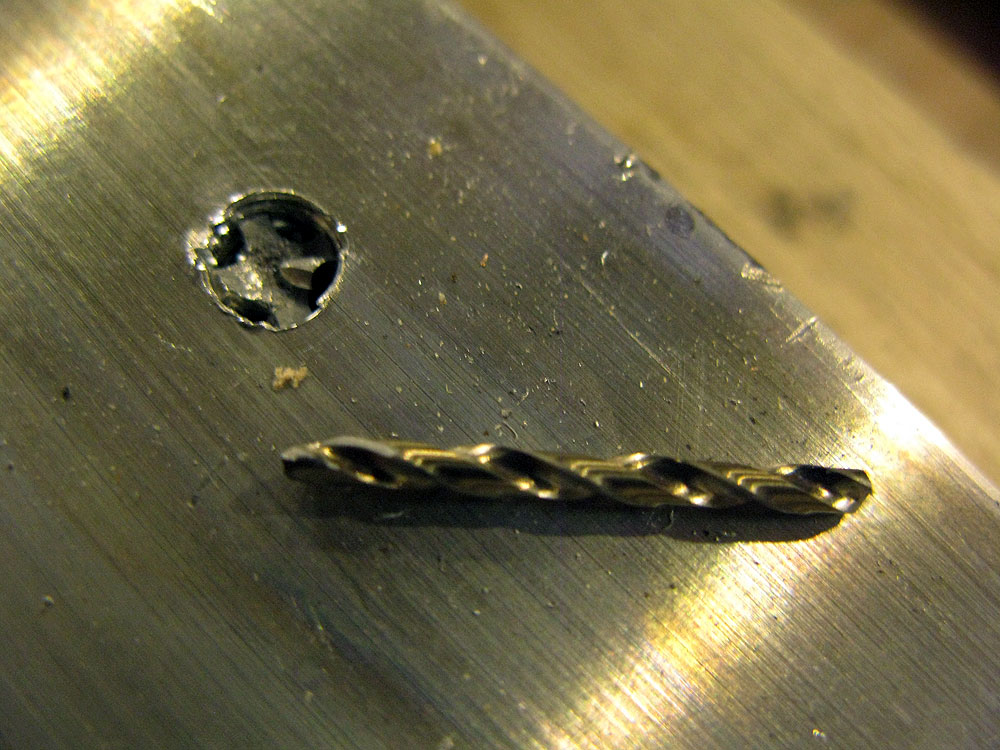
Now WTF do I do? Anyone have any brilliant solutions? Please forward this to all the metalworkers you know.
It goes something like this, two 3/8ths-inch holes for each of the 31 keys in Keyboard 1.
Takes about two minutes per hole. And yes, my neighbors might hate me.
(video lost when we quit Facebook)
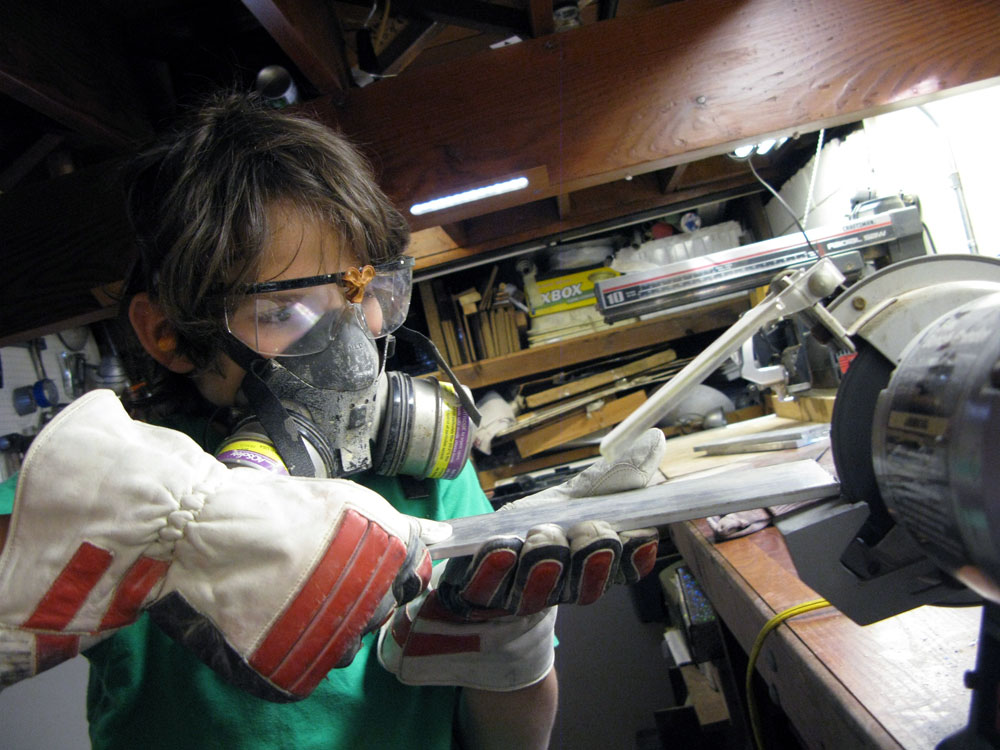 Last weekend we did some grinding and buffing and I got to use the bench grinder (woo!) but it was kind of scary. The grindstone and the buffer are both spinning at 6000 rpm and trying to concentrate over the noise while also knowing the fact that my fingers could get ripped off was – believe me – not easy. Anyway, I look forward to more grinding and buffing and blogging next time I have the chance.