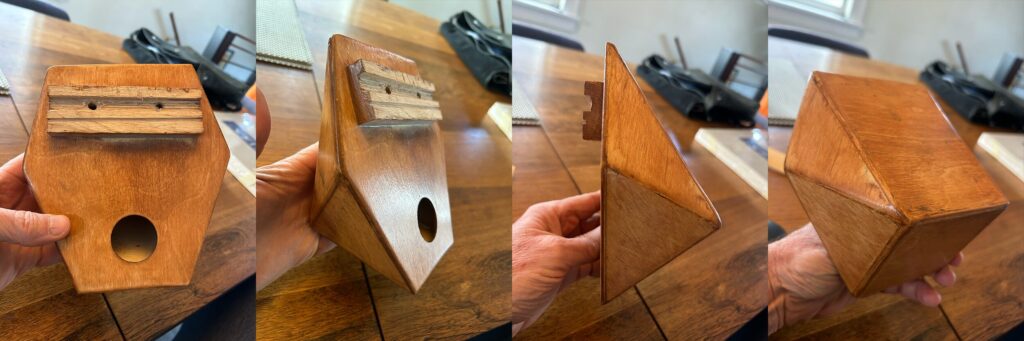
At one point last year, I had this vision of a kalimba made of 3- and 6-sided planes – an instrument that would be pleasing to the eye, but fit nicely in your hands to enhance the pleasure of plinking away in the sing-songy way of kalimbas.
After prototyping it in cardboard, I translated the pattern to 3mm birch plywood. This inspired me to join a makerspace so that I could learn how to use a laser-cutter and make the (extremely finicky, difficult-to-join) design repeatable and try out different finishes …
This is a long way from xylophones and propane-tank drums, but I’ve really enjoyed building cajóns and – for the first time – a marimbula.
Quick demo and walkaround
The marimbula is a Caribbean instrument, descended from the African kalimba, and generally functions as a bass. As you’ll see in the video at the bottom of the post, I first experimented with a 6-key marimbula built onto the back of one of my cajons, just to figure out the basics of construction.
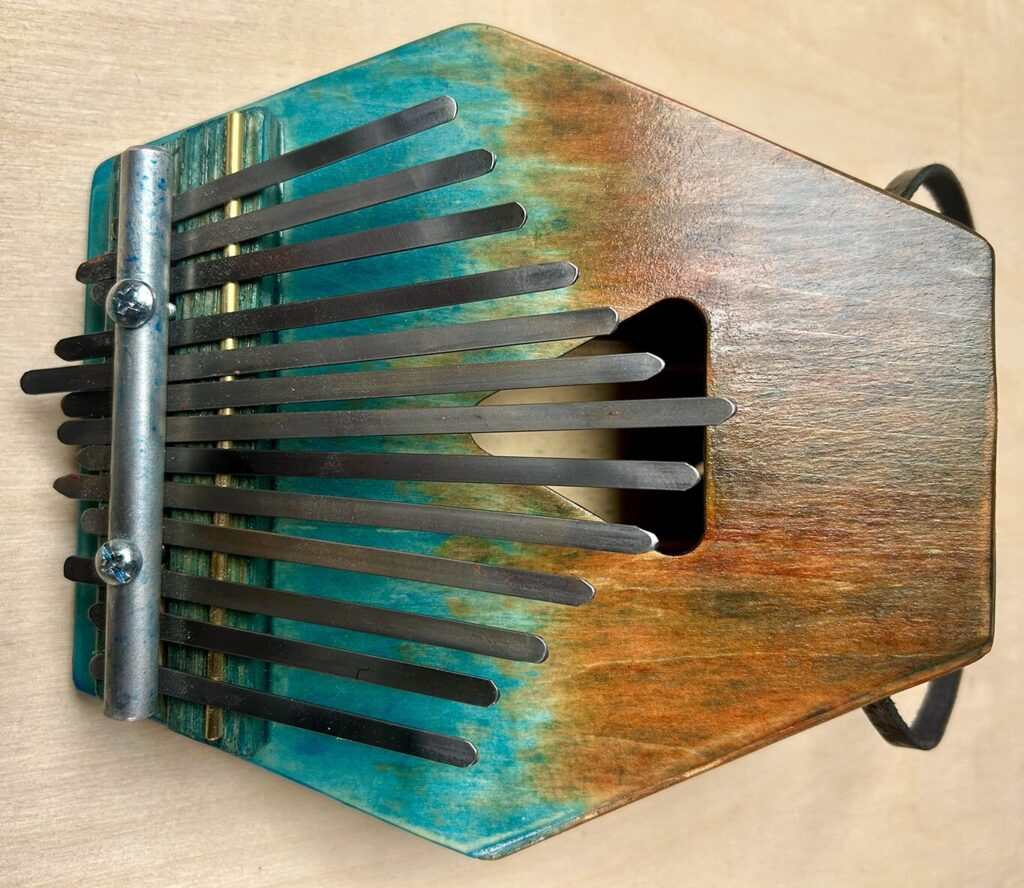
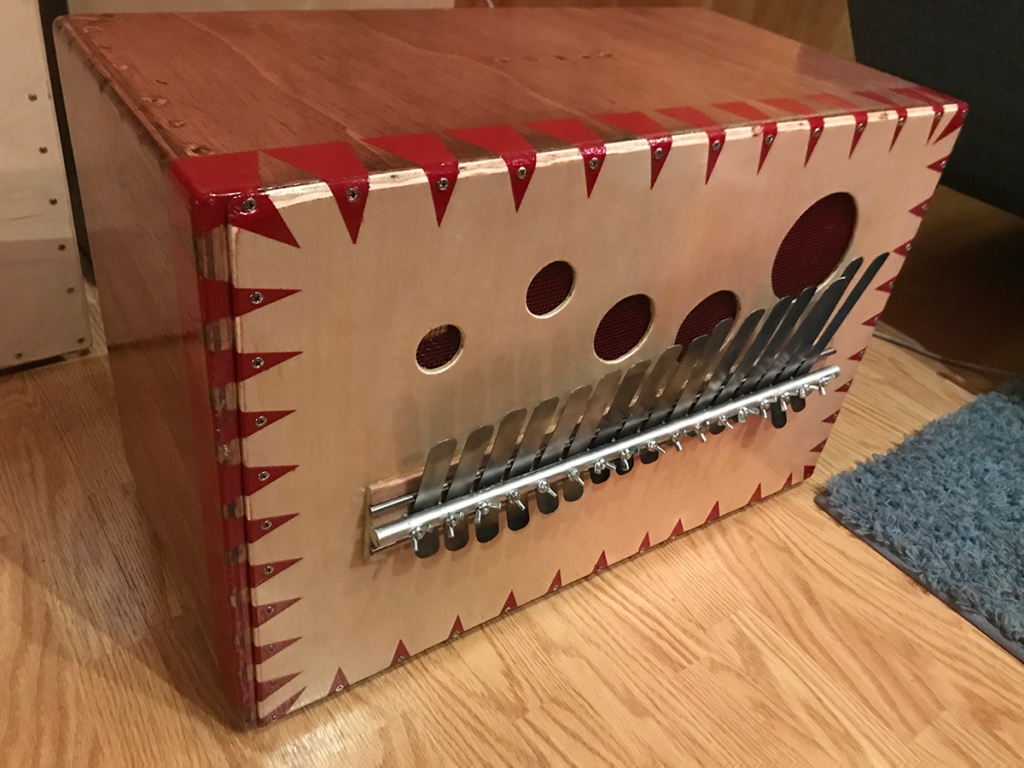
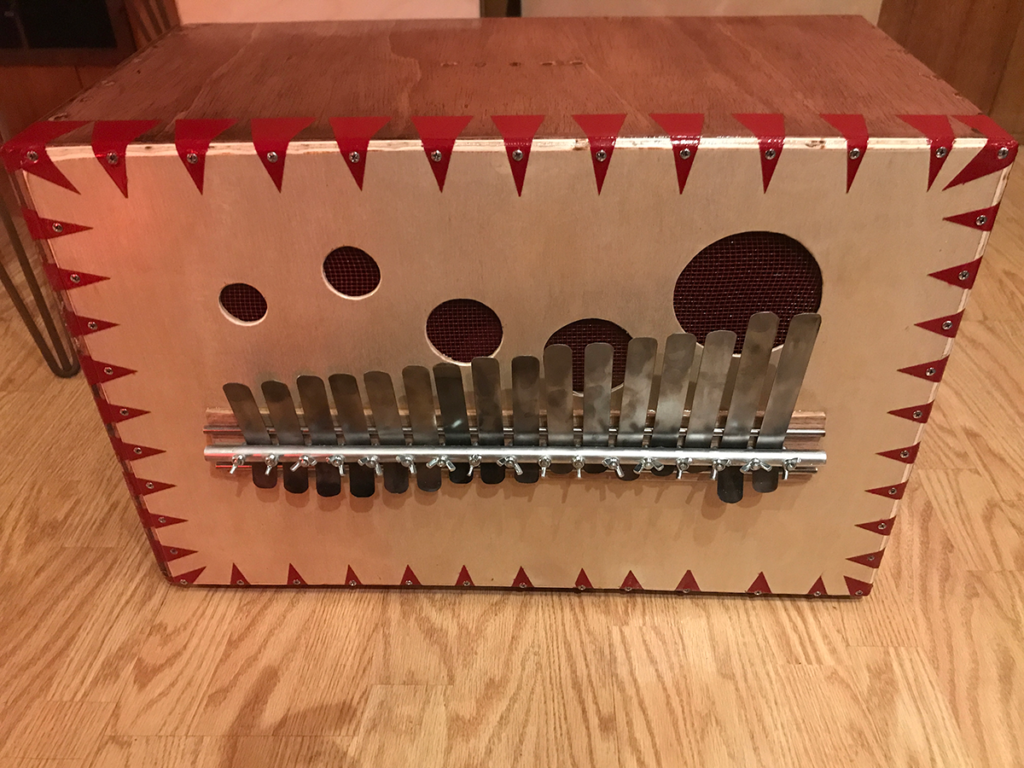
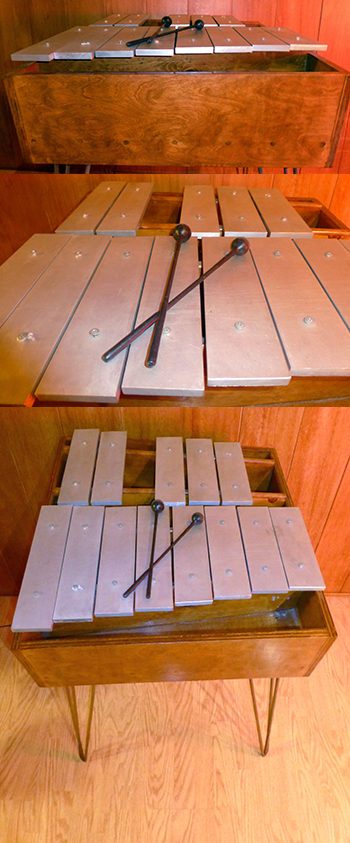
This one is a 16-key marimbula – which I’ve decided has about three too many bottom-end keys and perhaps one too many high-end keys, as the sound quality falls off quite a bit at the ends of its scale. Next, I might try building one like a piano keyboard (with two layers of keys in white and black) centered in the middle of this scale.
The tuning has been kinda challenging – I finally settled on D – but I’m tuning it slowly by ear because the digital tuning apps can’t handle all the overtones it puts out. Anyway, it’s a helluva lot of fun to play – particularly on a nice, resonant wood floor – because it’s easy to play, and the notes send vibrations through your butt and up your spine. I take great satisfaction in building instruments that create physical joy along with pleasant music.
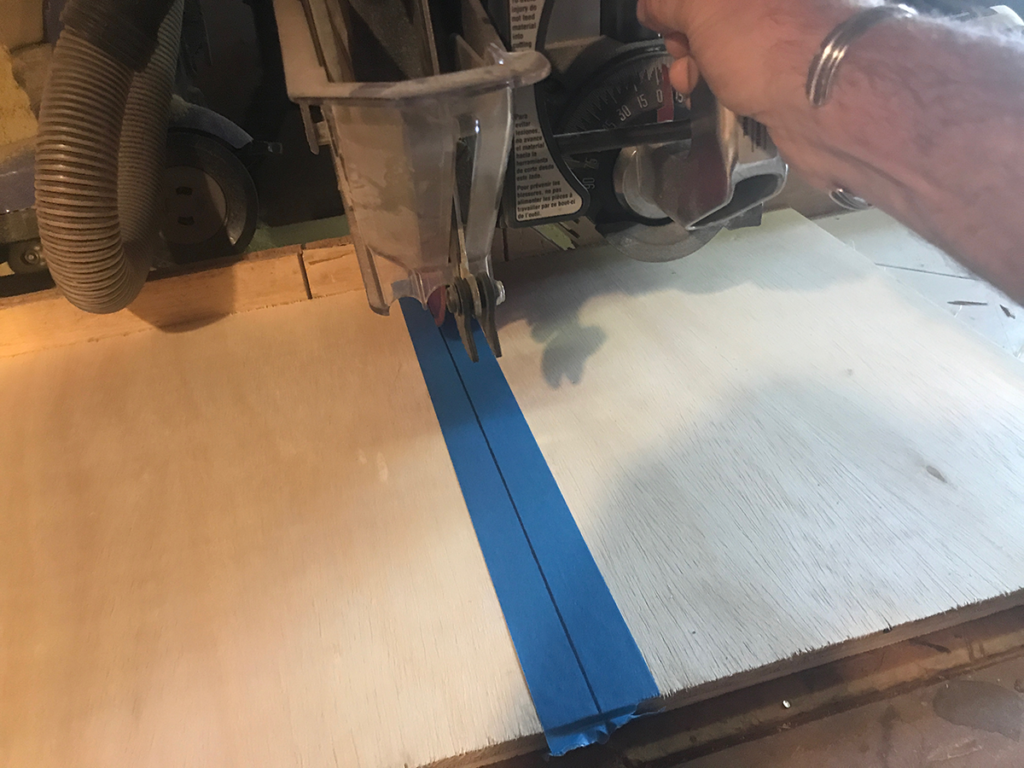
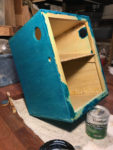
I use white birch finish plywood. I cut the box pieces through masking tape, which makes for clean cuts by keeping the blade from shattering the delicate veneer.
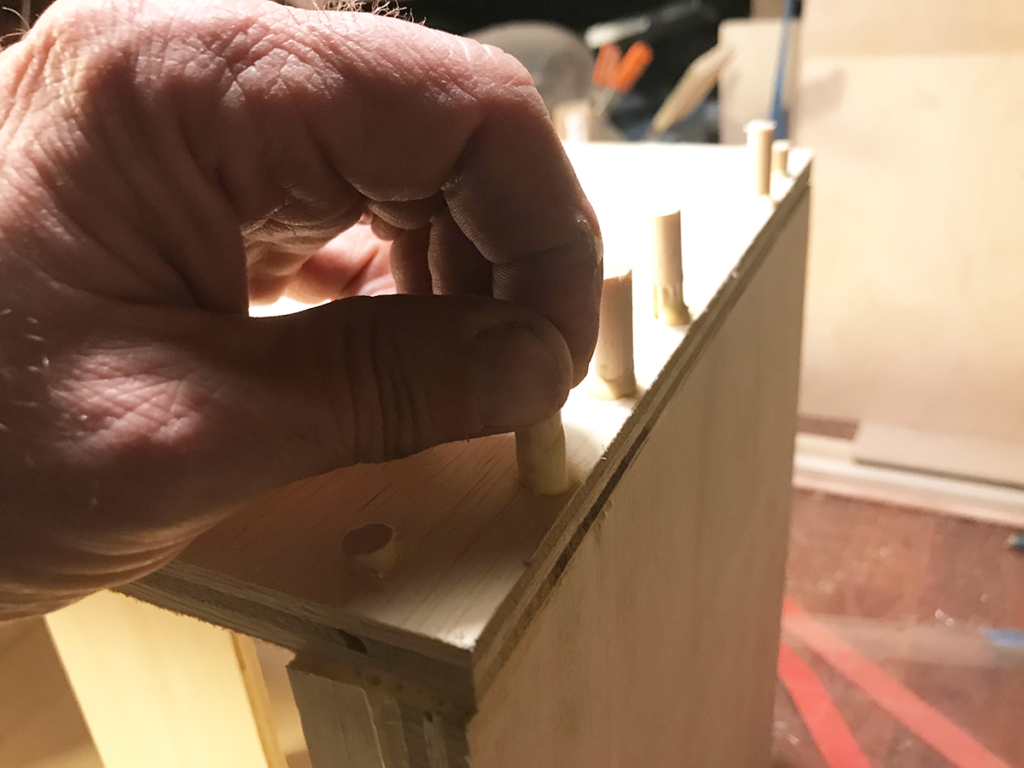
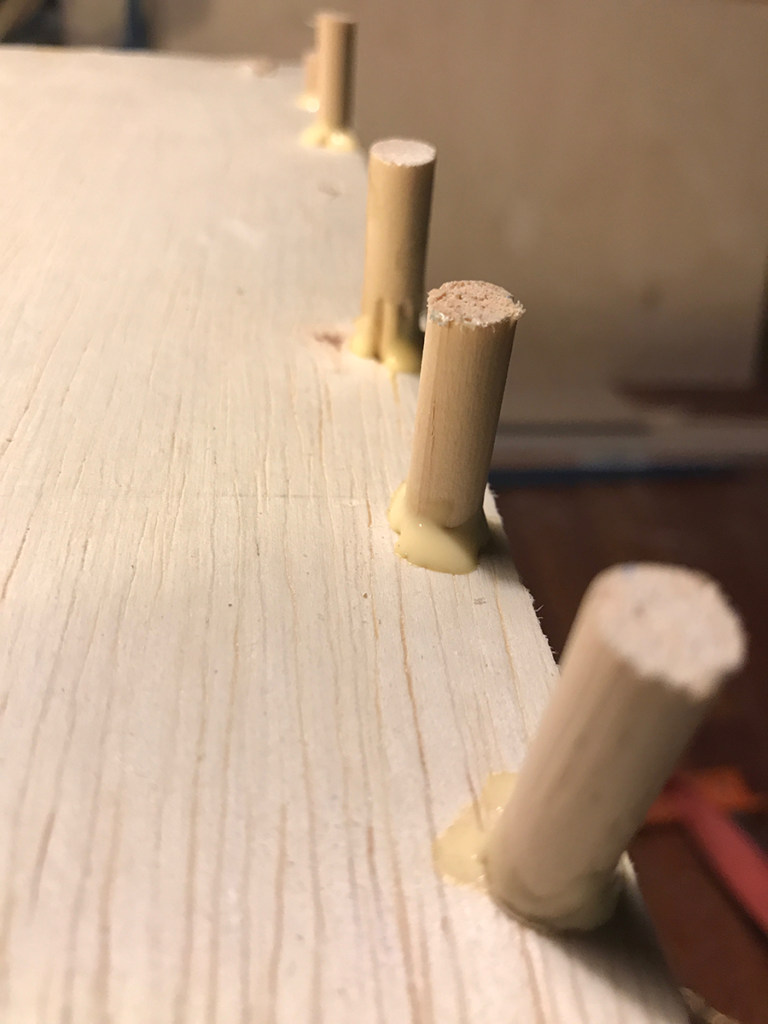
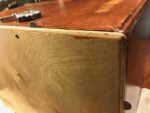
Dry-fit the pieces, then drill for pegs. I cut my own from 5/16″ dowels, which makes for cleaner joins than you get with factory-made pegs.
Glue all the plywood points, then add some glue to the peg holes …
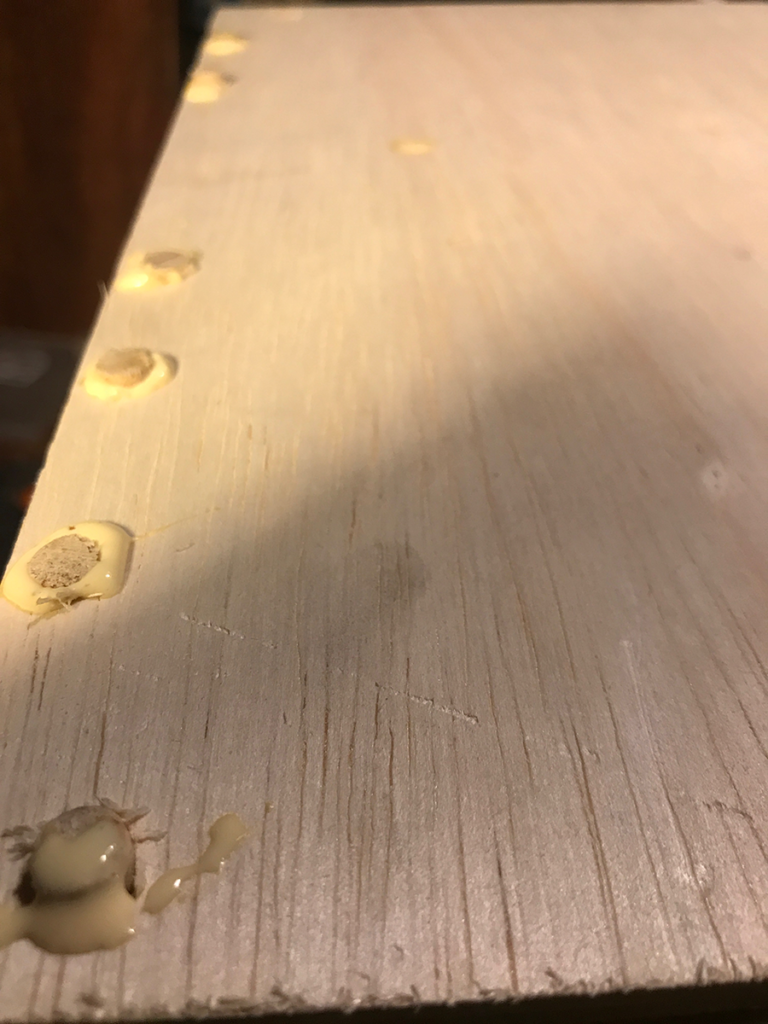
… and drive them all in. I’ll sand off the excess to make them flush with the surface when everything is dried.
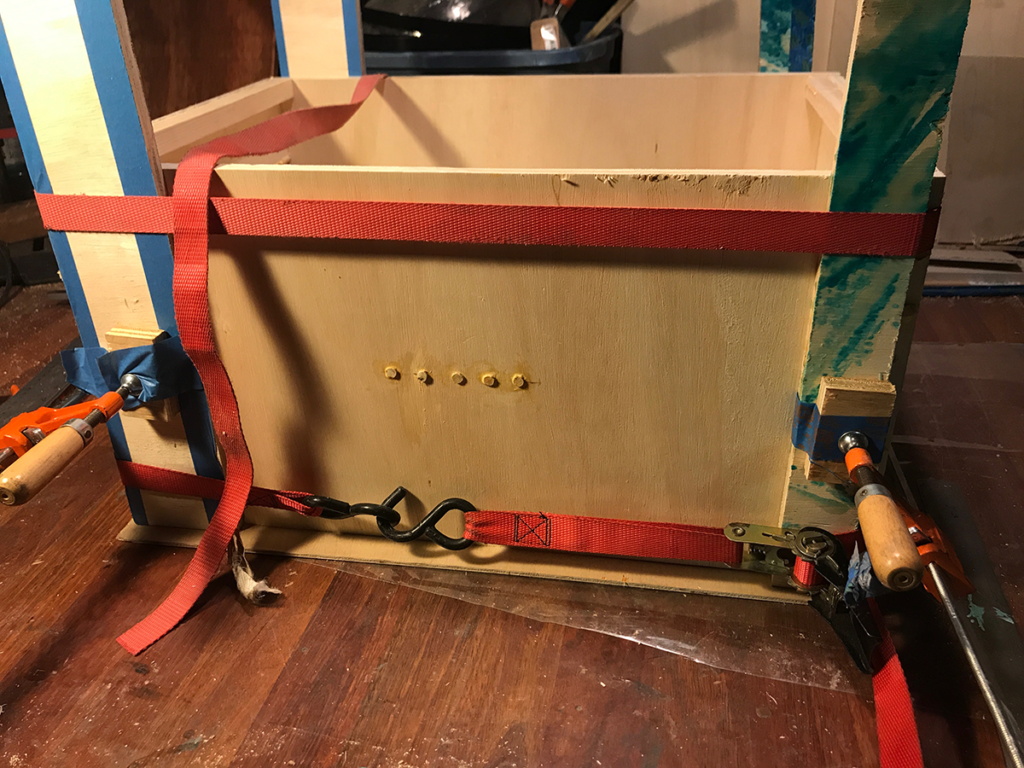
Being short on (pricey) carpenter’s bar clamps, I use the two I have, then augment with ratchet straps. The vertical chunks of scrap plywood keep the straps from damaging the veneer.
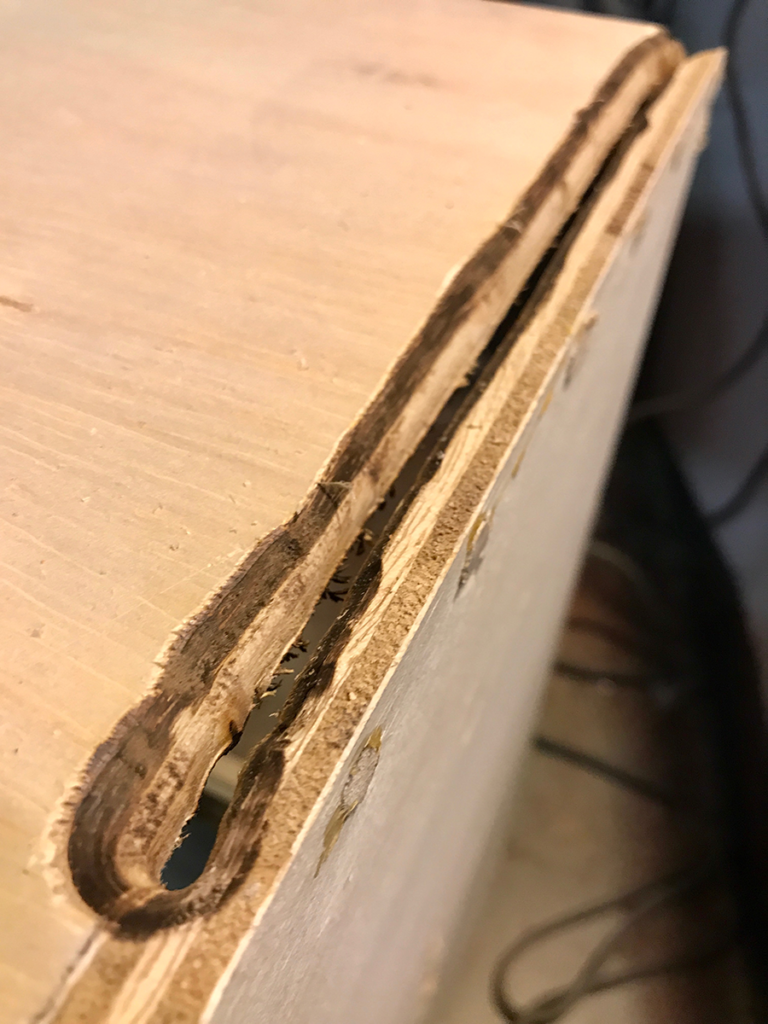
This is deeply embarrassing as well as horrible-looking: I failed t set up the router correctly, then dragged it straight through the face of the box instead of nicely rounding the corners. After much cursing and shouting, I just capped the whole gashed end with another layer of plywood.
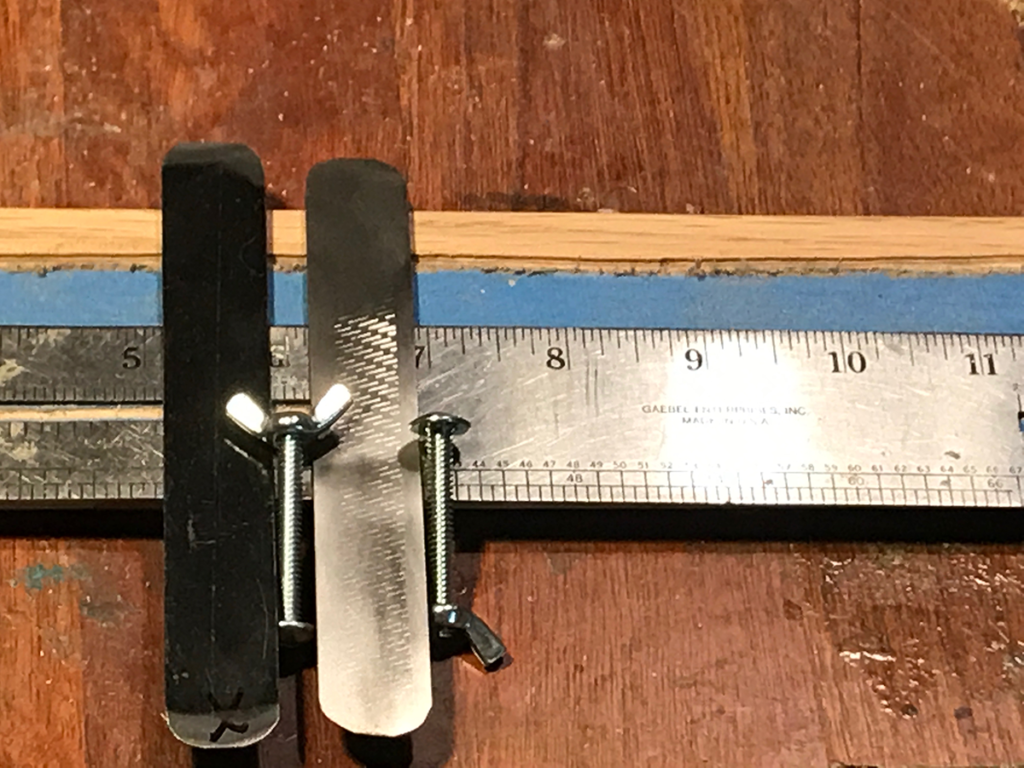
The bridge is a strip of red oak. I clamped a ruler to it to guide the router, which I used to cut a groove for the bridge’s nut bars (terminology?) to sit in.
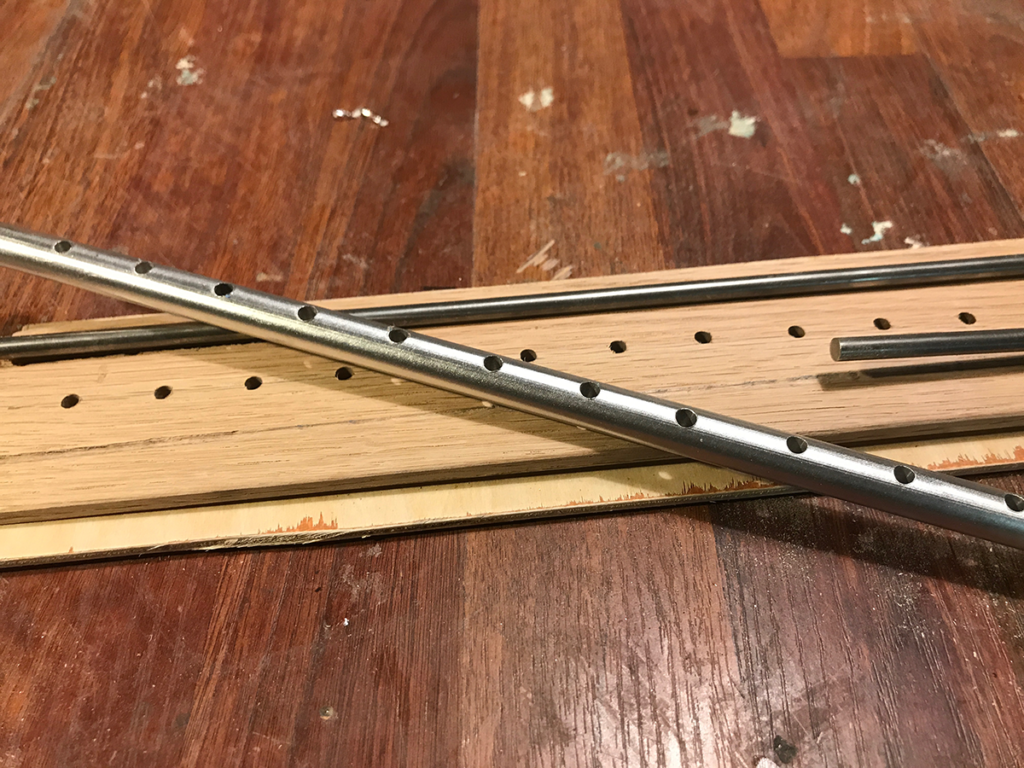
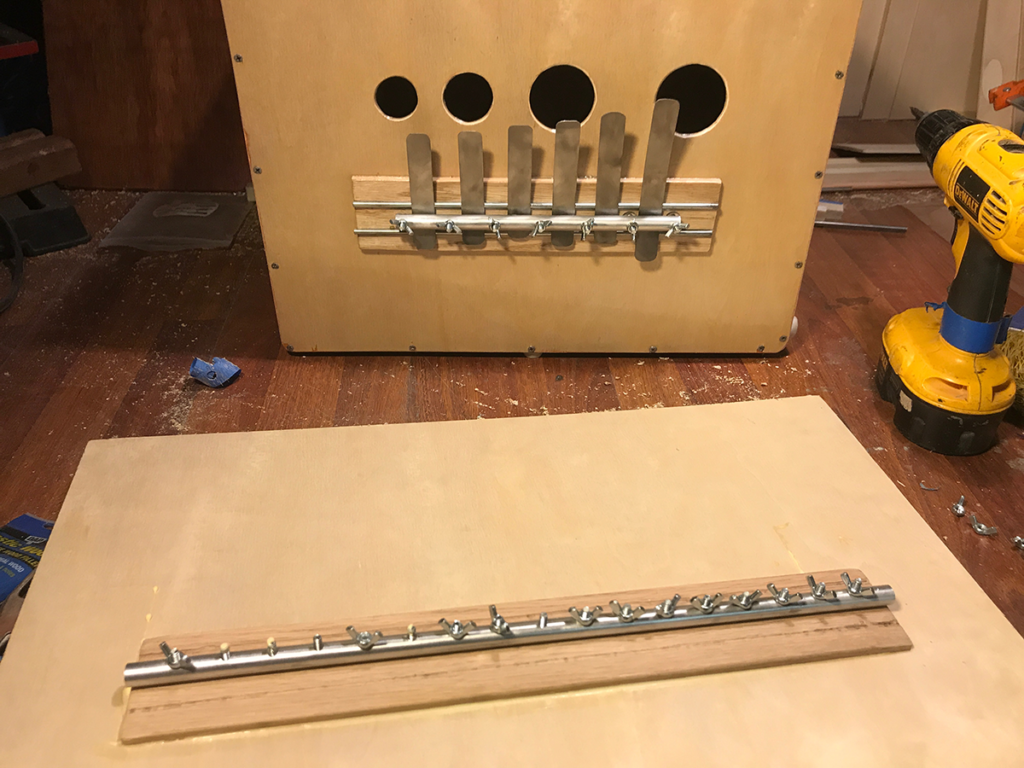
The completed bridge pieces – red oak, stainless-steel nut bars (which the keys will rest on) and a carefully-drilled-out rod of aluminum for the bridge, which will clamp the keys down to the nut bars.
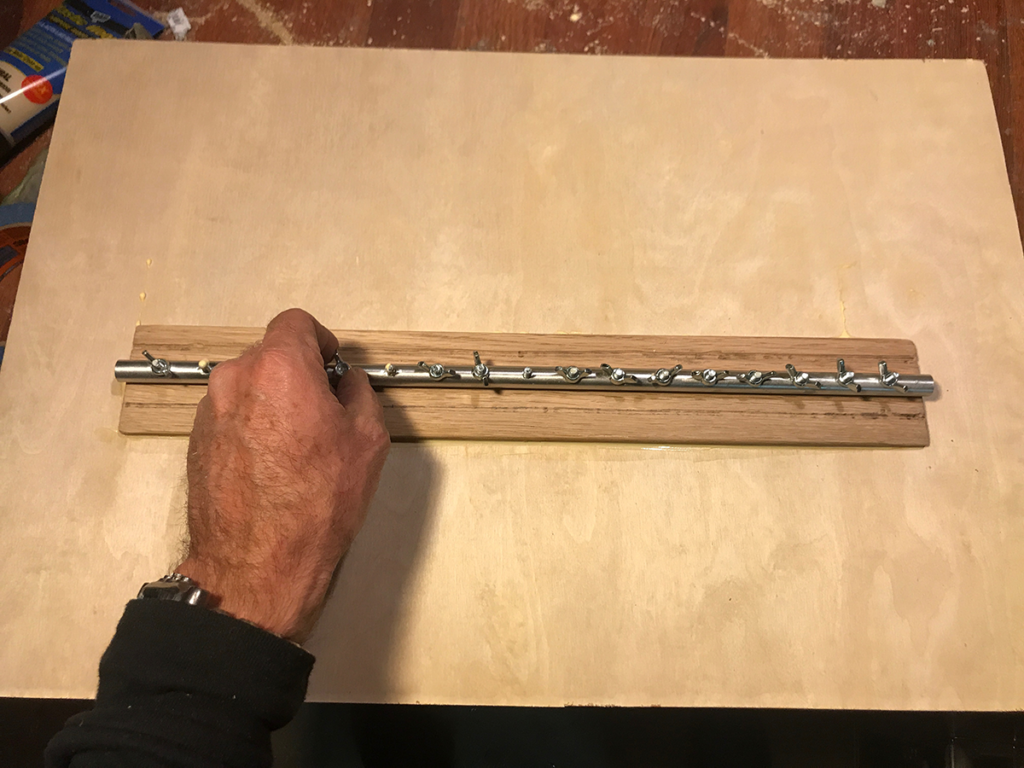
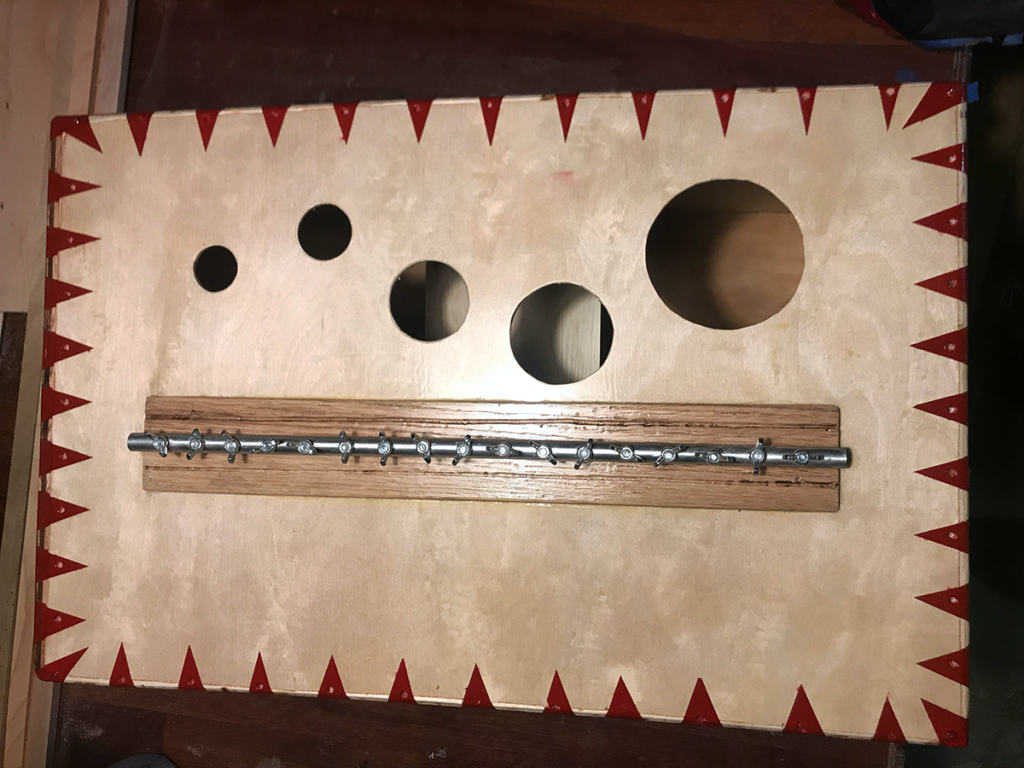
I cut a piece of 1/8-inch birch ply for the face, then drilled it out and mounted the bridge assembly (traditionally called the harp) to it with machine screws and wing nuts.
Here’s a comparison of the 16-note bridge with the 6-note bridge I mounted on the cajon that I used as a test mule.
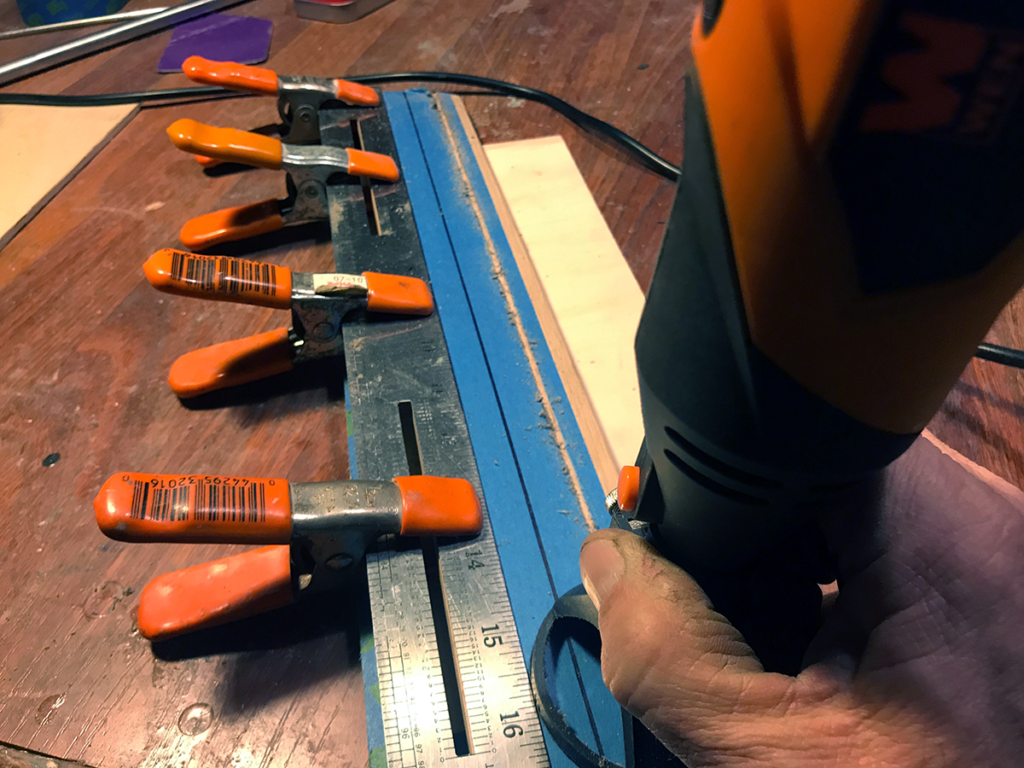
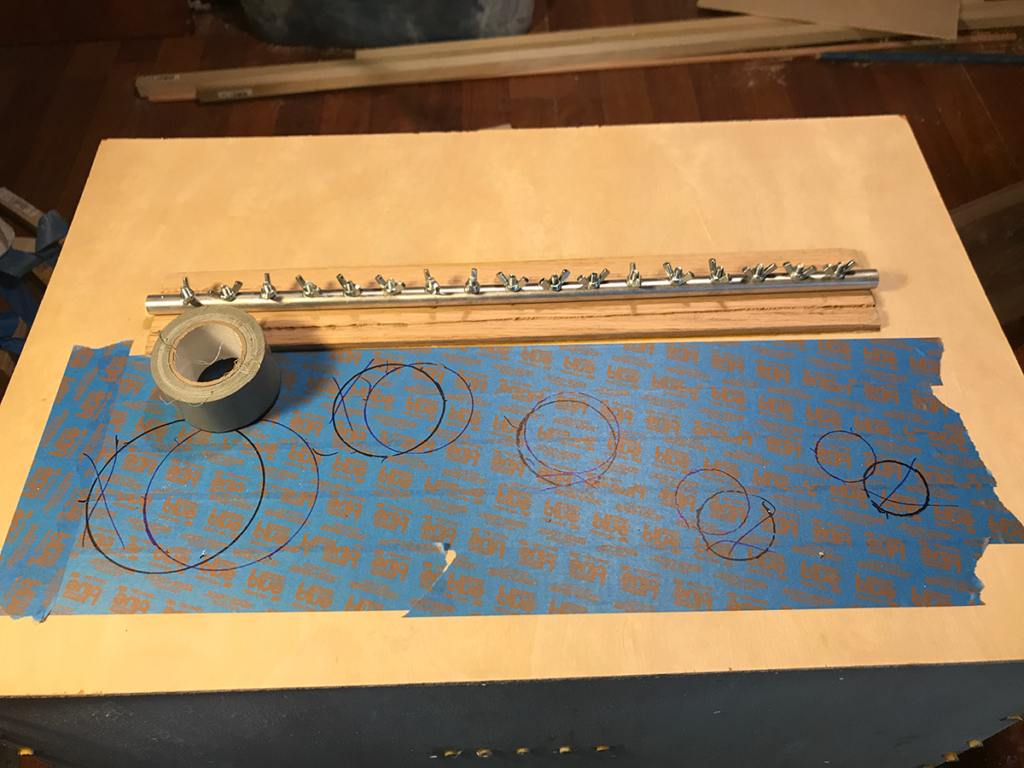
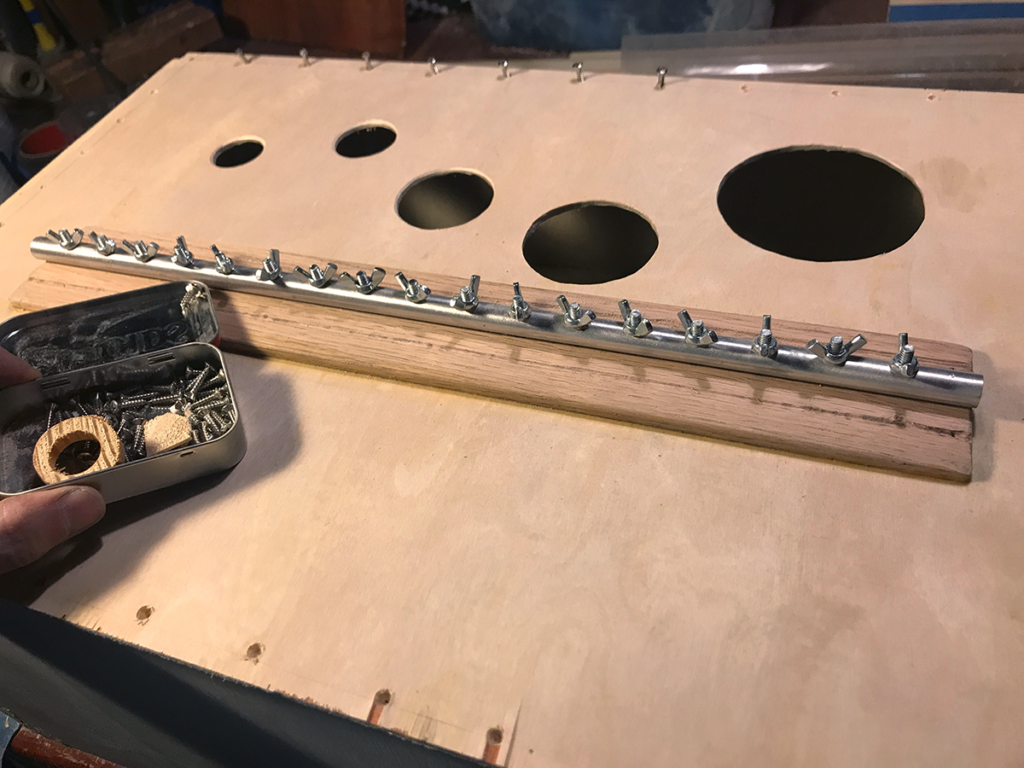
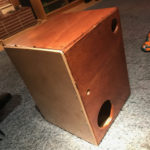
After masking the face to prevent splintering, I laid out the sound holes, then cut them with a keyhole saw (for the smaller ones) and a roto-zip bit on my knockoff Dremel for the two largest ones.
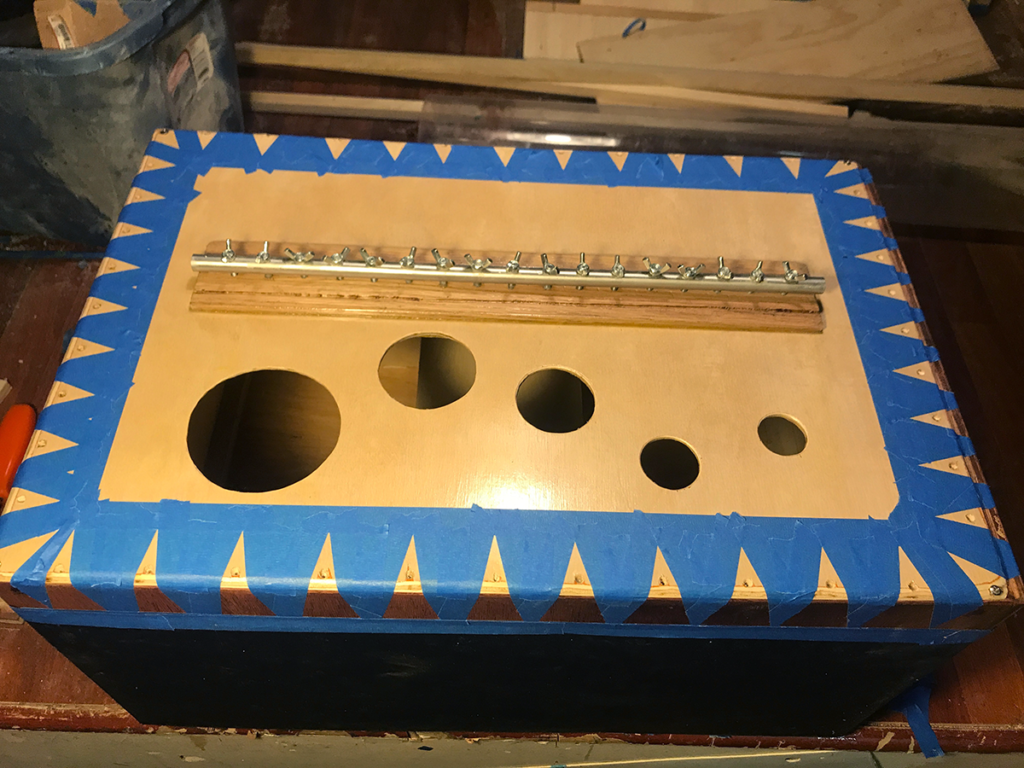
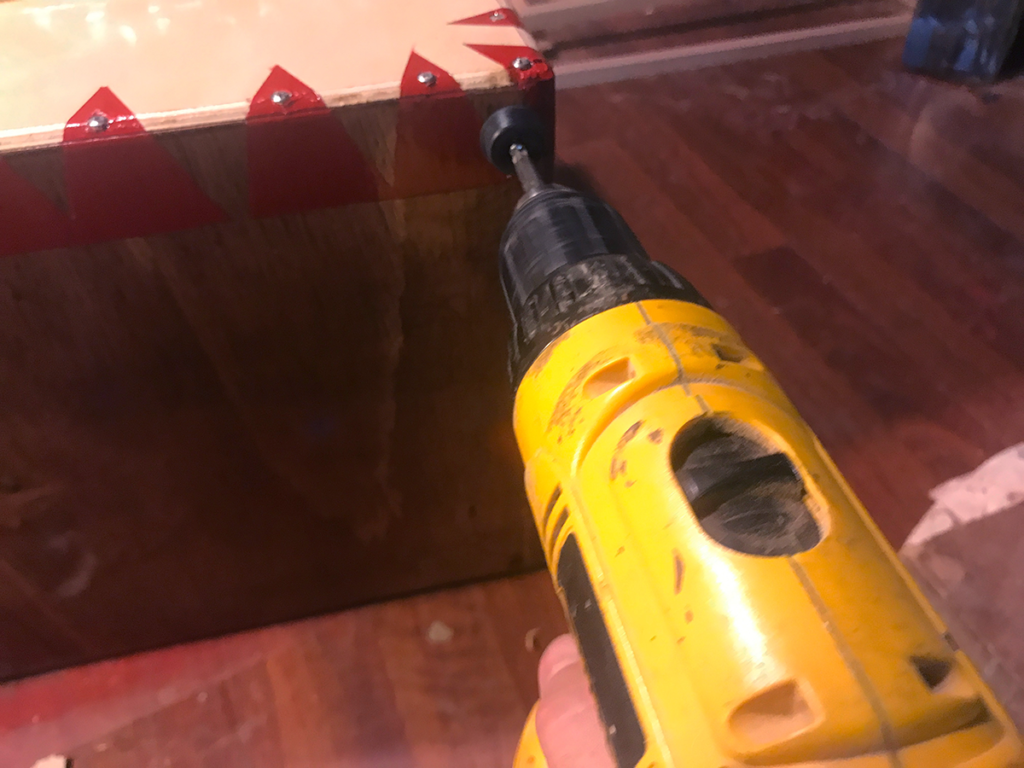
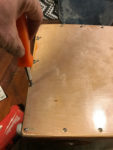
Next, I drilled all the holes for the screws – way too many, it occurred to me way too late, but the large number of screws actually wound up helping the overall visual design.
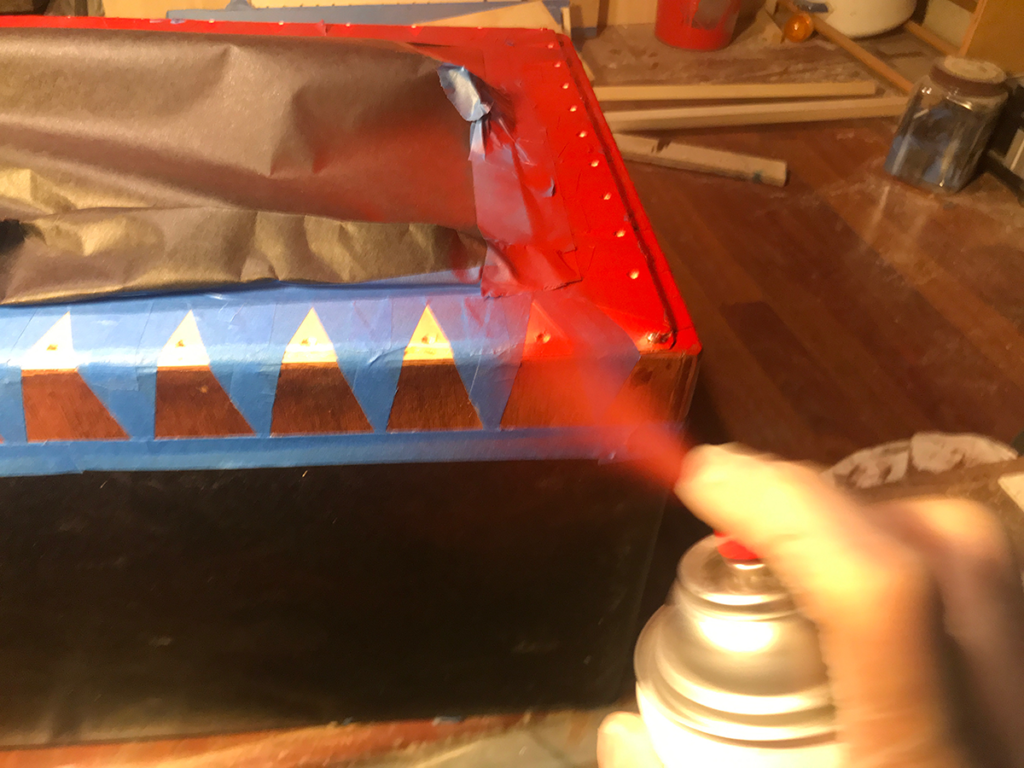
I masked off the edge for painting.
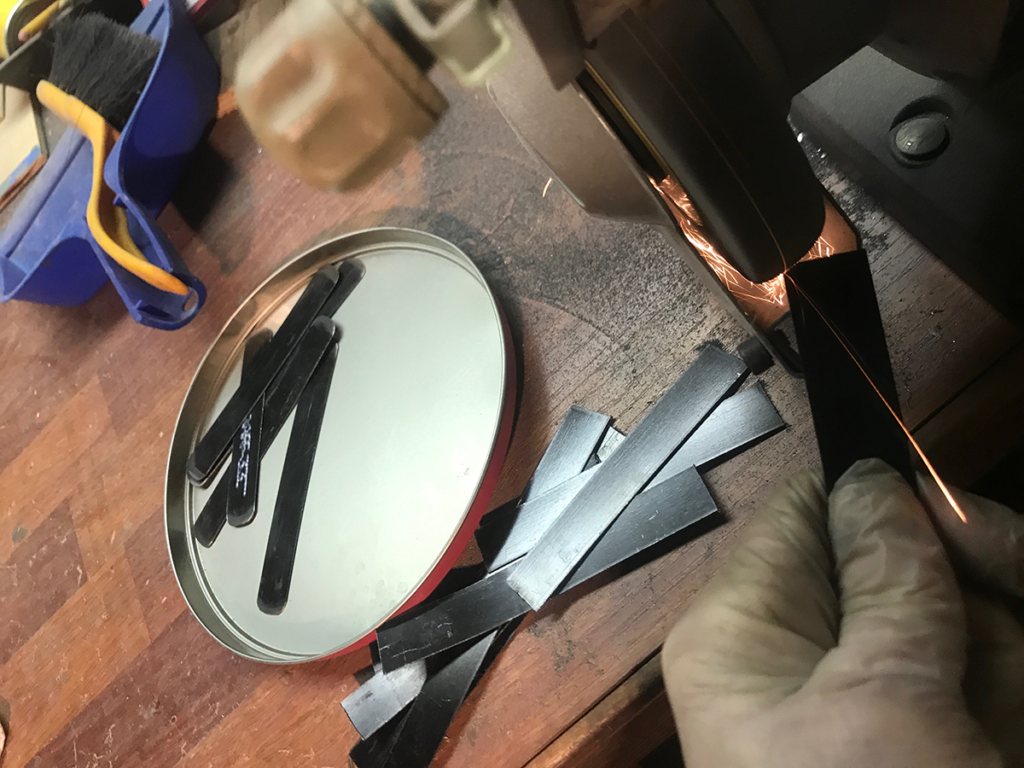
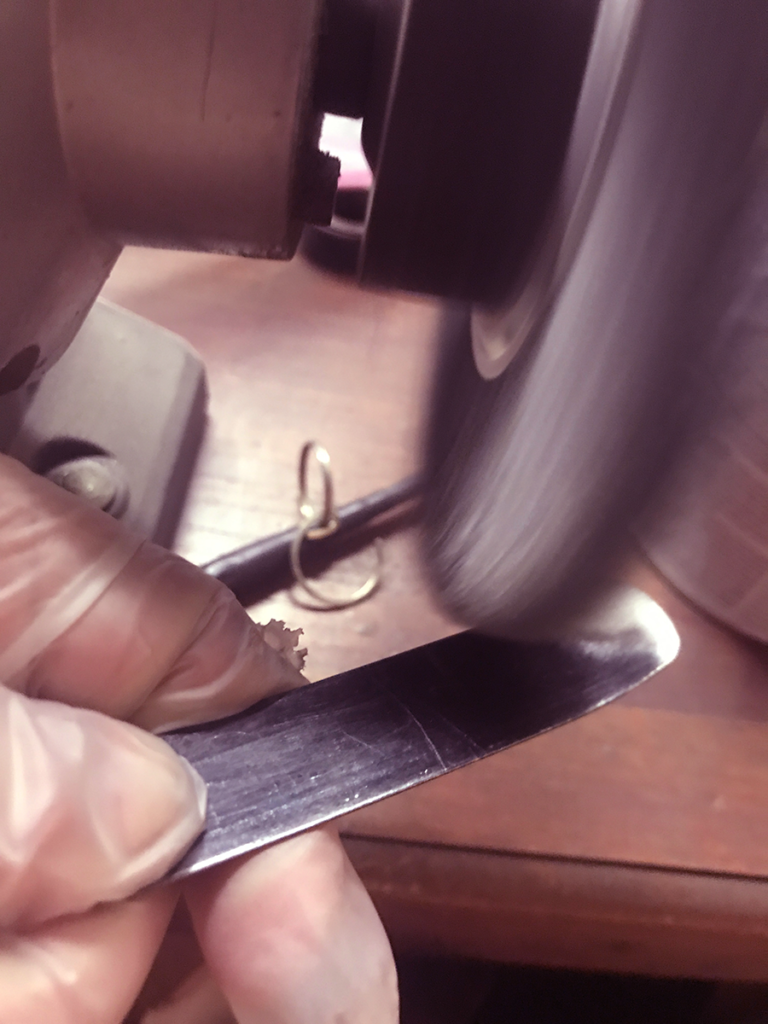
Earlier, I cut the shipping strap chunks into rough lengths with an angle-grinder, then ground the corners round …
and smoothed them with a wire wheel.
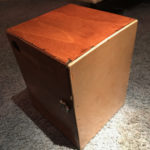
Shot the masked instrument body with red enamel (a favorite)
… and screwed on some little rubber feet to protect both the floor and the wood, since you’re meant to sit on the instrument to play it.
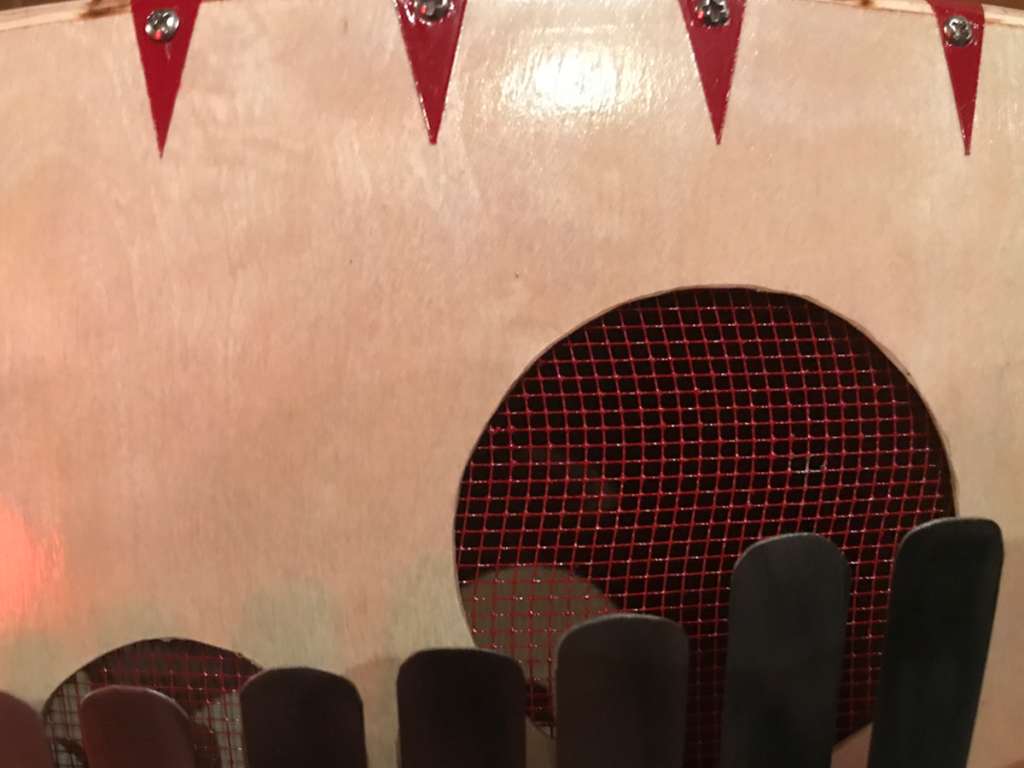
To add a little bit of drama (and filter out toys, crayons and Cheerios that younger musicians might be tempted to insert in the sound holes, I spray painted some metal fabric and glued it to the backside of the face with Liquid Nails so it wouldn’t buzz when the instrument is played.
The old-timey title for this post could have been:
The Wisdom and Benefits of Contemplating a Temporary Shift from the Traditional Norm for This Institution in Materials, Methods, Design and Construction of Multi-Purpose Acoustic Percussion Instruments:
Or, a “Box to Bang On”
Because this post is about a kick in the head. A total world-shifting creative non-sequitur from all this demanding, burly, unforgiving metal I’ve been working with for so many years.
All of a sudden I’m building cajóns. Out of wood. Where did *that* come from.
Lemme back up a bit.
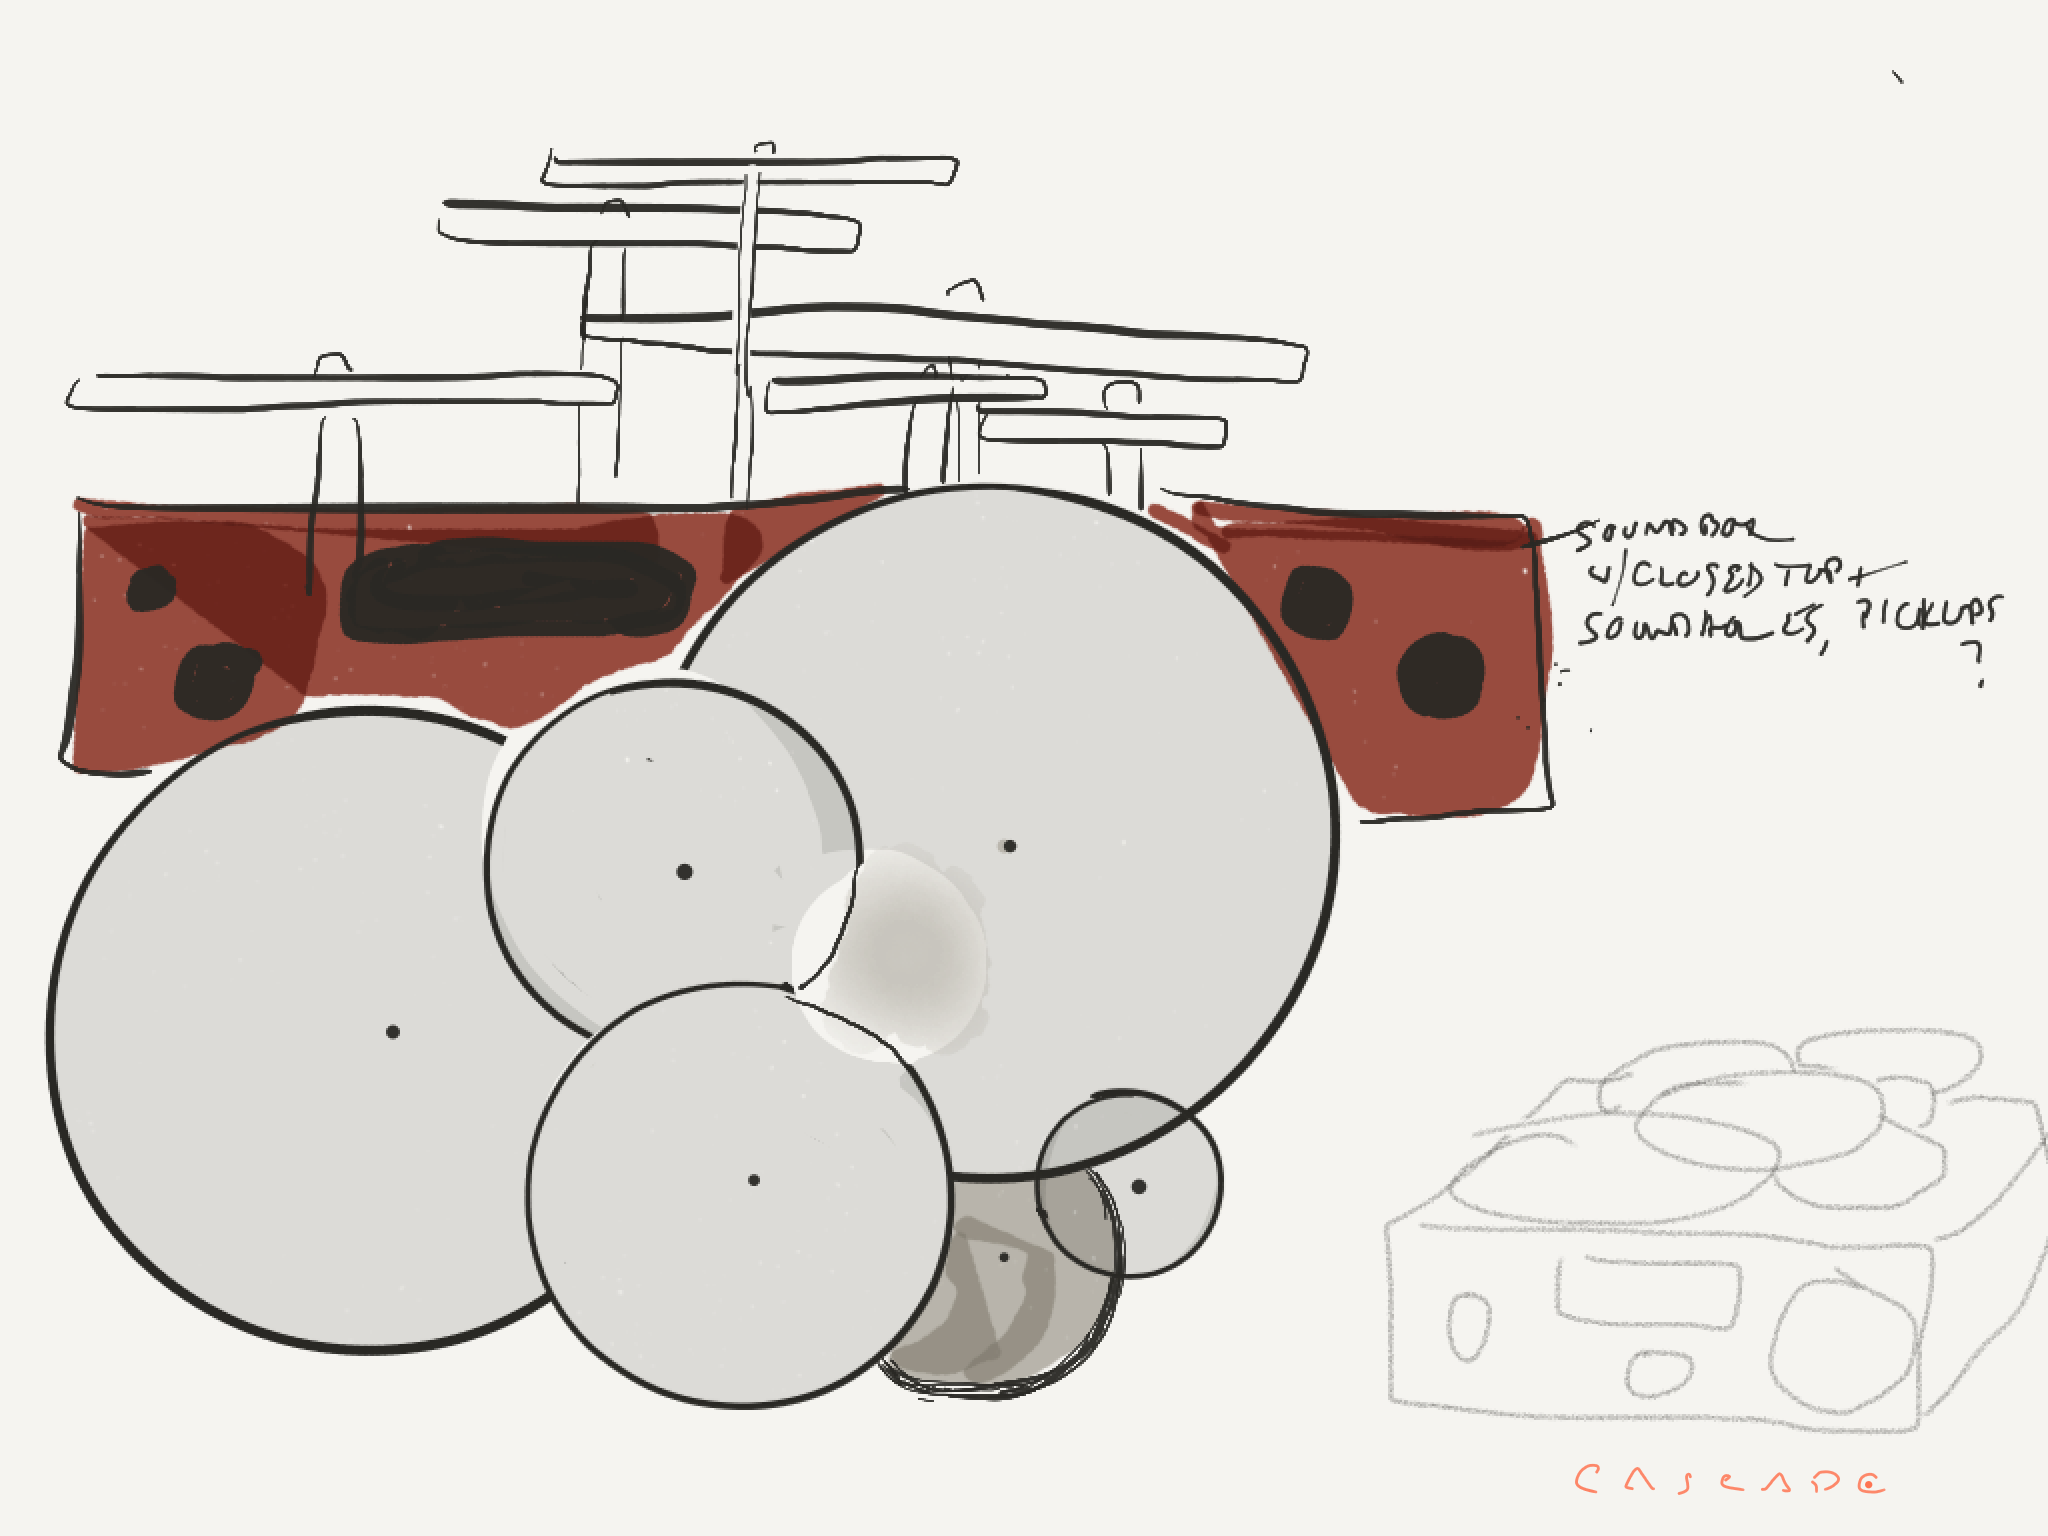
I’ve been goofing around with the idea of combining disc gongs with a sound box like the one I built a million years ago for my very first xylophone. I wanted to explore: disc arrays, resonance, materials, instrument playability.Here’s a sketch: —->
And then it occurred to me that the cajón (a sit-upon box drum with  roots in Peru and on loading docks everywhere) is such a perfect blend of structural integrity and resonance – like musical furniture – that if I could build one strong enough, it could do double duty as both metallophone and drum.
Gee, that sounds like a lot of work.
Maybe just start with building a good cajon to see if it’s easy enough. So, after digesting half a dozen how-to’s on YouTube and stealing some of the most interesting design ideas into my plan, I started my first.
Here’s a ragged build log:
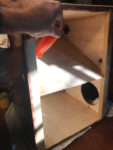
Here I’m cutting pegs. I pegged/glued together the box from 1/2″ plywood, then braced its front and rear openings with 1×1 square dowels (You’ll see these later in the log – wish I’d taken more photos of that process).
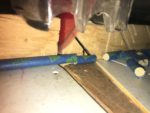
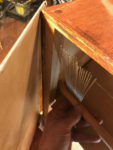
I cut sound ports into one side of the box – the bottom for bass and the top-rear for high-end (the little hole in the center-right is for the snare mechanism)
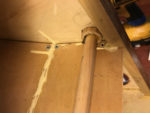
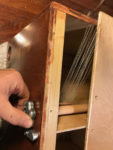
I then installed 1/4″ plywood divider panels the width of the box, dividing bass from high-end. I inserted this dowel, collared at both ends to hold it in place, so that it pivots in the little holes to allow the snares to move.
I screwed the snares (the cut halves of a whole 14″ drum snare) to the dowel and lined them up so that when the dowel rolls forward in its holes, the snares brush the inside of the playing surface.
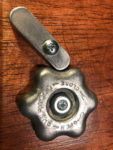
Screwed an old propane-tank valve-knob to the end of the control dowel
Tested it
Stained (red maple!) and varnished the box and screwed on some li’l rubber feet
Screwed on the nicely-varnished tappa
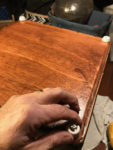
I wedged coins behind one corner of the tappa so that it warped outward a little bit (and removed them after a few days.) Now, that corner of the cajón delivers a nice “crack” note when you slap it.
This, coupled with the snares on the opposite corner and the bass notes you get when you hit the center of the instrument help it live up to its name as “drum kit in a box.”