Month: May 2010

Backsides & elbows

Back from Maker Faire, and there are a million little things to do for our next gig.

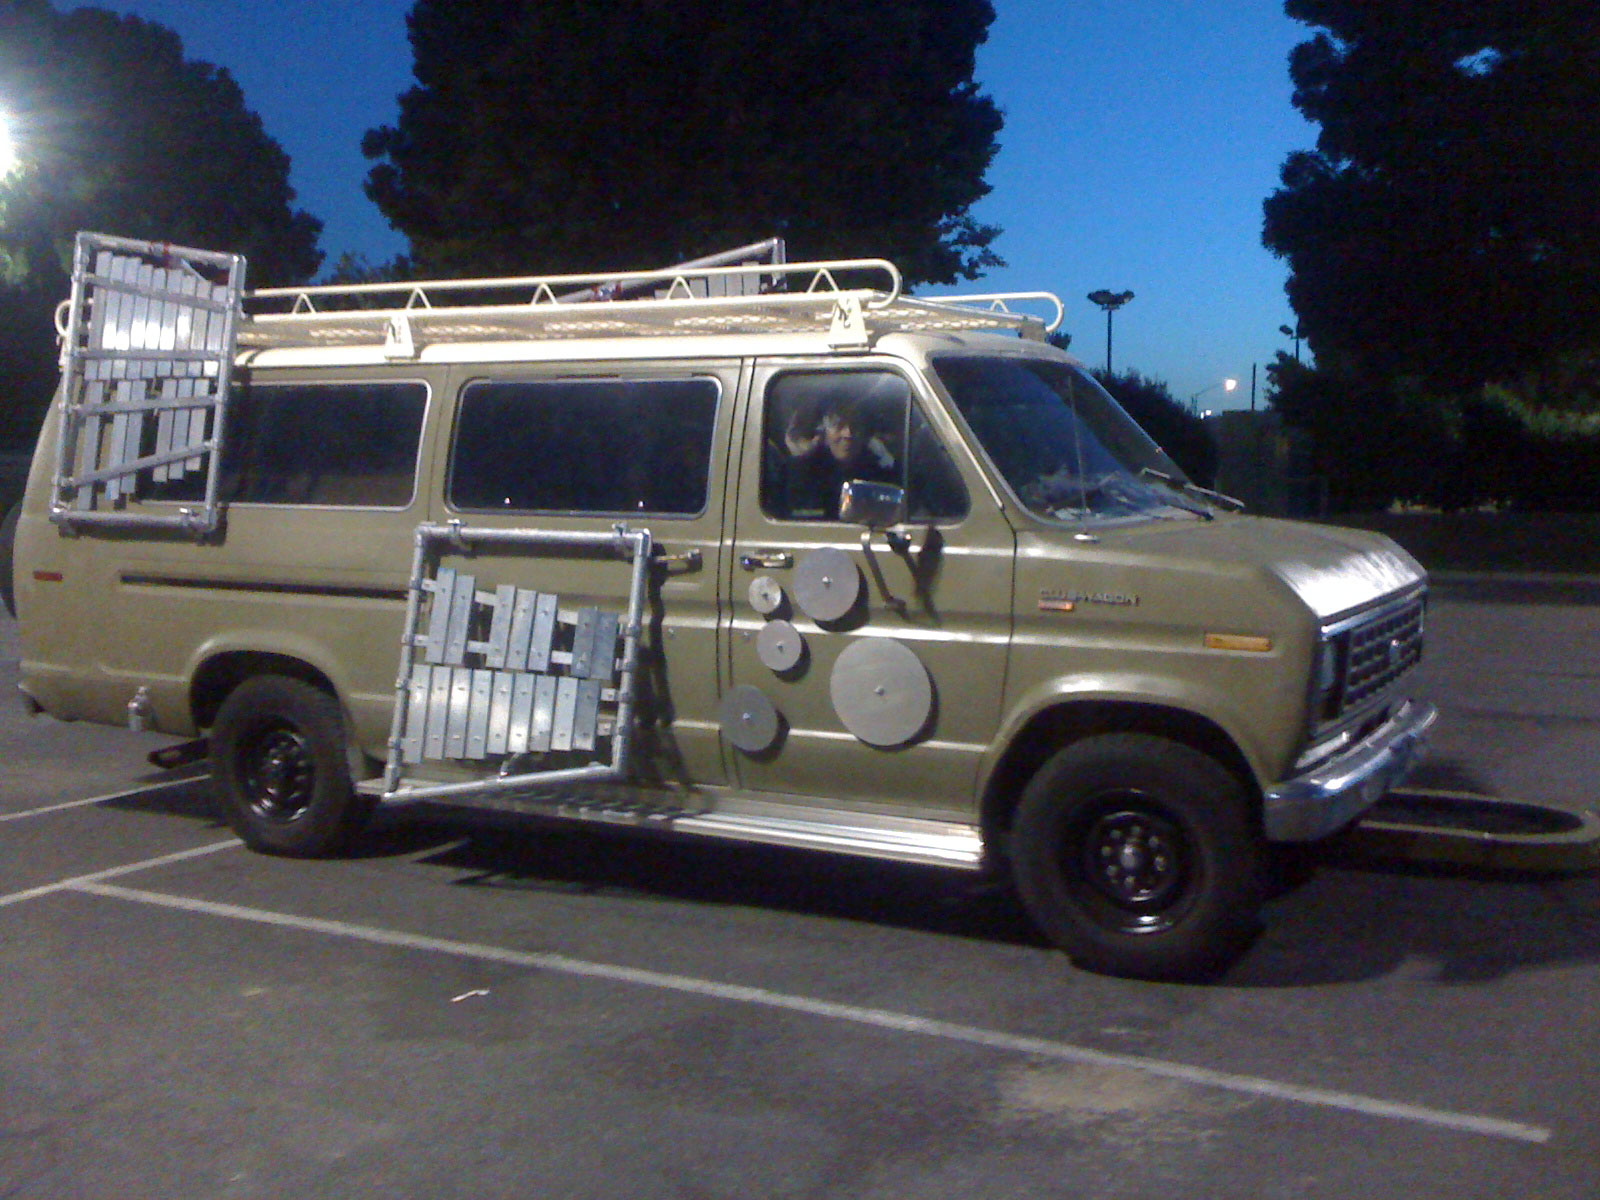
We’re going to roll in the Topanga Days Parade on Memorial Day.

Topanga Canyon is a blend of old-school hippie culture and celebrity ranches with long driveways, a beautiful curving road up from the ocean to the San Fernando Valley. Every year, there’s a music festival (this year it’s been headlined by Ziggy Marley, Maria McKee and Canned Heat, which should give you some idea).

Anyway, we applied and were accepted as one of the 50 vehicles in the parade (largely old fire engines and hot rods, so I’m told, but there should be a few floats too)

We’re driving in what’s traditionally the Santa Claus spot in the lineup – the very last.

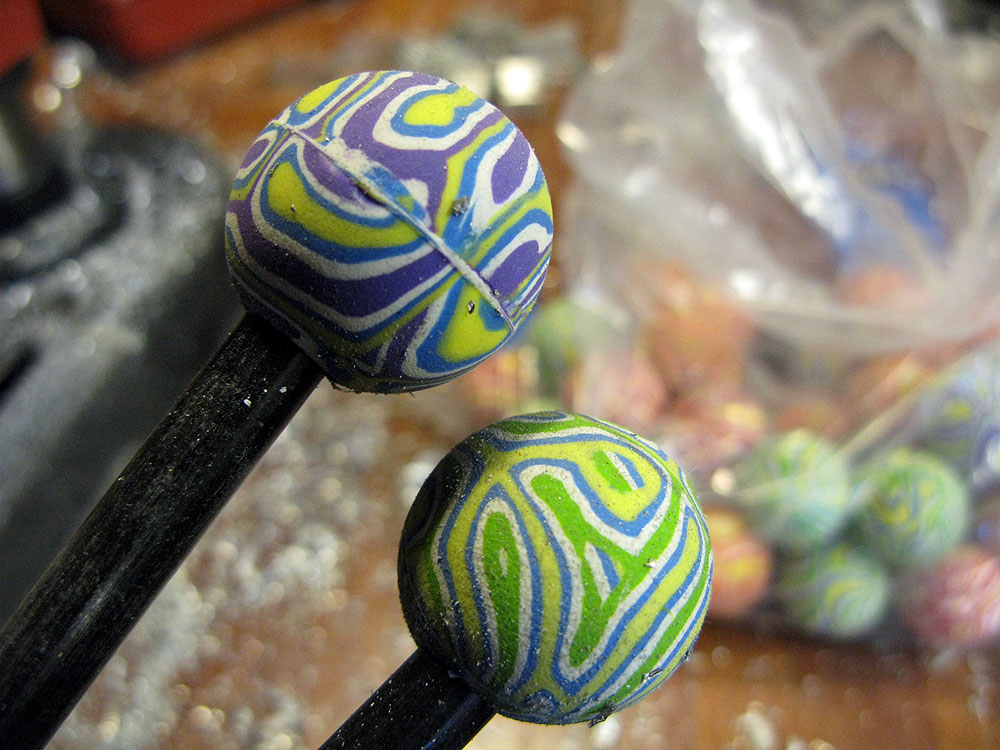
Between now and then, we’re making mallets to replace the dozens of splintered casualties left by the pummeling of hundreds of kids and aggressive adults at Maker Faire.

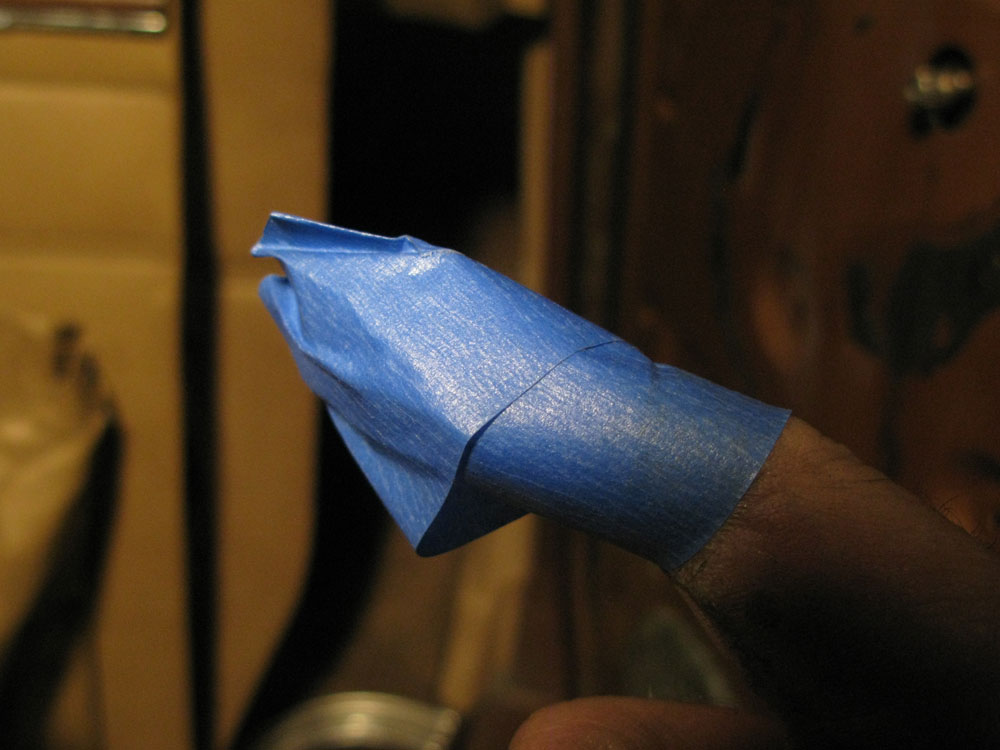
I ordered four dozen 3/8ths-inch fiberglass dowels to serve as new sticks (at right). Only one problem: They’re so rigid, heavy and dense that they actually deaden the sound when playing. Instead of a nice “PLONNNNGGGGGG” you get a leaden “THUNGK.”

Fifty bucks down the drain, and now we have to repair the sticks we have left, and battle-harden them …

More

Noisy work

(video lost when we quit Facebook)
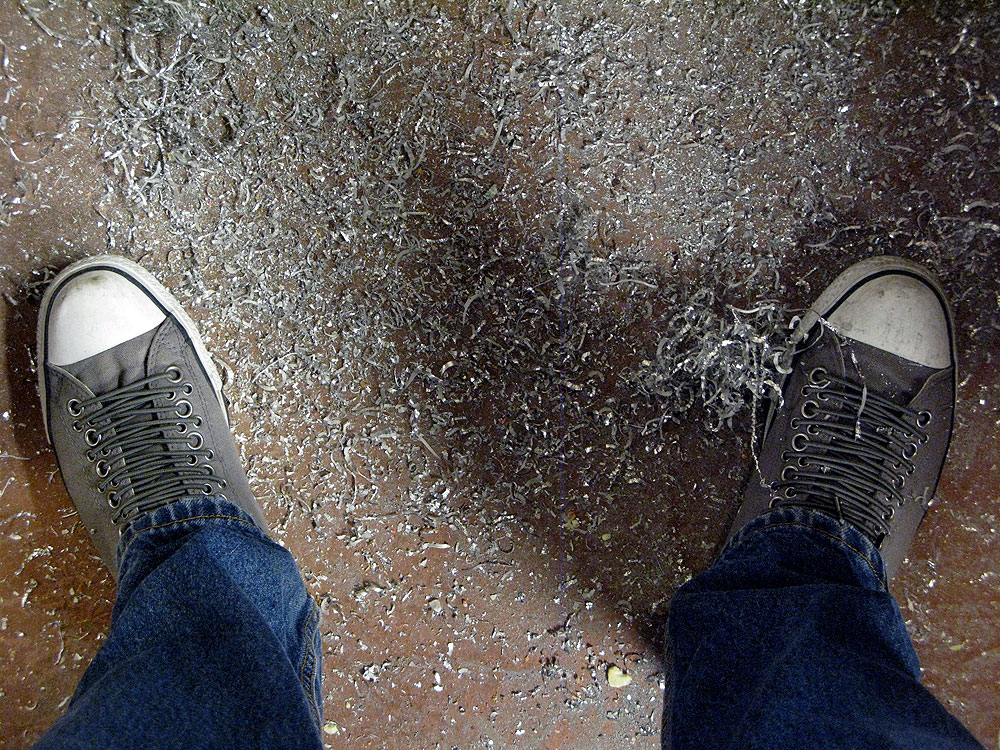
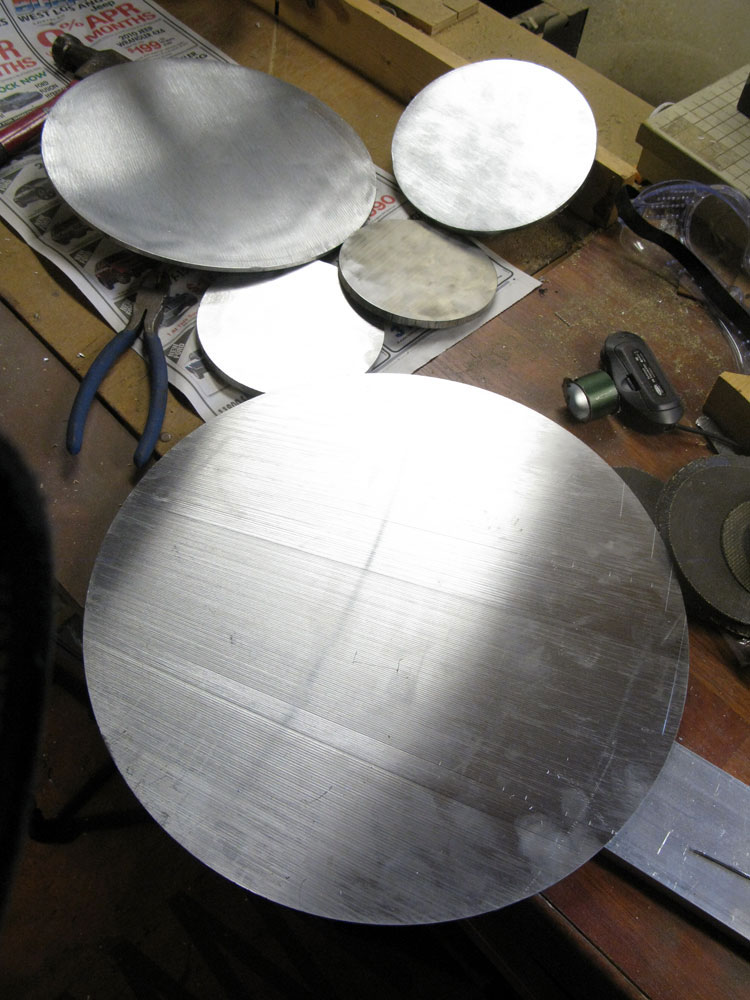
I cut a lot of metal. I’m still cutting. It sounds like this. It’s a little loud but the earplugs and dual-can respirator mask keep it from killing me.

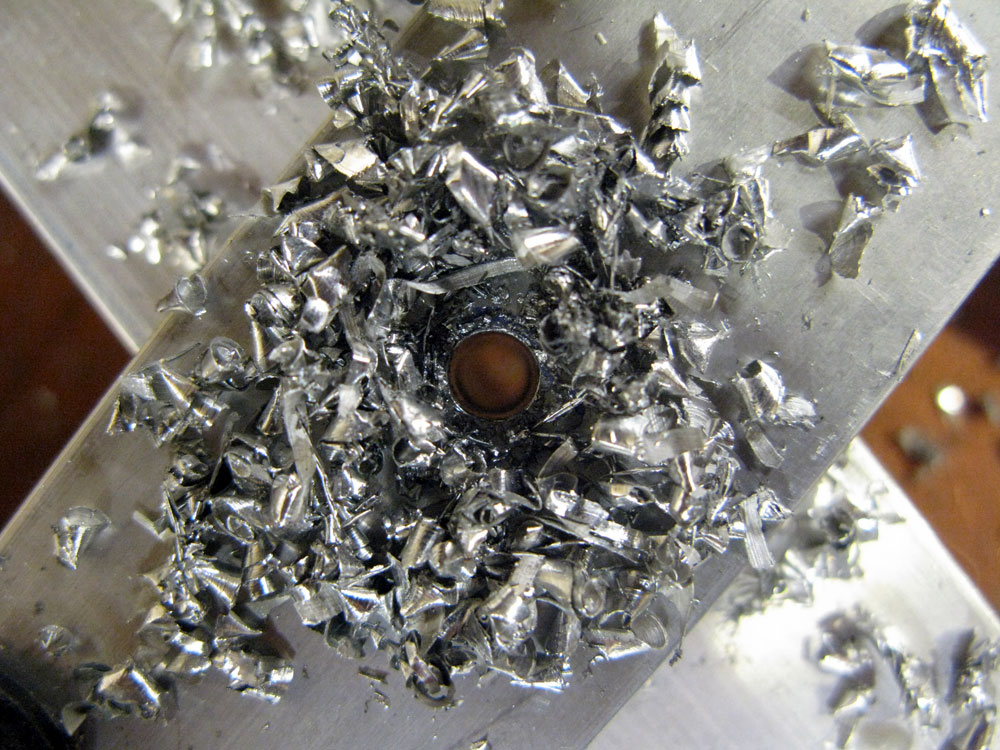
When I’m done, the floor looks like this:

Maker Faire Day 2 – How to play XyloVan & who made it

(videos of this lost when we quit Facebook)
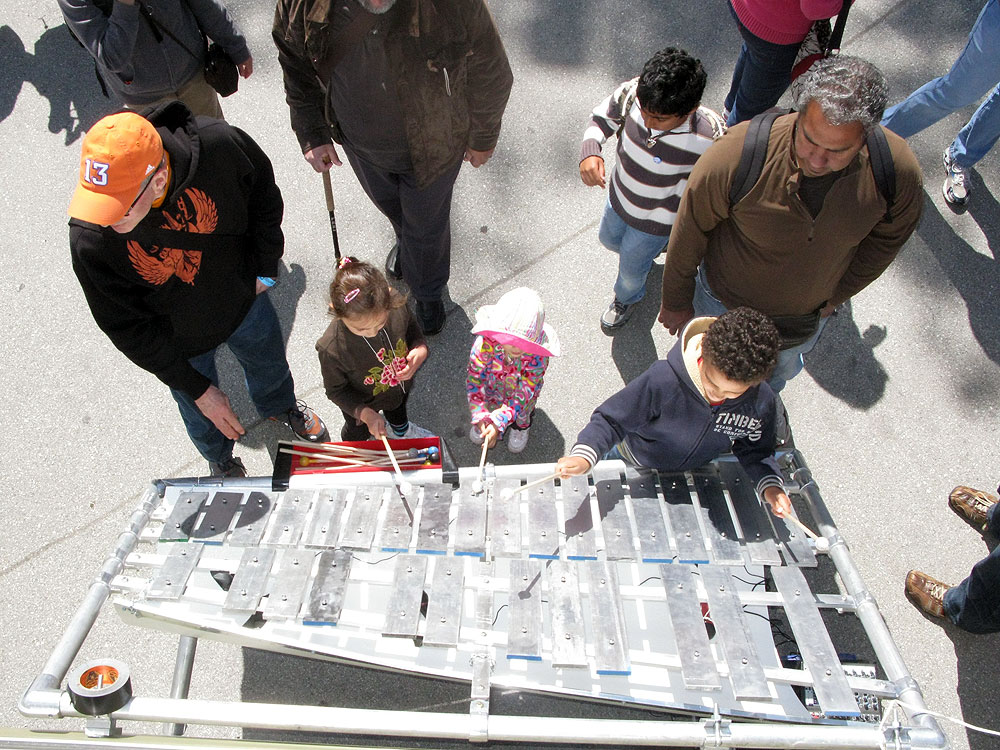
You all showed us how to play today.

You toddled up and whacked away with sticks, silly grins on your 2-year-old faces. You strode up as if approaching the concert vibraphone you played in band, delicately picking out notes to tunes you haven’t played in 20 years. You hammered and drummed, pulling rhythmic tribal fugues out of the raw metal. You wheeled your disabled son up to Keyboard 1, watched his face light up, helped him hold a mallet and tap out a tune.

You played, in every sense of the word.

Thanks so much to all the folks at Maker Faire who enjoyed the van. You really touched us and showed us more joy than you can imagine.


We wanted to give a huge shout-out here to all the good people who helped us bring this project together:

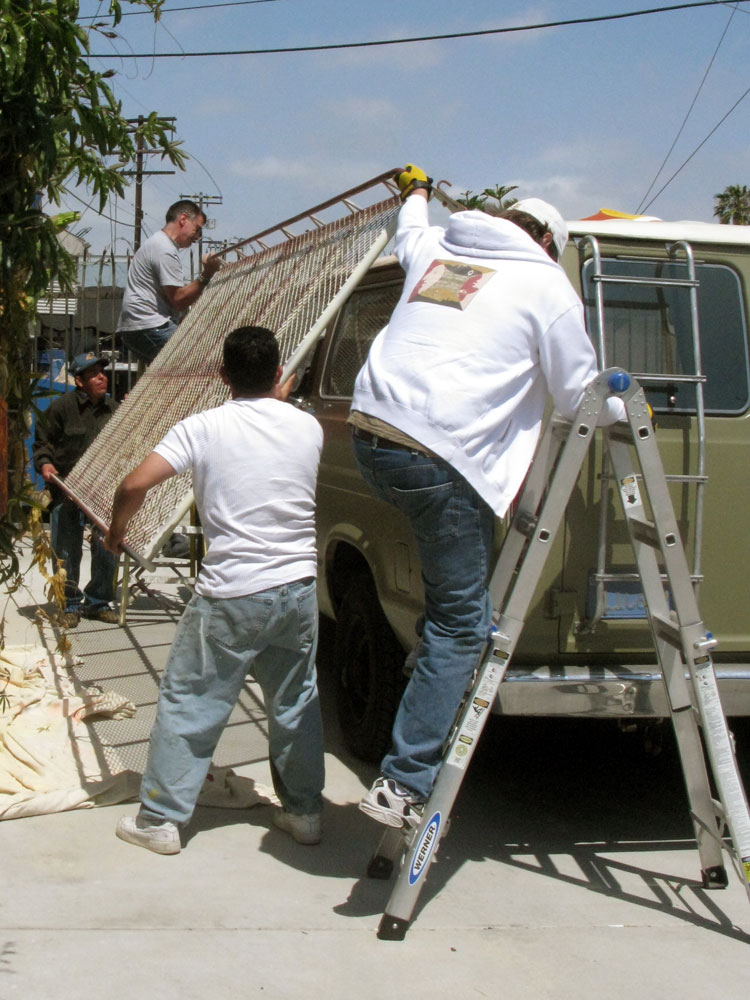
  • To Dave for the junkyard crawls, the invaluable hoisting and finagling and sandblasting and painting of the enormous honkin’ rack, and the endless bonhomie.
  • To Robbie for wrenching and sweating par excellence to restore the damaged door, and for all the cheerful banter on the rainiest, slimiest junkyard crawl ever.
  • To Brian for acoustic advice, hardware assistance and spiritual support in the “man, that’s a wacky idea, but it should be cool when it’s done” vein.
  • To Steve and Beth for helping us mount the xylophones (man, was that just last week?)
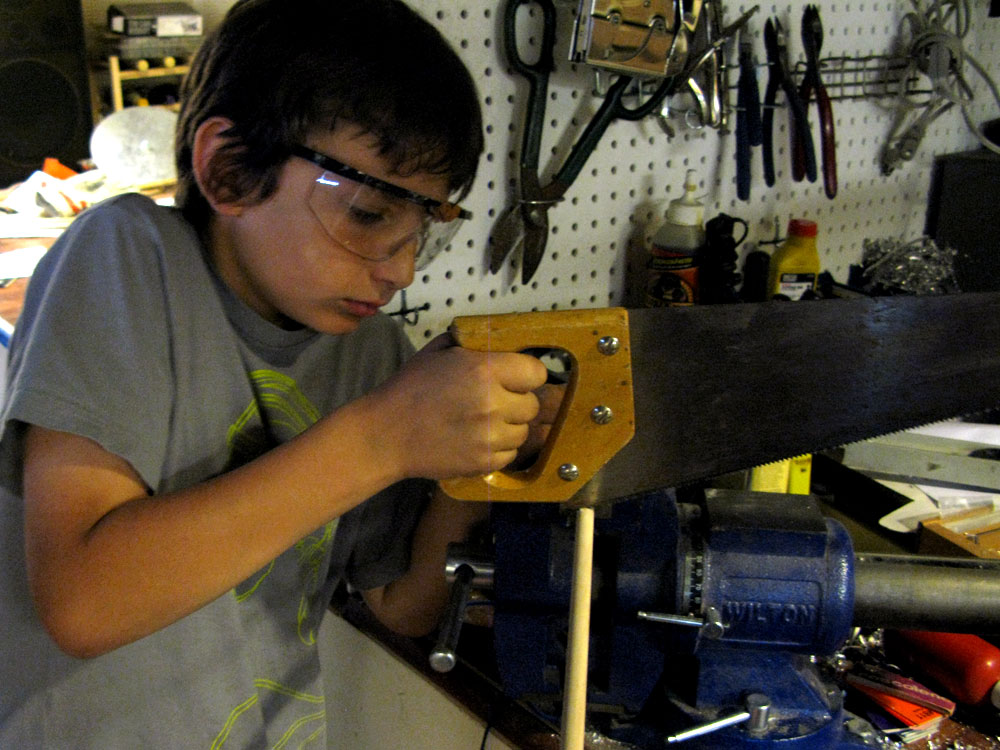
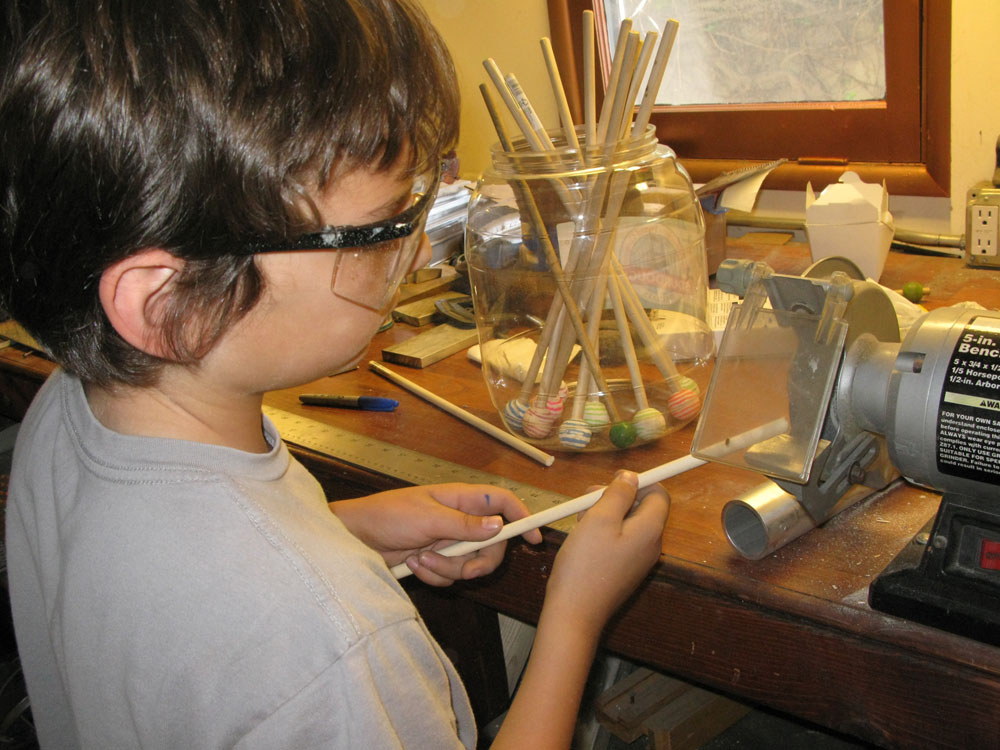
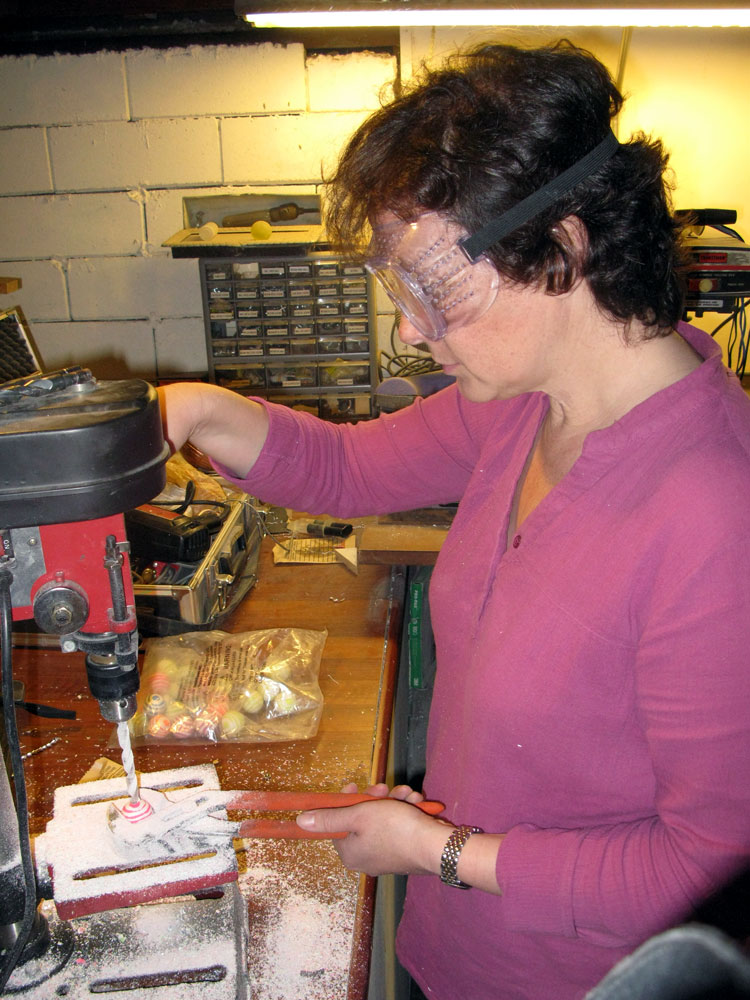
  • To my excellent son and daughter for helping with makin’ mallets, changing valve-cover gaskets, cutting keys, mounting disc gongs, doing body work and probably helping us violate various child labor laws (although safety gear was worn at all times!)
  • To Rogan for engineering advice on mounting the keyboards, and to him, his lovely wife Susan and son, Asa for crewing our Maker Faire demo. We had an awesome weekend with you, and thanks to you freeing us up to see the other great creations there.
  • And finally, to my ever-patient, enthusiastic and non-stop gung-ho wife, Kristina, for helping to make all of this happen. Can’t wait to travel to Topanga Days Parade, Burning Man and all places in between where people love making sound.

If you enjoyed the van, drop a comment below – if you have photos or more/better video, add some links!


Here are some more videos and photos from Sunday:


Day 1 of Maker Faire – hundreds of hammering hands!

(videos here were lost when we quit Facebook – photos below!) Hey!
The Maker Faire crowd gave the van a good wringing (ringing?) out all day long,and the gear all held up (mostly) great.

Welcome to all the Maker Faire folks who came by and banged on the van today. What a fabulous noise you all made!

Waves of people washed up against the side of the van all day long – it was so great seeing the variety of ways people interacted with the van …

More

Locked and loaded

Passed another major milestone tonight.

We are now – but for a wee bit of bungie-ing – ready for the long trek to Maker Faire.

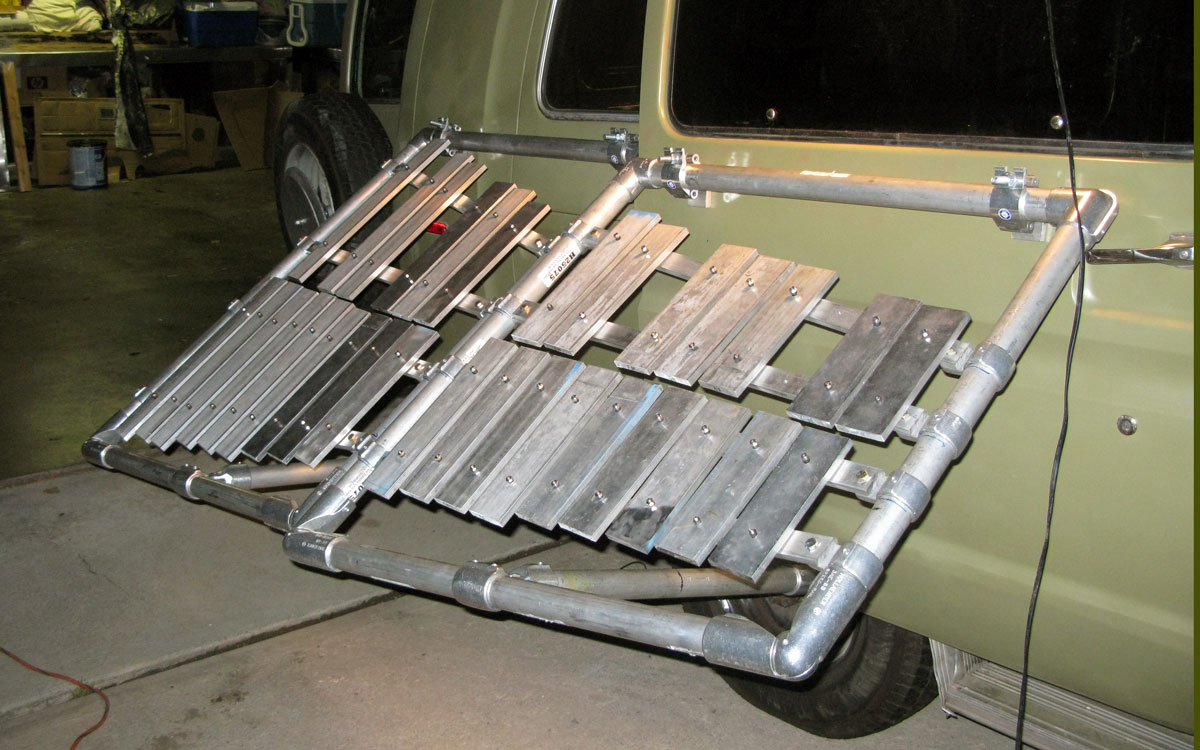
I spent much of the evening getting Keyboards 2 and 3 (right) properly aligned against the side of the van.

I had to measure and cut support stanchions from 2-inch recycled aluminum tubing (thanks again, IMS), and then mount bottom brackets onto the van. This involves drilling holes in the body and attaching the SpeedRail support brackets to it with an ungodly number of pan washers and other hardware so they won’t tear through the metal with all the weight and stress …

More

Xylophones, meet Van!

After nearly three months of cutting and grinding, fiddling and drilling, cursing and screwing and painting, the magic moment is here.

Time to mount the xylophones on the van.

Here’s video (videos lost when we quit Facebook) of @alienrobot and me mounting Keyboard 2 which is the lower-octave and rear-most of the two keyboards I built for the passenger side of the van:

And here’s what Keyboard 1 looked like as friend Steve Finkel and I mounted it on the driver’s side …

More

It *is* easy being green

We had all sorts of crazy notions for decorating the van.

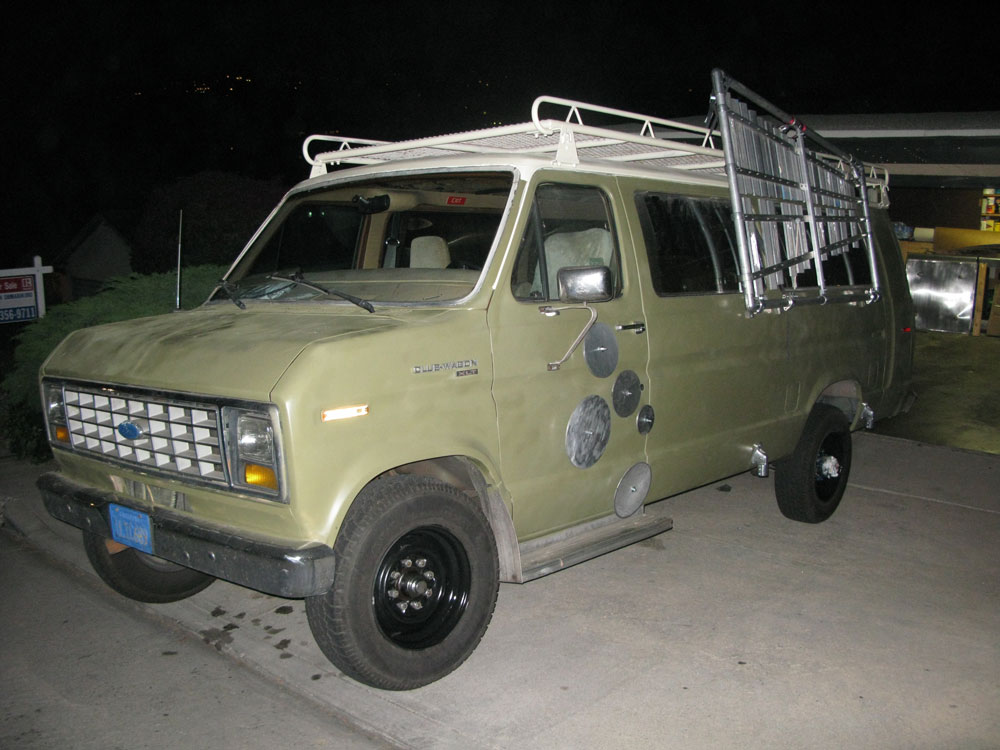
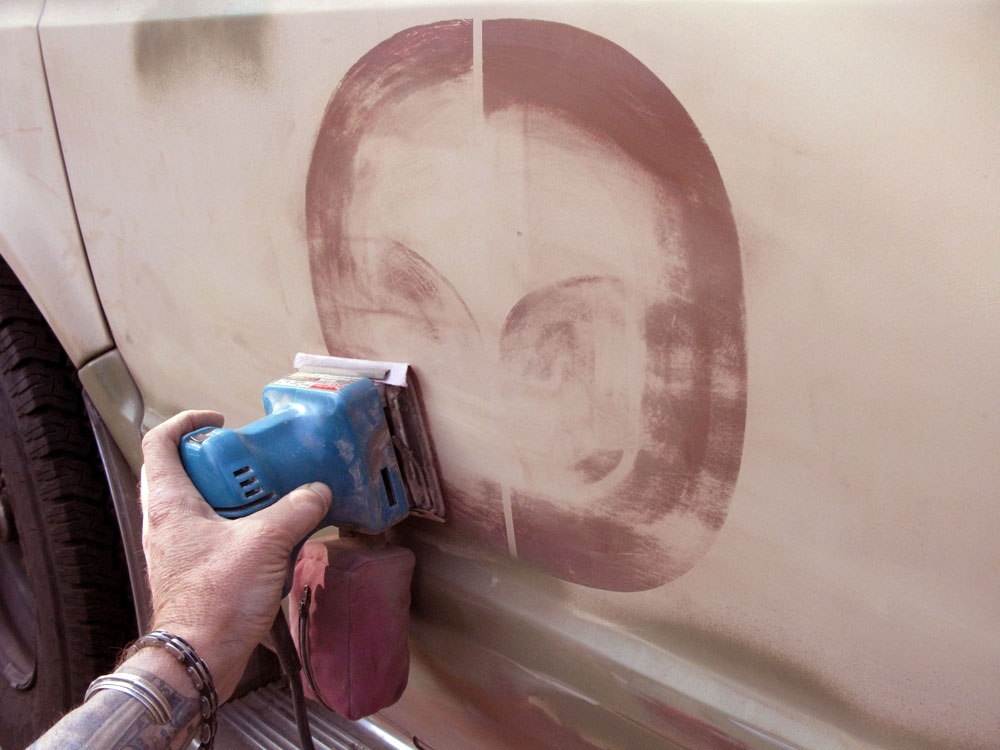
As vibrant as its post-70s-paint job and sober-living-facility-logo’d style were, we wanted to transform it – to give it a new visual life to match its new incarnation as a rolling instrument.

We thought about going hotrod-lowrider with a lime-green metalflake triple-clearcoat paint job and lots of chrome. But that seemed too garish and expensive. One local shop was asking $800 to $1,000 just for straight paint even if we did all the bodywork …

More

Sandblasting the enormous honkin’ rack

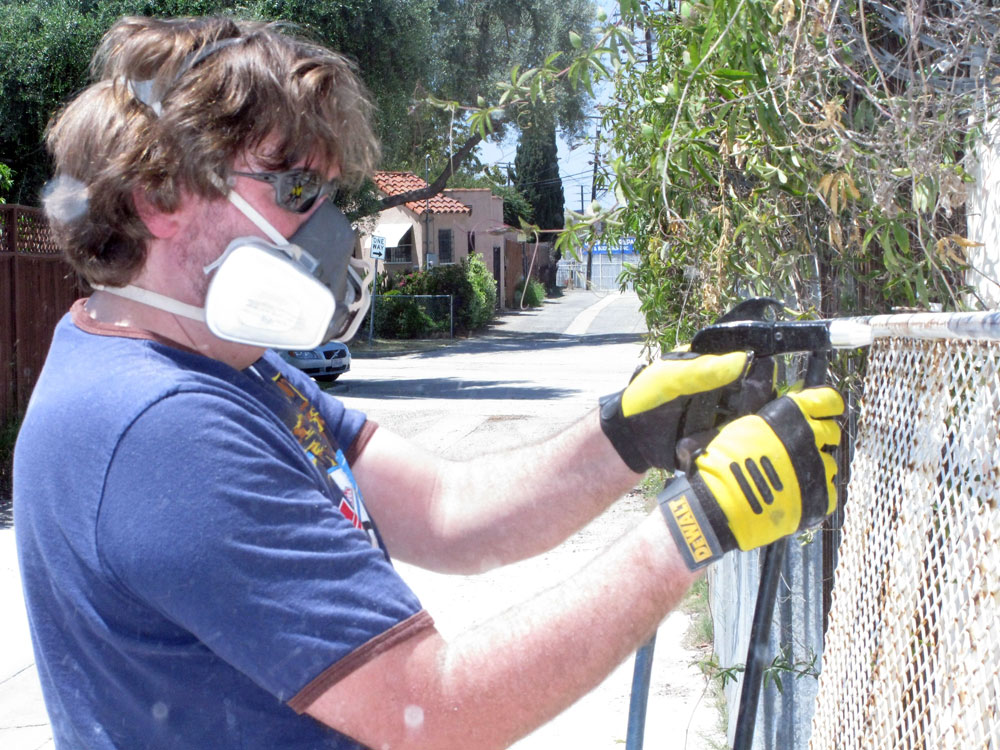
Today saw me sandblasting metal shoulder-to-shoulder in the midday sun with Dave, as we stripped the roof rack we picked up last week and primered it and the van’s roof in prep for painting.

The prop shop next door to Dave in (undisclosed location) has a compressor the size of a Volkswagen, which powered Dave’s sandblaster through 100 pounds of #30-grit sand.

It’s tedious, filthy work …

More

Bender ender – how to listen up and quit breaking sh#t

Like a drunk tiptoeing into his AA meeting with actual quitting on his mind, I’m finally ready to quit breaking taps – and pay attention to all the solid advice I’ve been getting along the way.

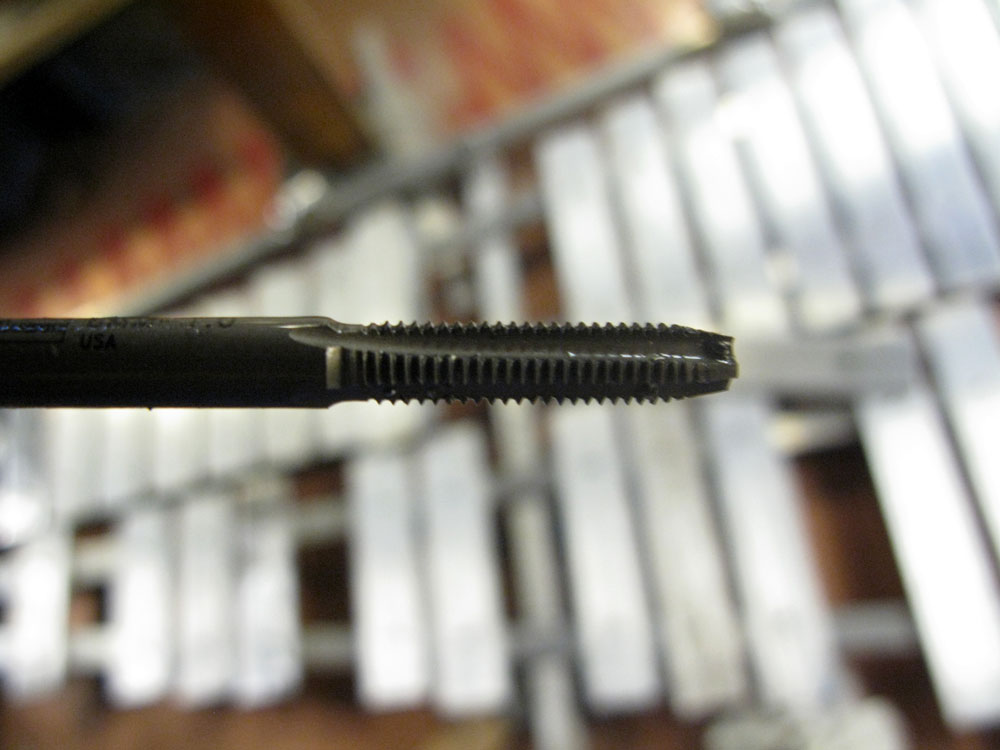
Tonight, I took it all in hand and put it to work on my one surviving 6mm tapping tool – and the dozen-plus very serious holes I had left to tap:

  • The machinist recommended I countersink the holes and use cutting fluid … But I had a long way to go – the last 8 holes in the stringers for Keyboard 3, plus the remaining three very deep holes in Keyboard 1’s crosspiece – each of them through a thick, 3-layer sandwich of aluminum.


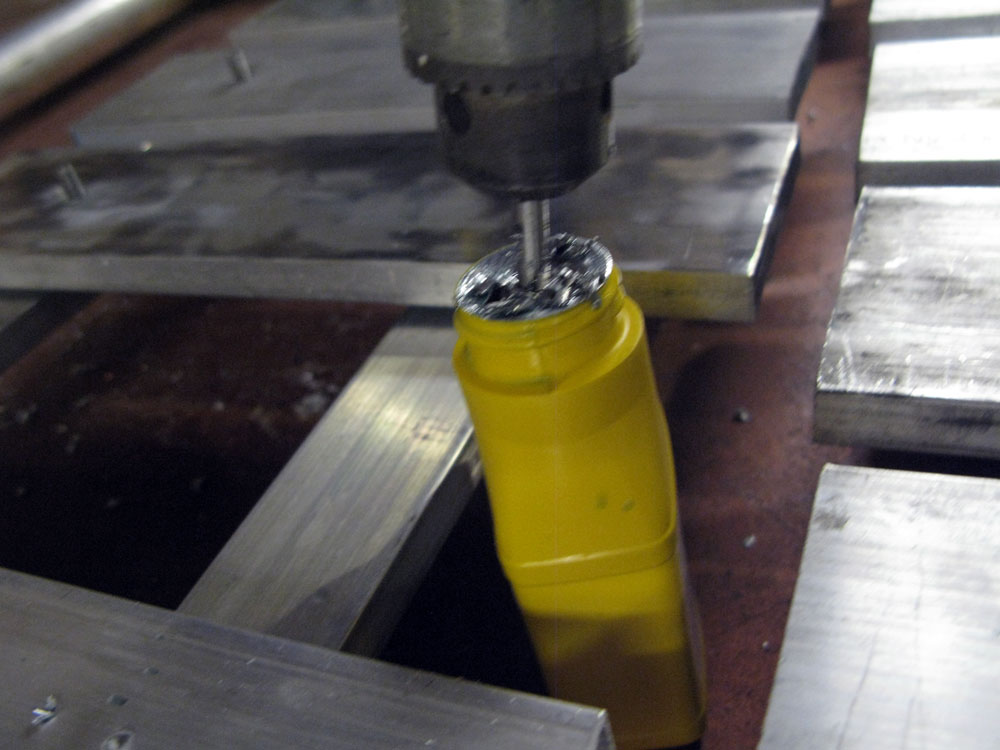
    I started with the drill …

    Straight down, through three layers of aluminum, half an inch thick each. Nice, clean, smooth holes. Thanks to the guys at Baller Hardware for assuring me that “any light oil ought to do it” after I realized the only actual tapping fluid they had comes in a huge industrial jug.

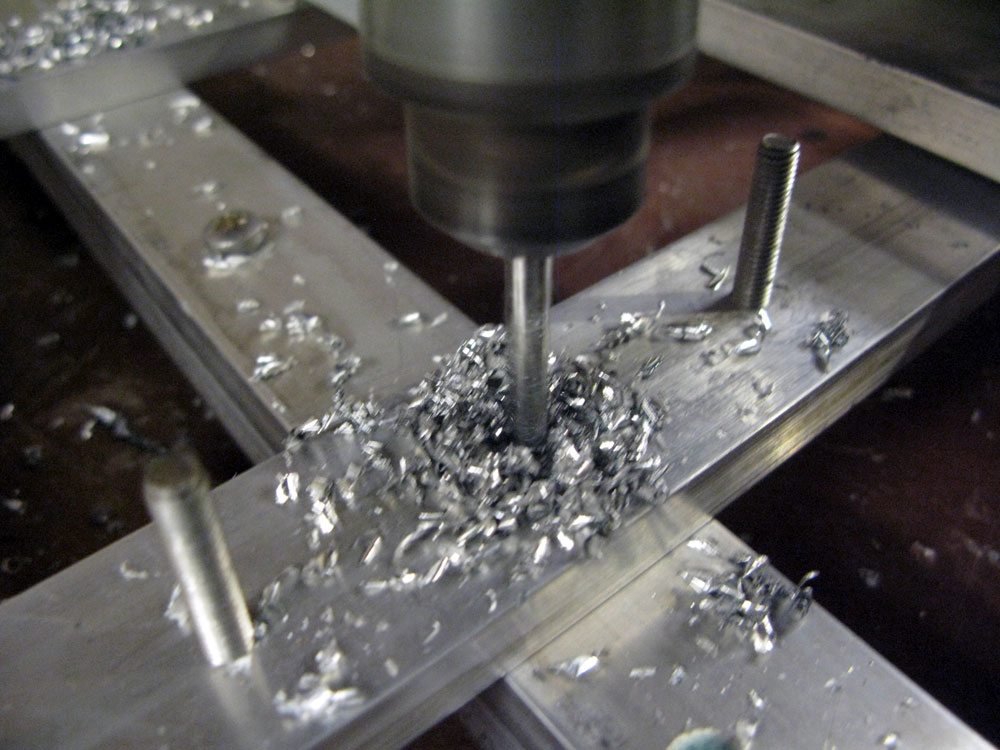
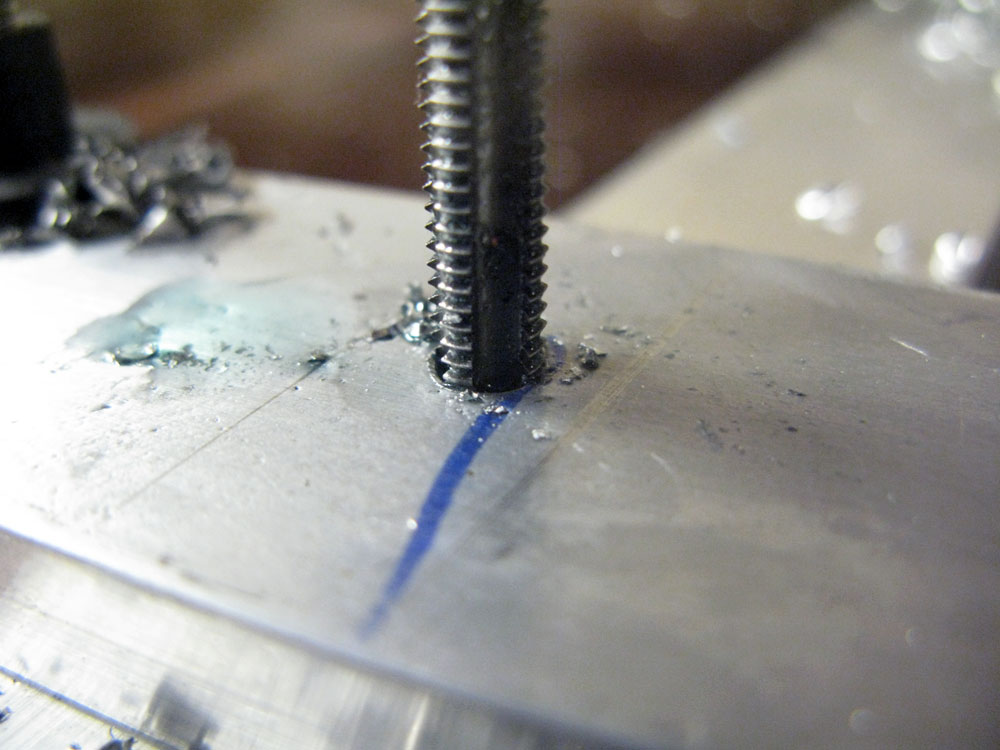
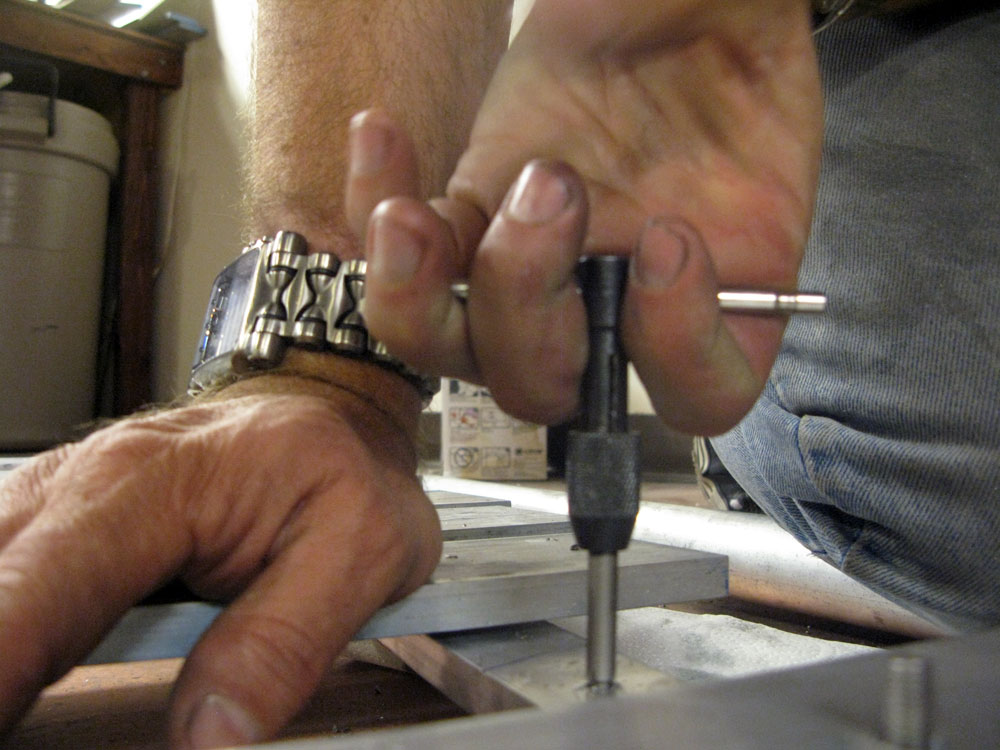
    I chose 2-stroke engine oil.Then, many thanks to Jeremy and others over at CrashSpace for the invaluable reminder of something I forgot since tapping engine heads more than 20 years ago: For every three or four turns of the tap as you cut the threads, you have to back the tap out a turn or three, to clear out the cuttings that might bind up its tip …


    I also followed my own instincts after comparing notes with Vinny, my oldest friend in the world and an inveterate shade-tree mechanic: “You know that point where you *know* you’re turning too hard, but you keep going, and then it snaps” – I tried to stop myself every time I felt the tap binding up to the ppoint where it might snap … and I backed the thing all the way out, cleaned off the metal cuttings, and resumed tapping …

    And lo and behold, every single hole was tapped cleanly and safely … and the tap survived.


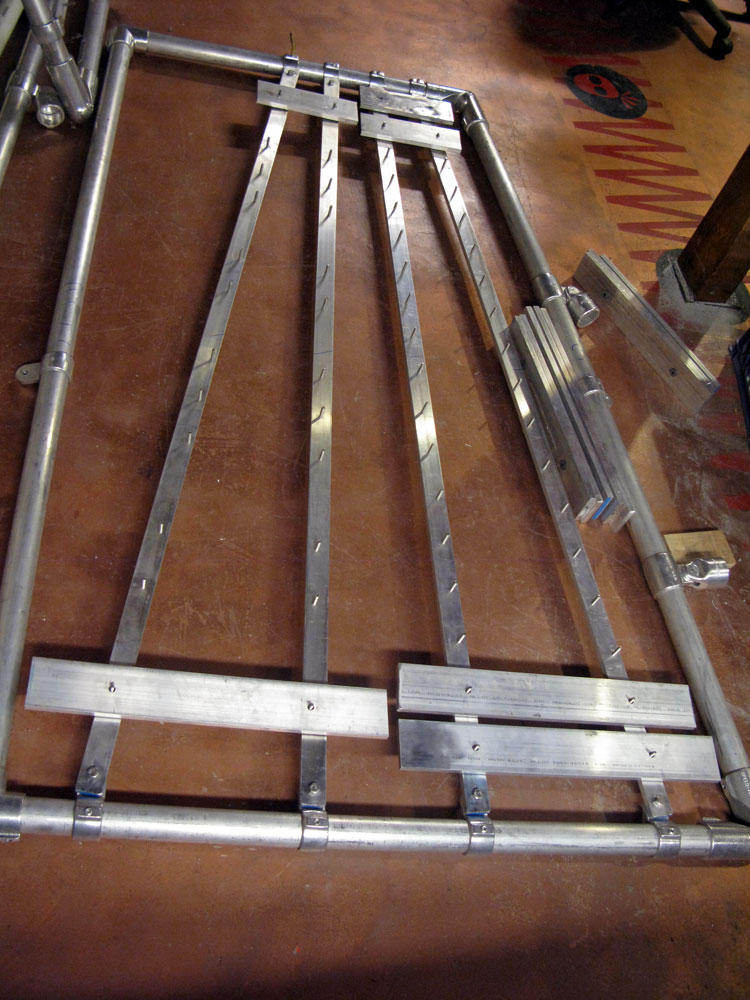
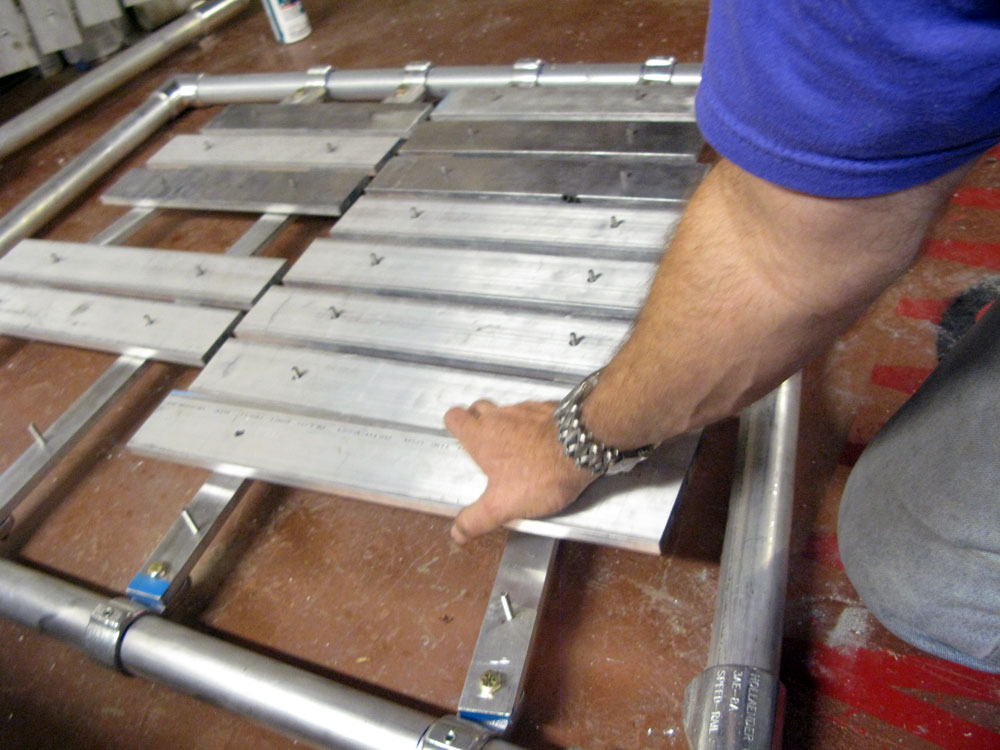
    This let me proceed to building Keyboard 2 …

    … and Keyboard 3. We’ll be capping off the mounting screws with locknuts – and god knows what all else – very, very soon.

Go back, Jack. Do it again.

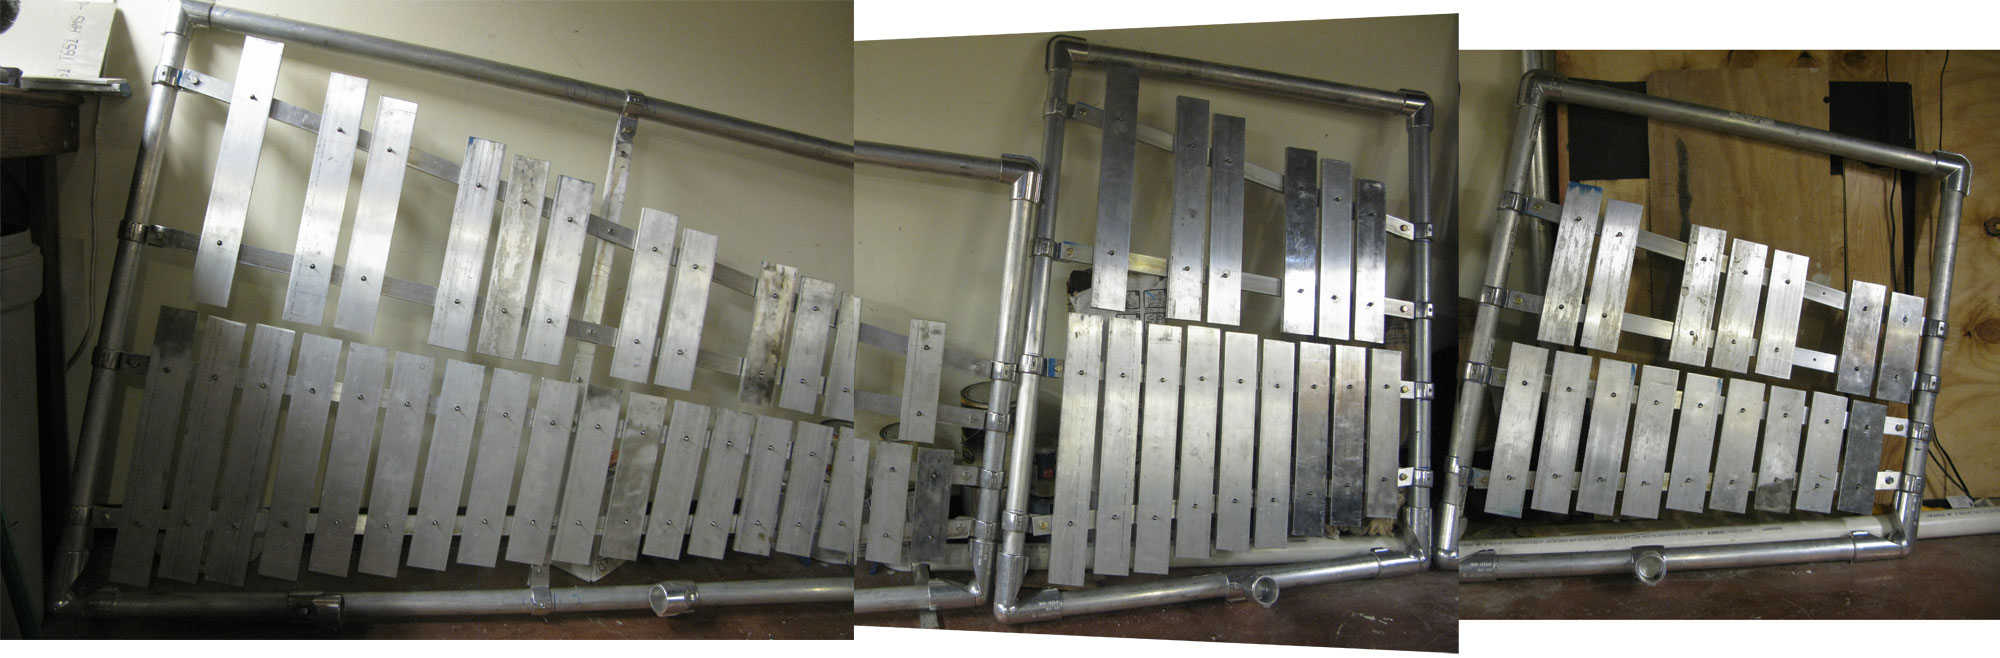
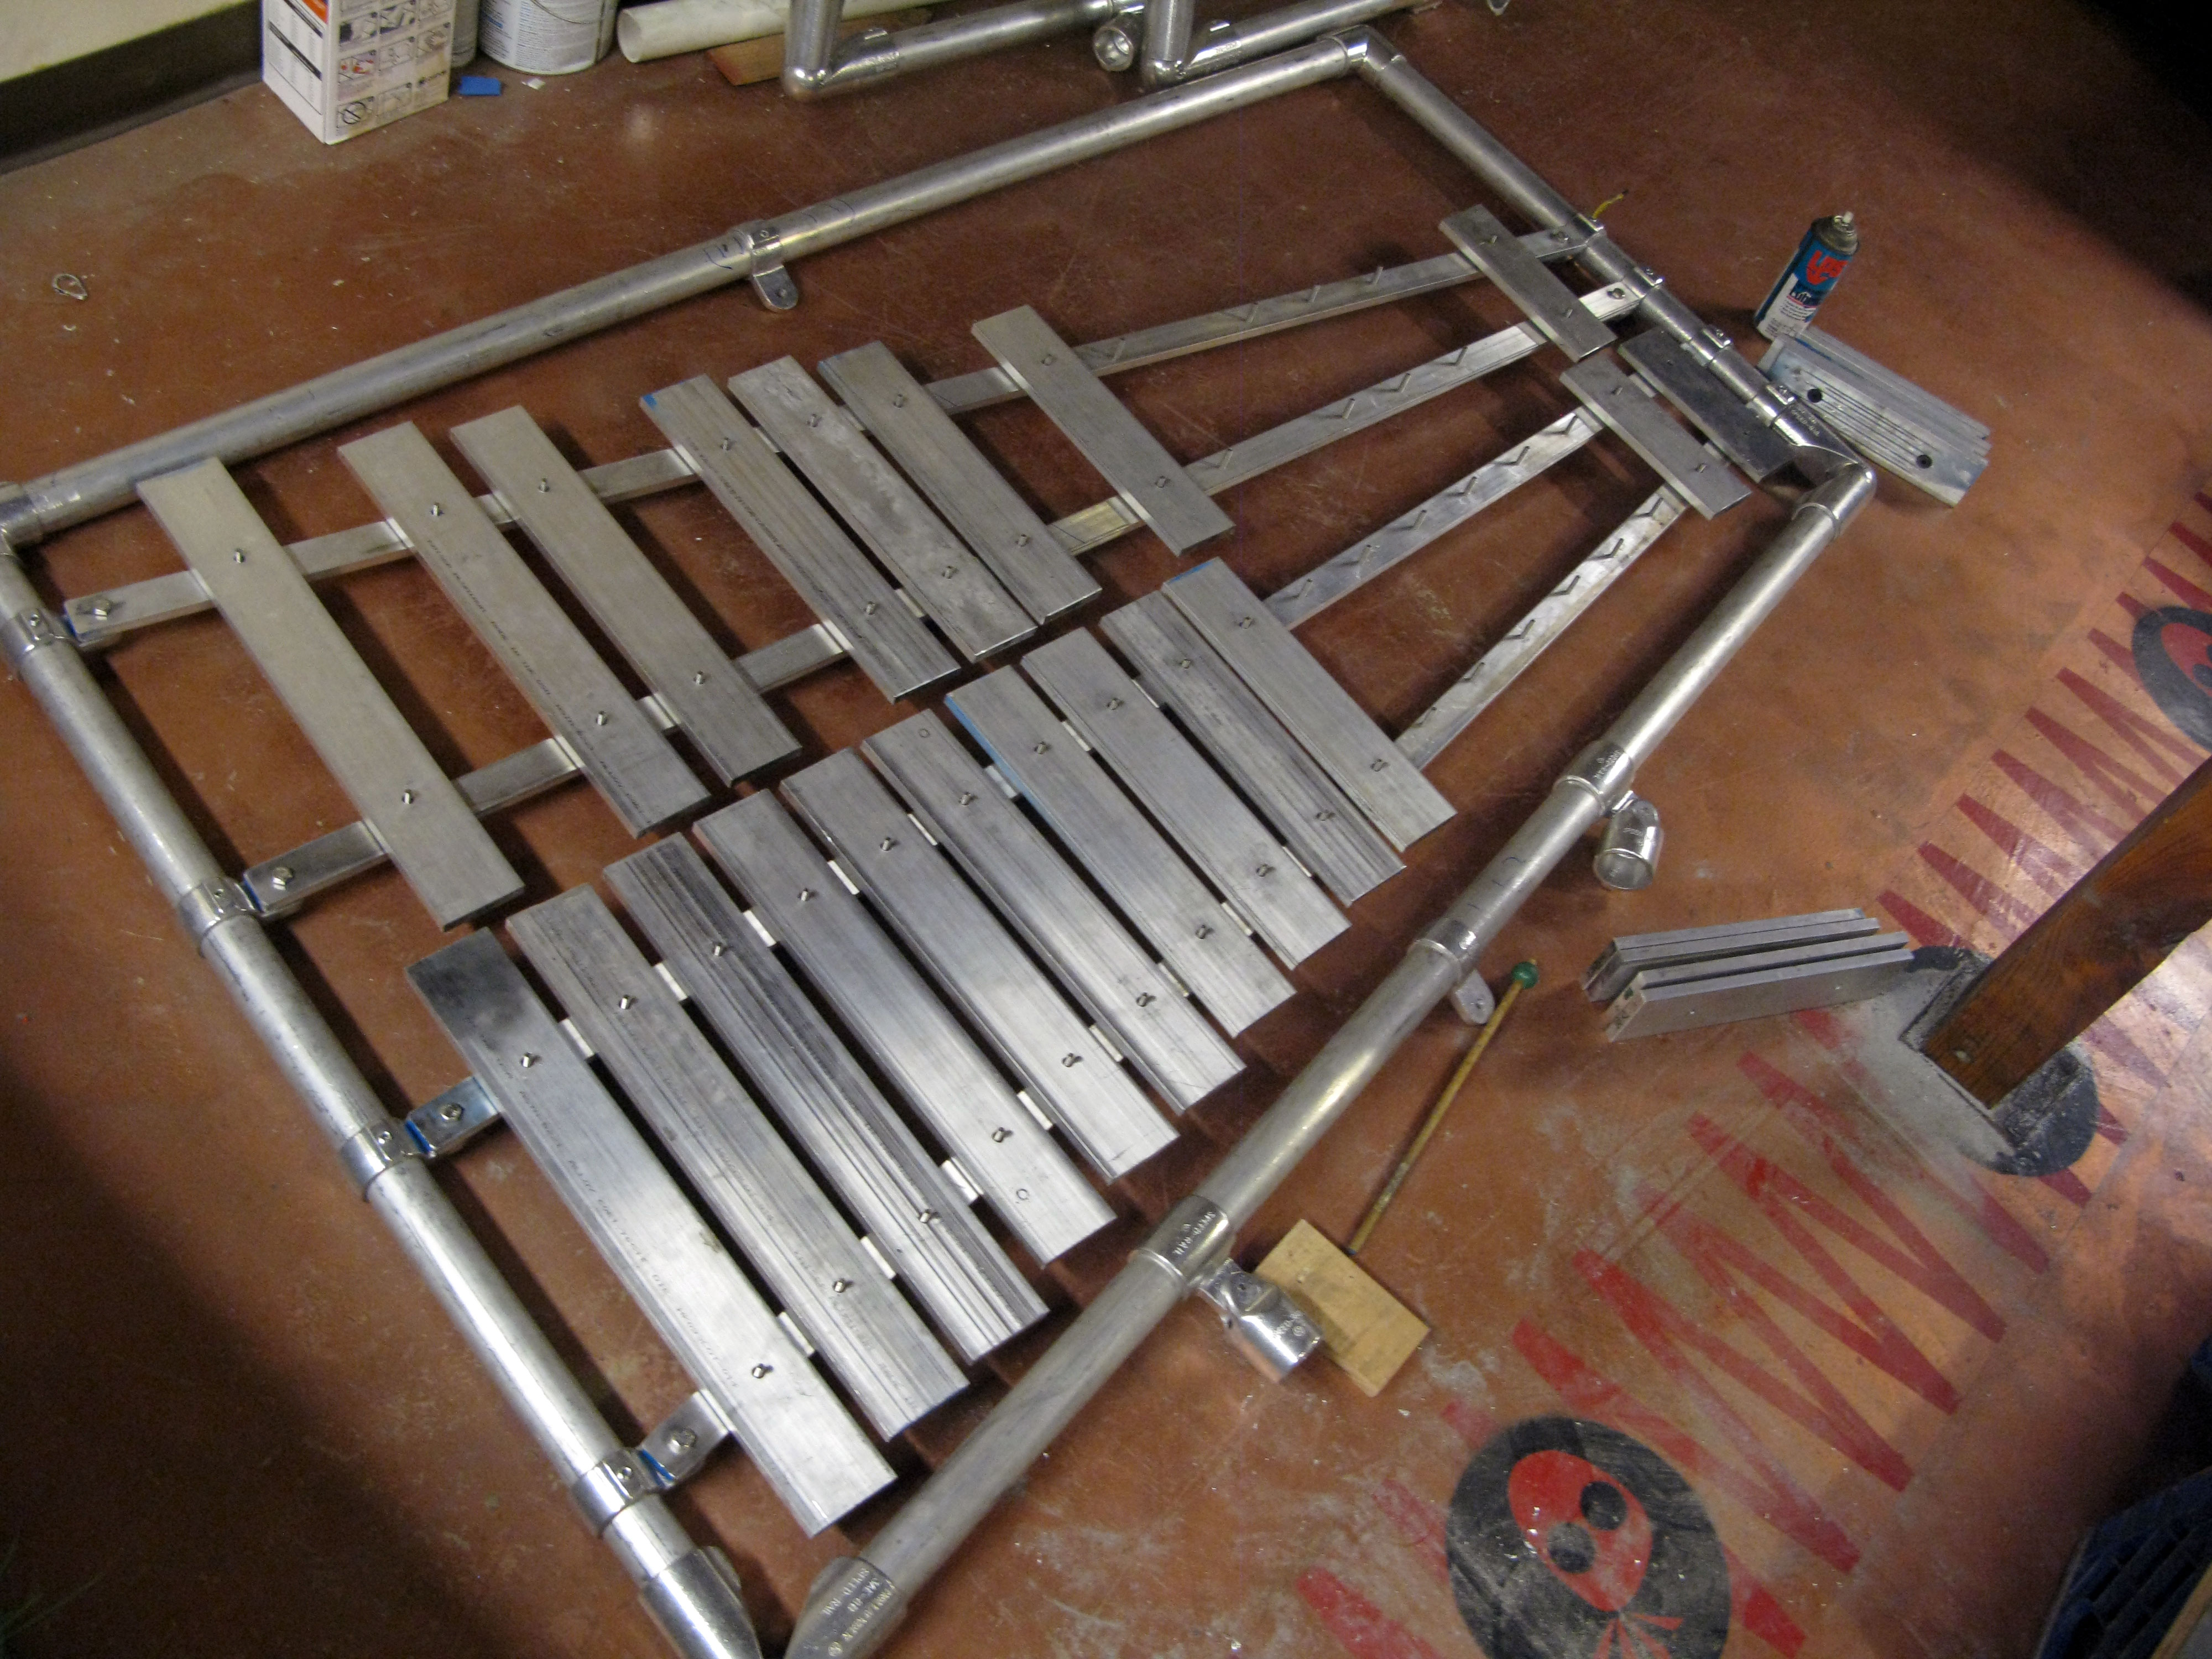
Keyboard 1 is more than 7 and 2 1/2 octaves long – running from A to high D#.

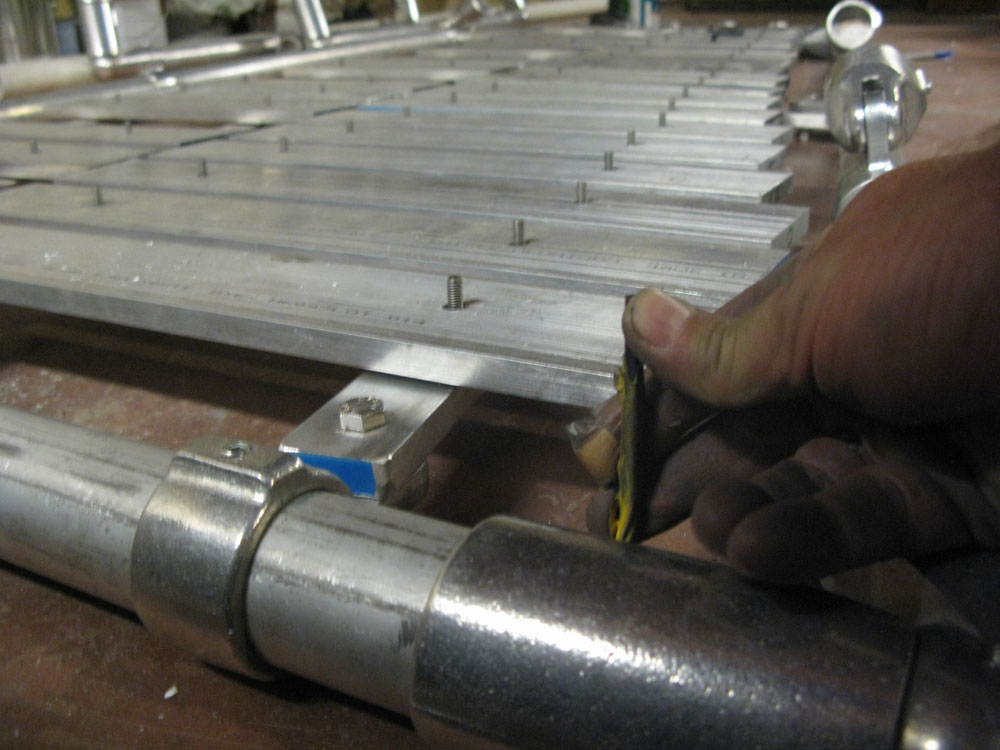
All that metal is pretty heavy, pharmacy and the weight actually bows the stringers that carry the keys across it, so I’m building in a crosspiece for support. It will run vertically between the top rail and bottom rail, and all four stringers will screw down to it for support.

I lay out the keys then I tighten the frame at the corners along the bottom …

More
Wherein we get a little professional help, and joy is restored

All the geek opinion and doomsaying in the world can’t beat a crusty old Chicano machinist in a crusty old machine shop.

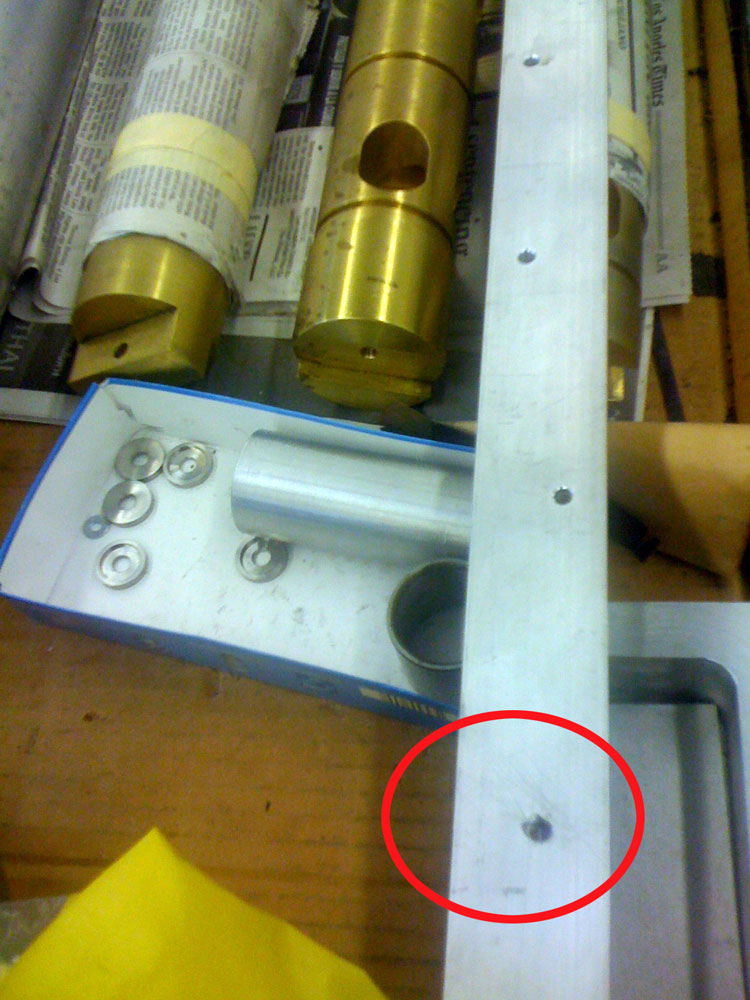
After Googling and dialing all over Hollywood, Los Feliz and Glendale in search of an EDM-equipped shop, I phoned a local machine shop and described my two mistakes.

“Ehhh, bring it in, we’ll see what we can do,” says the crusty old voice at S&K Precision Engineering Co.

So I bring it in. Within an hour and a half, I get a call saying “It’s all set.” They drilled in with a carbide bit (probably a better one than I used, and used an extractor on one broken tap, and a punch on the other – and now the holes are cleared.

The guy even took pity on me and told me the secret: countersink the holes from now on before tapping them – and use some cutting oil.
Done. I’ll be attacking that just as soon as the best little hardware store in Silver Lake restocks their 6mm Irwin thread taps. The ones that I seem to keep steadily depleting.