 There are two reasons for building a moveable command panel for the sound and light controls:
A) I’d like to be able to control the sound and lights from outside the van (so I can tell whether my knob-twiddling is having any effect. and B) I want to make the whole thing removable so that I can lock the van and take the junkie-bait with me whenever I park for a while.
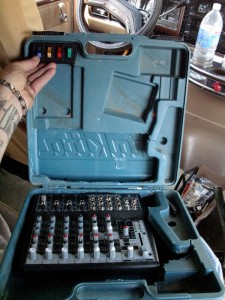
An old Makita power-drill box is the perfect candidate for this. It’s made of blow-moulded plastic, troche so it’s designed to take a beating. And with a little modification, it will accommodate the mixer, all the patch cords that come in and out, and even a little switch-panel for various light circuits.
I Dremel out some of the box’s lining, which was form-fitting for a Makita power drill but would otherwise clamp down on the mixer’s knobs and jacks …
There we go – nice and clean …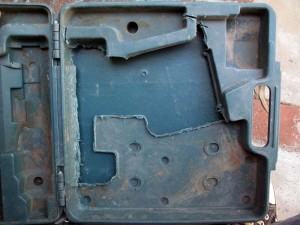
Everything fits perfectly.
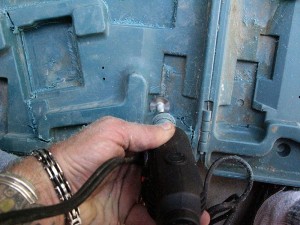
Then I cut holes big enough to accommodate 3/4″ conduit connectors …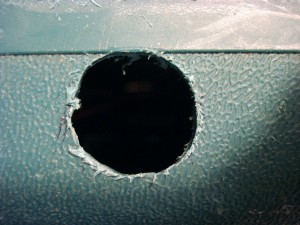
… which I insert into the holes …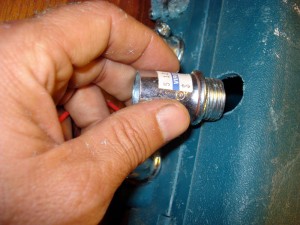
… and then secure from inside the box by means of a collar. 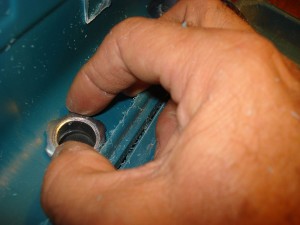 …
…
There are six of these ports, to accommodate wiring for the lights, power in and sound out from the mixer, plus the mikes and anything else that we might want to plug into the box.
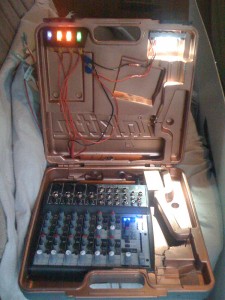
Next, I paint the inside of the box a fancy metallic copper (Makita’s teal plastic looks especially pathetic 16 years on) … 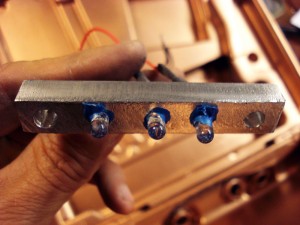
… and for nighttime, I install a little LED array I made out of some scrap aluminum and leftover LEDs from our bike trailers from BM ’08.
I’ve also created a 12-foot-long umbilical cord to carry power and signal back and forth between the battery, the pod, the amplifier, the mikes and the speakers – I’ll post photos once that’s all squared away.
Here’s the finished pod: 