It took us a couple of weekends and some help from excellent friends to do it, but Chuckles (my loving and long-suffering art-car widow of a wife) and I built 14 chandeliers with the help of dear friends Lee Vodra and Christefano Reyes.
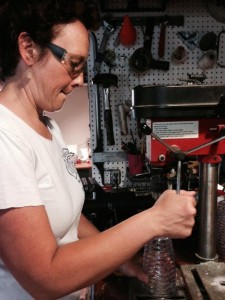
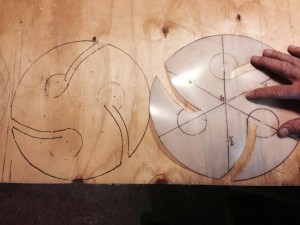 We began with discs of 1/2-inch plywood that I designed by using a template that laid out the shape and designated holes and slots that would hold the wiring and conduit in place.
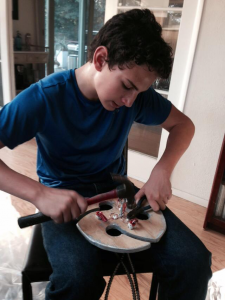
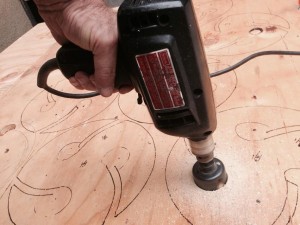 I cut out big holes with a keyhole saw.
 Then I began cutting the curved slots and drilling holes to accept three “arms” of conduit for each of the 14 chandeliers. I worked with two sheets of plywood sandwiched together with clamps. Slow going, but it kept the results uniform and consistent.
 Meanwhile, Chuckles (Kristina) hacksawed up 42 2-foot lengths of half-inch two-pole electrical conduit from a 100-foot coil of the stuff.
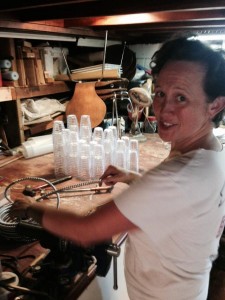
 She then drilled out the bottoms of 42 plastic tumblers she discovered at L.A.’s beloved 99 Cent Store – a much better design and result than my original plan to mount the 300 Chinese LEDs into chunks of PVC pipe.
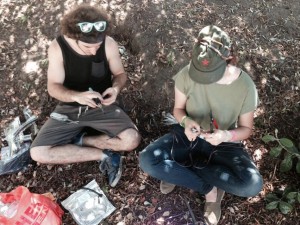
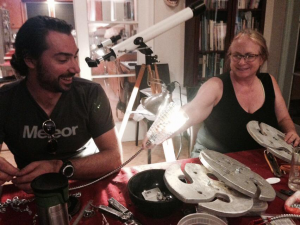
 We brought these into our temporary chandelier factory (the dining room) and began assembling them.
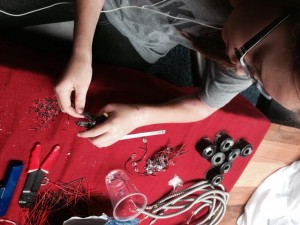
This involved stripping the wires of each of 300 LEDs (thanks, Hitgirl – our daughter, Miranda – for the careful, tireless work!) and then stripping the wires at both ends of each chunk of conduit.
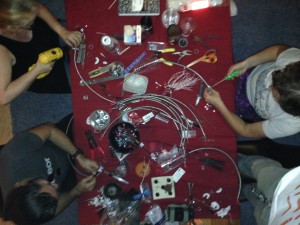 The work table quickly became a rat’s nest of wiring, conduit, insulators and debris.
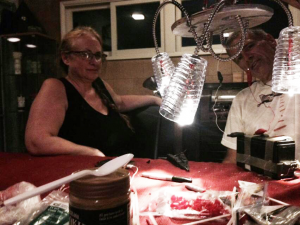
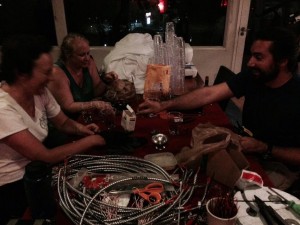 We worked for two long 10-hour sessions, building each head by inserting a chunk of conduit into a conduit connector, inserting a drilled plastic tumbler onto the end, wiring a cluster of 7 LEDs into the end and securing it with the connector’s screw-down collar.
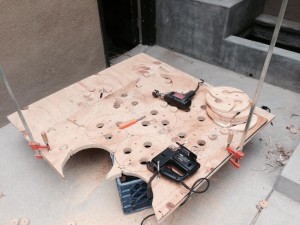
 Before long, we had collected 42 fully wired heads.
 Then we began inserting the heads into the plywood frames, securing them with thick zipties on top and bottom, and inserting 1/4-inch steel eyebolts through the frames’ centers so that they could be hung from the top of the struts on the van’s superstructure. Thanks to Biomass (our hard-working son, Cooper) for helping the crew build these, one by one.
 Christo and Lee brought not only quiet industry, nimble fingers (and lovely snacks) to the factory, they brought awesome conversation that made us all forget the mind-numbing, fingertip-shredding labor of thousands of cuts, strips, insertions and crimps involved in assembling our vision for The Light Fandango.
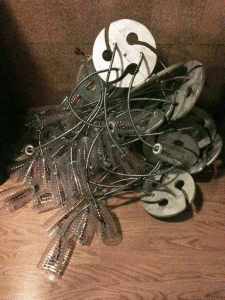
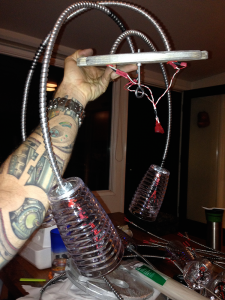 And it paid off, bigtime. Here’s a structural view of a completed chandelier (held upside down) showing the conduit, wiring and mounting bolt.
 Here’s the finished product, a glowing chandelier run off a 12-volt battery we used for testing.
 And here’s a stack of beauty – 14 handbuilt, playa-ready chandeliers, just awaiting packaging, transport to Black Rock City, setup and installation around the crown of “The Light Fandango.”
We really enjoyed this chunk of our massive project, and we’re so very grateful for all the help we had in bringing it to life. Lee and Christo, we love you both.
Stay tuned for photos of the end result. It turned out mindblowingly gorgeous.
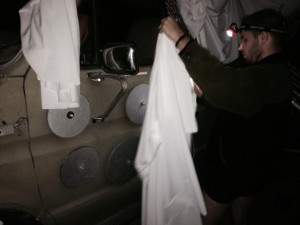
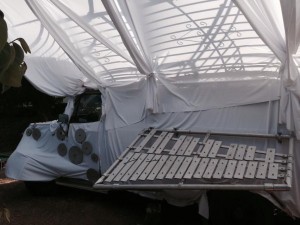
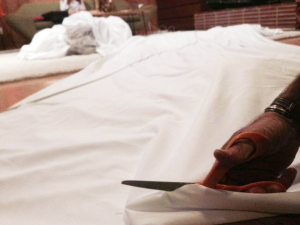
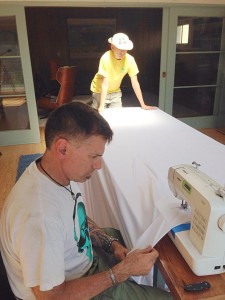
 The swaths of fabric covering the front quarter panels and doors proved especially tricky. I had fabricated quarter-spherical shells of aluminum strap to make armatures that carried the fabric out from the front wheels, to allow for safe turning and lend a soupcon of style.

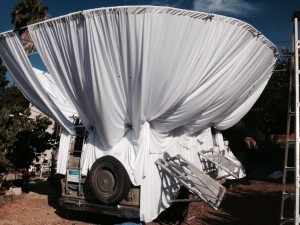
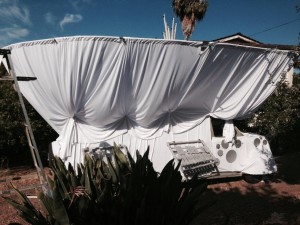
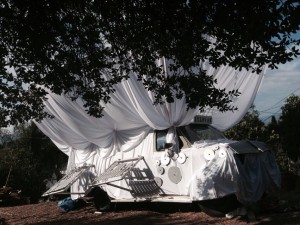
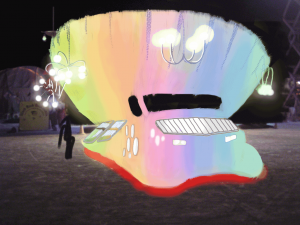
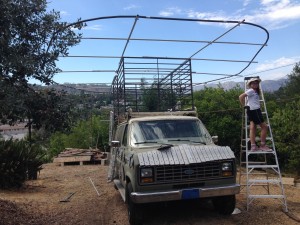
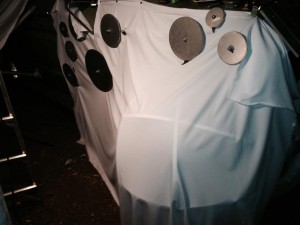
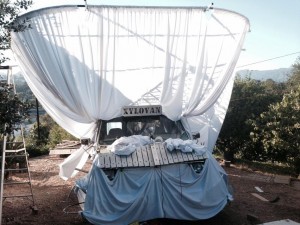 And lo and behold, it’s starting to resemble