
 As I mentioned before the only way to build a really interesting mutant vehicle is to either be a genius or work with geniuses.
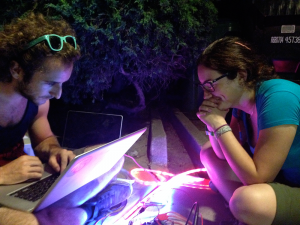
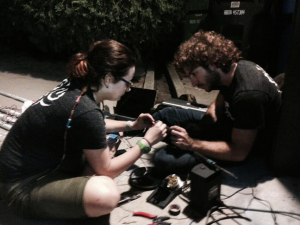
Lucky me, I’m in the latter camp: Spencer and Rina continued hooking up the elaborate Arduino-run LED array this week.
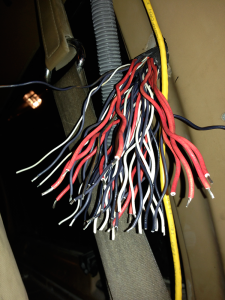 The trick was bringing the mass of wires coming down from the deck harness – four poles each (power, ground, data, clock) for each of the 12 lightbars – into the van to connect with the Arduino board and the controller.
The trick was bringing the mass of wires coming down from the deck harness – four poles each (power, ground, data, clock) for each of the 12 lightbars – into the van to connect with the Arduino board and the controller.
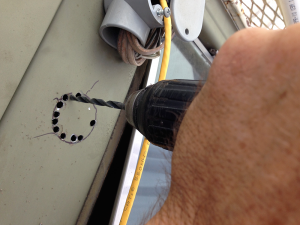 To do this, I drilled a one-inch hole (okay, a series of holes that I ground out to be just over an inch in diameter) into the driver’s-side door pillar and through the inside paneling to a spot just below the driver’s seatbelt.
 Then I mounted a rear-access conduit body into the pillar, just below the existing one that carries sound cable and wiring for the original lighting system.
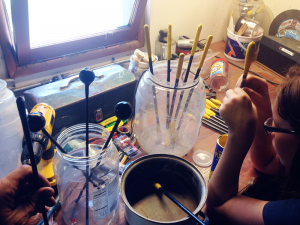
Once I pulled all 48 wires through the hole (after sleeving the inside with a protective chunk of bicycle inner-tube) Rina and Spencer went to work hooking up the Arduino.
 This took many hours of patient work by flashlight, the two of them crunched up around the driver’s seat, screwing down terminals and soldering where necessary.
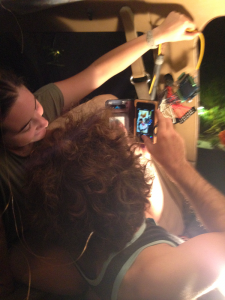 A job well done deserves to be photographed.
 While they continued on with soldering connectors to wiring harnesses for the underbody lighting, I crawled under the van and suspended lightbars there on both sides between the wheels, under the front bumper, and under the boarding deck in the rear.
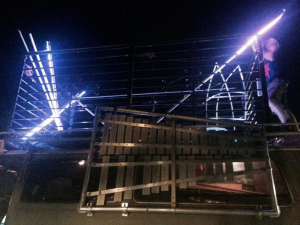 Then we plugged everything and ran some tests.
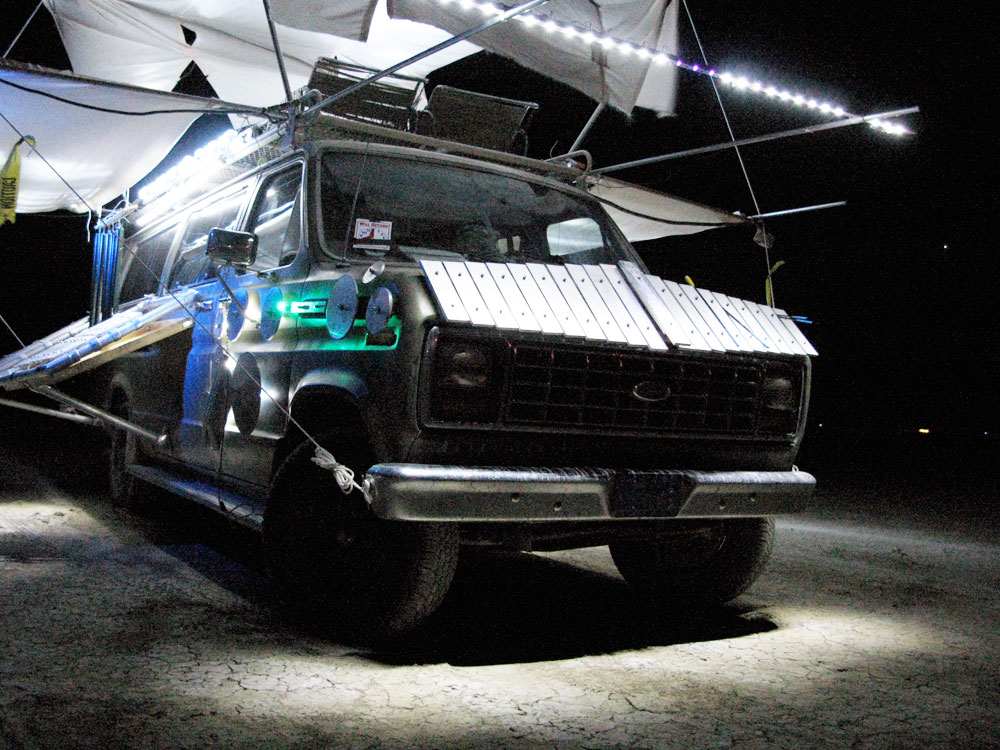
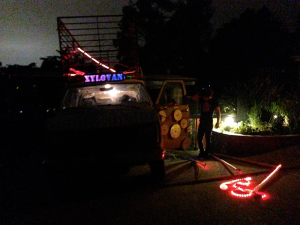 Here we have the sign and some of the underbody wiring – still to be connected on-playa to the front-wheel shrouds – running in multiple colors.
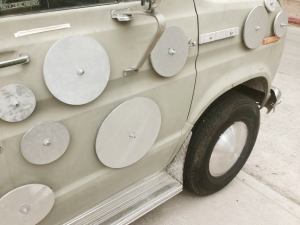
 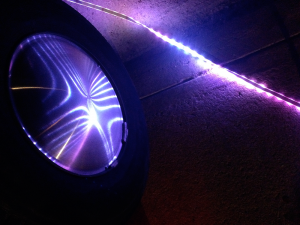 The lighting looked glorious reflected in the racing-disc wheel covers I had installed earlier.
 To cap everything off, Spencer fabricated a nifty control box with a toggle switch at top for selecting the lighting circuits for roof/canopy and underbody, a pair of next/back pushbuttons for selecting a particular animation, and a mysterious chromed knob labeled only “MAGIC.”
At this point, I’m giddy – half with exhaustion and half with delirious excitement at what the whole thing will look like at night after we assemble it on-playa.