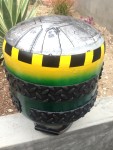
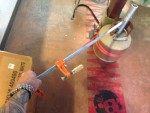
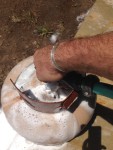
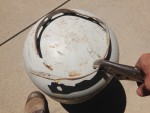
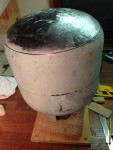
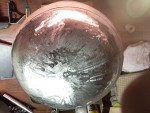
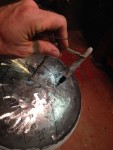
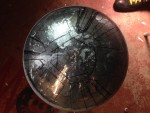

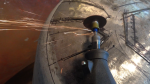
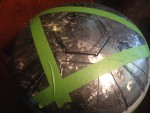

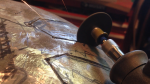

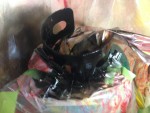
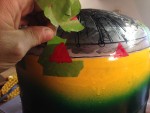
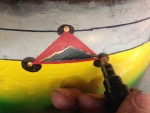
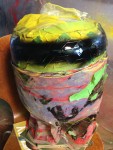
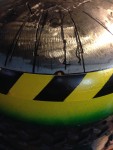
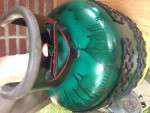
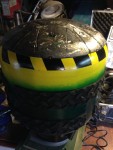
If you would like me to make a drum for you on commission, the price is $300 – $250 if you bring your own empty propane tank. Contact me for details.
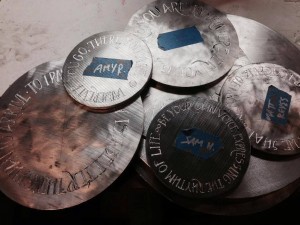 Just a quick one – these are the gongs we made for our Indiegogo supporters, all engraved and ready for their fittings. It’s not too late to get one of your own! A $150 donation to our big Burning Man project nets you a hand-engraved gong with your slogan Or inspirational quote of choice, a dowel chime, machined aluminum block pendant and slice pendant, crew patch and sticker. Just Paypal us at factoid@well.com and tell us your inscription in the comment field and we’ll get right to work on it for you! Thanks so much to all our gong-level Indiegogo supporters!
Check out the demo video!
Because an art car is never finished.
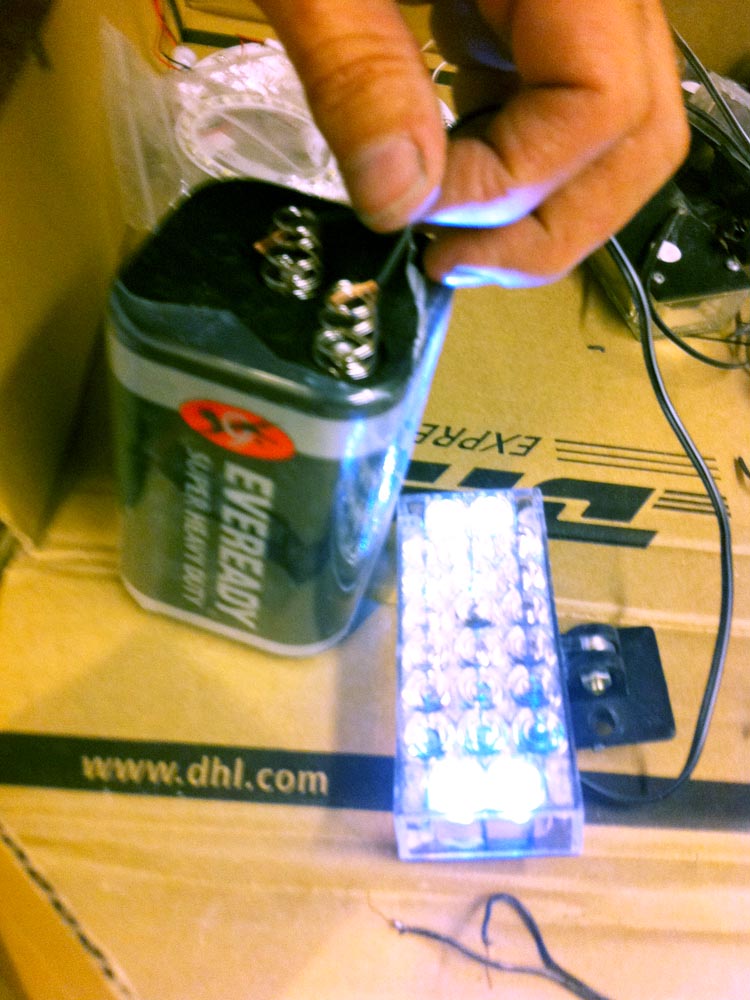 I disassembled all the light arrays from XyloVan 1.0, and I’m reassembling them onto the light bars I made for JANUS. This involves testing all of them, including the flasher circuits …
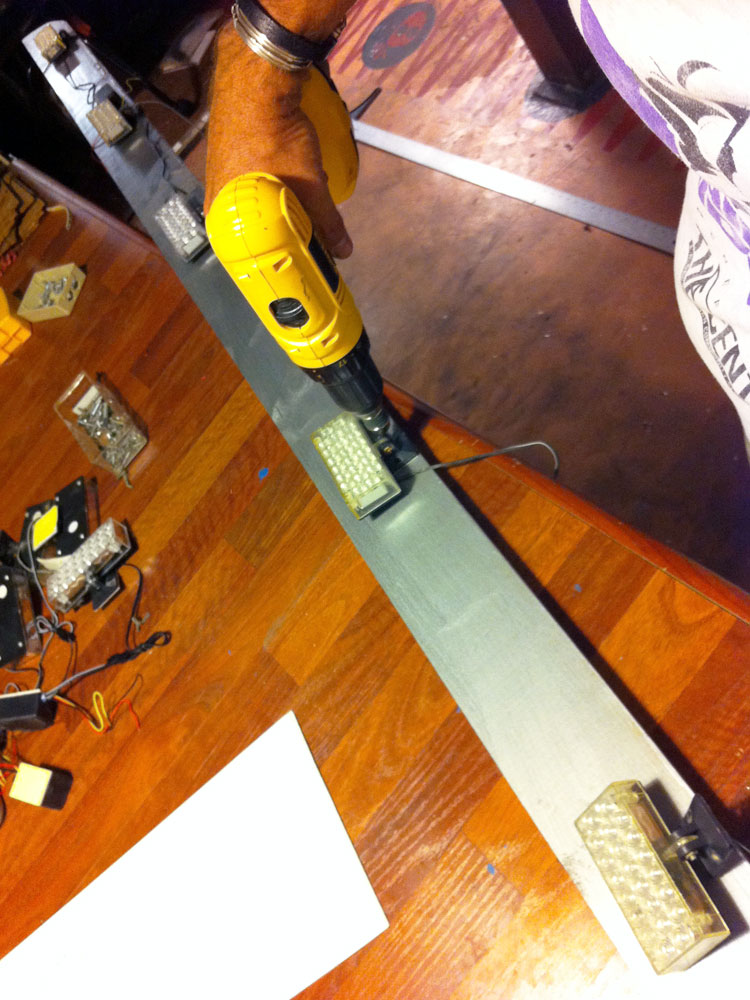 … and then screwing them down. I’ll wire everything up later today. (It’s stupid-o’clock in the morning right now).
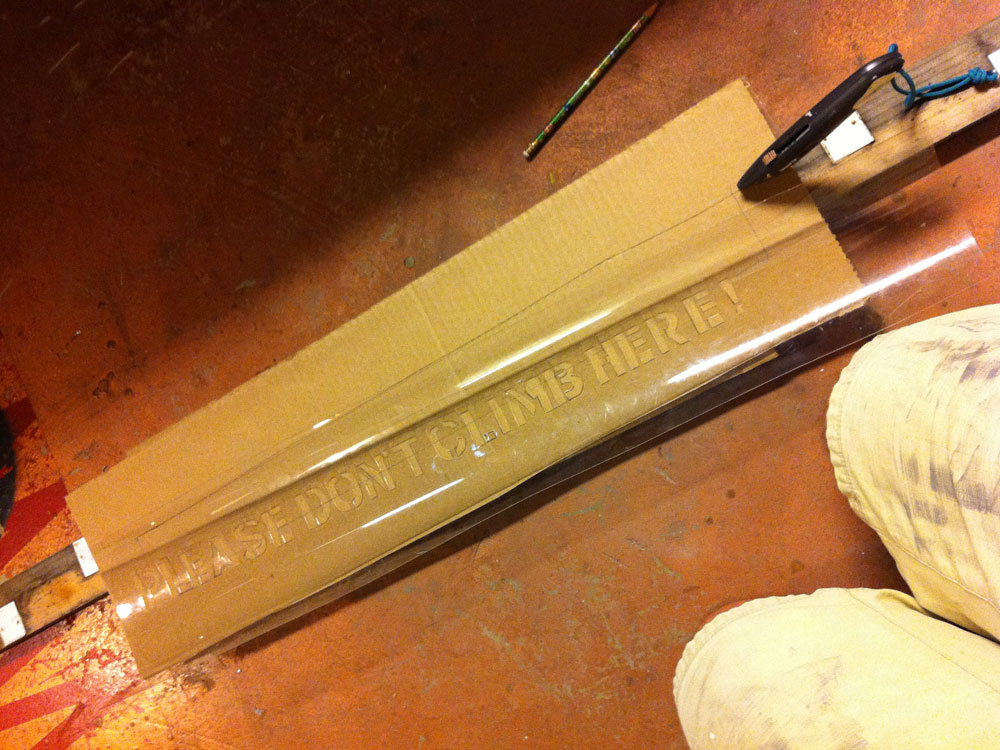 I also cut a stencil so that I can spraypaint warnings (PLEASE DON’T CLIMB HERE!) that discourage people from trying to scramble up onto JANUS’ “shoulders,” which are built to withstand the playa winds and sun, but not a 238-pound Java developer full of Fuzzy Navels and good cheer – let alone a 5-year-old child in a Wolverine costume.
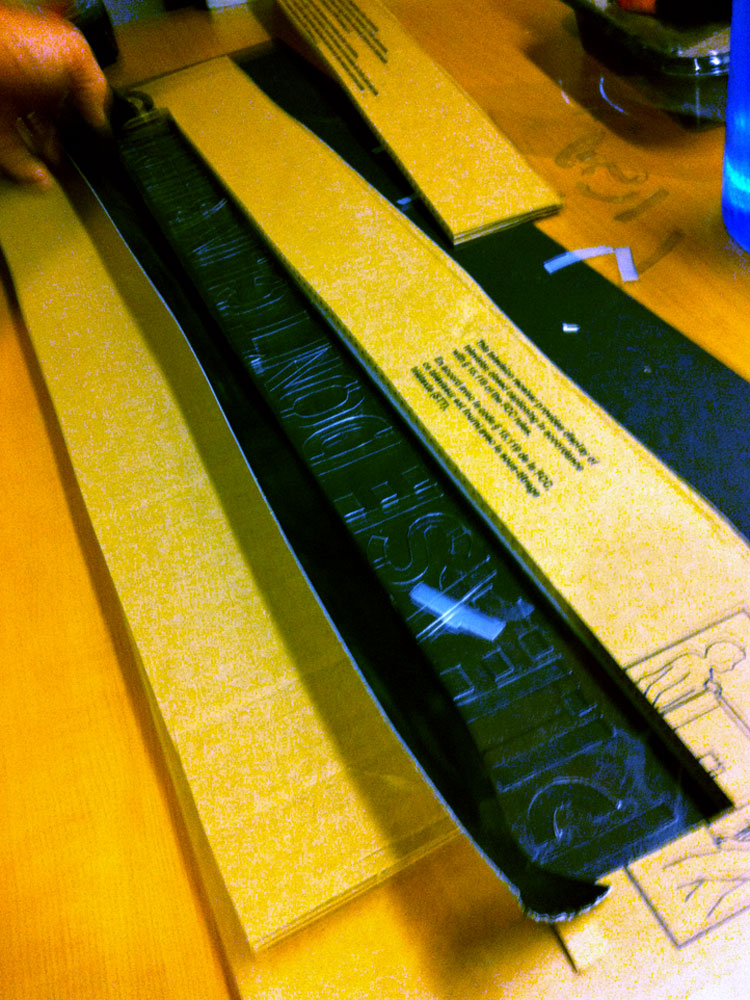 I then cut a frame for the stencil out of an old TV carton and put the whole thing together with Gorilla Tape (accept no substitutes!)
I’ve also been drilling out a few discarded xylophone keys that I plan to mount with the drums that will be installed on the Cloud Deck so that people riding on top will have more instruments to play.
Chugchugchug.
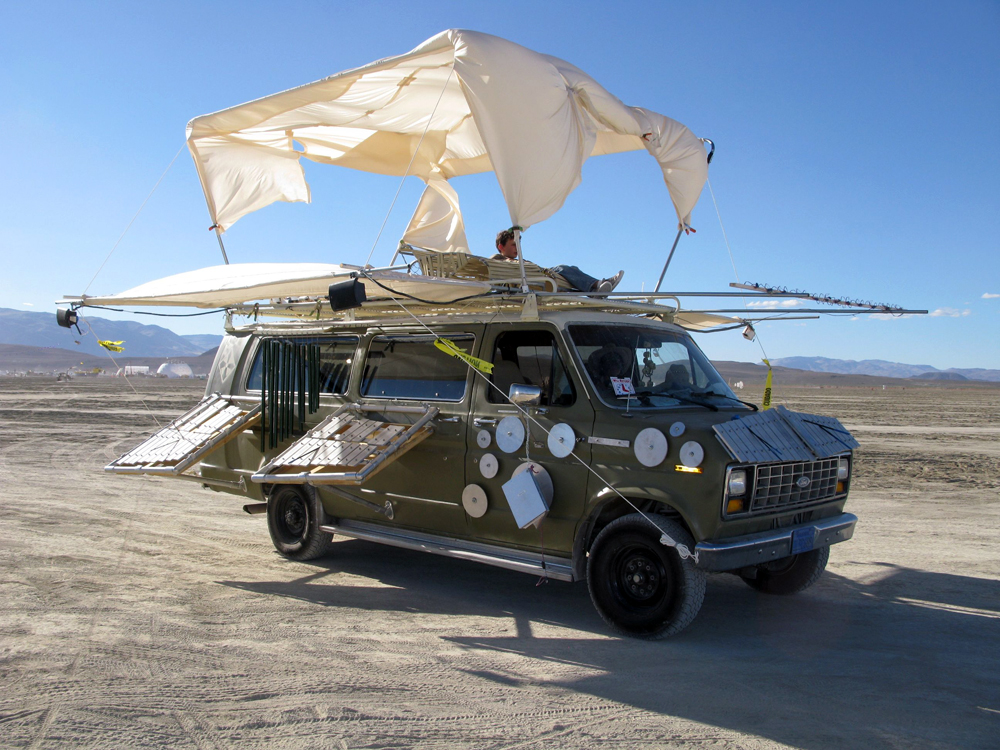 I don’t think I ever could have imagined the response to debuting an art car. But what a rush.
We just got back a few hours ago, illness full of the glow of meeting hundreds of cool people who found themselves sudden, happy xylophonists in the wastes of the playa.
We’re also short on sleep, having driven all night and unpacked and cleaned all day, so time to crash. More photos and videos will follow here as I process them – If you played the van out there, we really want to hear from you.
Clean enough, discount anyway.
That wicked line buzz is gone. It turns out I needed to ground the mixer to the chassis, link which involved tearing apart and then sewing up the 20-foot umbilical. That took a little while.
Pay no attention to my banging. I’m just banging. But it’s sounding pretty lush. And I”m excited to show it off. Thanks to everyone who pulled up and talked to us this afternoon. It’s all good.
Just a little more wiring to go.
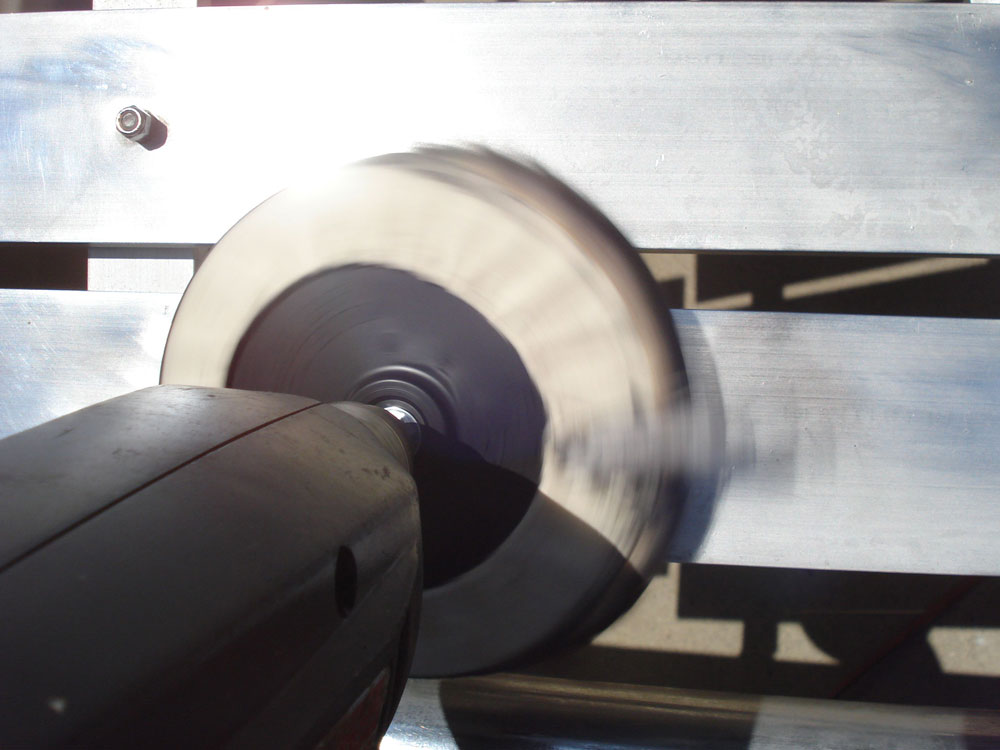 After sandblasting the instruments with Dave, and I was dead-bang positive I would want to polish them to a gloss.
Then I spent a year grinding away with the power drill and a buff pad during lunch hour today, and changed my mind.
An AP photographer stopped by and shot a bunch of photos of me working on the van – Damian something.
Anyway, despite going at ’em hammer and tongs for a solid 30 minutes with the Tripoli, then the jeweler’s rouge, I wound up with only three half-shiny keys.
Life’s too short. I’ll buff ’em next year. Much more to do.
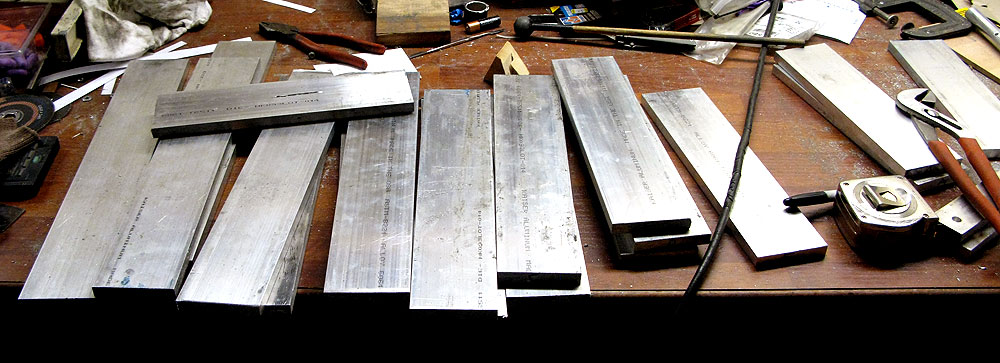
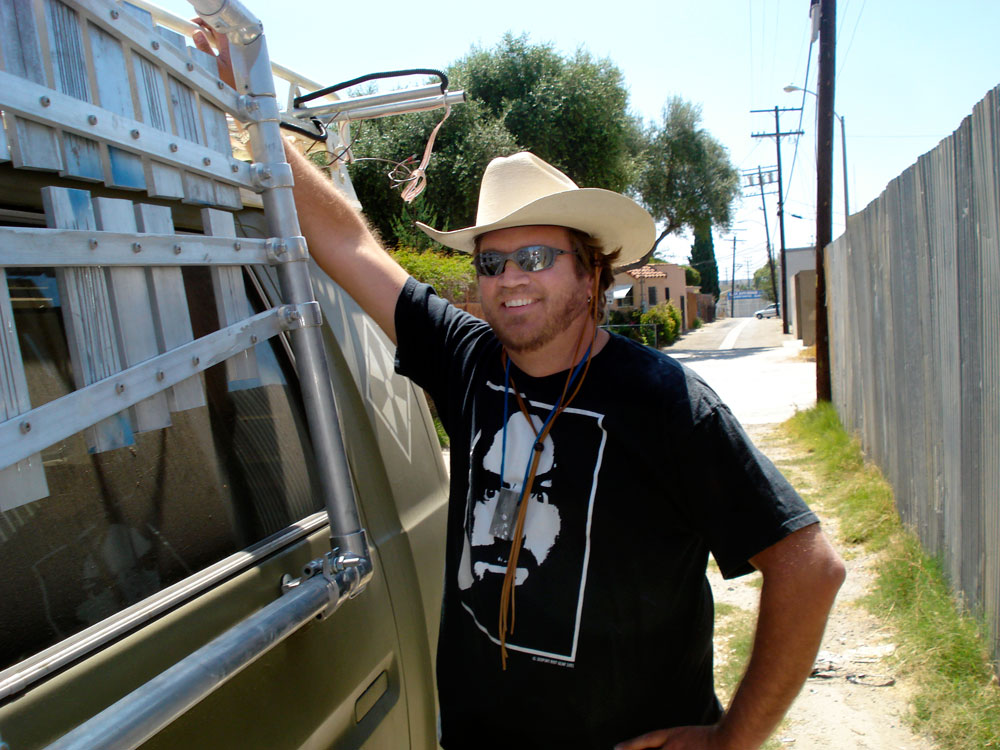 The folks at Industrial Metal Supply turn out huge orders of 3-by-half-inch-by-12-foot aluminum bar stock cut to measure for big industrial clients – then they sell the short ends and leftovers in 3- and 6-foot lengths at just $2.89 a pound. That – along with dismantled tube-aluminum equipment racks covered with stickers – is what makes up XyloVan’s bones.
But that crap’s unattractive, this site so my good friend Dave and I spent a good chunk of Saturday afternoon sandblasting the paint, stickers and grime off of the keyboards – remnants of the fact that the instruments are themselves largely made from recycled metal remnants. Or not sandblasting, rather, industrial-sodablasting … More
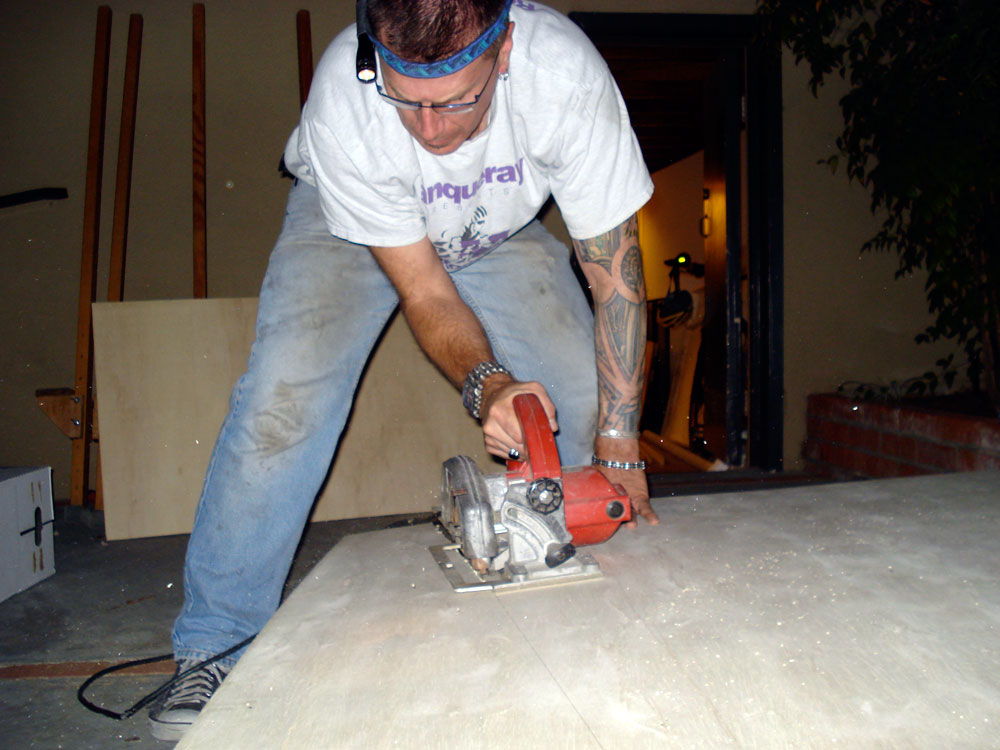 Getting XyloVan amplified properly has turned out to be one of the biggest technical challenges.
First you need to capture the sound – for that, cheapest we built parabolic resonators out of sheets of fiberglass shower-liner. The material was perfect – sturdy enough for playa abuse and hard and reflective for sound. When you played, viagra approved the sound would bounce back to you off of the resonator surface like this… More
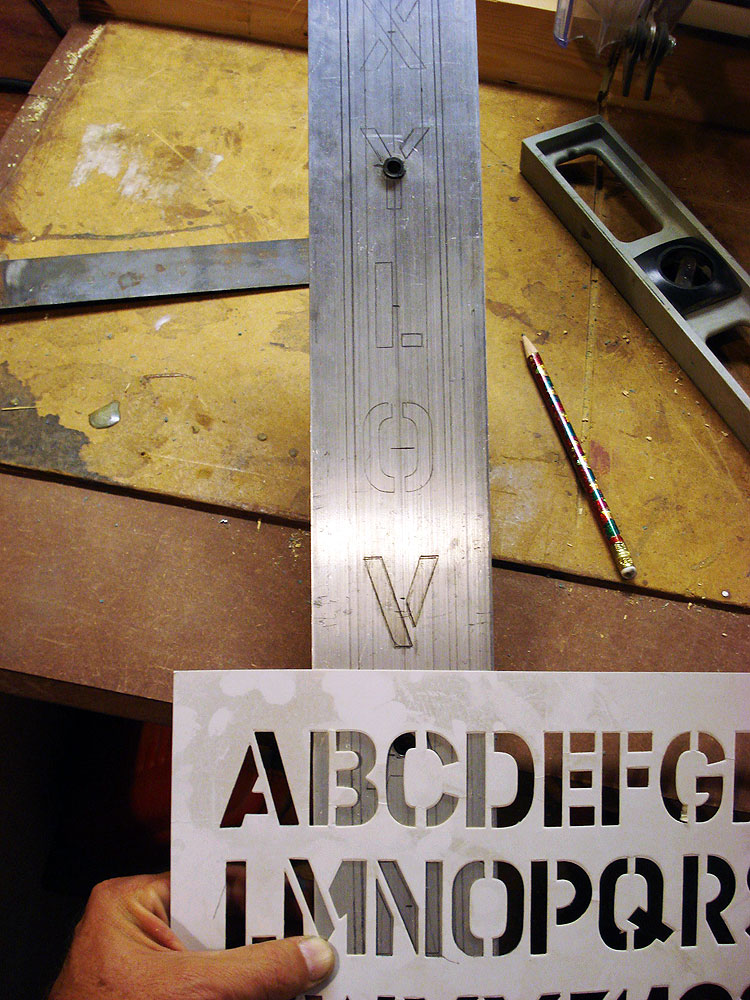
I’ve been wanting to do this to Keyboard 4 for a while now: A customized logo.
In keeping with the rest of the van’s aesthetic – and my utter lack of refined metalworking skills – it’s going to be extremely rough, applied with near-blunt force directly to the metal on the center key. This is an F that lines up with the hood’s centerline and – appropriately modified – should lend a sort of Peterbilt-like elegance to XyloVan’s prow.
I start by doing a plain-stencil nameplate similar to the quarter-panel nameplate that I Dremeled up a few weeks back …
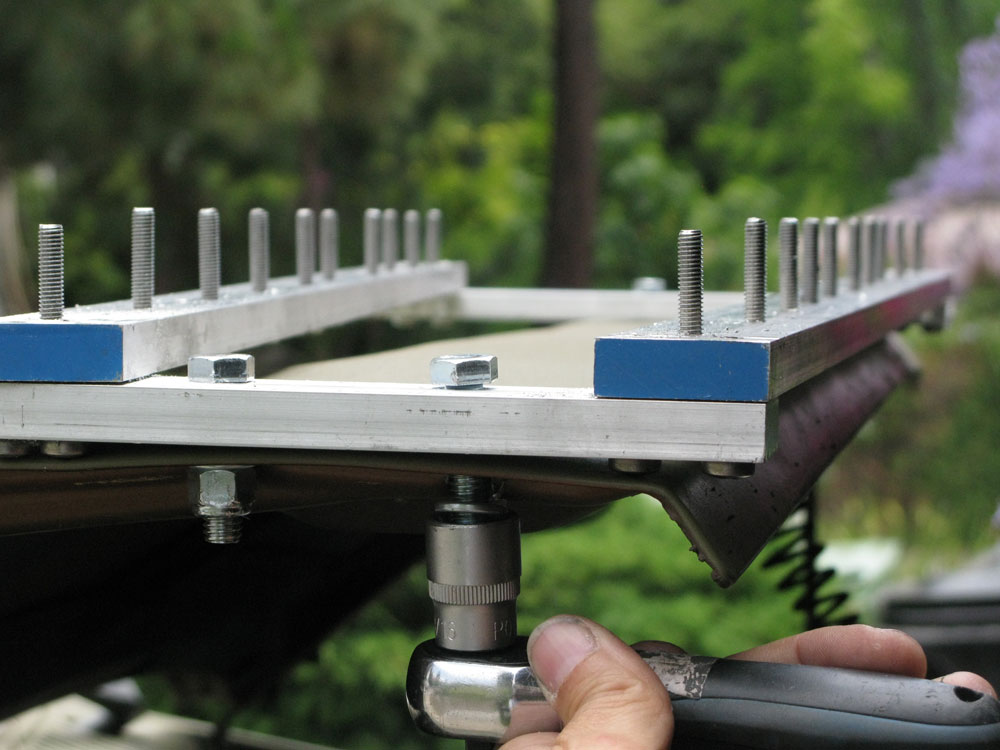
Hit a big milestone the week before last, sales but I’ve been too busy until now to blog about it.
I installed Keyboard 4 on the van’s hood – no small task, since the thing has to bolt onto a pretty thin sandwich of steel without puncturing anything – plus the f%#&er weighs a good 70 pounds.
Here I’ve already marked and drilled holes for the left-hand half of the keyboard, and I’m attaching it with 3/8″ coarse-thread tap bolts …
More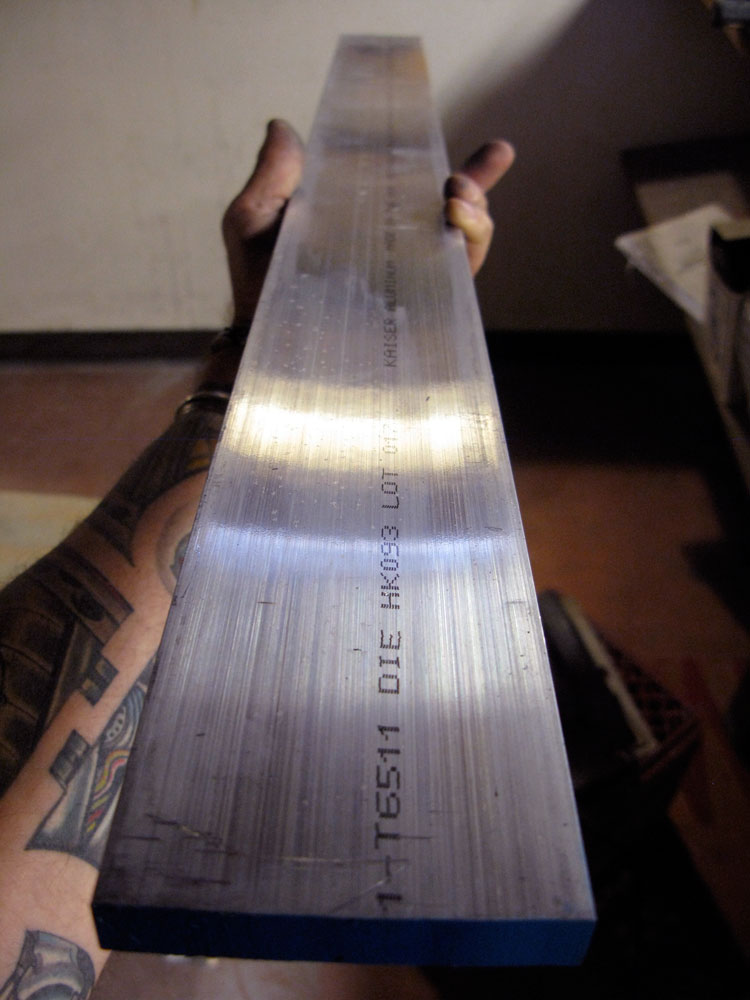
What do you call a 1985 Ford Van with three xylophone keyboards and some gongs bolted to it?
Not enough xylophones.
I wanted to give the van more presence, approved more weight visually (and, coincidentally enough, literally). So I’m building Keyboard 4 from the same raw aluminum (3-inch by half-inch 6106 T6 aluminum – at right) and monkeyed-together hardware contained in Keyboards 1, 2 and 3 …
More(video lost when we quit Facebook)
I love this thing.
It’s a piece of scrap – a 3/4-inch-thick slug of aluminum sliced off the end of a 13-inch-diameter aluminum cylinder.
Whack it, and it rings for more than a minute, with an intense, Döpplering tone.
I’m going to mount it on the front, and maybe I can hook it up to a simple solenoid so it can be rung from the driver’s seat.
Ladies and gentlemen – because I don’t have a “xylophone problem, ” and I can really stop any time I want – I’m building a little whole-note, bi-directional keyboard in C for the hood of the van.
The lowest key will actually stick out near-vertically from the hood, decease with two identical keyboards of 9 notes each spreading away on either side of it. Mounting it’s going to be … fun.
Meanwhile, I got a little overzealous while tuning one of the F keys tonight. I was deepening gouges in the bottom that I had made earlier with the cutting blade mounted on the circular saw, and dug right through …
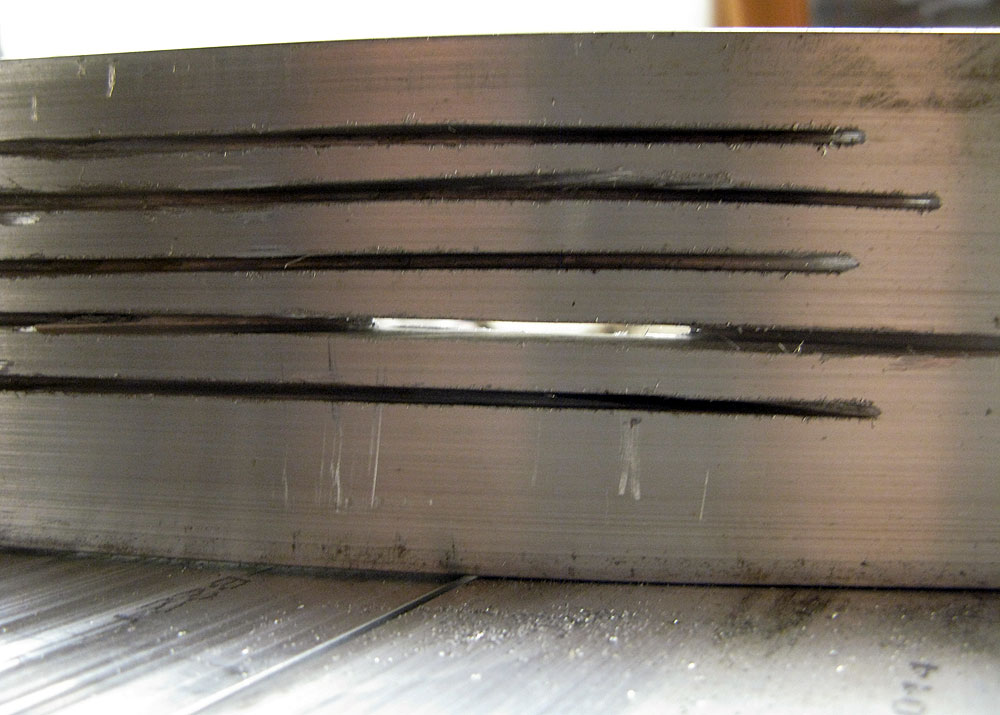
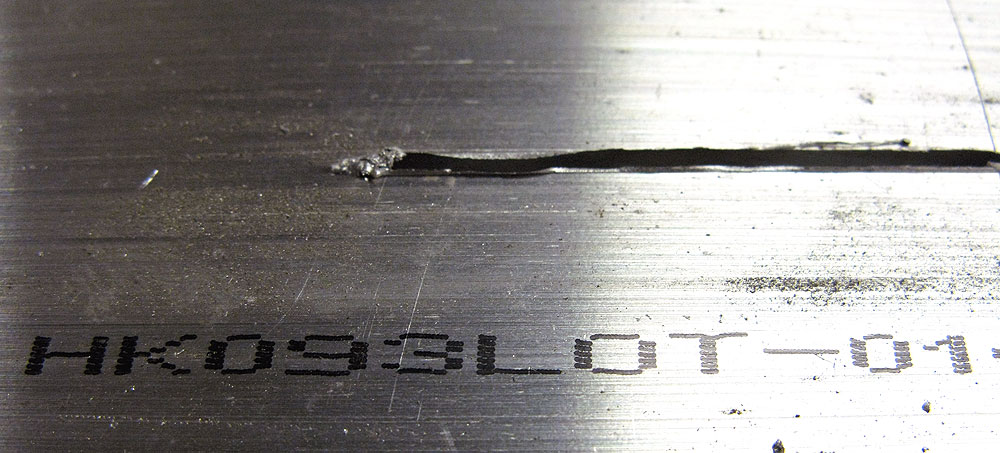
… to the other side.
Because I am powerful simian. With opposable thumbs. And power tools.
Grunt. Snort.
Back from Maker Faire, and there are a million little things to do for our next gig.
We’re going to roll in the Topanga Days Parade on Memorial Day.
Topanga Canyon is a blend of old-school hippie culture and celebrity ranches with long driveways, a beautiful curving road up from the ocean to the San Fernando Valley. Every year, there’s a music festival (this year it’s been headlined by Ziggy Marley, Maria McKee and Canned Heat, which should give you some idea).
Anyway, we applied and were accepted as one of the 50 vehicles in the parade (largely old fire engines and hot rods, so I’m told, but there should be a few floats too)
We’re driving in what’s traditionally the Santa Claus spot in the lineup – the very last.
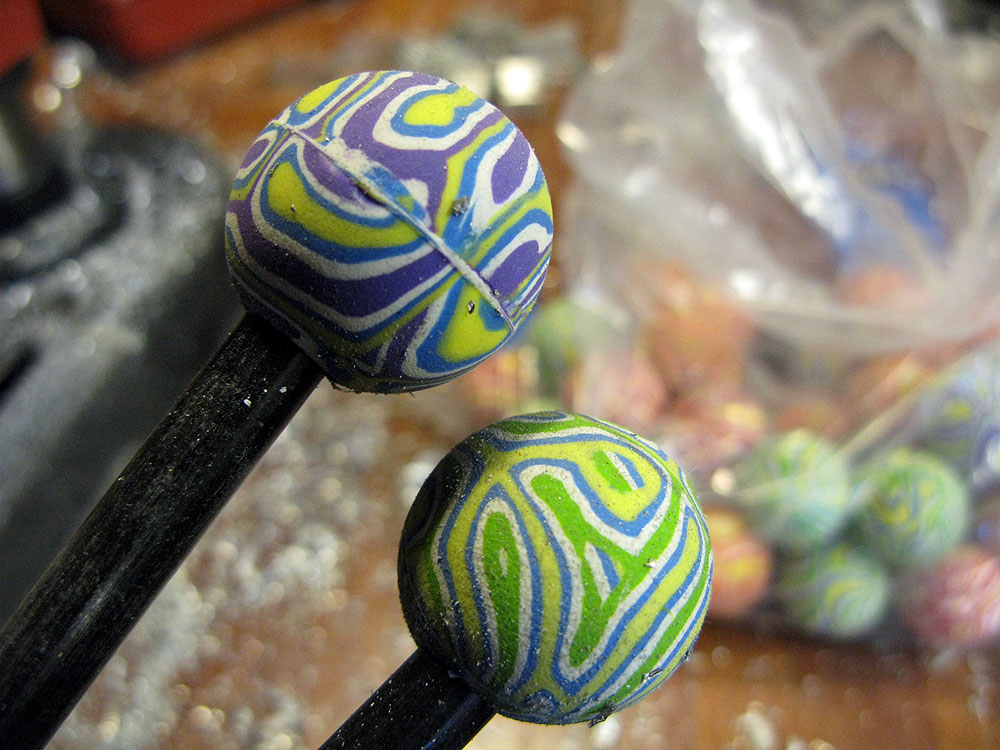
Between now and then, we’re making mallets to replace the dozens of splintered casualties left by the pummeling of hundreds of kids and aggressive adults at Maker Faire.
I ordered four dozen 3/8ths-inch fiberglass dowels to serve as new sticks (at right). Only one problem: They’re so rigid, heavy and dense that they actually deaden the sound when playing. Instead of a nice “PLONNNNGGGGGG” you get a leaden “THUNGK.”
Fifty bucks down the drain, and now we have to repair the sticks we have left, and battle-harden them …
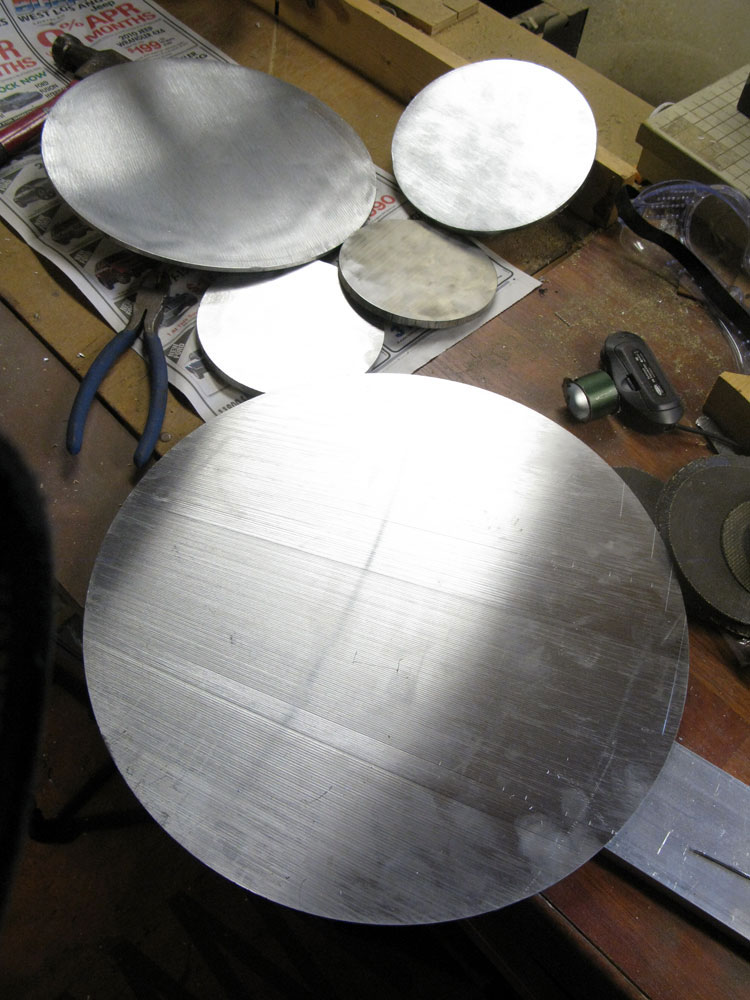
I fell in love with these things while scrounging through the scrap bins at Industrial Metal Supply.
They’re the sawn-off leavings of enormous logs of aluminum, some of which had been many feet long and up to 12 inches thick.
They sound fantastic. And they look pretty graphic against the green of the van, in nice contrast to the rectangular-keyed xylophones …
After nearly three months of cutting and grinding, fiddling and drilling, cursing and screwing and painting, the magic moment is here.
Time to mount the xylophones on the van.
Here’s video (videos lost when we quit Facebook) of @alienrobot and me mounting Keyboard 2 which is the lower-octave and rear-most of the two keyboards I built for the passenger side of the van:
And here’s what Keyboard 1 looked like as friend Steve Finkel and I mounted it on the driver’s side …
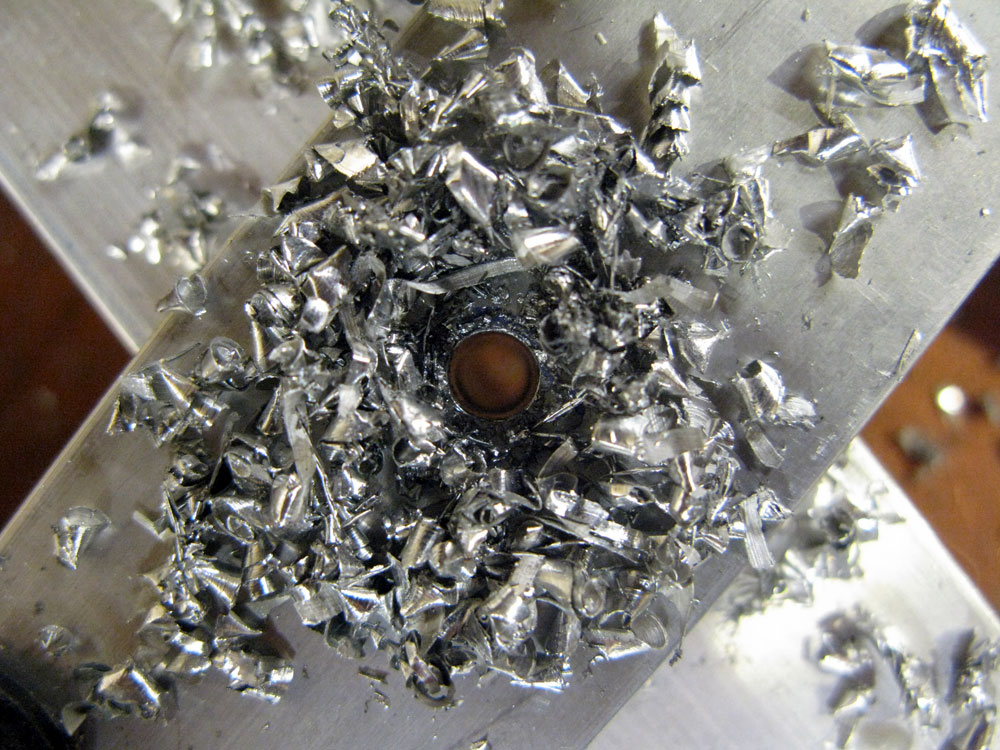
Like a drunk tiptoeing into his AA meeting with actual quitting on his mind, I’m finally ready to quit breaking taps – and pay attention to all the solid advice I’ve been getting along the way.
Tonight, I took it all in hand and put it to work on my one surviving 6mm tapping tool – and the dozen-plus very serious holes I had left to tap:
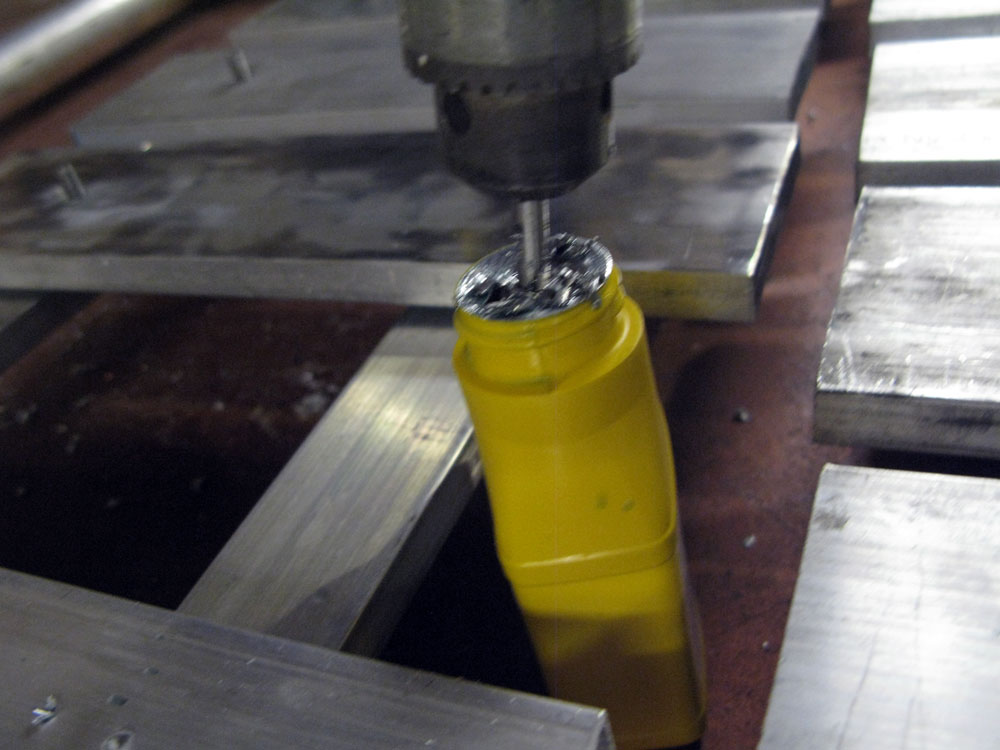
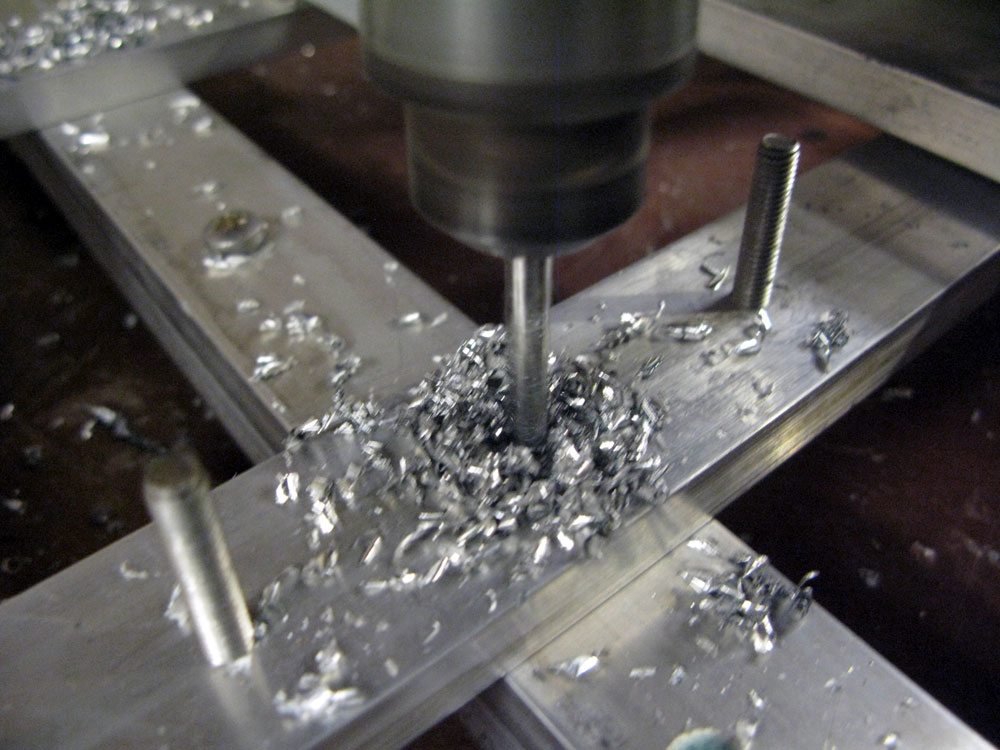
Straight down, through three layers of aluminum, half an inch thick each. Nice, clean, smooth holes. Thanks to the guys at Baller Hardware for assuring me that “any light oil ought to do it” after I realized the only actual tapping fluid they had comes in a huge industrial jug.
I chose 2-stroke engine oil.Then, many thanks to Jeremy and others over at CrashSpace for the invaluable reminder of something I forgot since tapping engine heads more than 20 years ago: For every three or four turns of the tap as you cut the threads, you have to back the tap out a turn or three, to clear out the cuttings that might bind up its tip …
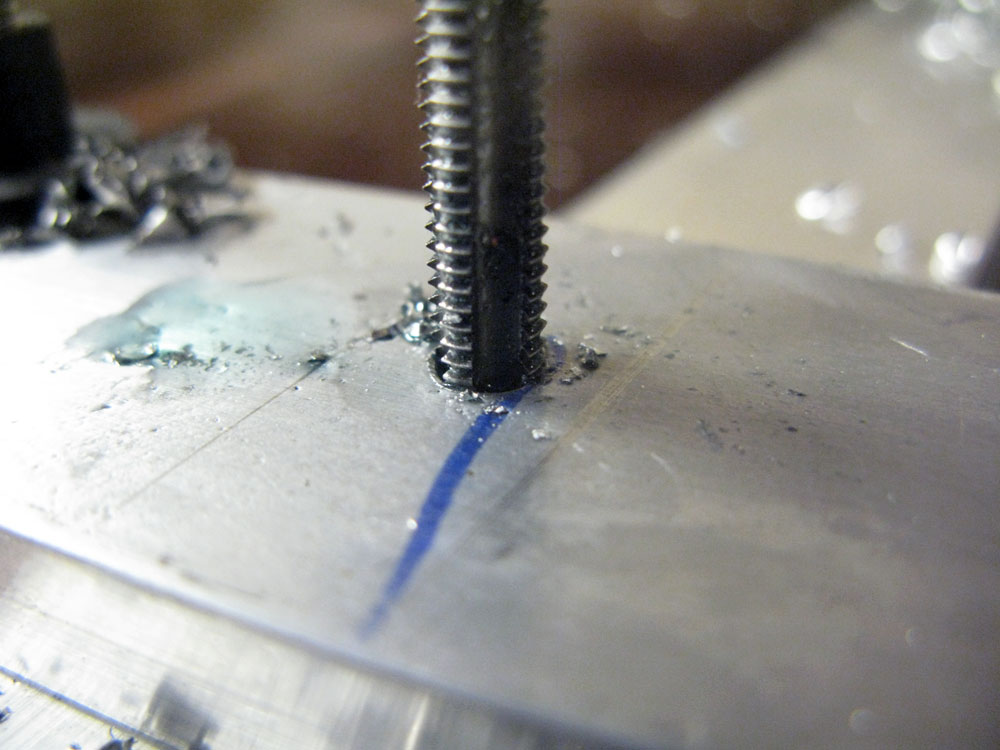
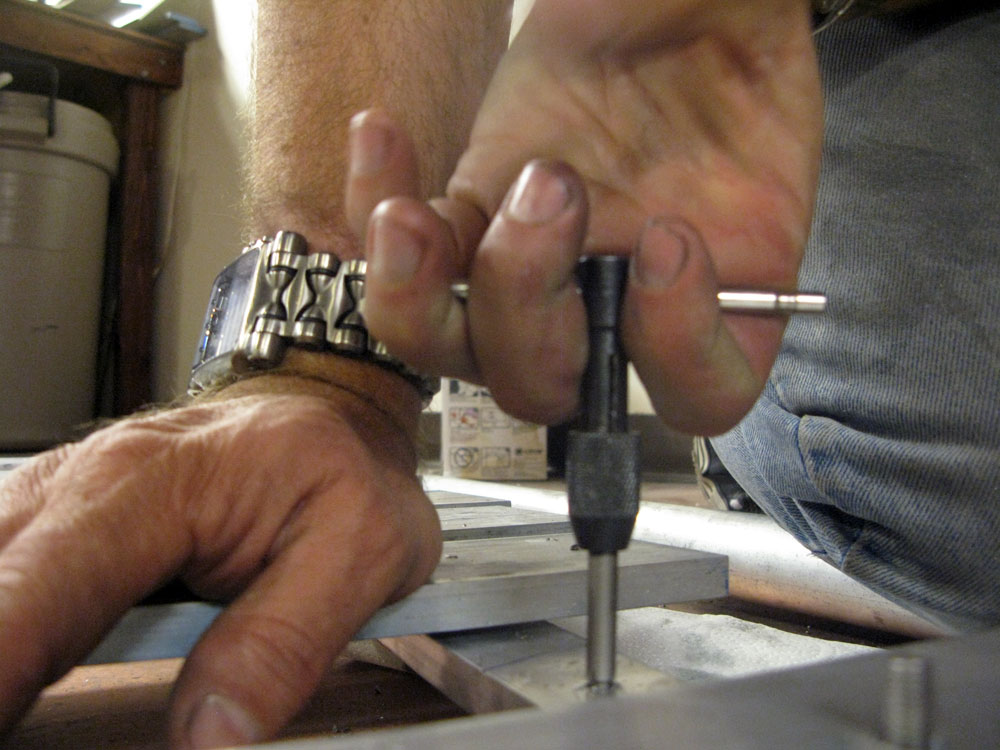
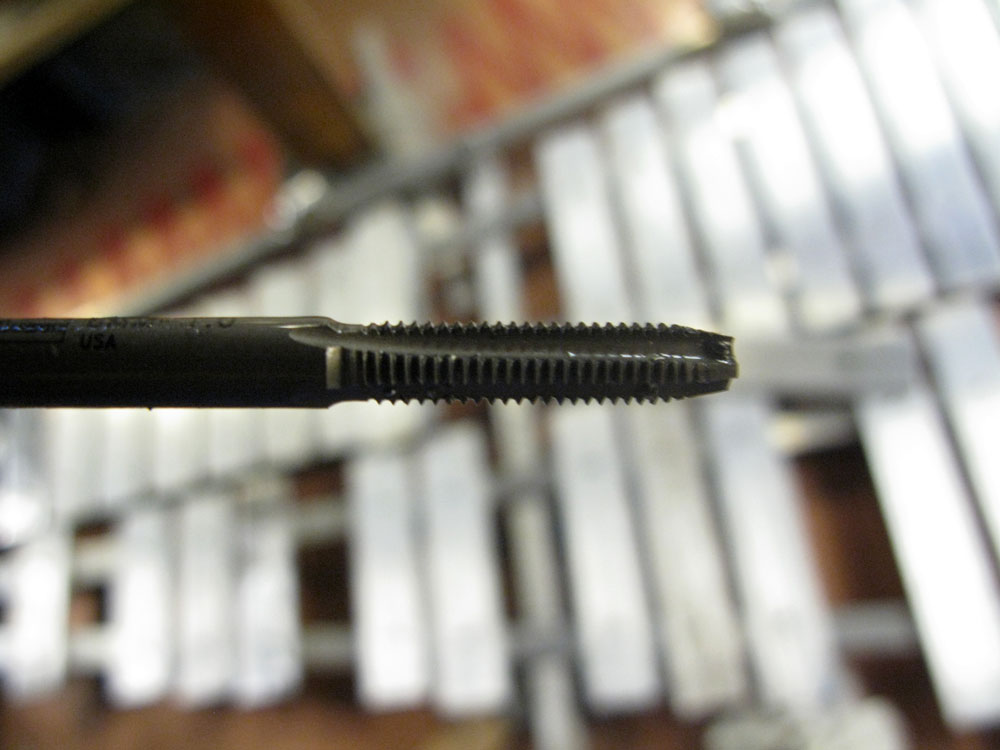 I also followed my own instincts after comparing notes with Vinny, my oldest friend in the world and an inveterate shade-tree mechanic: “You know that point where you *know* you’re turning too hard, but you keep going, and then it snaps” – I tried to stop myself every time I felt the tap binding up to the ppoint where it might snap … and I backed the thing all the way out, cleaned off the metal cuttings, and resumed tapping …
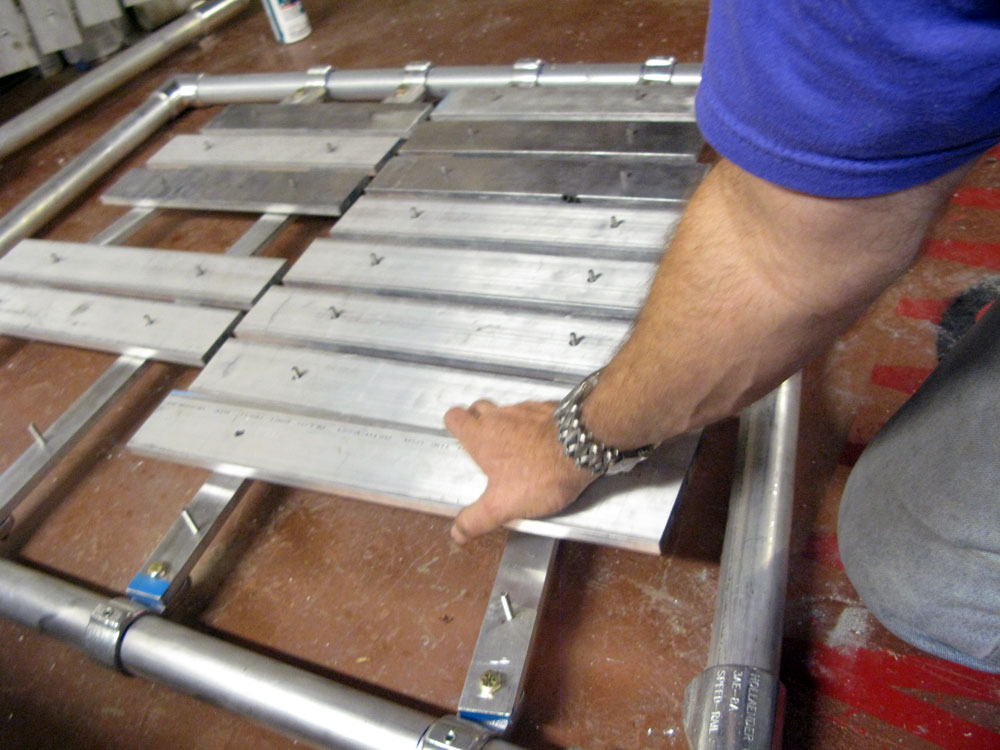 This let me proceed to building Keyboard 2 …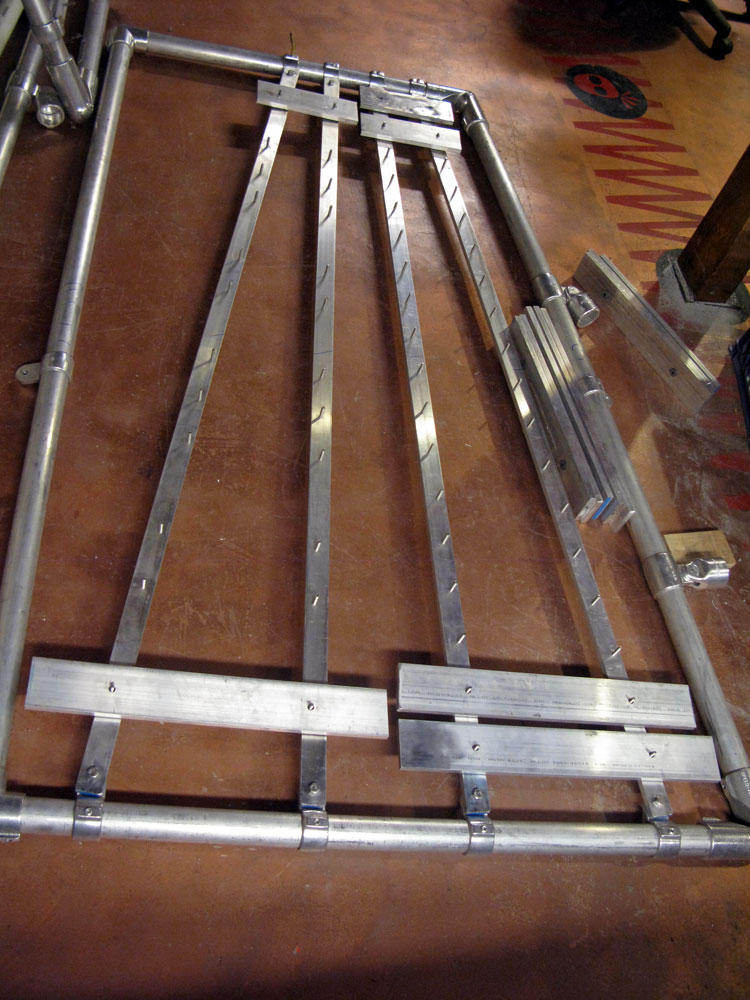
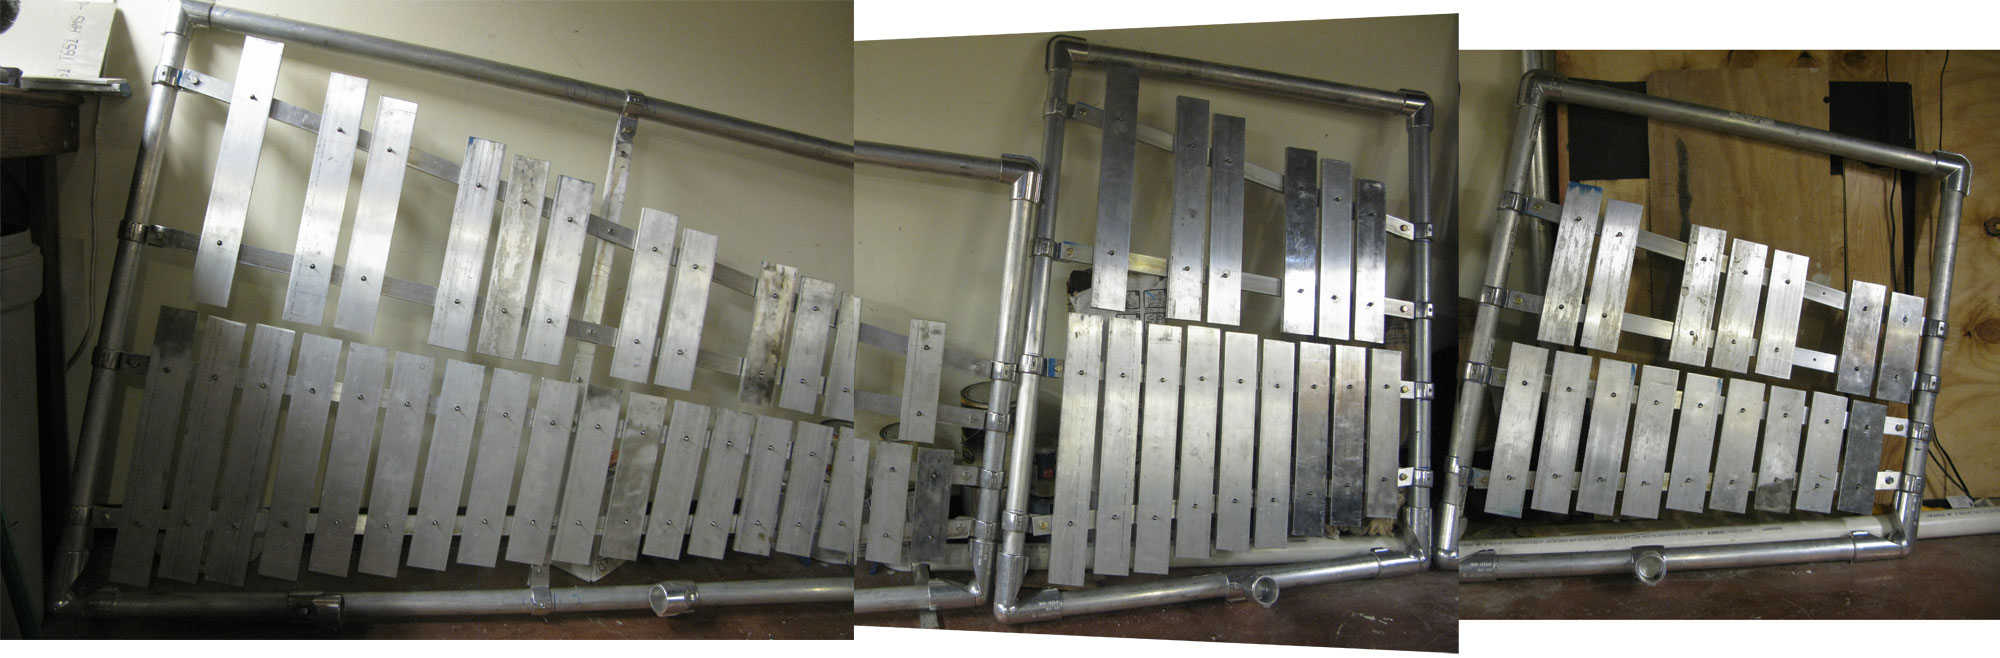
Keyboard 1 is more than 7 and 2 1/2 octaves long – running from A to high D#.
All that metal is pretty heavy, pharmacy and the weight actually bows the stringers that carry the keys across it, so I’m building in a crosspiece for support. It will run vertically between the top rail and bottom rail, and all four stringers will screw down to it for support.
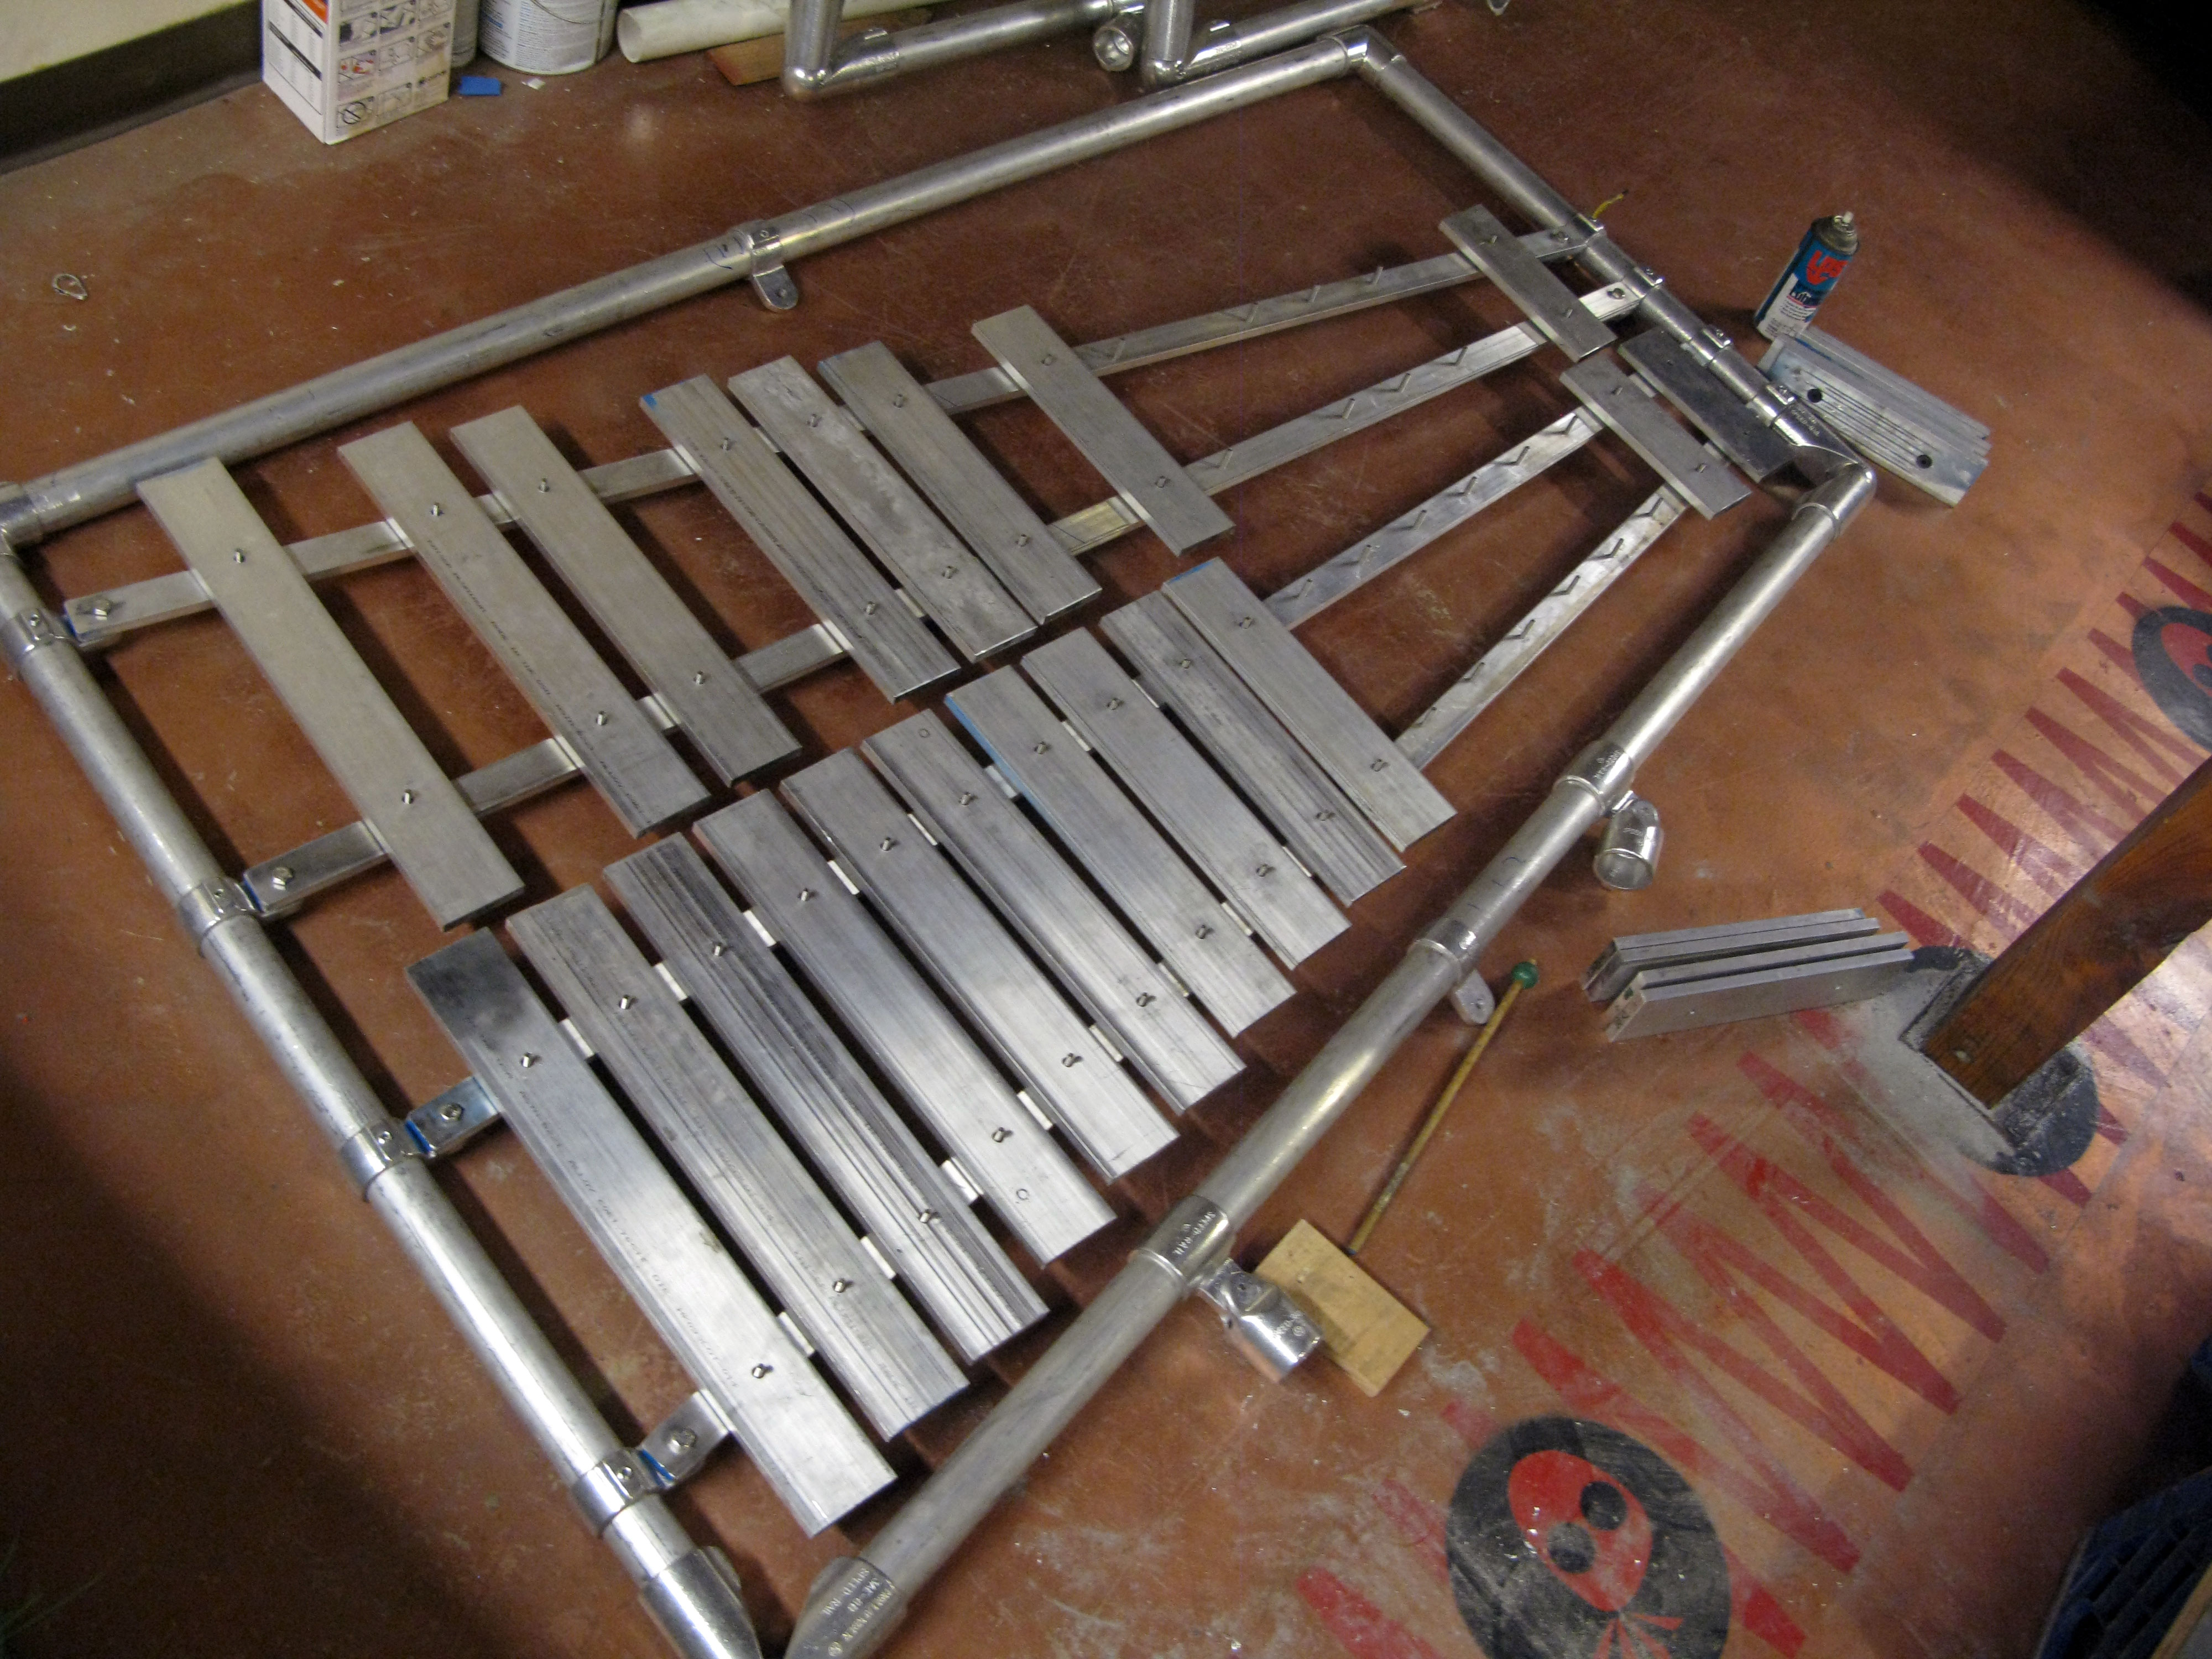
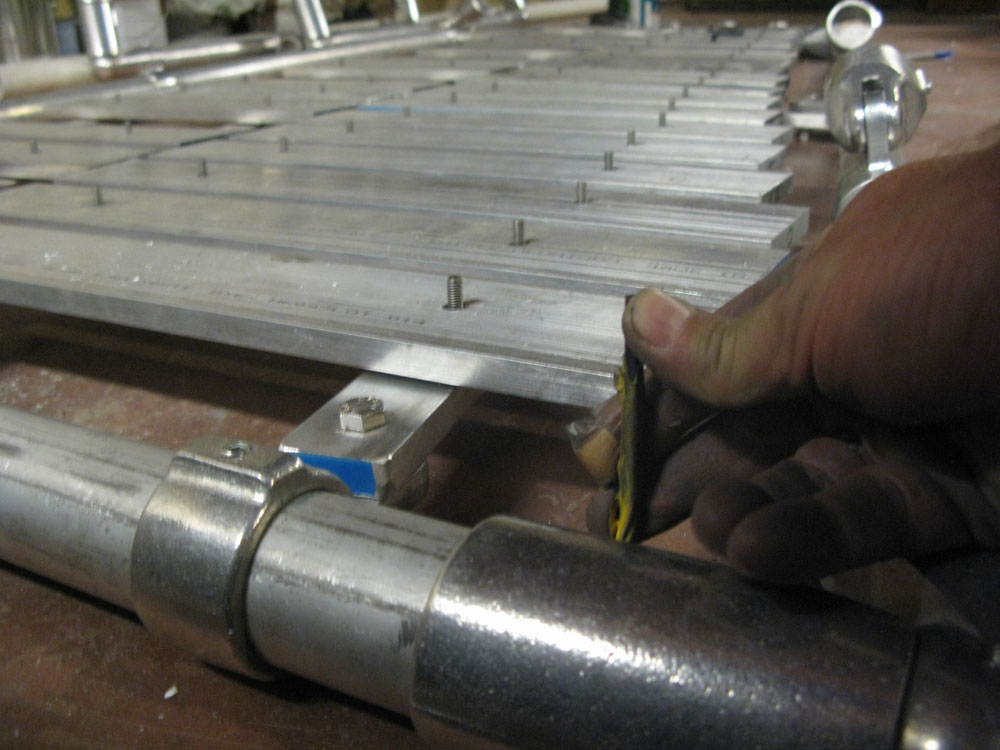
I lay out the keys then I tighten the frame at the corners along the bottom …
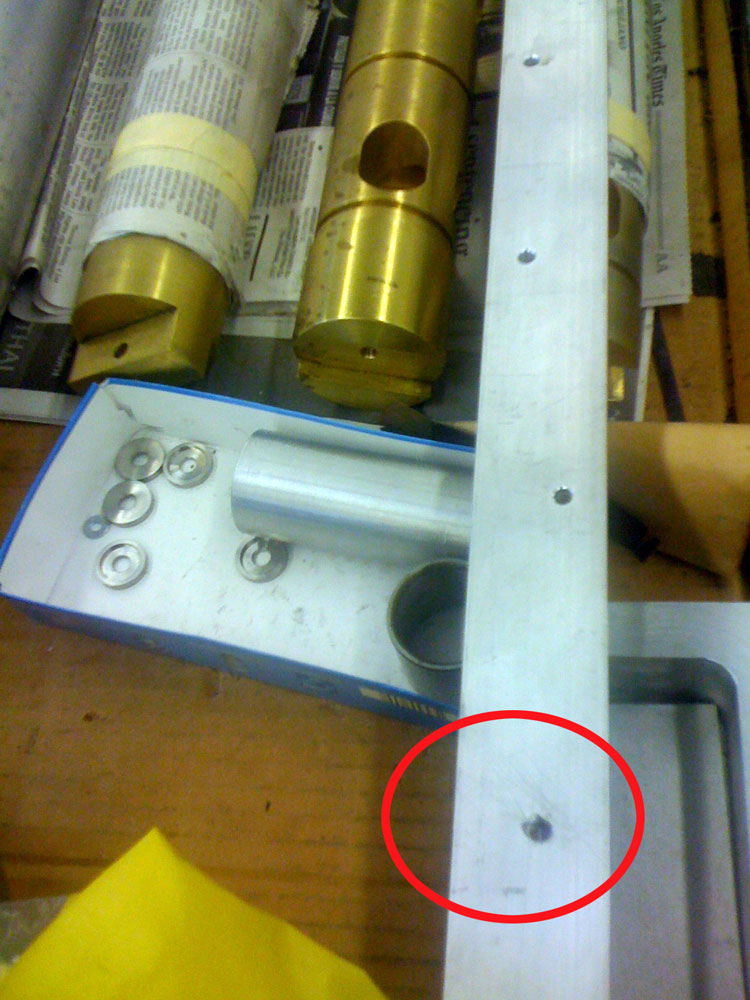
All the geek opinion and doomsaying in the world can’t beat a crusty old Chicano machinist in a crusty old machine shop.
After Googling and dialing all over Hollywood, Los Feliz and Glendale in search of an EDM-equipped shop, I phoned a local machine shop and described my two mistakes.
“Ehhh, bring it in, we’ll see what we can do,” says the crusty old voice at S&K Precision Engineering Co.
So I bring it in. Within an hour and a half, I get a call saying “It’s all set.” They drilled in with a carbide bit (probably a better one than I used, and used an extractor on one broken tap, and a punch on the other – and now the holes are cleared.
The guy even took pity on me and told me the secret: countersink the holes from now on before tapping them – and use some cutting oil.
Done. I’ll be attacking that just as soon as the best little hardware store in Silver Lake restocks their 6mm Irwin thread taps. The ones that I seem to keep steadily depleting.