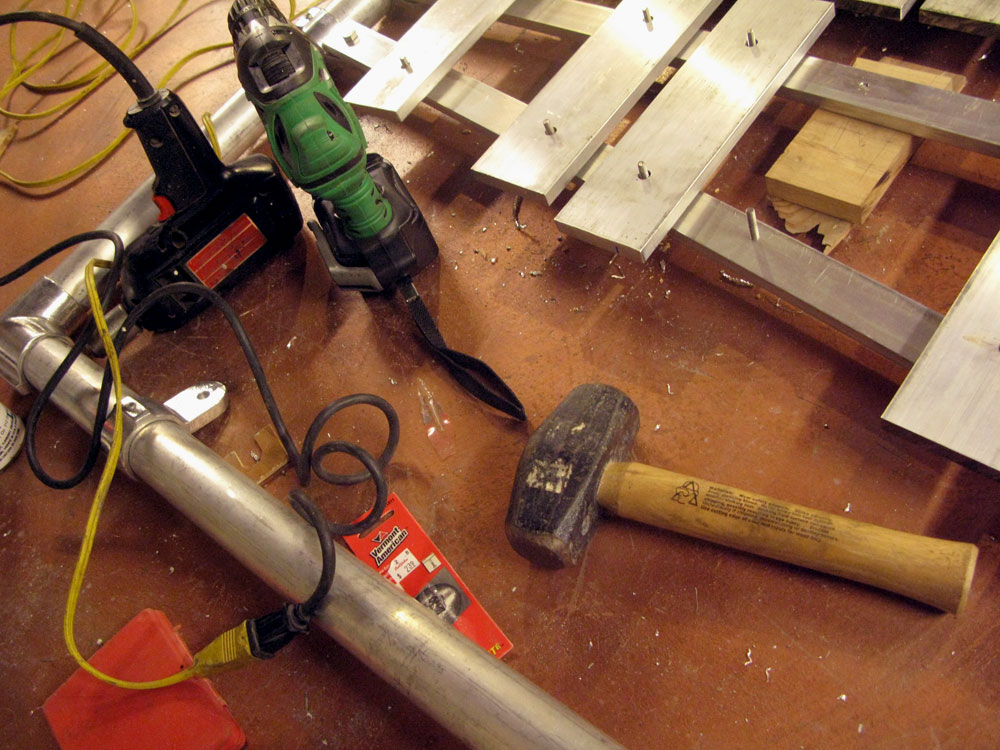
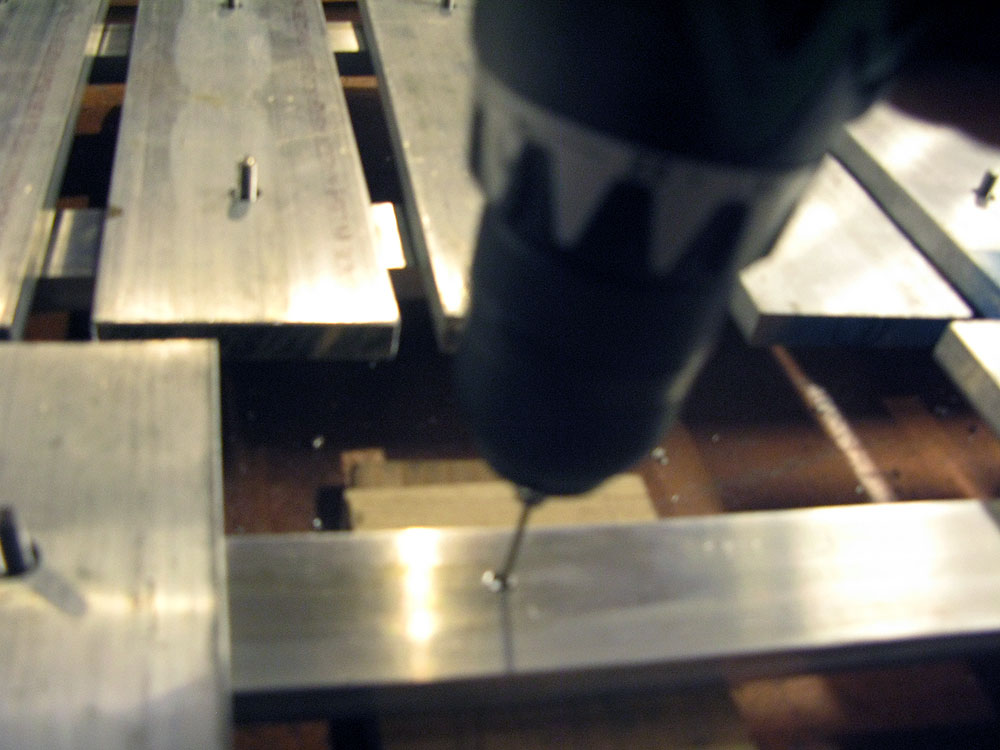
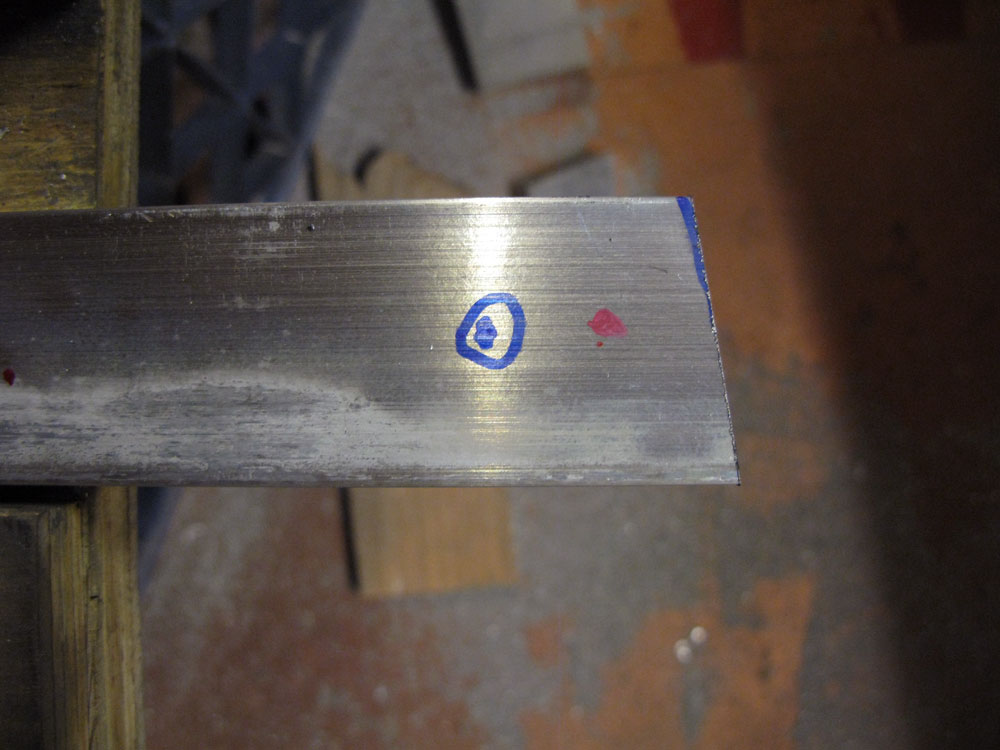
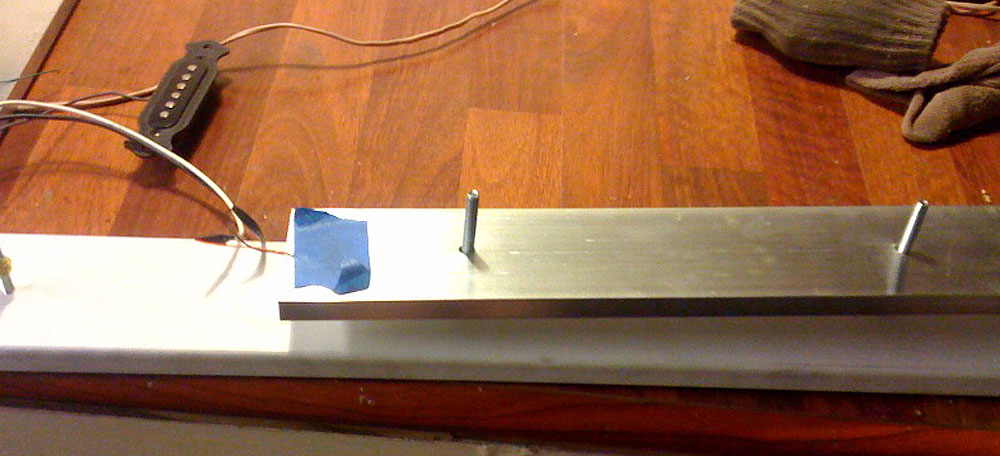
My plans for a productive evening of xylophone-building thus foiled, I turned to slapping together the rest of the frame-mounting hardware.
Unfortunately, the Hollaender company turned out a couple of SpeedRail parts with nasty burrs inside that kept them from sliding onto the 2-inch aluminum tubing that we’re using for xylophone frames.
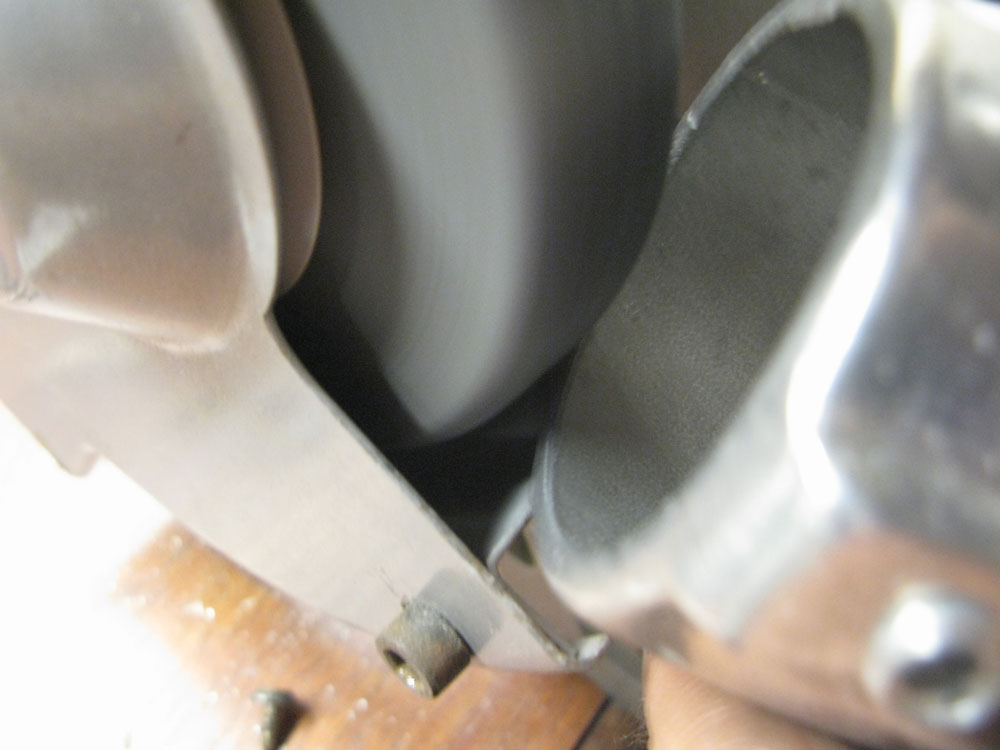
I tried grinding out the lip on both sides of the mount …
But no luck. The collar still wouldn’t slide on over the tubing …
In machining – as in lovemaking and war – if it hurts, you’re not doing it right.
I seem to keep making the same damn mistake. alienrobot did a great job of tapping most of the mounting holes in Keyboard 1 using just the little 4-inch tap handle that came with the set.
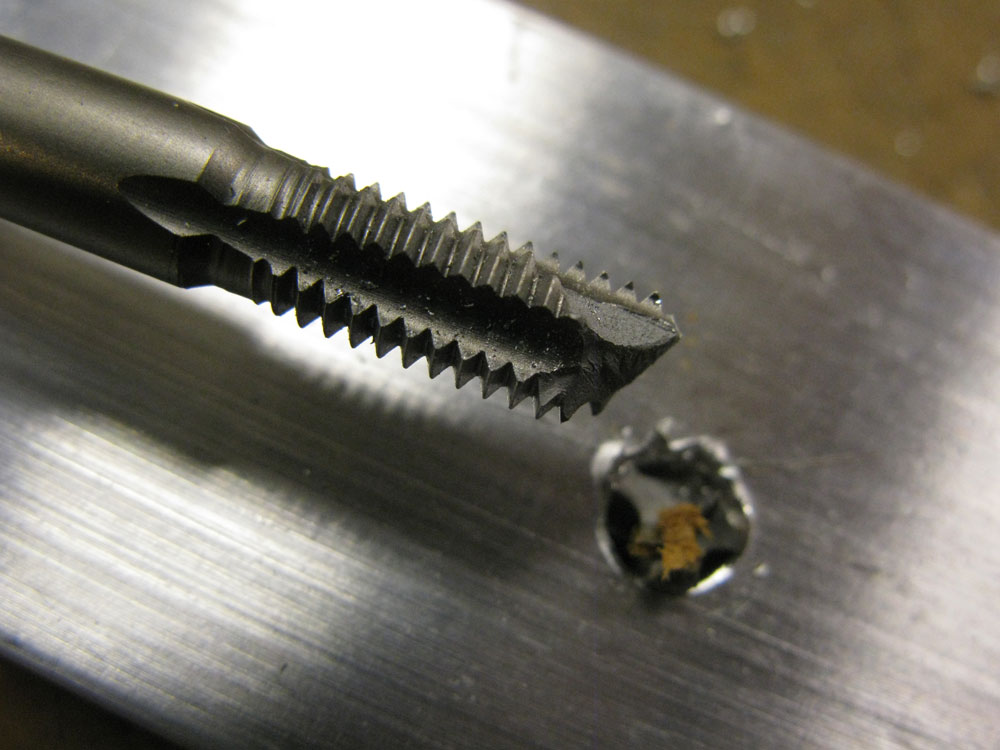
Then I got all clever, applied excessive leverage and snapped a tap off in a hole by using too much leverage. It came out with a pair of pliers … but then I did it again.
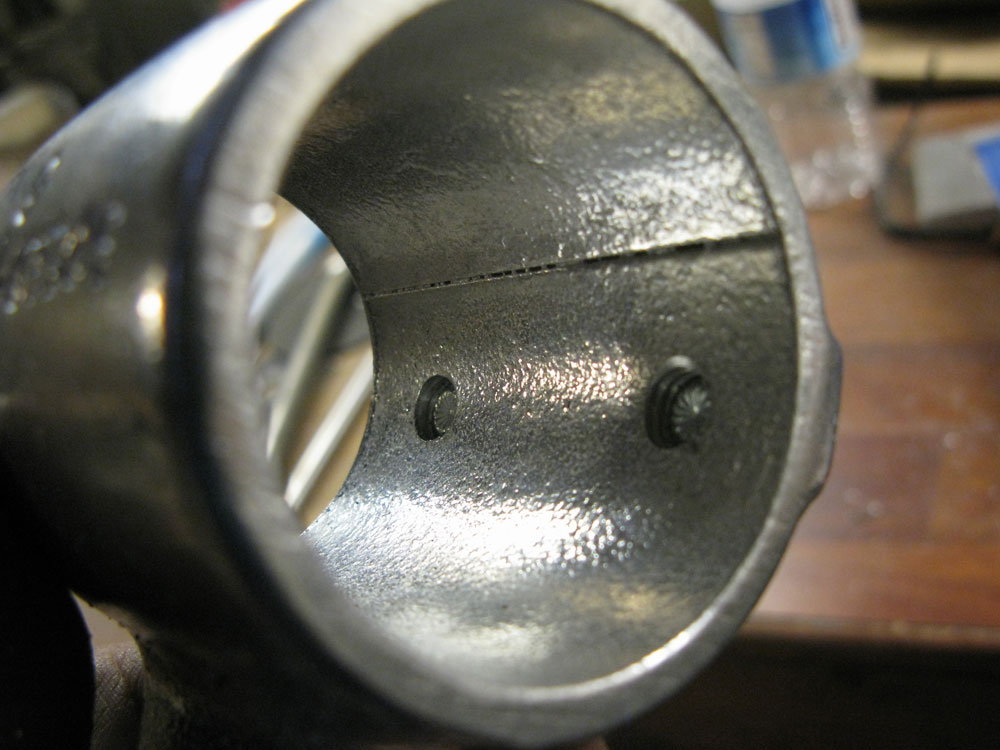
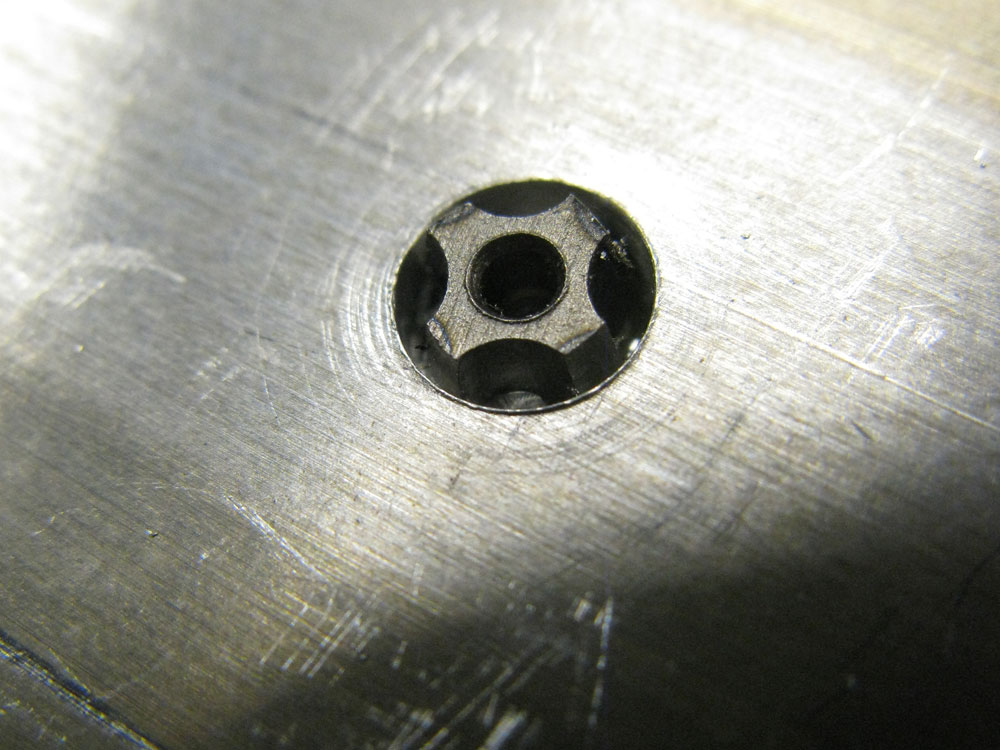
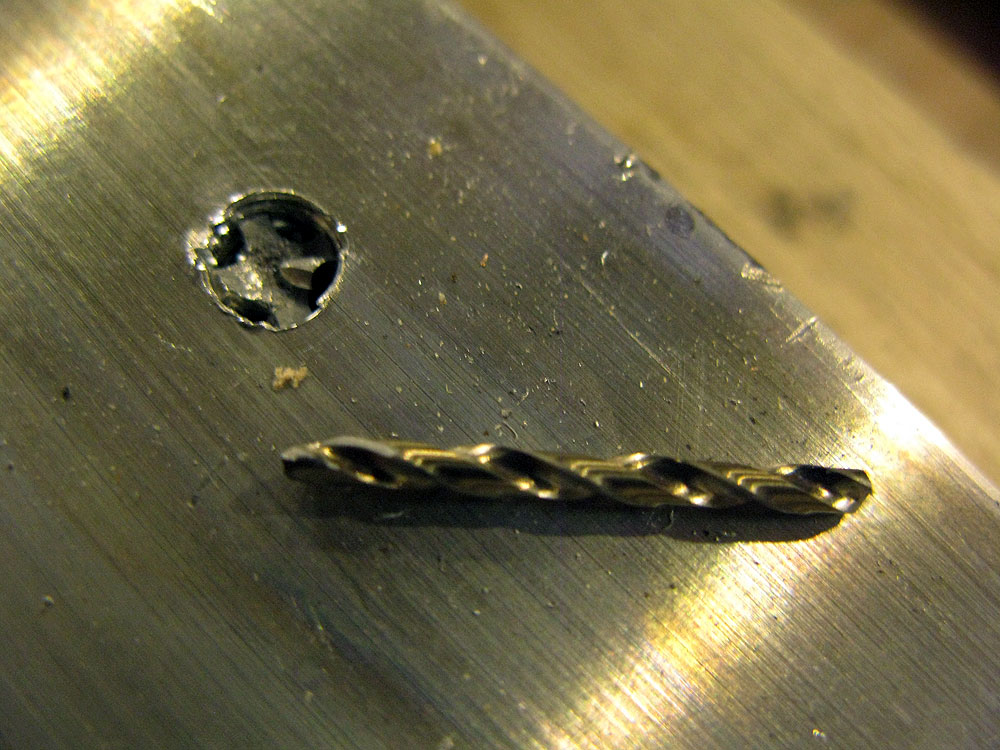
And I just did it again tonight. Here’s what it looks like from the back.
Opinions on the CrashSpace forum ranged from “A high-end machine shop will need to use EDM to burn the tap out of there” to “Yep, you’re fully fucked.”
Guess I’ll go look up a machinist. And hope I’m not fully fucked.
For those who haven’t been following along, here’s how it’s done, roughly in order:
First, you read Jim Doble‘s brief but precise instructions for making xylophones. Read ’em again – they’re clearly written, with a basic illustration and links to photos and sound clips, and then find some wood or metal that you can work easily, and get busy:
So I was tapping a stringer on Keyboard 1 and the tap snapped off in the hole.
Below the surface. That’s hardened steel. Drilling it out so I could use a reverse-extractor was fruitless: I blunted, and finally snapped a cobalt bit, which the hardware store said was the hardest thing they sell.
Now WTF do I do? Anyone have any brilliant solutions? Please forward this to all the metalworkers you know.
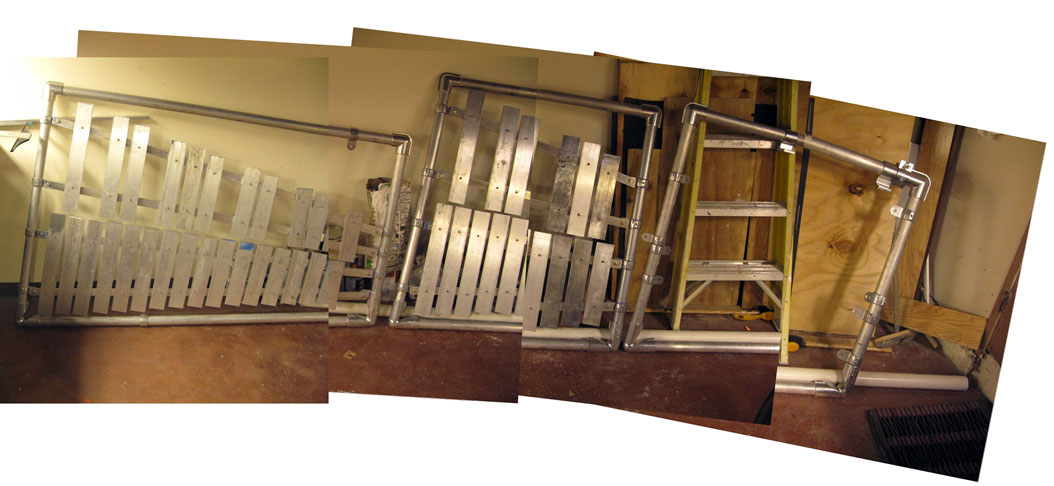
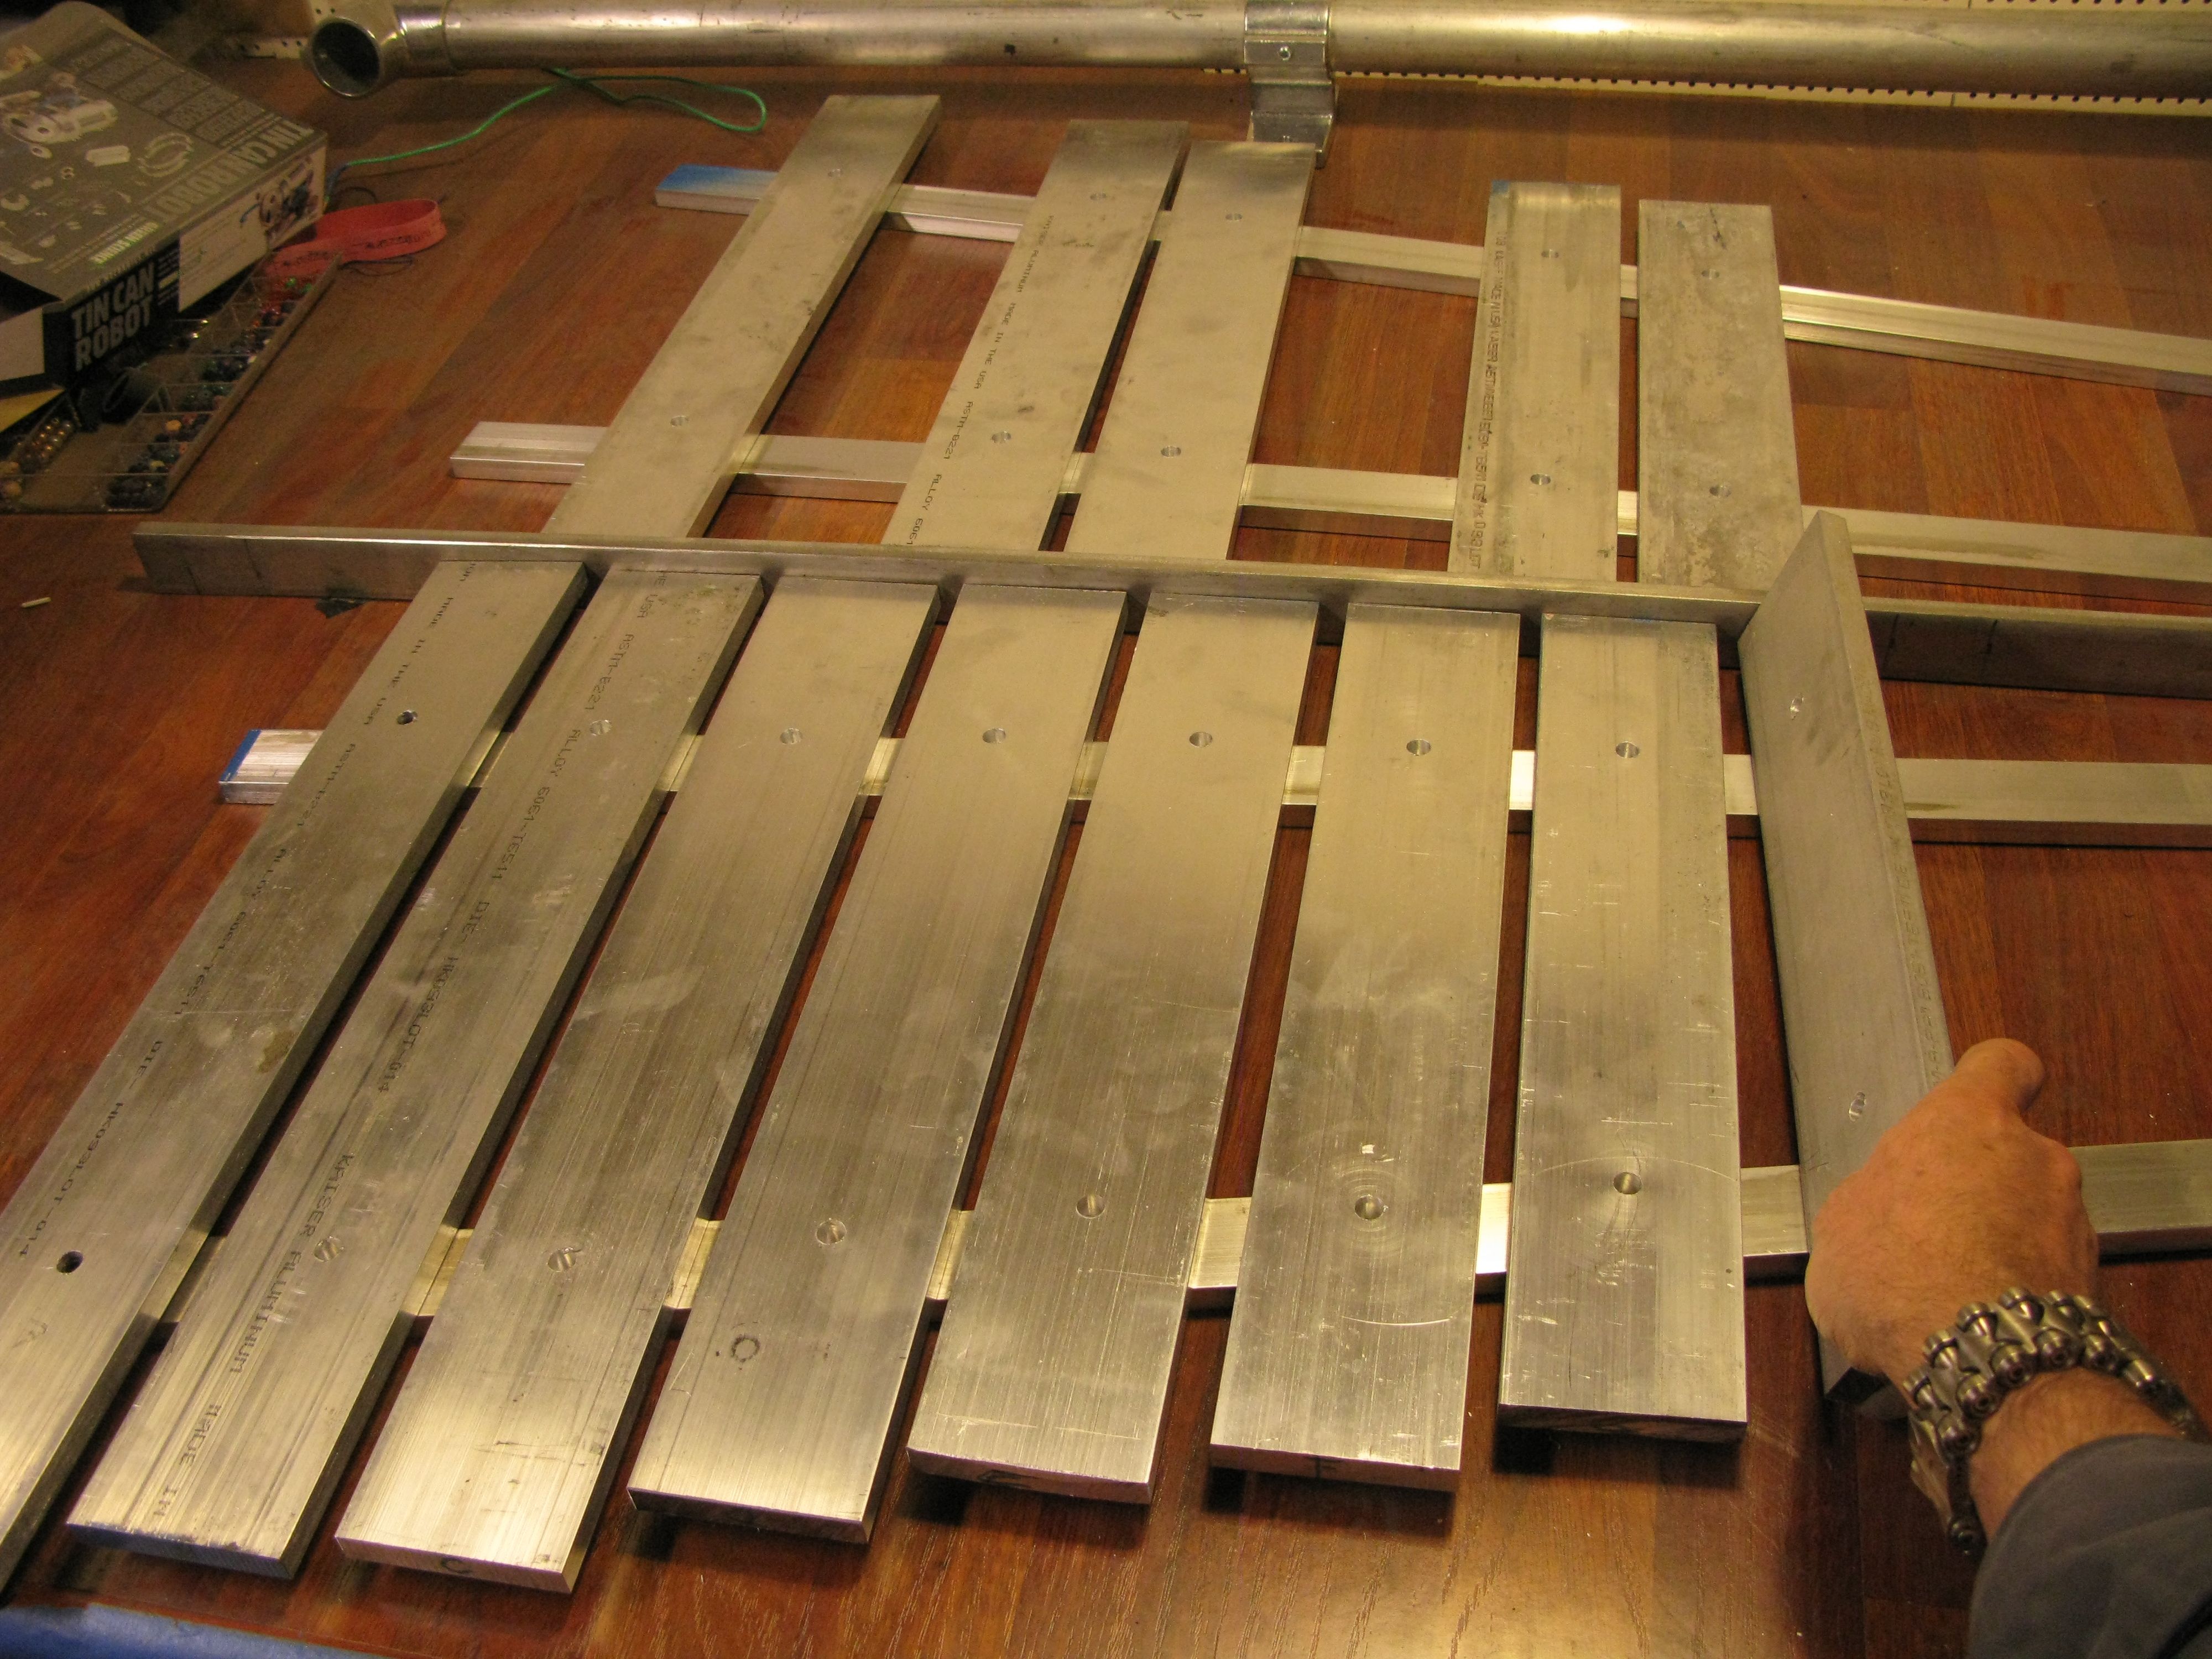
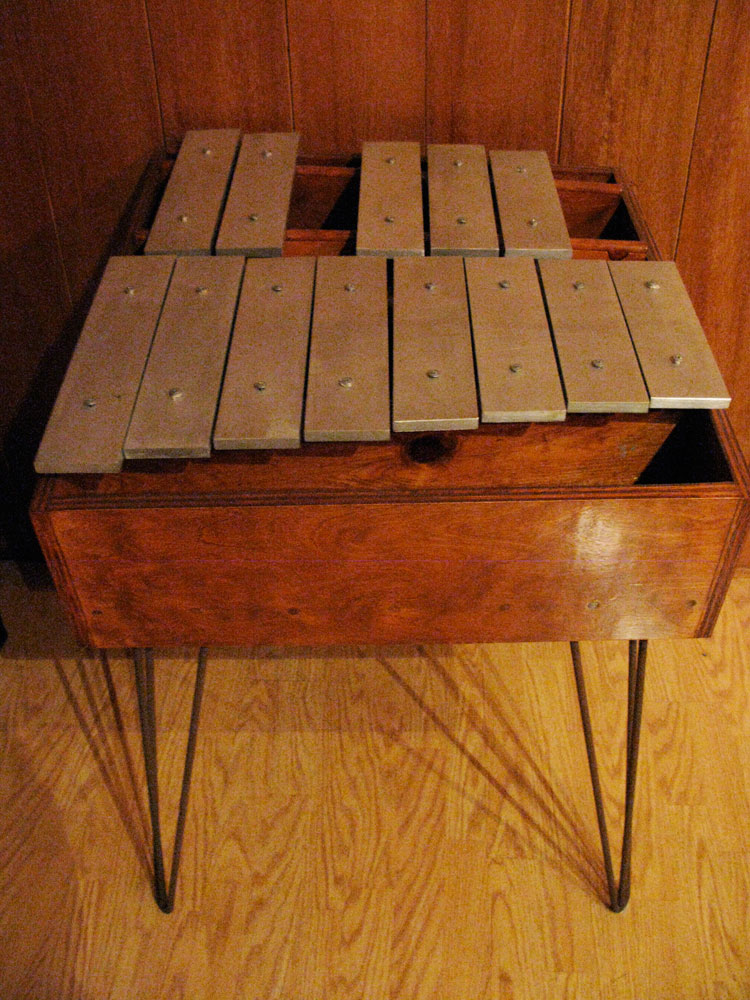
It’s coming together – more than 15 linear feet of fully chromatic xylophones.
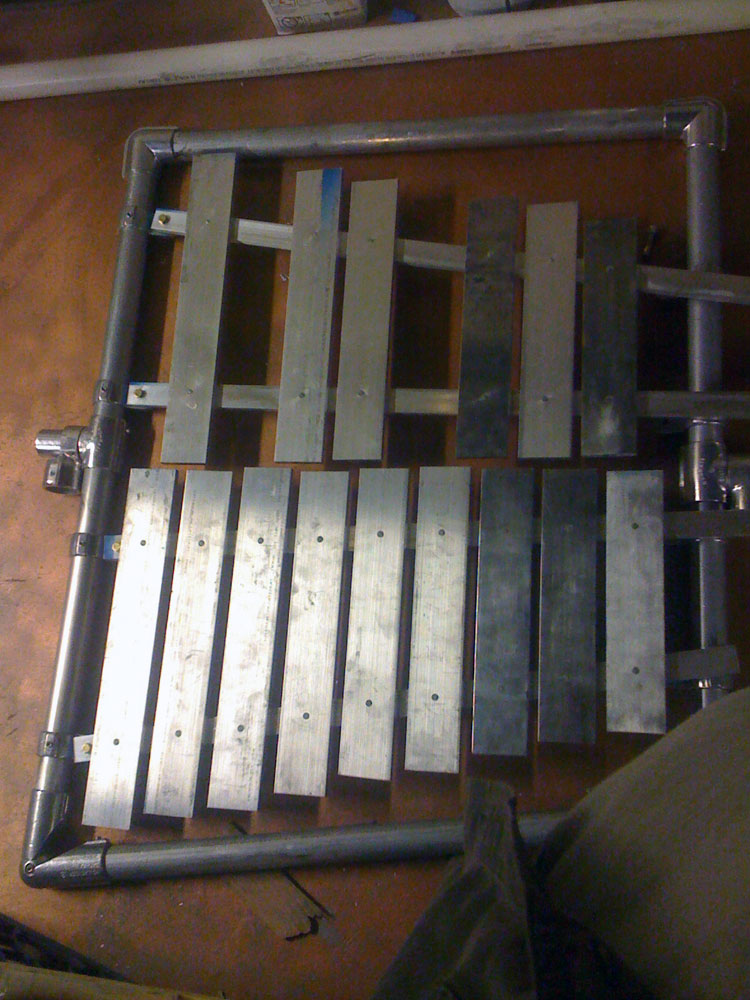
Keyboard 1 and Keyboard 2 are built – (they’ll need to be disassembled for final polishing) and Keyboard 3 (at right) is ready to have its stringers machined.
More on how all this was made tomorrow night. Facedown time.
I’d like to think we’ve known how to build XyloVan from day one, but the truth is – we’re dumb. We’re like sack-of-hammers, short-bus, don’t-get-the-knock-knock-jokes dumb.
We’re like chimps who have seen television, digging around in the back of the live set with screwdrivers. We make dumb mistakes, do dumb things, suffer from dumb ideas. And along the way, stuff gets built.
So this 3-foot-long chunk of 1.5-inch by .5-inch aluminum is one of the four stringers for Keyboard 2. These serve as the airframe for the instrument …
By now, it should be plain that there’s absolutely no linear flow to the XyloVan construction plan.
With Maker Faire bearing down on us in 7 weeks, we’re tackling tasks willy-nilly, like a crew of chimps with A.D.D. and a pound of meth – frenziedly, for long stretches, whether in teams or alone, whenever we’re able.
Tonight, I was alone, so I spent it cutting aluminum stringers to fit the frames and laying out Keyboard 2, which with Keyboard 3 will cover the passenger side of the van.
The full keyboard (about 2.5 octaves) would be seven or eight feet long, but we have to somehow accommodate the van’s sliding door …
The problem was that the xylophone – if bolted to the van with the upper hinge of the frame just below the windows – would have scraped the ground.
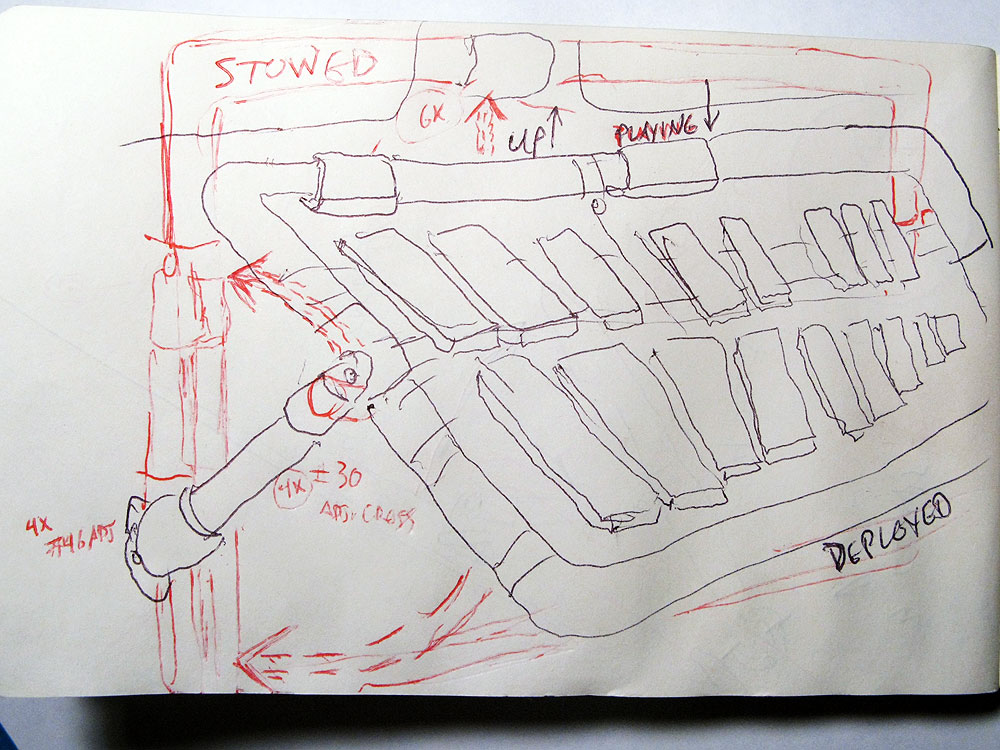
Solution: Get a few more Speed-Rail parts and create a sort of offset cantilever hinge. Built right, it should pivot out and away from the van to playing position (about a 20-degree angle from the ground) when deployed, then fold up flat against the van when stowed for travel.
First, I have to modify one of the parts, a sort of T-joint that is too wide to fit between the anchors for the key stringers.
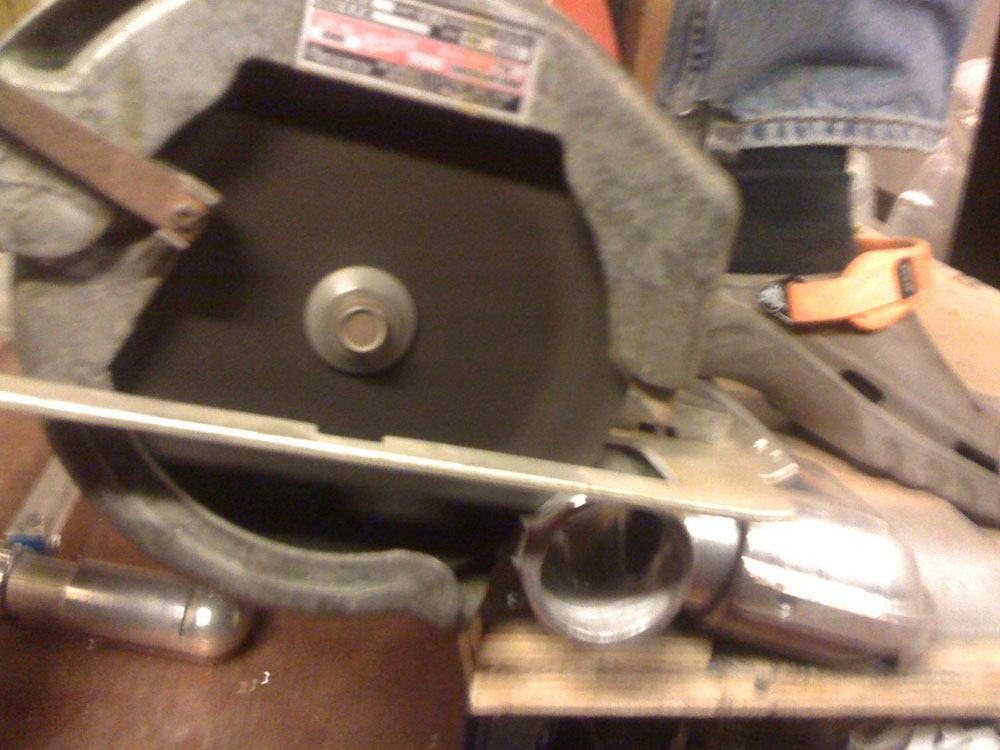
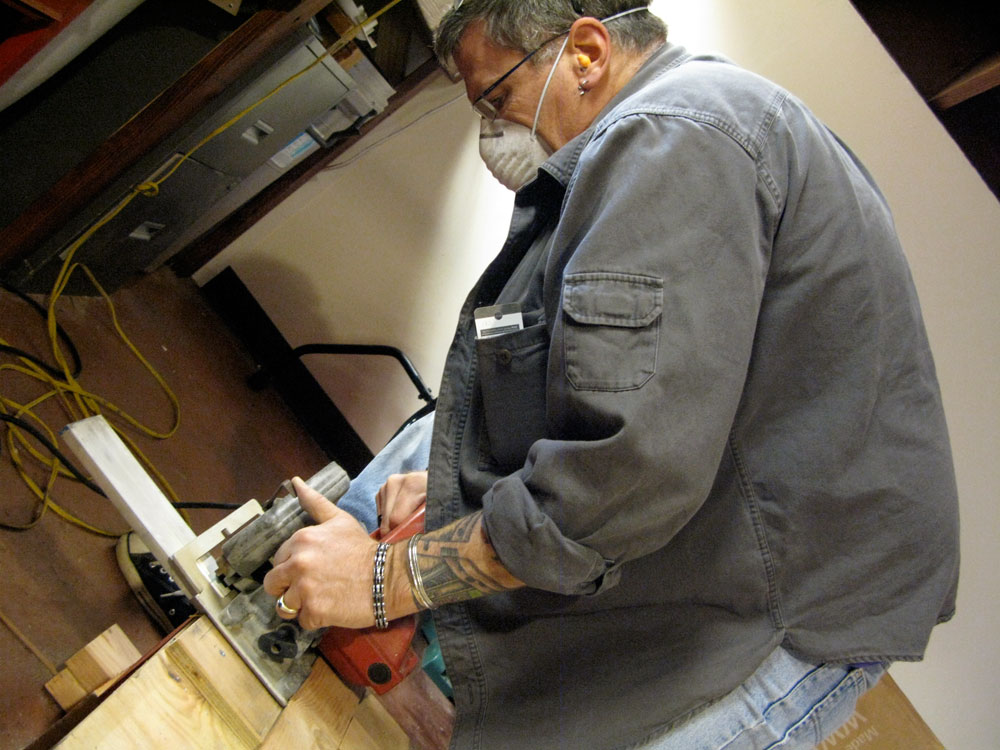
A little circular saw abuse – followed by much cursing and futzing and hollowing out the apparently mis-forged piece so that it actually *fits* over 1.5-inch pipe – and the piece now fits snugly between the stringer ends …
Now that the keys are all cut, price we have to lay out the frame.
As I said, I don’t have strict engineering plans for this thing, I’m going by the seat of my pants. But I know what the materials will be, so I’ve laid out the frame – it’s 1-1/2-inch aluminum scaffold tubing, held together with Hollaender Speed Rail and then the keys ride on custom-fabricated 1/2 x 1-1/2-inch aluminum stringers … More
(video lost when we quit Facebook) Once the keys are cut and rough-tuned, they must be mounted.
Step one is finding the “nodes,” or the dead spots at either end of the key where the metal doesn’t vibrate. This is where I’ll drill holes for mounting.
To do this, you park the key atop two pairs of balled-up socks so it vibrates when struck. Then sprinkle a little salt near either end of the key and whack it repeatedly. The resonating metal bounces the salt away from the most-vibrating part into the nodes, the deadest spot in each key …
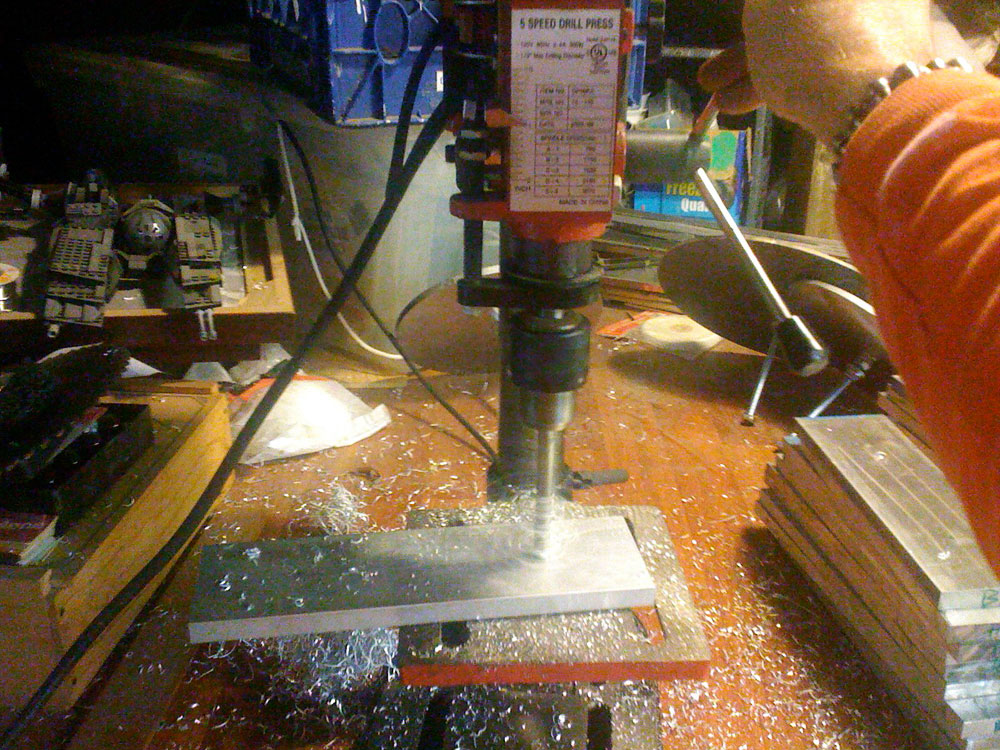
I mark each key, then put it on the drillpress and drill a 3/8-inch-diameter hole through each key’s nodes.
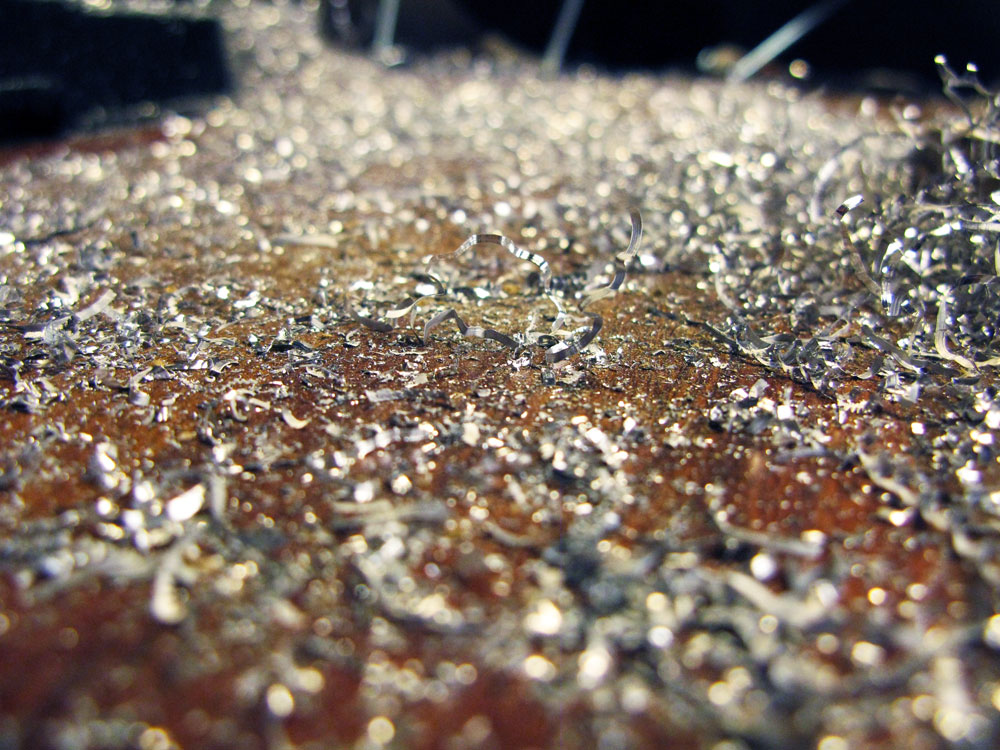
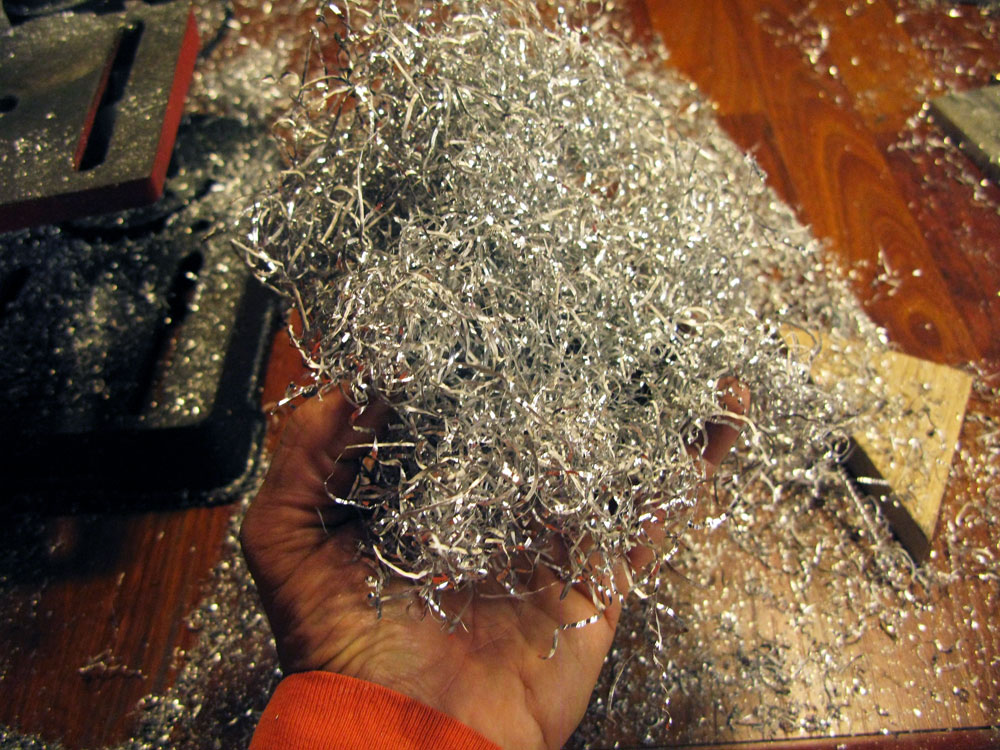
Drilling one of the two keyboards (about 30 keys) took the better part of an hour and resulted in several pounds of this fantastic aluminum chaff.
Here’s the first set of tubular bells, untuned. Tuning them is a pain in the ass: Unlike the keys, these cannot be made flatter by hollowing out the middle, between the nodes.
Instead, you can only sharp them by carving slices off the ends. Luckily, I wound up creating a sort of Middle-Eastern koto-sounding thang, that kind of works. I hope these don’t dull down too much when I mount them.
Miking and amplifying will be a challenge – I’ll need to figure out a resonator or some sort of sound funnel feeding a mike at one end of the tubes. But they resonate deeply, and they’ll look pretty wikkid bolted to the side of the van.
I took a little time tonight to lay out a near-full keyboard on some telephone wire just to see how the 2-½-octave range sounded:
(video lost when we quit Facebook)
The keys don’t ring yet because there are no insulators under them, no holes drilled, no resonators to catch the sound yet, and it still needs a final tuning. But everything sounds solid so far.
Looks like I need to finish it up with a D at the high end. I’ll probably cut some more for the low end just because they sound so rich and I think I can keep going down before the metal’s native harmonics overwhelm each key’s primary tone.
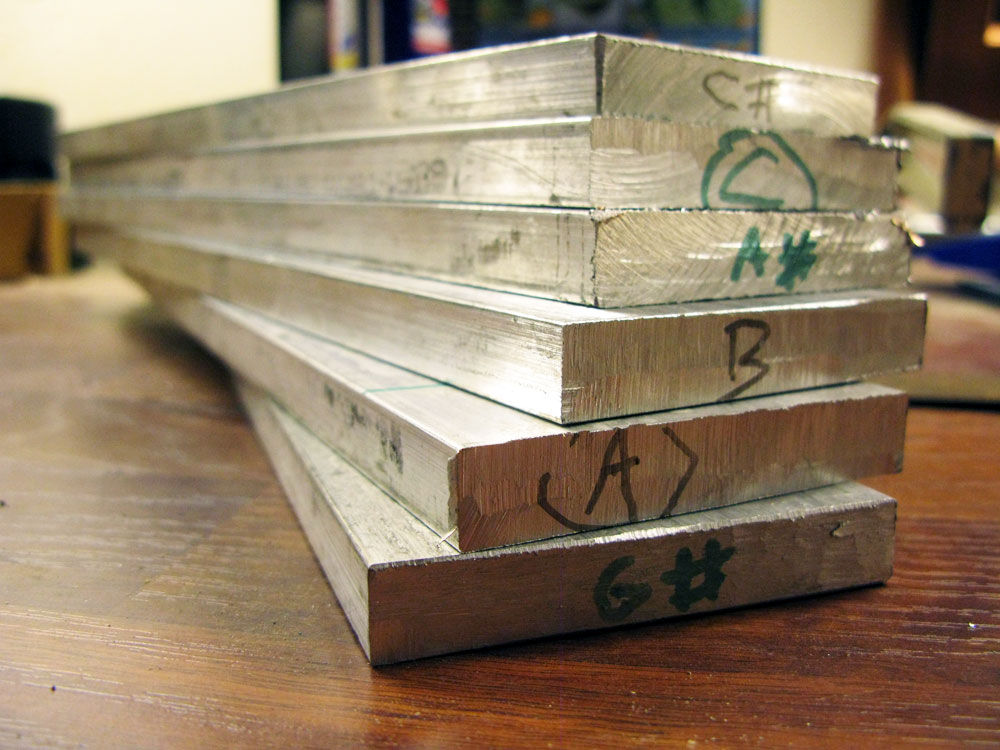
I got into a real rhythm last night and blew through a good 27 linear feet of aluminum bar stock, cutting keys for the xylophones.
To the right here is what my shop floor looks like – thick with aluminum dust. I must have swept up 5 pounds of the stuff. (The logo on the floor reminds me not to crack my head on the face-height 6×10″ beam hovering just 5 feet off the floor – I’m always standing up under it suddenly. Not for nothing is the beam called The Widowmaker.) …
We’ve knocked out two octaves worth of keys so far, only a sample of which will fit on the bench for a demo. Obviously they’ll sound much fuller after we figure out how to set up resonators and amplification, but at least they’re correctly tuned.
As for finish, the first three are polished, the rest are still raw, and none have been drilled yet for mounting)
I picked up a new, slimmer metal-cutting disc for the circular saw the other day, and cutting is dramatically easier than it was. Now it takes barely four minutes to slice through the half-inch by 3-inch aluminum bar stock we’re using for keys.
Meanwhile, I’ve also been tinkering with disk gongs – I want people to have a broad array of stuff to bang on beyond the tuned keyboards on either side of the van. Otherwise, they may take to hammering on the mirrors or the coachwork.
These quarter-inch-thick steel disks have a tinny, bell-like quality …
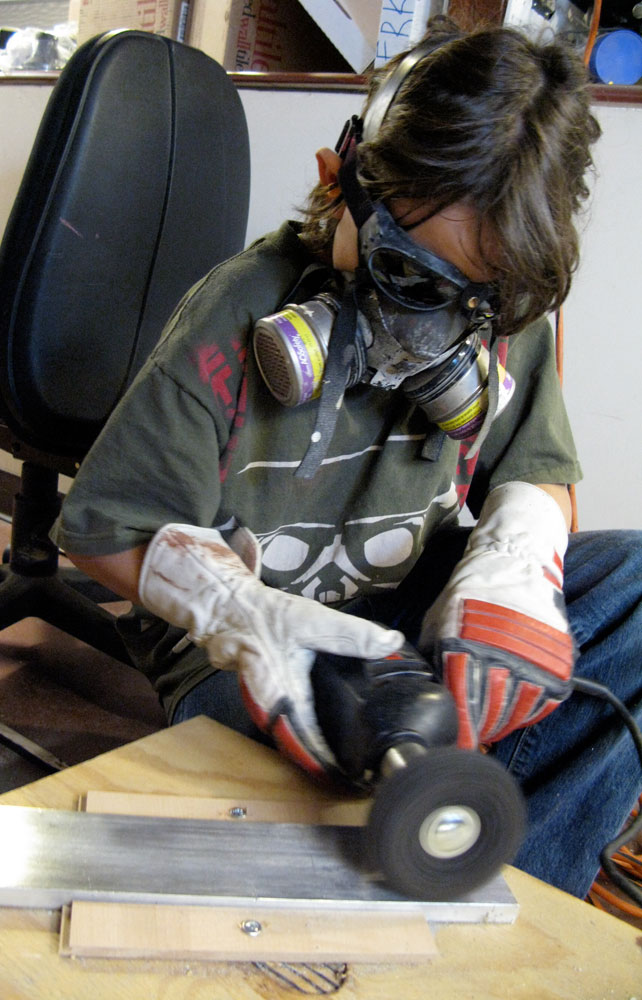
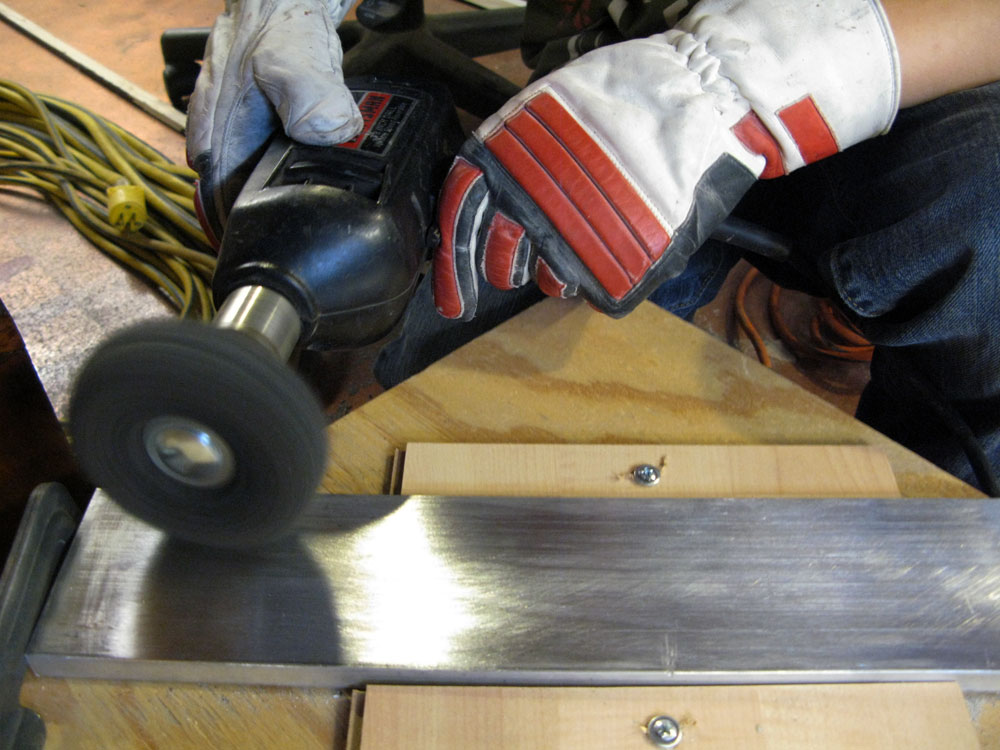
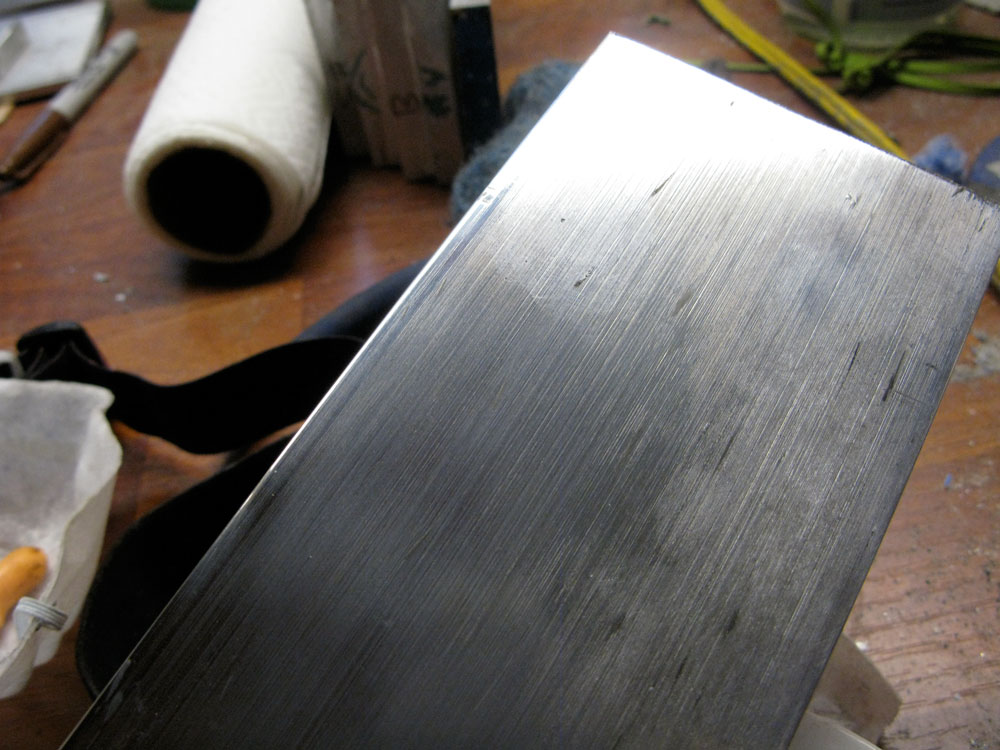
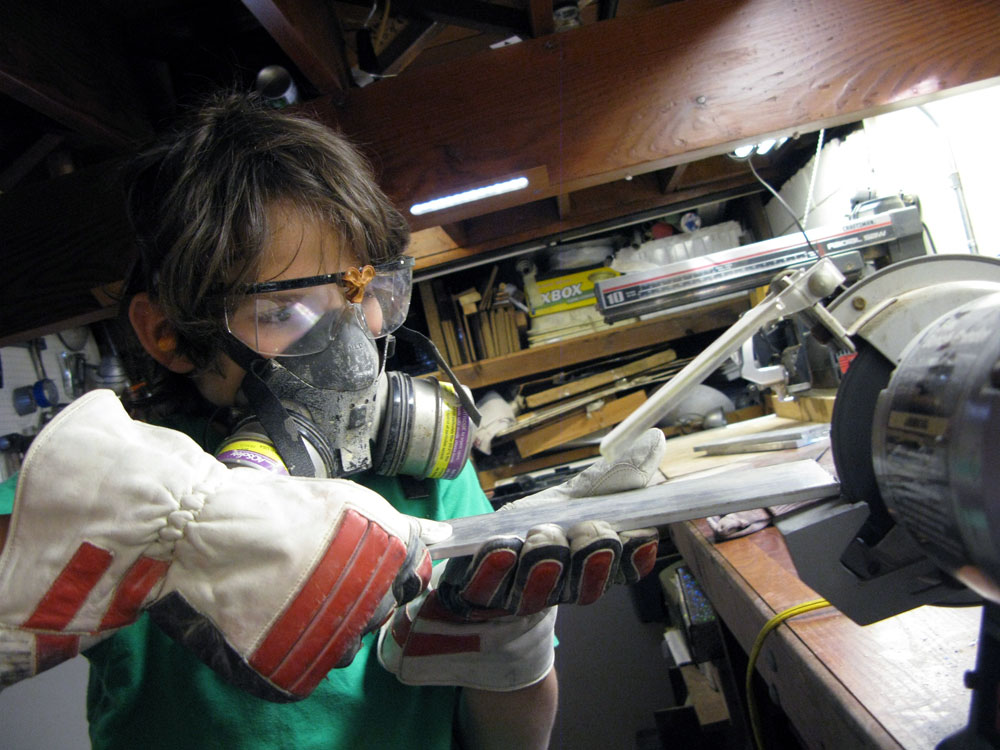
Okay. Long story short, I spent half of the day Saturday(2/6/10)working on a single key with the bench grinder buffer until @factoid finally realized that I had been using the wrong buffing compound. It was a laugh for him, but it only made me mad. so we walked down to Baller Hardware and got another type of compound(this one was brown), and it worked a little better, but it was messy, and soon we had brown splatters all over one of the walls. I spent the rest of my day working with this. At the end of the day, I was still working on the same piece when @factoid came over and said that it wasn’t the compound, it was the machine I was using. Another laugh for him. So Sunday(2/7/10)I started using another tool that maybe is not as easy as the bench grinder, but definetely faster. Here are a few pictures of me using it.
picture #1-This is a picture of me using the new tool.
picture #2This is a good shot of the tool itself. As you may have noticed, we have built our own custom jig to hold the metal piece in place.
picture #3-This is a picture of a half-finished key.
We cut more keys this weekend. We’re up to F#. Almost one out of the four planned octaves of keys is cut (but only half of the keys are tuned so far.
Since the metal heats up during cutting, and heated keys resonate a good half-tone lower than room-temperature keys, you’re forced to put them aside until they cool down before trying to tune them. It’s time-consuming work – each key can take up to an hour to cut and tune properly.
We also spent a lot of time figuring out the polishing/buffing routine and tools, but I’ll let @alienrobot tell you about that.
Last weekend we did some grinding and buffing and I got to use the bench grinder (woo!) but it was kind of scary. The grindstone and the buffer are both spinning at 6000 rpm and trying to concentrate over the noise while also knowing the fact that my fingers could get ripped off was – believe me – not easy. Anyway, I look forward to more grinding and buffing and blogging next time I have the chance.
We bought some aluminum bar (3″ x .5″), which has a nice, resonant tone without any nasty harmonics to it.
Also, it’s the lightest choice (brass and steel are MUCH heavier), which will become important when we have close to a hundred pounds of keys, steel framing and audio pickups hanging off the van.
I learned how to choose raw materials for this project eight years ago the first time I built a xylophone (this one), after downloading these instructions.
I spent a good deal of time hunkered down on my knees, balancing odd bits of aluminum, steel and brass on balled-up socks (per Jim Doble’s excellent instructions), whacking it and listening to it – which gets you stared at, but generally dismissed as not worth calling the cops on.
Eventually, you figure out what sounds best – and off you go.