
 For those who haven’t been following along, visit here’s how it’s done, roughly in order:
First, you read Jim Doble‘s brief but precise instructions for making xylophones. Read ’em again – they’re clearly written, with a basic illustration and links to photos and sound clips, and then find some wood or metal that you can work easily, and get busy:
I used 1/2-inch by 3-inch T6 aluminum bar stock. As a starting point, I measured out a piece the size of the low C on my first xylophone and cut it off with a circular saw fitted with a metal-cutting disc. Then, following these steps for tuning the keys, I just kept cutting – shorter for higher notes, longer for lower notes …
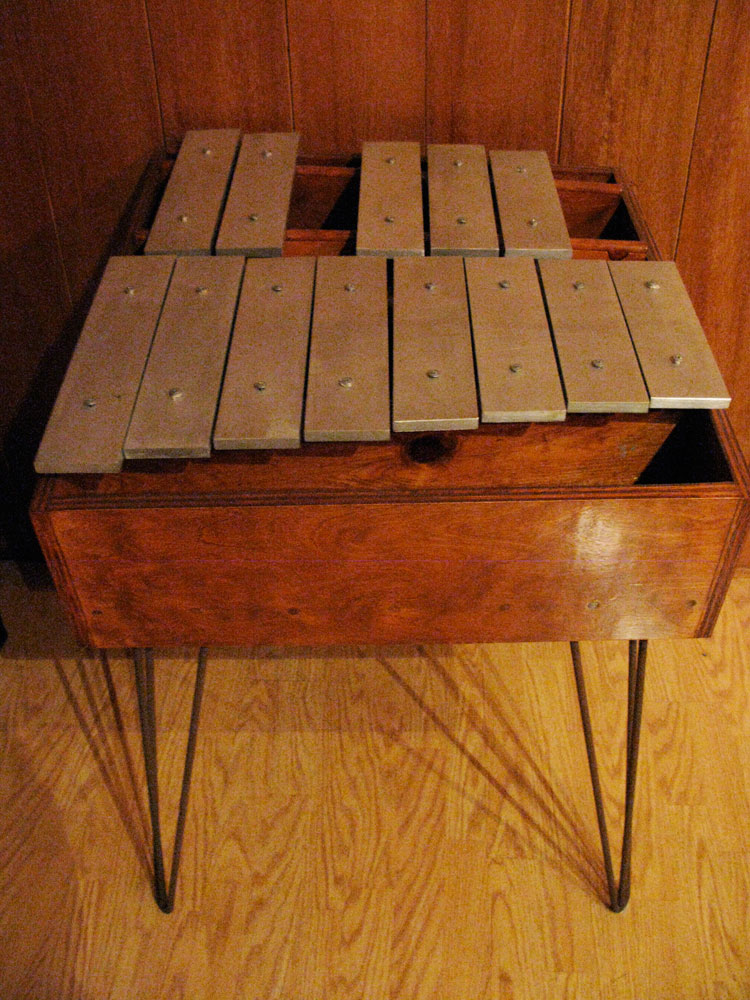
Rinse, repeat, and eventually you’ll have worked yourself up to a workspace like this and a full set of keys.
Then find the least-resonant spots in the keys. Since they are effectively “dead,” and won’t damp the vibrations if you hold them, these are the best place to drill mounting holes.
From here, you’ll want to design some sort of system for mounting the keys, and that’s where we segue from work we did last month to work done this week.
We’re using recycled 2-inch aluminum tubing (the chunks used to be shelving at the metal supply place), coupled together with SpeedRail fittings. Here’s the frame for Keyboard 2.

Here, we install some of the fittings, lay out the keys …

… and once the keys are lined up in the upper and lower rows, with the stringers squarely beneath them, mark off the proper position for all the parts.

It takes a ridiculous amount of hardware to put something like this together – here I’m using 3/8ths-inch bolts, with flat washers and nylon locknuts …

After drilling and tapping the stringers for 6mmx1.0 screws …
insert the screws from beneath the stringers – these will be your mounting points.


Then, fit each of the keys with T-bushings –

these are 3/8-inch bushings, with 1/4-inch holes …

Now with the stringers loosely attached to the frame fittings, fit the keys onto the 6mm mounting screws:

Now figure out how you’re going to secure the keys. IN this case, I tried several methods – first, inserting another set of bushings from the top, and try screwing them down with nylon locknuts

That proves to be too bulky, and the extra rubber seems to be damping the vibration too much, so I try assembling them without the nuts. Problem here is that once the xylophones are mounted to the van and flipped up for travel, the keys might slide off the bushings and rub against the nuts …

So the solution seems to be cutting a bit of bushing sleeve, slipping it over the top of the screws …

… and bolting THAT down. This seems to be pretty solid, keeps the key in place, and blocks it from slipping.

Bolt it all together, tighten everything down, and there you go: Keyboard 2.

Here’s how everything’s shaping up.

2 thoughts on “How to build a xylophone”