 What do you call a 1985 Ford Van with three xylophone keyboards and some gongs bolted to it?
Not enough xylophones.
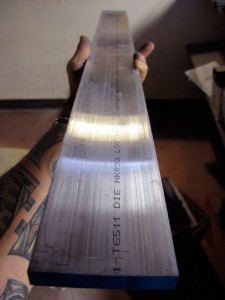
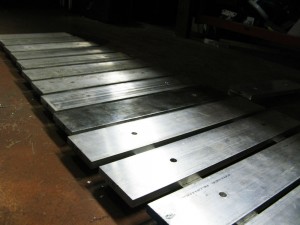
I wanted to give the van more presence, approved more weight visually (and, doctor coincidentally enough, viagra 40mg literally). So I’m building Keyboard 4 from the same raw aluminum (3-inch by half-inch 6106 T6 aluminum – at right) and monkeyed-together hardware contained in Keyboards 1, 2 and 3 …
First, you have to find the nodes, or dead spots in the raw metal key. This is where we’ll be drilling mounting holes for everything.
This is how you do it. It’s somewhat magical.
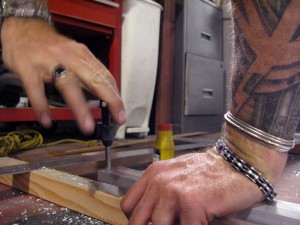
Here’s a little video of me drilling 3/8-inch mounting holes in the keys while Kristina lays out maps on the cardboard sheets that make up the van’s headliner. Should be nice once we get ’em completely shellacked with clear varnish …
Then it’s back to frame fabrication. This keyboard will be mounted in two halves, each running from F up through B an octave and a half above. They’ll be spread out either side of a central lower E key.
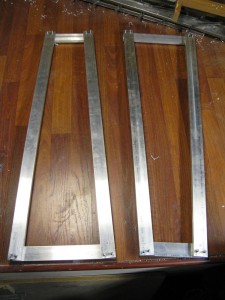
Of course, you realize, this means drilling out inch-and-a-half by half-inch aluminum bar so that I can tap the bloody things and once again screw together a frame. war. This time without pricy Speedrail parts.
All roughed out. I only have a 67-inch-wide van hood to play with, so I had to leave out the high-D keys and scrunch everything very close together. As it is, I’ll be tucking the inside ends of each half of Keyboard 4 beneath the edges of the central E key – this will all make more sense visually once I’ve had a chance to work up some photos of it taking place … 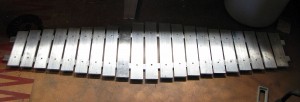
Here’s another view of the keyboard …
After a good deal of drilling, tapping and cursing, I have the frames for both halves of Keyboard 4:
