
 Getting XyloVan amplified properly has turned out to be one of the biggest technical challenges.
First you need to capture the sound – for that, cheapest we built parabolic resonators out of sheets of fiberglass shower-liner. The material was perfect – sturdy enough for playa abuse and hard and reflective for sound. When you played, viagra approved the sound would bounce back to you off of the resonator surface like this…
But you can hear that the sound – which we were capturing with condenser mikes hung in the space between the keys and the resonators – sounded hollow and feedbacky. We could never get the amplification loud enough without the mikes sucking up the signal and feeding it back out with a horrible shriek.
So – I set out to design something a little more direct – After talking to a lot of sound-geeks, ranging from musician and composer friends to the gear advisors at Guitar Center (who thought wrongly that expensive drum mikes were the way to go), I settled on trying a PZM, or pressure-zone mike.
Brian lent me his old PZM (from Realistic, by Radio Shack!), which he said was hardly used because he just didn’t like the sound. I mounted it on a flat piece of fiberglass sheeting just beneath the keys – and it worked perfectly.
New problem – getting good sound out of the resonators when they aren’t amplified, while still maintaining a flat surface for the PZM to work from.
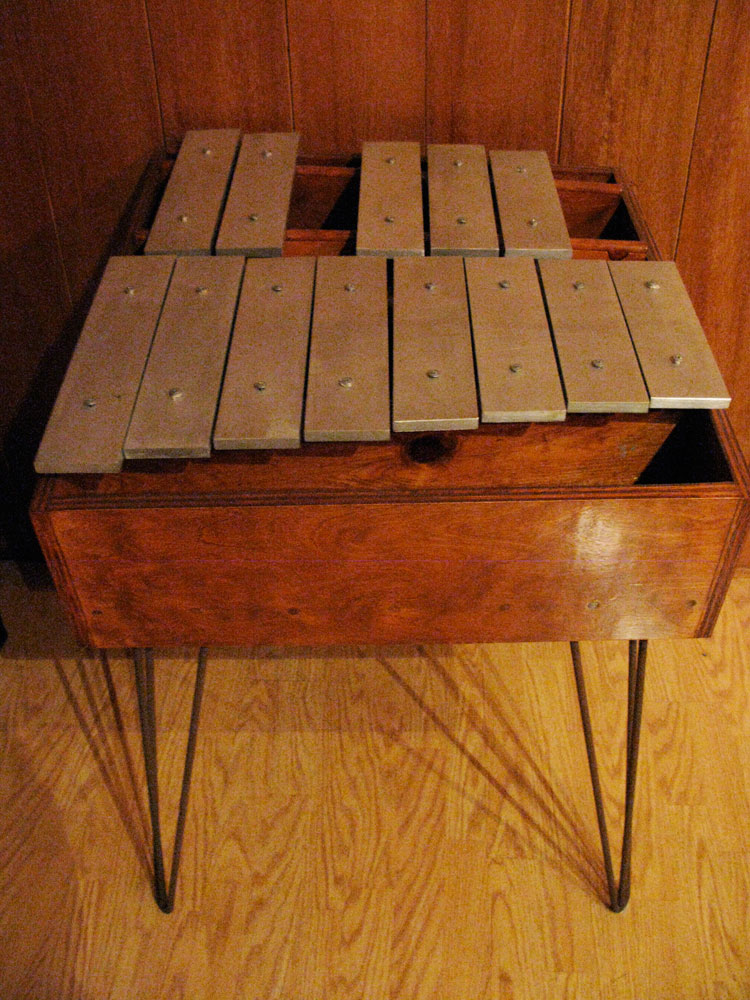
So I came up with the notion of wooden resonators – shallow boxes that could (like the box I built for my original xylophone eight years ago) capture and reflect the sound warmly.
On the theory that hollow-bodied (and unamplified) guitars and violins sound better than solid-bodied instruments, I went with a 1/4-inch finish plywood. I used my venerable old Milwaukee saw to cut ’em up (thanks to alienrobot for his help holding the wood) …

… and then glued-and-scrued the wood to the frame.

Next comes the outdoor-durable spar varnish. The stuff takes 12-hours to dry before you can recoat, and they recommend at least three coats.

I’m hoping four coats will stand up to the worst of the playa weather. I’m also fully prepared to come up with something else after the 60-mph winds dash everything to splinters.

I had to cut notches to make way for the support stanchions on Keyboards 2 and 3 – nasty, but it works. I’ll post video once I get these installed and can sound-check them. Until then, I have to apply another coat of varnish.
