Month: July 2026

Necking the Standup Bass

One does not simply walk into Mordor.

Nor does one simply create the neck of a double bass. This Jam Table component does a *lot* of heavy lifting for this very complicated type of instrument, so it has a lot of structural and material requirements in order to work properly.

Full disclosure: I am not a luthier (as I have already made pretty obvious), and I have no earthly idea what I am doing here.

After studying numerous photos and architectural drawings of double-bass viols, I knew I would need a reliably sturdy way to keep the neck at a good playing angle so it can do its job – just as I would need the instrument’s body at a steady angle.

The table top would be sandwiched between them, with the strings stretched from the peghead through a hole cut into the plywood to the bridge and tailpiece attached to the body below.

In theory, anyway.

For the neck itself, I cut about 40 inches of the scrap of 1.75-inch-thick acacia-wood butcher block left over from building our countertop, then trimmed away the outside edges with a handheld jigsaw clamped to the bench. Whee.

Then I used coarse 80grit sandpaper on an orbital sander to whittle the living bejeezus out of it.

By the time I was done, I had shaped something resembling what the internets tell me is the approximate thickness, length, and
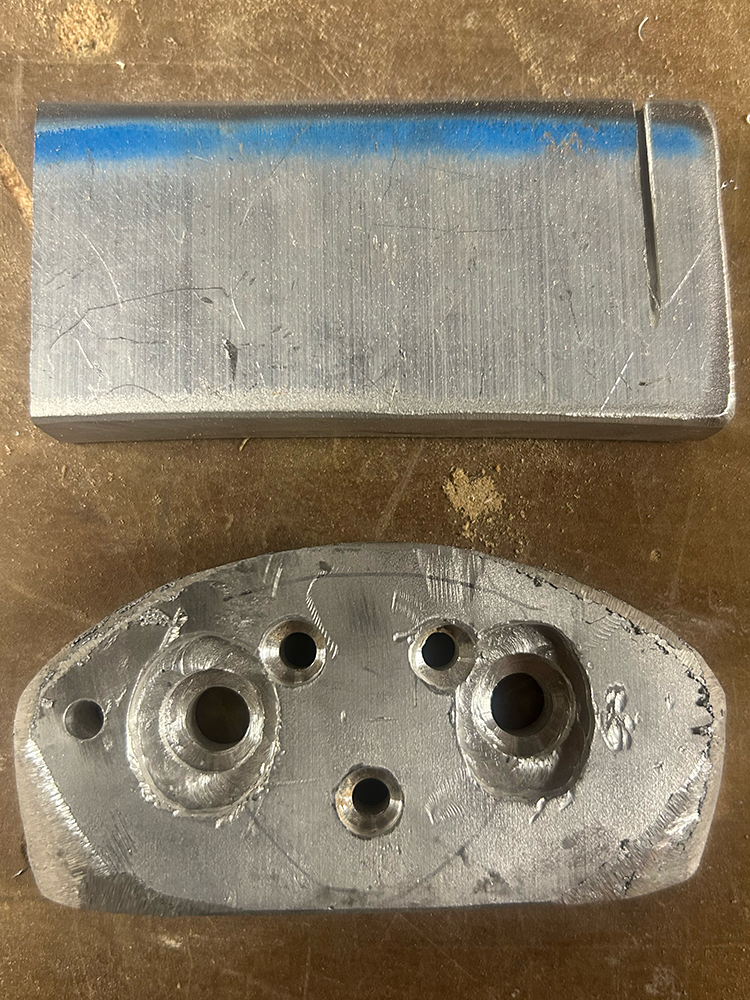
The nut and peghead->neck attachment plate, cut from a block of 1/2-inch-thick aluminum scrap.

taper of a double-bass neck and fingerboard. I think.

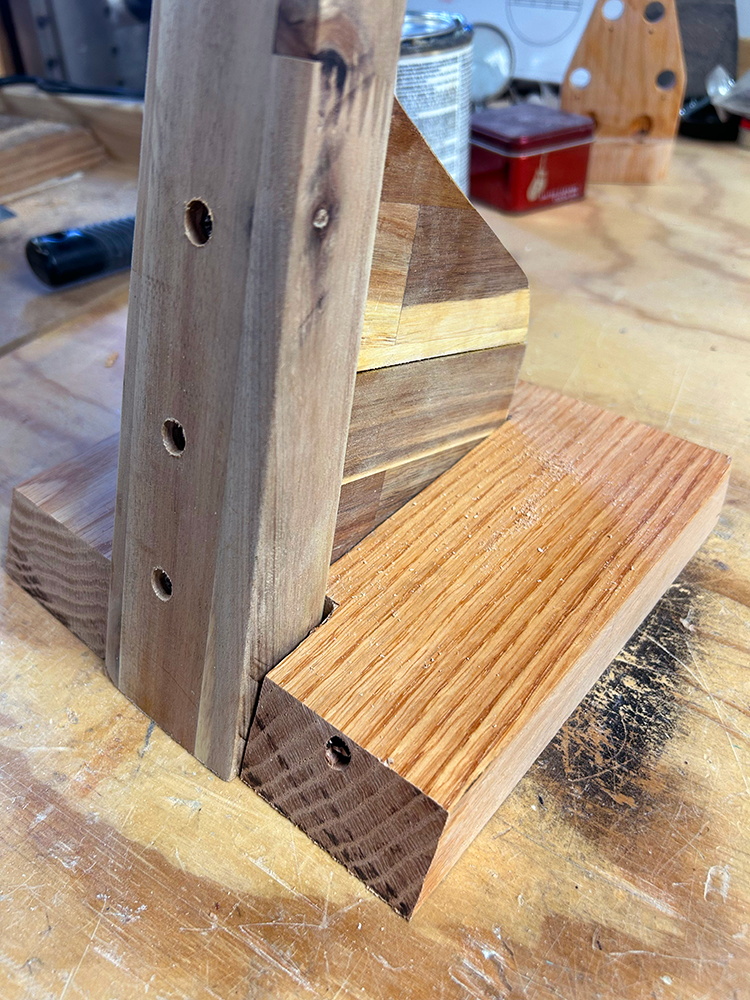
I fashioned a rear buttress for the neck from another scrap of acacia and screwed it onto the neck’s base. Then I carved out that assembly’s profile from another thick chunk of red oak, and I bolted the whole thing together with lengths of all-thread run parallel to the table surface through holes I drilled into the edge of the oak scrap and the base of the neck assembly.

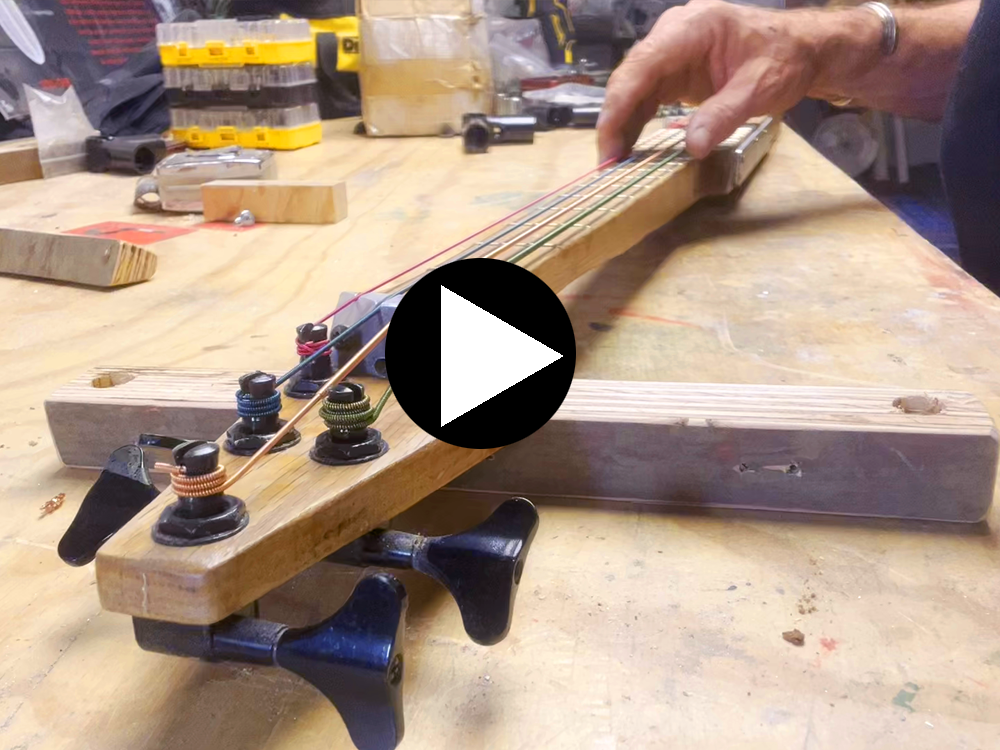
Next up was the peghead. I salvaged the oak peghead from the failed Tube Bass, and flipped it over to put the machines at the proper level to take tension from the nut.

Now the tricky bit – attaching it to the top of the neck.

The best solution was to fashion a plate out of raw aluminum scrap that I’ve kept around since building XyloVan.
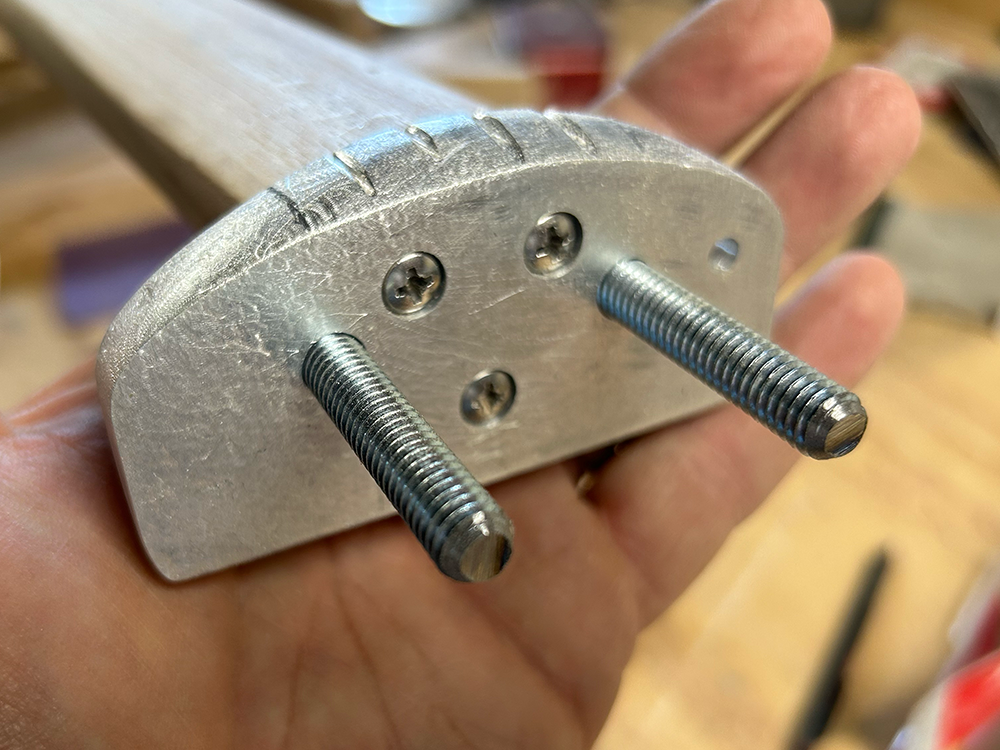
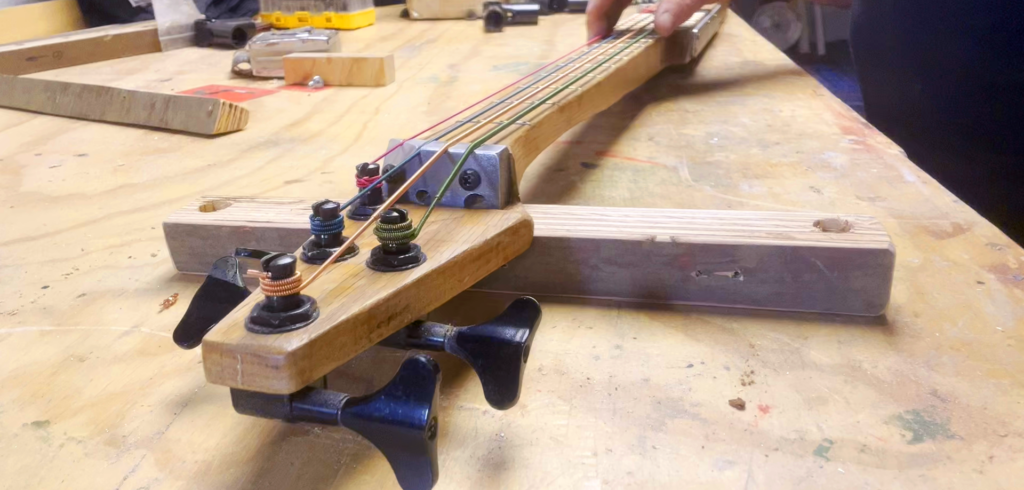
The wackiest hack that ever did stack: a half-inch slab of T6 aluminum scrap, drilled out and machined to function as the standup bass’ nut – and as a plate allowing the peghead to be mated to the neck. Paging Dr. Frankenstein …

I spent quite a few hours machining this thing – drilling a pair of holes that align with existing holes in the peghead – and a new set of holes allowing three screws to attach it to the neck.

I had some oval-profile bolts kicking around that could hold tension without being spun. I just had to machine out holes to accommodate their weird, flat heads.

Using it as a drill template, I drilled holes into the neck, then inserted three stainless-steel screws that I hope I never have to see again – and screwed/bolted the entire thing together, finishing it off with 5 coats of exterior urethane.

It wound up looking like this – ugly, but fully functional:
 

Jam Table – Designing a real live Standup Bass

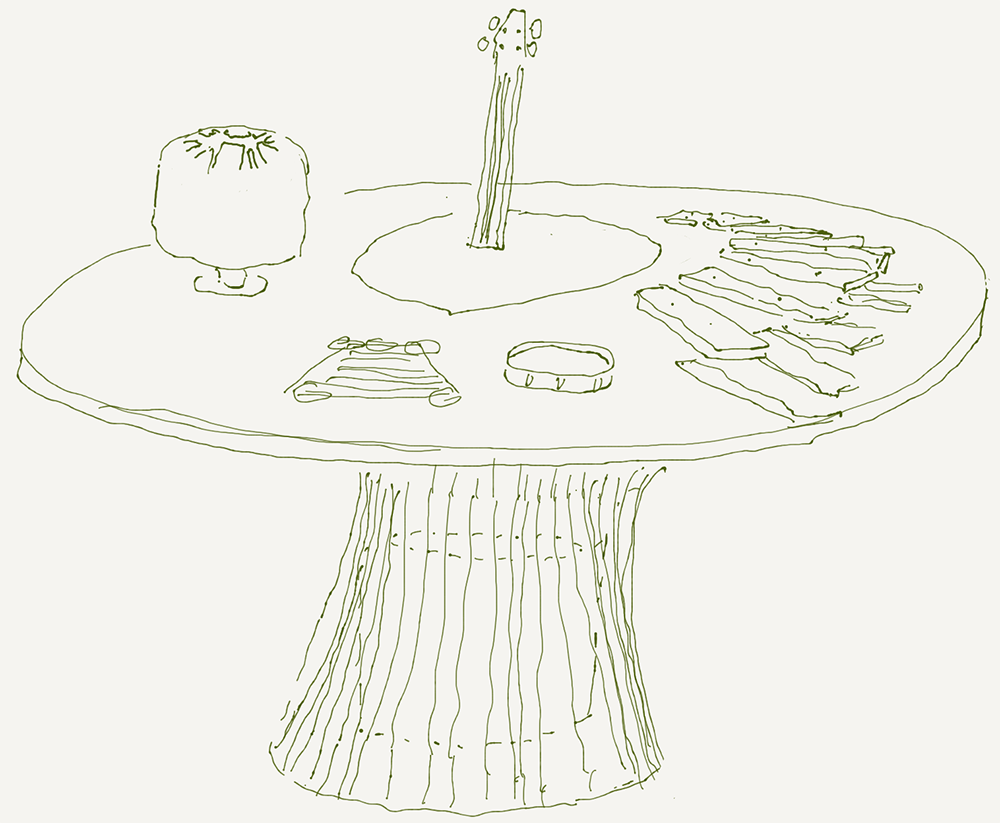
Sketch – neck of a standup bass. First idea was to have it connected to a resonator similar in shape to a washtub. This might have fit into the top of the table, but would have interfered with the kick drum. (Click to zoom)

The acoustic bass is a pretty simple instrument, mechanically speaking:

Strings stretch across a resonant box, making deep notes when plucked or bowed.

You can make one out of a washtub, a broomstick, and a nylon string if you like.

For the Jam Table, I would rather build something that any fool can fool with – but that any bass player will want to play.

So I started sketching, trying to puzzle out how to make the playing surface easy to reach – and how to stuff the body under the table surface without running into the table base’s stainless steel frame.

I had a few long strips of acacia butcher block left over from installing a new countertop. Acacia would seem to be strong enough to function as the neck of a standup bass, but I did wonder quite a bit whether it would need some kind of reinforcement or truss rod installed.

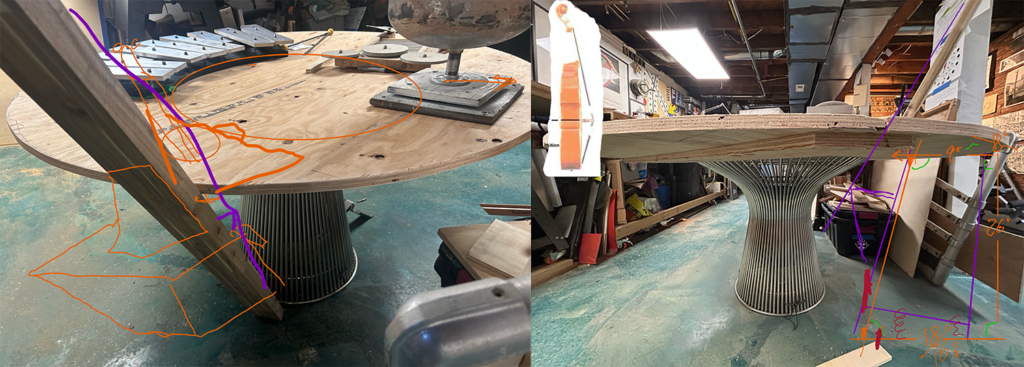
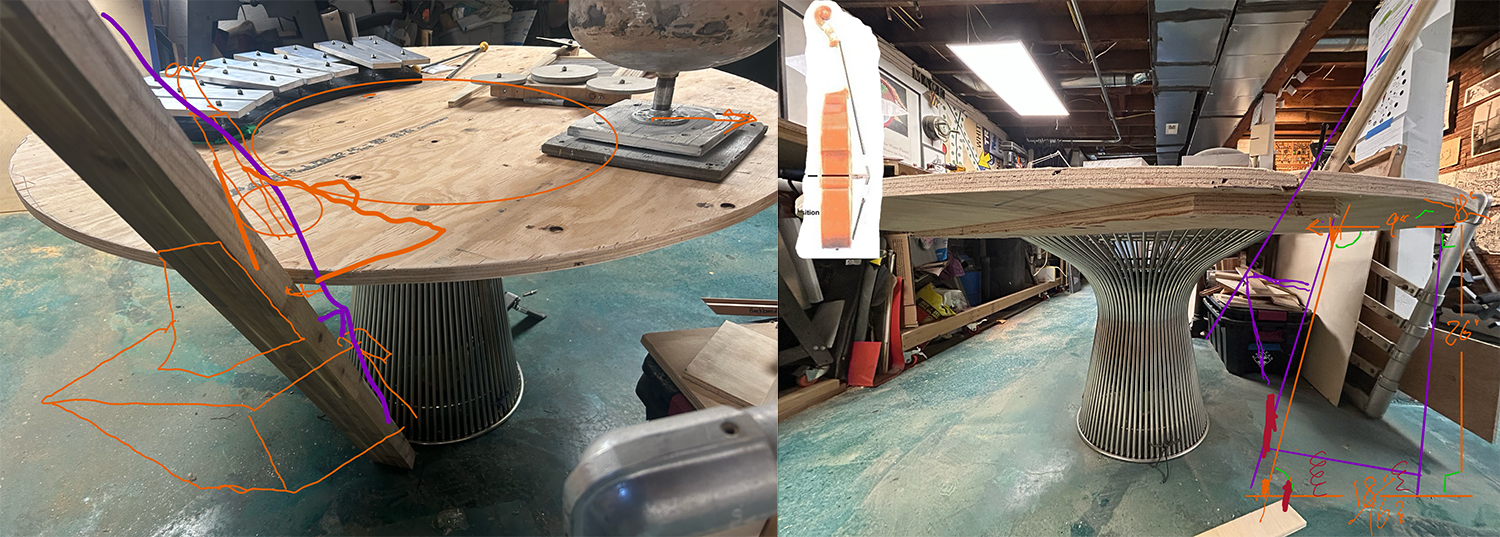
(Click to zoom): Early alignment sketches. (L) Using the scrap acacia plank to check the best angle for the neck and resulting space requirements for the resonant body. (R) Another sketch showing measurements of the room I had to play with for each element while squeezing in a distance of 43.5 inches between nut and bridge.

I have no way of drilling a hole the 36-inch length and 3/8″ diameter of the neck at all, let alone accurately to the line of the neck to insert a scrap stainless steel rod I have left over from another home project.

So I proceeded with this assumption: If the tension of the thick double-bass strings that I’m using does deform the neck, I’m gonna have to (hell, I dunno) groove the back of the neck with a router and insert the rod and tie it in with … bolts? Ugh. I’m not a religious man, but I am praying on this.


Jam Table – the not-great Electric Bass experiment

So, I decided after the Tube Bass failure to try something more orthodox: an electric slide bass.

Jack White’s demo in “It Might Get Loud” – slapping together an electric slide guitar and wailing on it within about 10 minutes – made it look almost simple.

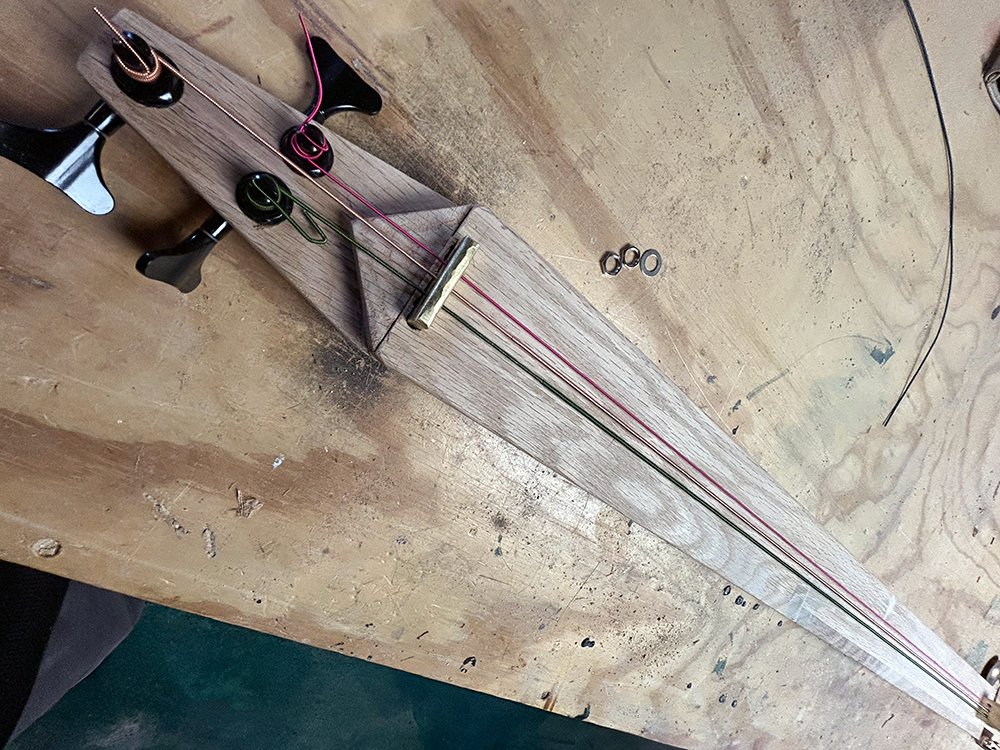
I used a slab of salvaged oak for the body, edge-cutting a wedge-shaped peghead into it with the radial arm saw (the most versatile and dangerous tool in the shop). Non-trivial but – mercifully – non-fatal.

Drilling the holes for the machines was even dicier: the damn barrels come in a just-a-bit-thicker size than my largest nice 3/8″ bit, so I had to bore them out to make them fit.

I settled on a 3-string layout, figuring that the open G-D-G tuning I once built on a cigar-box guitar kit might be fun to slide bass notes on.

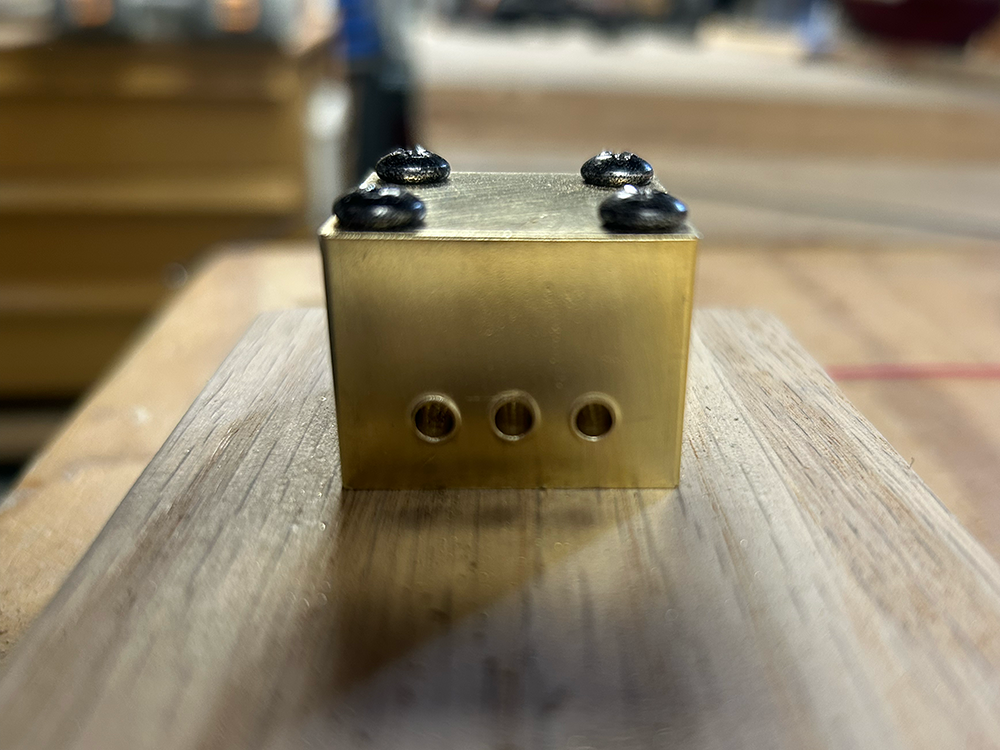
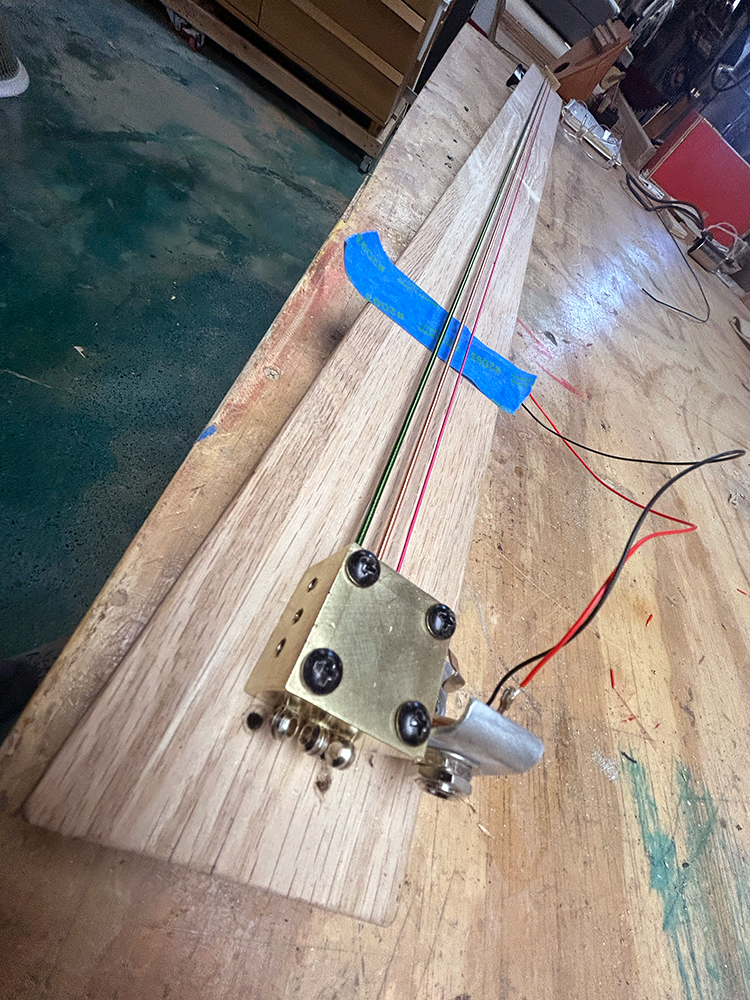
I fashioned the nut and bridge from blocks of brass from the scrap bin at my beloved Industrial Metal Supply (one of the few stores I really miss most from our life in LA a million years ago), and embedded them into the oak.

I then strung it up and tested with a piezo pickup taped to the body.

Open, the strings sounded great. But using the slide told me I had made a crappy choice: unfretted, the wooden neck fully deadened the string beneath the slide.

Sooo, I ordered a fret template and some fret wire, and soon set about building V.2.

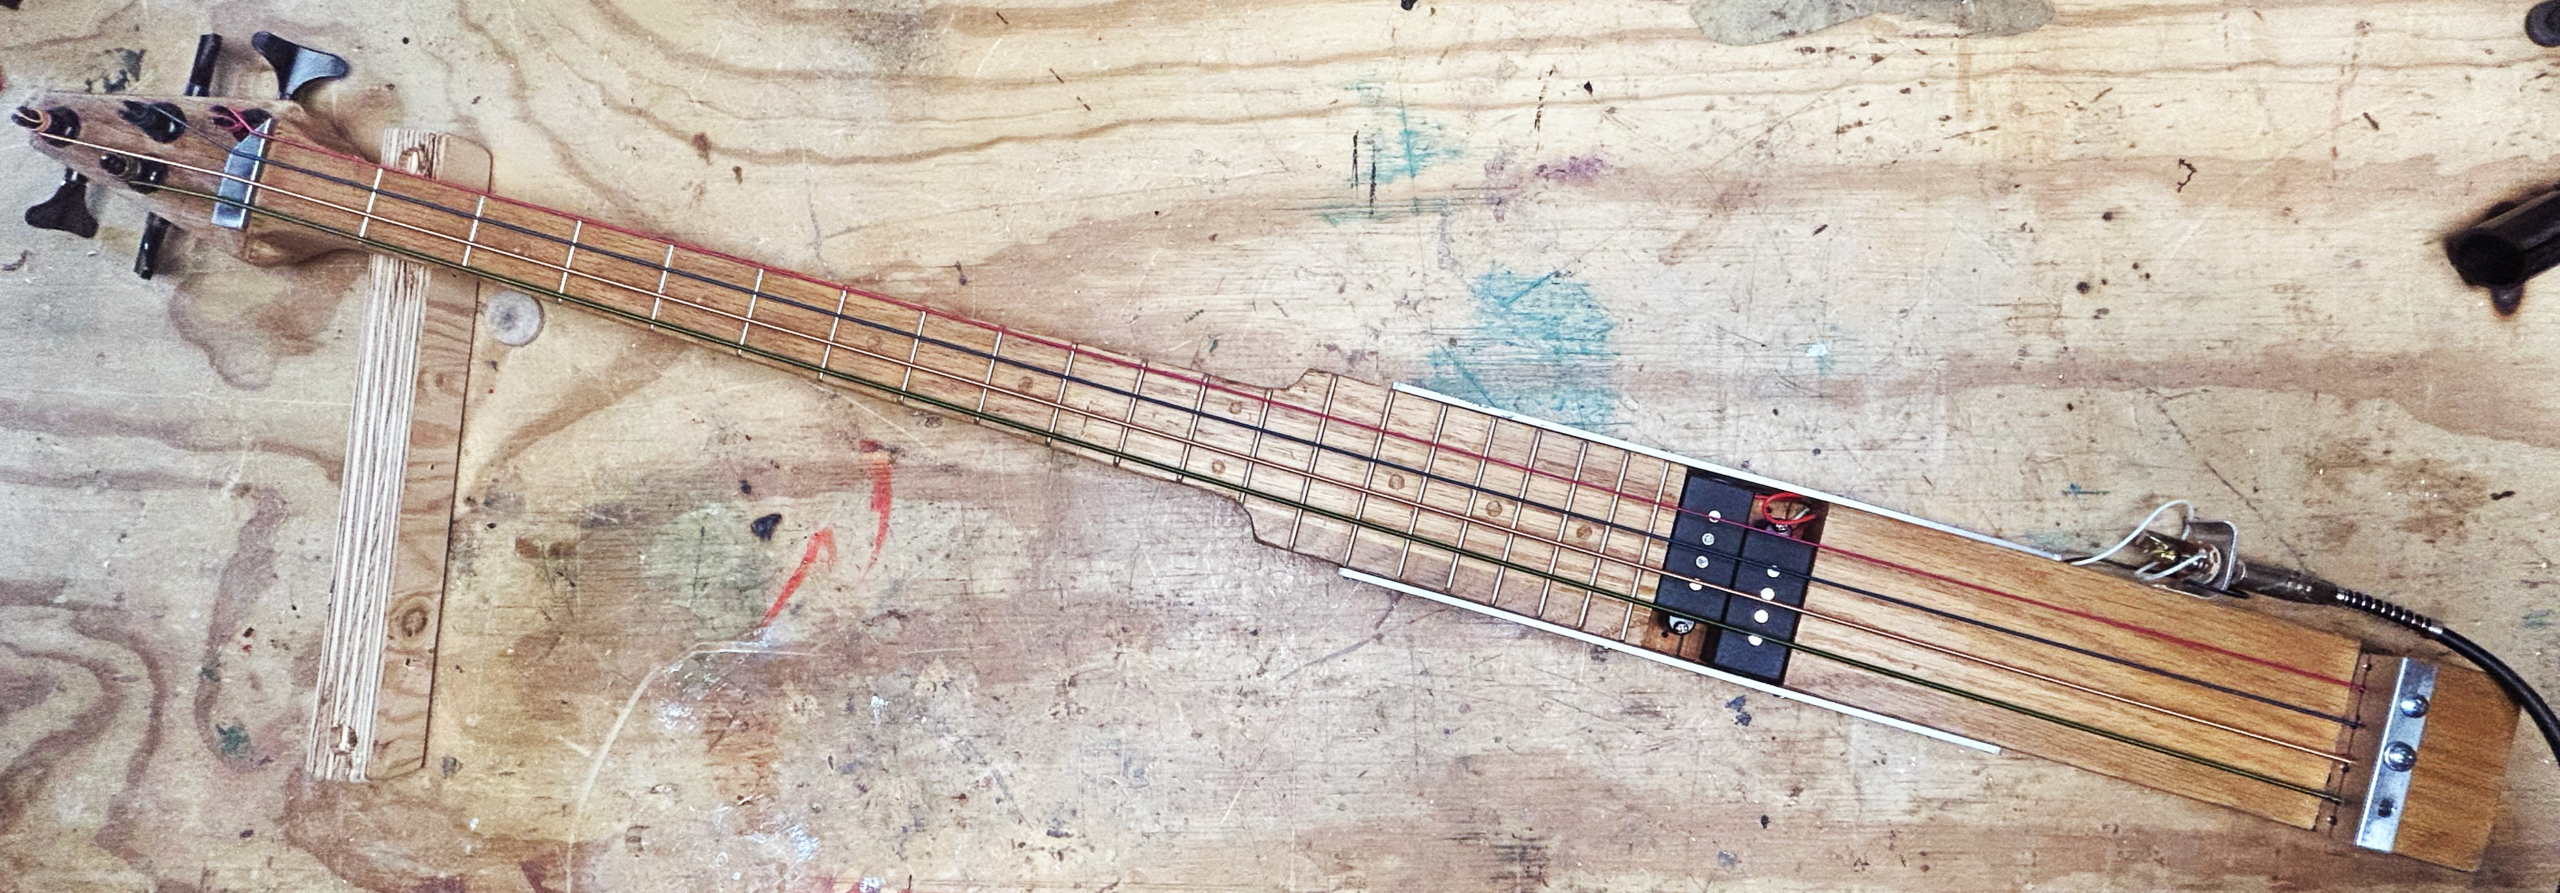
This time, I cut the oak slab and shaped it more like a traditional bass neck – with the nut and bridge correctly spaced. I cut and inserted the fret wires according to the template.

Then I installed a set of bass-guitar pickups into the body, a jack on the bottom of the rail, and plugged the sucker in.

Note-wise, it sounds correctly tuned. But sliding requires a pro bass player’s finesse (which I lack), and I don’t want to daunt any casual musician who might walk up to the table to have some fun trying it out.

Plus, I cut the A groove too wide in the nut, which makes that string buzz like a sitar. It sounds much more annoying than cool, otherwise I’d just go ahead and just mis-cut the other grooves the same way.

What’s more, playing lap-slide bass might be just too weird for all but the most-dedicated bassist. (or would it?)

Anyway, in the end, I want the table to be fully acoustic with the option later to install piezos for each instrument so the whole table can be plugged into a mixer or recorder.

So, what’s left to try?

Well, f*ck it. I guess I have to figure out how to install a standup bass directly into the table.


Jam Table – the failed Tube Bass experiment

The table needs a bass. I have no idea how build that for a melodic bottom end; something anyone can plan, something that can survive Seattle weather like the other instruments can.

I knew exactly how to build the xylophones and propane tank drum for the Jam Table because I had built them before. And I knew I could throw together some array of percussion instruments that might delight someone with a pair of sticks.

This was terra incognita.

I settled on trying to create a slide bass, using rubber ukulele-bass strings. The trick was A) getting a slide to work and B) making it loud enough.

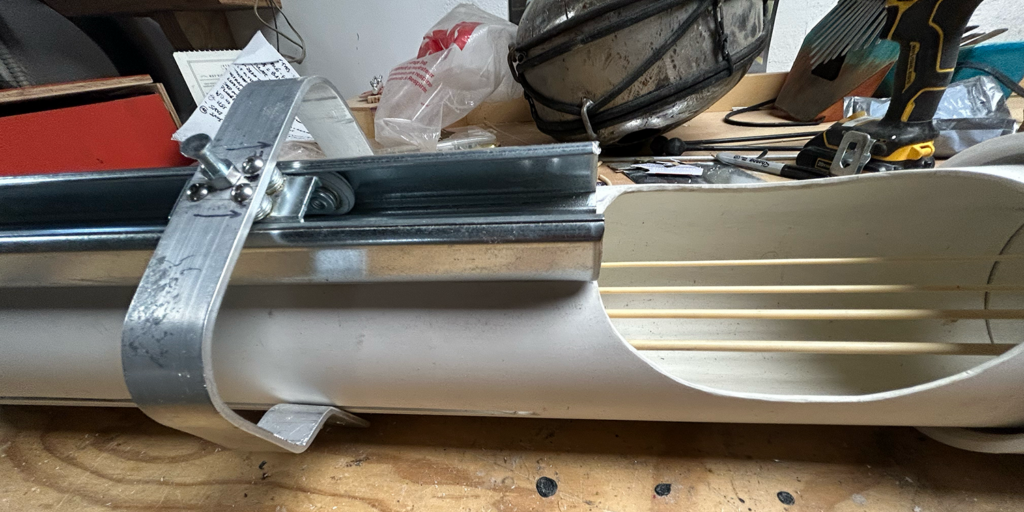
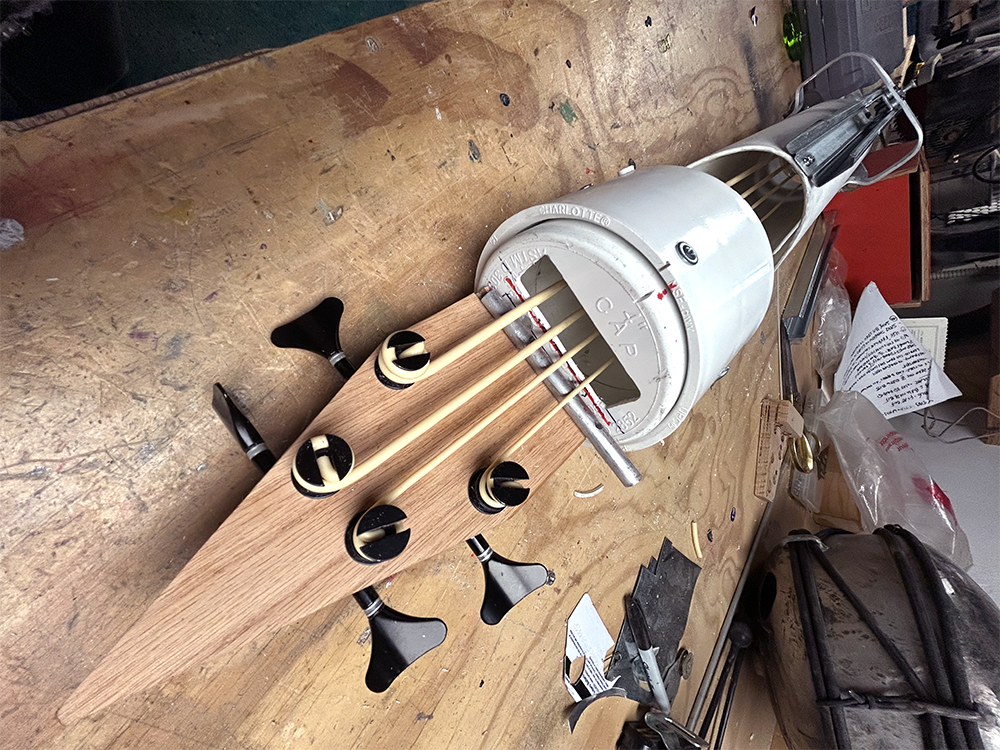
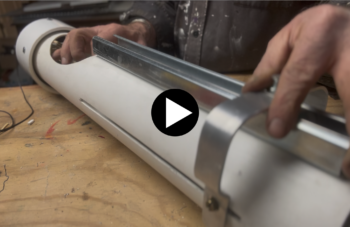
I hacked together a tubular frame of 3.5-inch irrigation pipe, built a peg head from scrap oak (from our recent remodel), and a tailpiece out of a strip of scrap steel to anchor the bottom end of the strings.

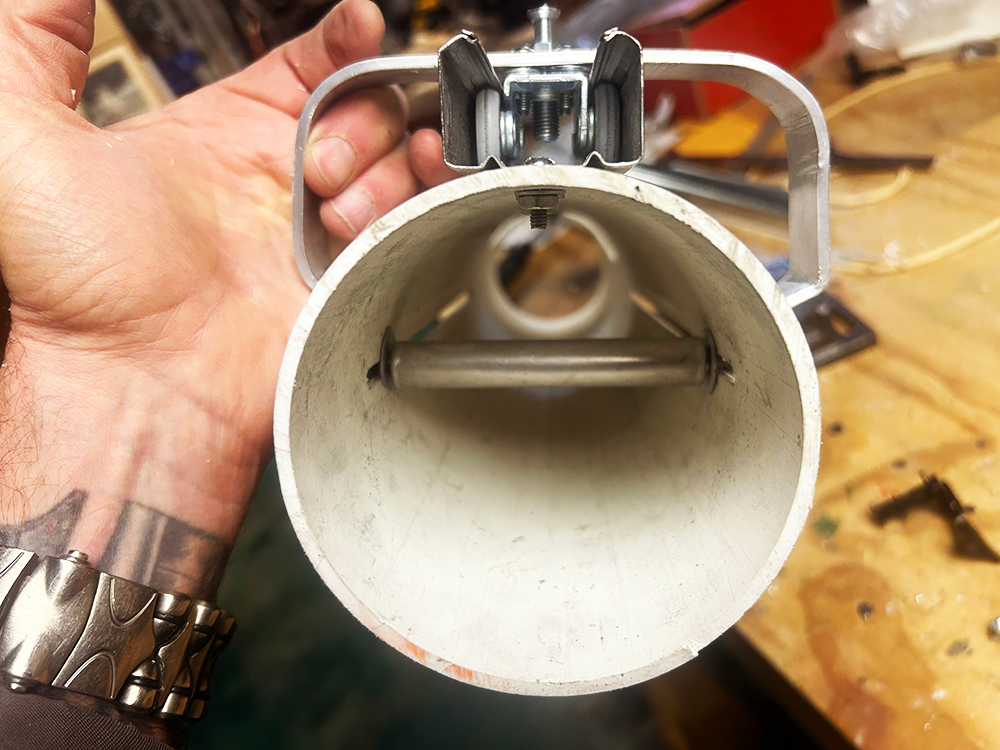
The slide was a challenge – I used the steel roller from a cheese slicer, suspended under the strings that the musician would slide along a repurposed chunk of sliding-door track to raise or lower the notes. Sort of a redneck slide guitar affair..

I blew a good 10 days trying to figure it all out, but it worked.

And it sounded like absolute shit. Just awful.

It sounded even worse when I added a piezo pickup and ran it through an amplifier. No volume, but you could hear the slide VERY CLEARLY.

And besides, it would require amplification, which meant either installing a cheap amp and surrendering it to the elements or requiring musicians to bring their own amps.

Bah. Back to the drawing board.

Keys for the Jam Table

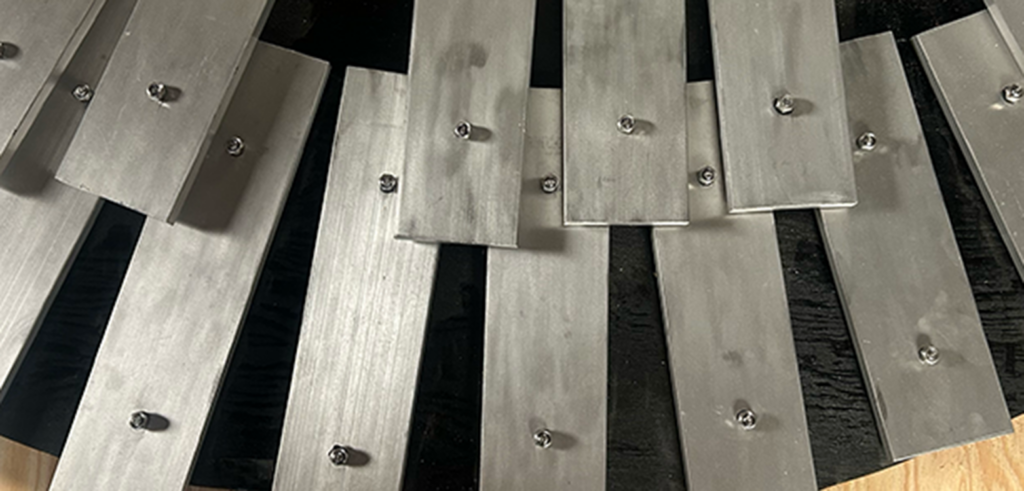
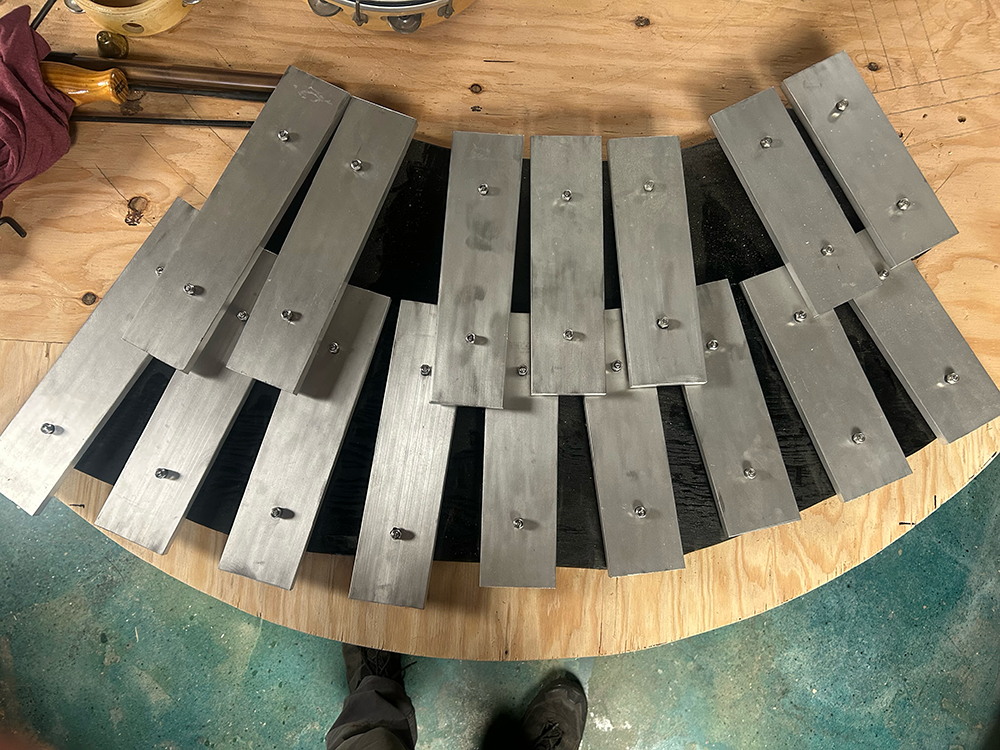
The second instrument I installed was the easiest to build: I pulled a set of keys from XyloVan’s Keyboard 3, the treble set that used to live on the van’s sliding door. C4 to Eflat5.

I wanted to shape the array to flow better visually with the circular table top, and speak to the position of the propane tank drum that will be mounted opposite it. I also didn’t want to let it dominate the real estate.

So I laid it out the keys on a curved keyboard, and then mounted the accidentals a quarter inch or so above the naturals, leaving (what I hope is) just enough room for easy play.

Fortunately, I didn’t have to buy new, longer screws for *all* the keys, just the accidentals since they needed to be mounted higher. For the naturals, I salvaged the original stainless steel M-6/1 screws from Keyboard 3, where they had lived happily since I built the thing (gulp) 16 years ago.

Jam Table – the Kick Drum

The kick drum had to come first. Since it is embedded in the table base and I’m going to have to figure out all the other instruments on the table top one by one, I wanted to get it out of the way.

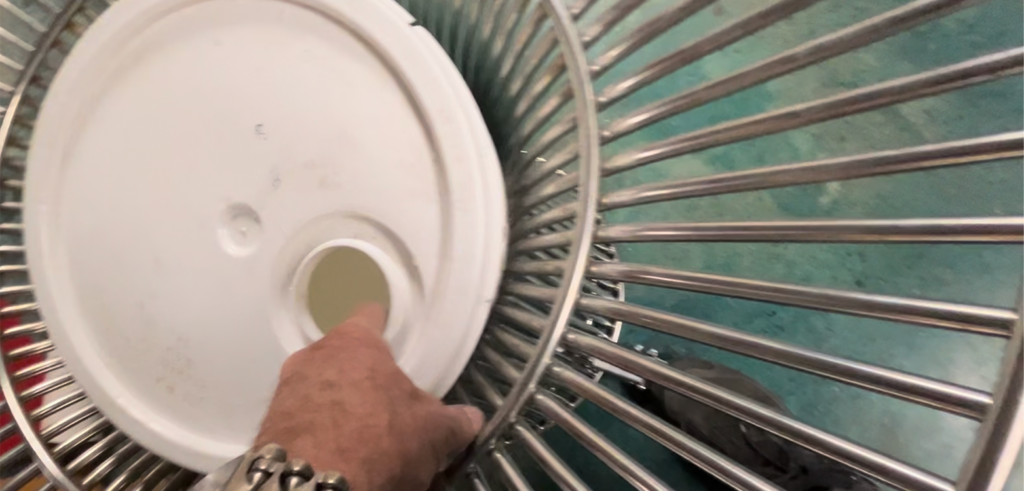
My goal has been to build everything out of salvaged materials: An old 5-gallon paint bucket is a great candidate for a kick drum: It has a natural sound hole. It’s made of durable polypropylene (or something like it). It’s cheap and easily replaced.

And, most importantly, it *fits*, which no normal bass drum would. I suspended it from the base using paracord.

The pedal mechanism was another problem entirely. The kick action needed to be standard (stomp = WHOMP). But since the drum surface is parallel to the floor, and the stainless steel of the table base can’t be modified, I had to get hacky.

I worked out a way to use the table frame as the pivot, and then spent the better part of a week fabricating the pedals, lever, and beater out of scrap aluminum slabs, scrap iron levers, screws, and a f*ckload of mistakes and cursing.

Anyway, it ain’t pretty, it ain’t comfy, but it works. I’m hoping the end users will give feedback and offer suggestions on how to do this better.

(I probably need to add a Suggestion Box to the table.  Just a thought.)