Category: Xylophones

Wherein we get a little professional help, and joy is restored

All the geek opinion and doomsaying in the world can’t beat a crusty old Chicano machinist in a crusty old machine shop.

After Googling and dialing all over Hollywood, Los Feliz and Glendale in search of an EDM-equipped shop, I phoned a local machine shop and described my two mistakes.

“Ehhh, bring it in, we’ll see what we can do,” says the crusty old voice at S&K Precision Engineering Co.

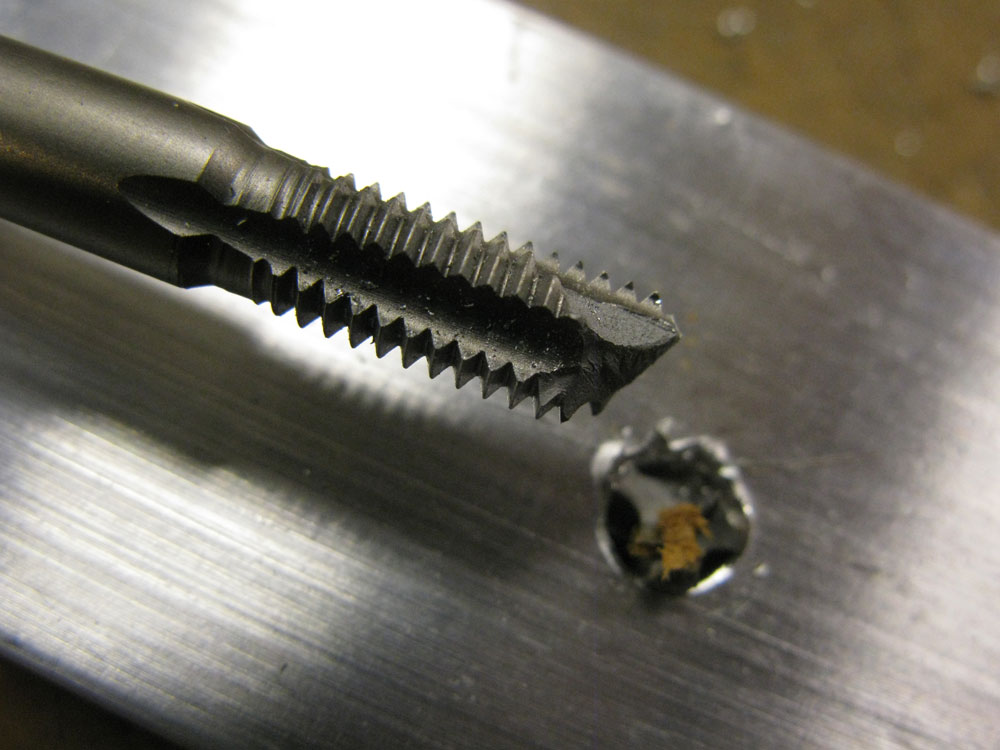
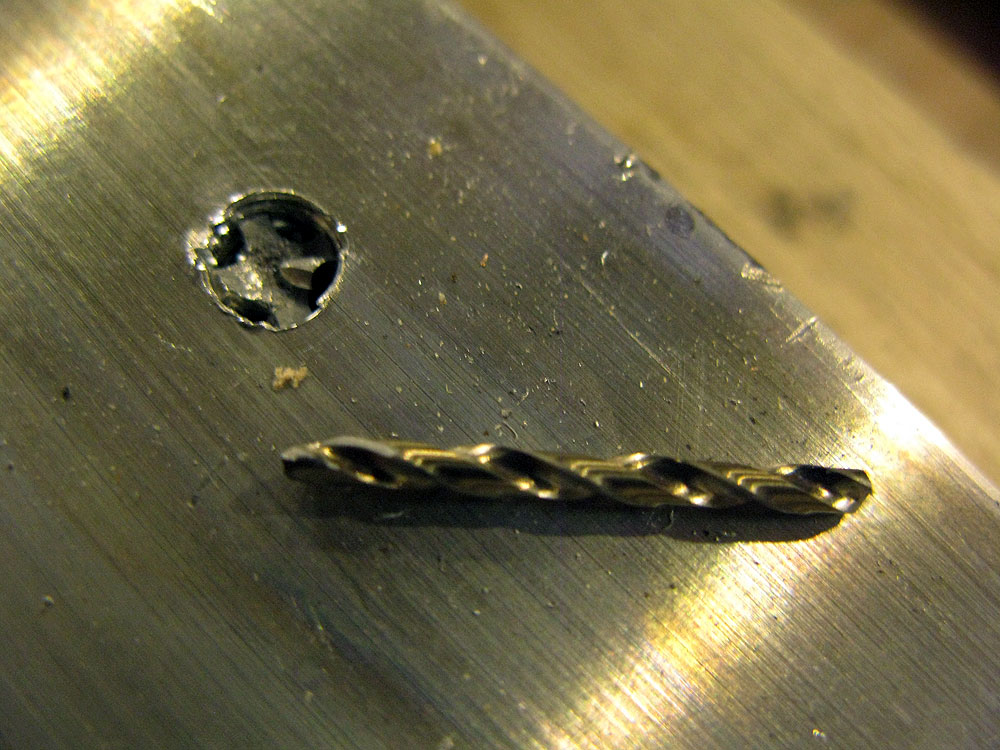
So I bring it in. Within an hour and a half, I get a call saying “It’s all set.” They drilled in with a carbide bit (probably a better one than I used, and used an extractor on one broken tap, and a punch on the other – and now the holes are cleared.

The guy even took pity on me and told me the secret: countersink the holes from now on before tapping them – and use some cutting oil.

Done. I’ll be attacking that just as soon as the best little hardware store in Silver Lake restocks their 6mm Irwin thread taps. The ones that I seem to keep steadily depleting.
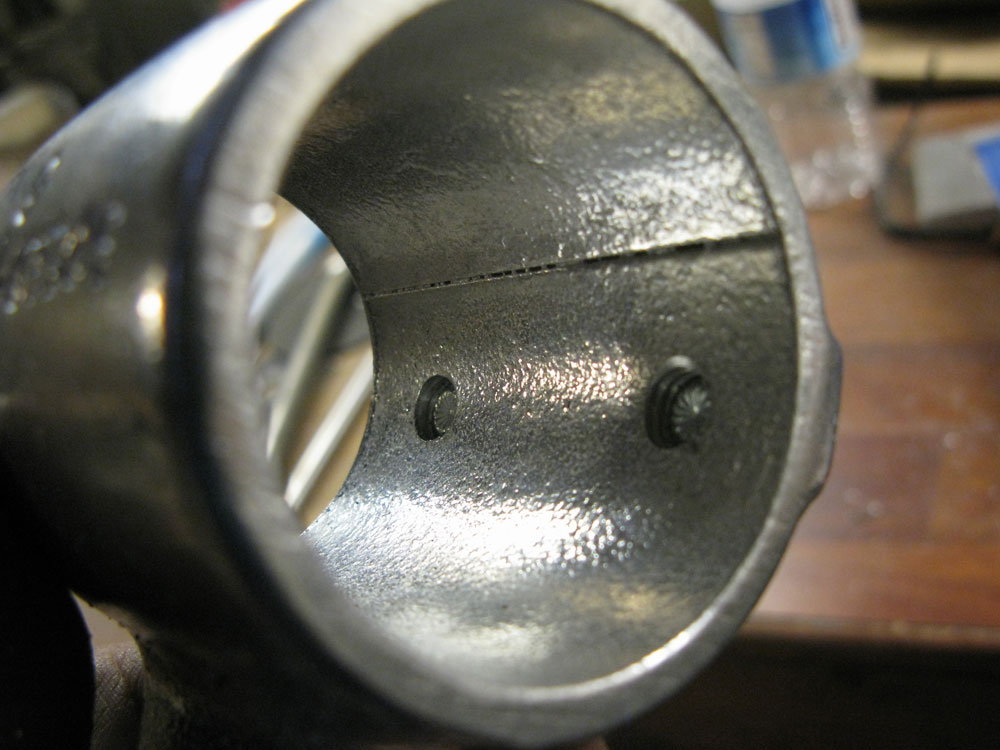
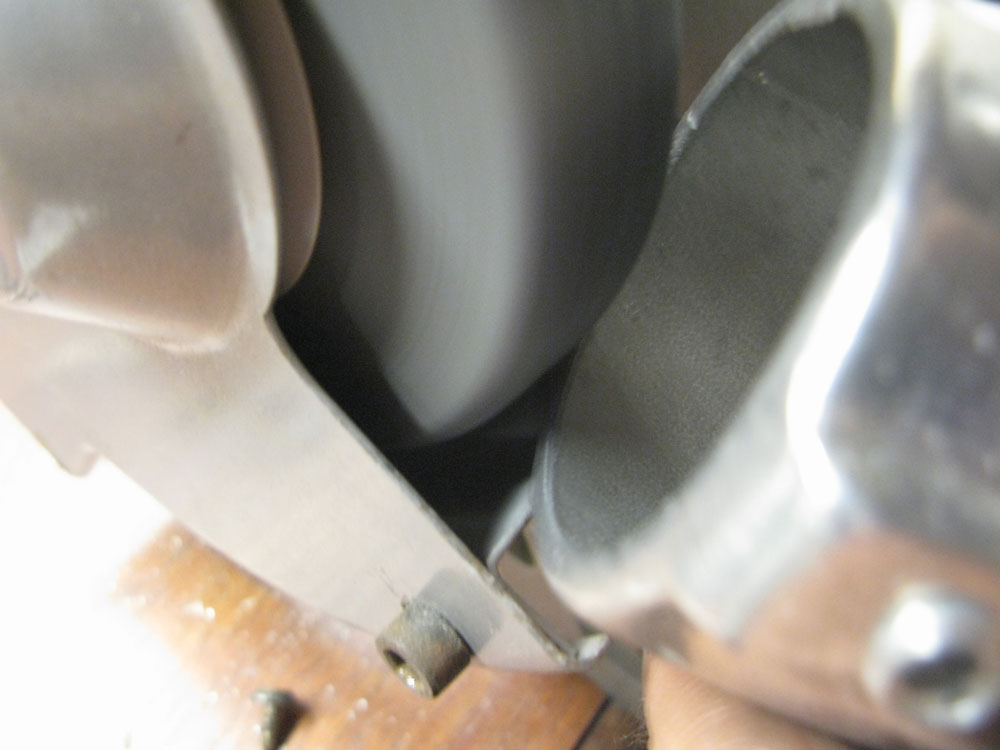
Low-rent metal-work in three easy steps

My plans for a productive evening of xylophone-building thus foiled, I turned to slapping together the rest of the frame-mounting hardware.

Unfortunately, the Hollaender company turned out a couple of SpeedRail parts with nasty burrs inside that kept them from sliding onto the 2-inch aluminum tubing that we’re using for xylophone frames.

I tried grinding out the lip on both sides of the mount …

But no luck. The collar still wouldn’t slide on over the tubing …

More

Damn it. Again.

In machining – as in lovemaking and war – if it hurts, you’re not doing it right.


I seem to keep making the same damn mistake. alienrobot did a great job of tapping most of the mounting holes in Keyboard 1 using just the little 4-inch tap handle that came with the set.

Then I got all clever, applied excessive leverage and snapped a tap off in a hole by using too much leverage. It came out with a pair of pliers … but then I did it again.

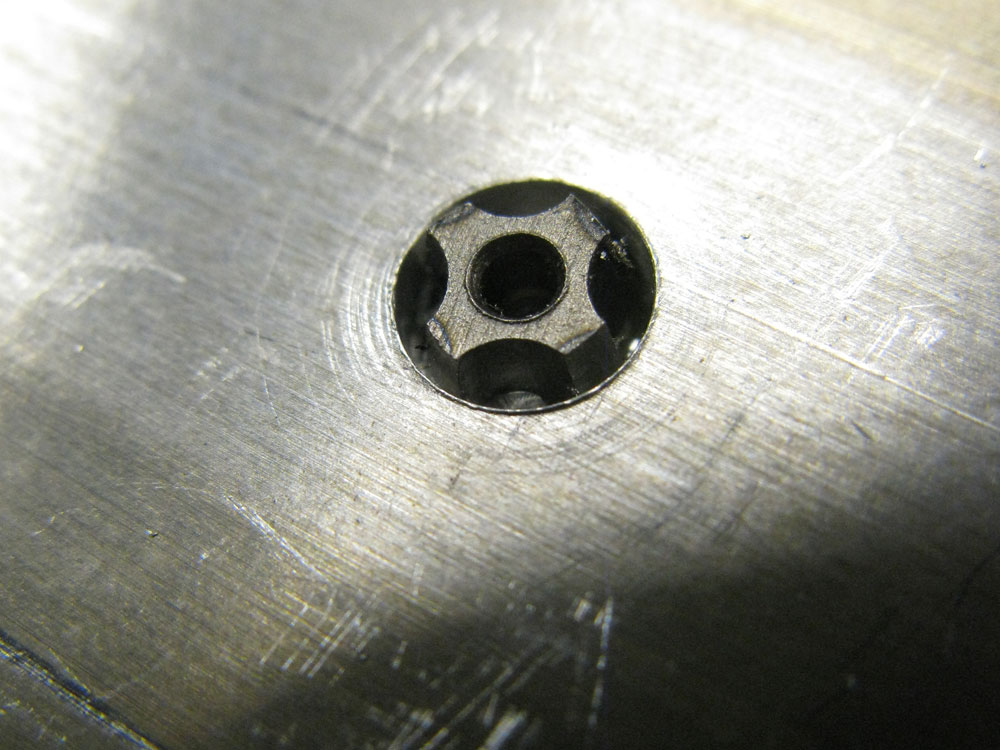
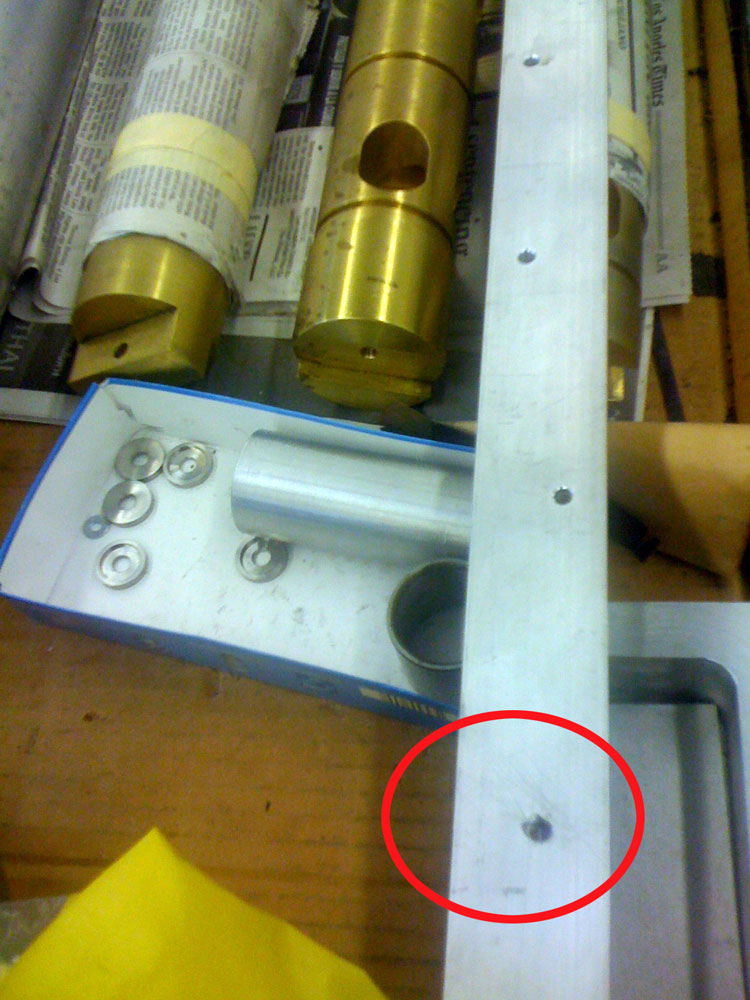
And I just did it again tonight. Here’s what it looks like from the back.

Opinions on the CrashSpace forum ranged from “A high-end machine shop will need to use EDM to burn the tap out of there” to “Yep, you’re fully fucked.”

Guess I’ll go look up a machinist. And hope I’m not fully fucked.

Machinist’s woe: How the hell do I fix THIS?

So I was tapping a stringer on Keyboard 1 and the tap snapped off in the hole.

Below the surface. That’s hardened steel. Drilling it out so I could use a reverse-extractor was fruitless: I blunted, and finally snapped a cobalt bit, which the hardware store said was the hardest thing they sell.

Now WTF do I do? Anyone have any brilliant solutions? Please forward this to all the metalworkers you know.

Machining the superstructure for Keyboard 2

I’d like to think we’ve known how to build XyloVan from day one, but the truth is – we’re dumb. We’re like sack-of-hammers, short-bus, don’t-get-the-knock-knock-jokes dumb.

We’re like chimps who have seen television, digging around in the back of the live set with screwdrivers. We make dumb mistakes, do dumb things, suffer from dumb ideas. And along the way, stuff gets built.

So this 3-foot-long chunk of 1.5-inch by .5-inch aluminum is one of the four stringers for Keyboard 2. These serve as the airframe for the instrument …

More

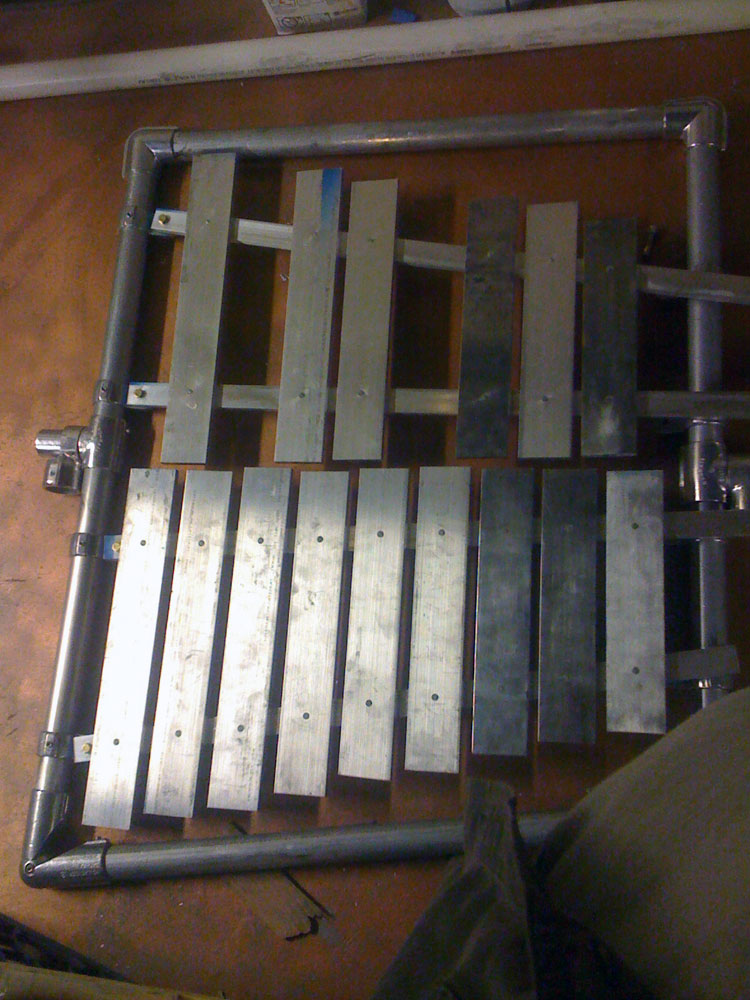
Keyboard 2 of 3 laid out (well, okay, it’s half a full keyboard, but …)

By now, it should be plain that there’s absolutely no linear flow to the XyloVan construction plan.

With Maker Faire bearing down on us in 7 weeks, we’re tackling tasks willy-nilly, like a crew of chimps with A.D.D. and a pound of meth – frenziedly, for long stretches, whether in teams or alone, whenever we’re able.

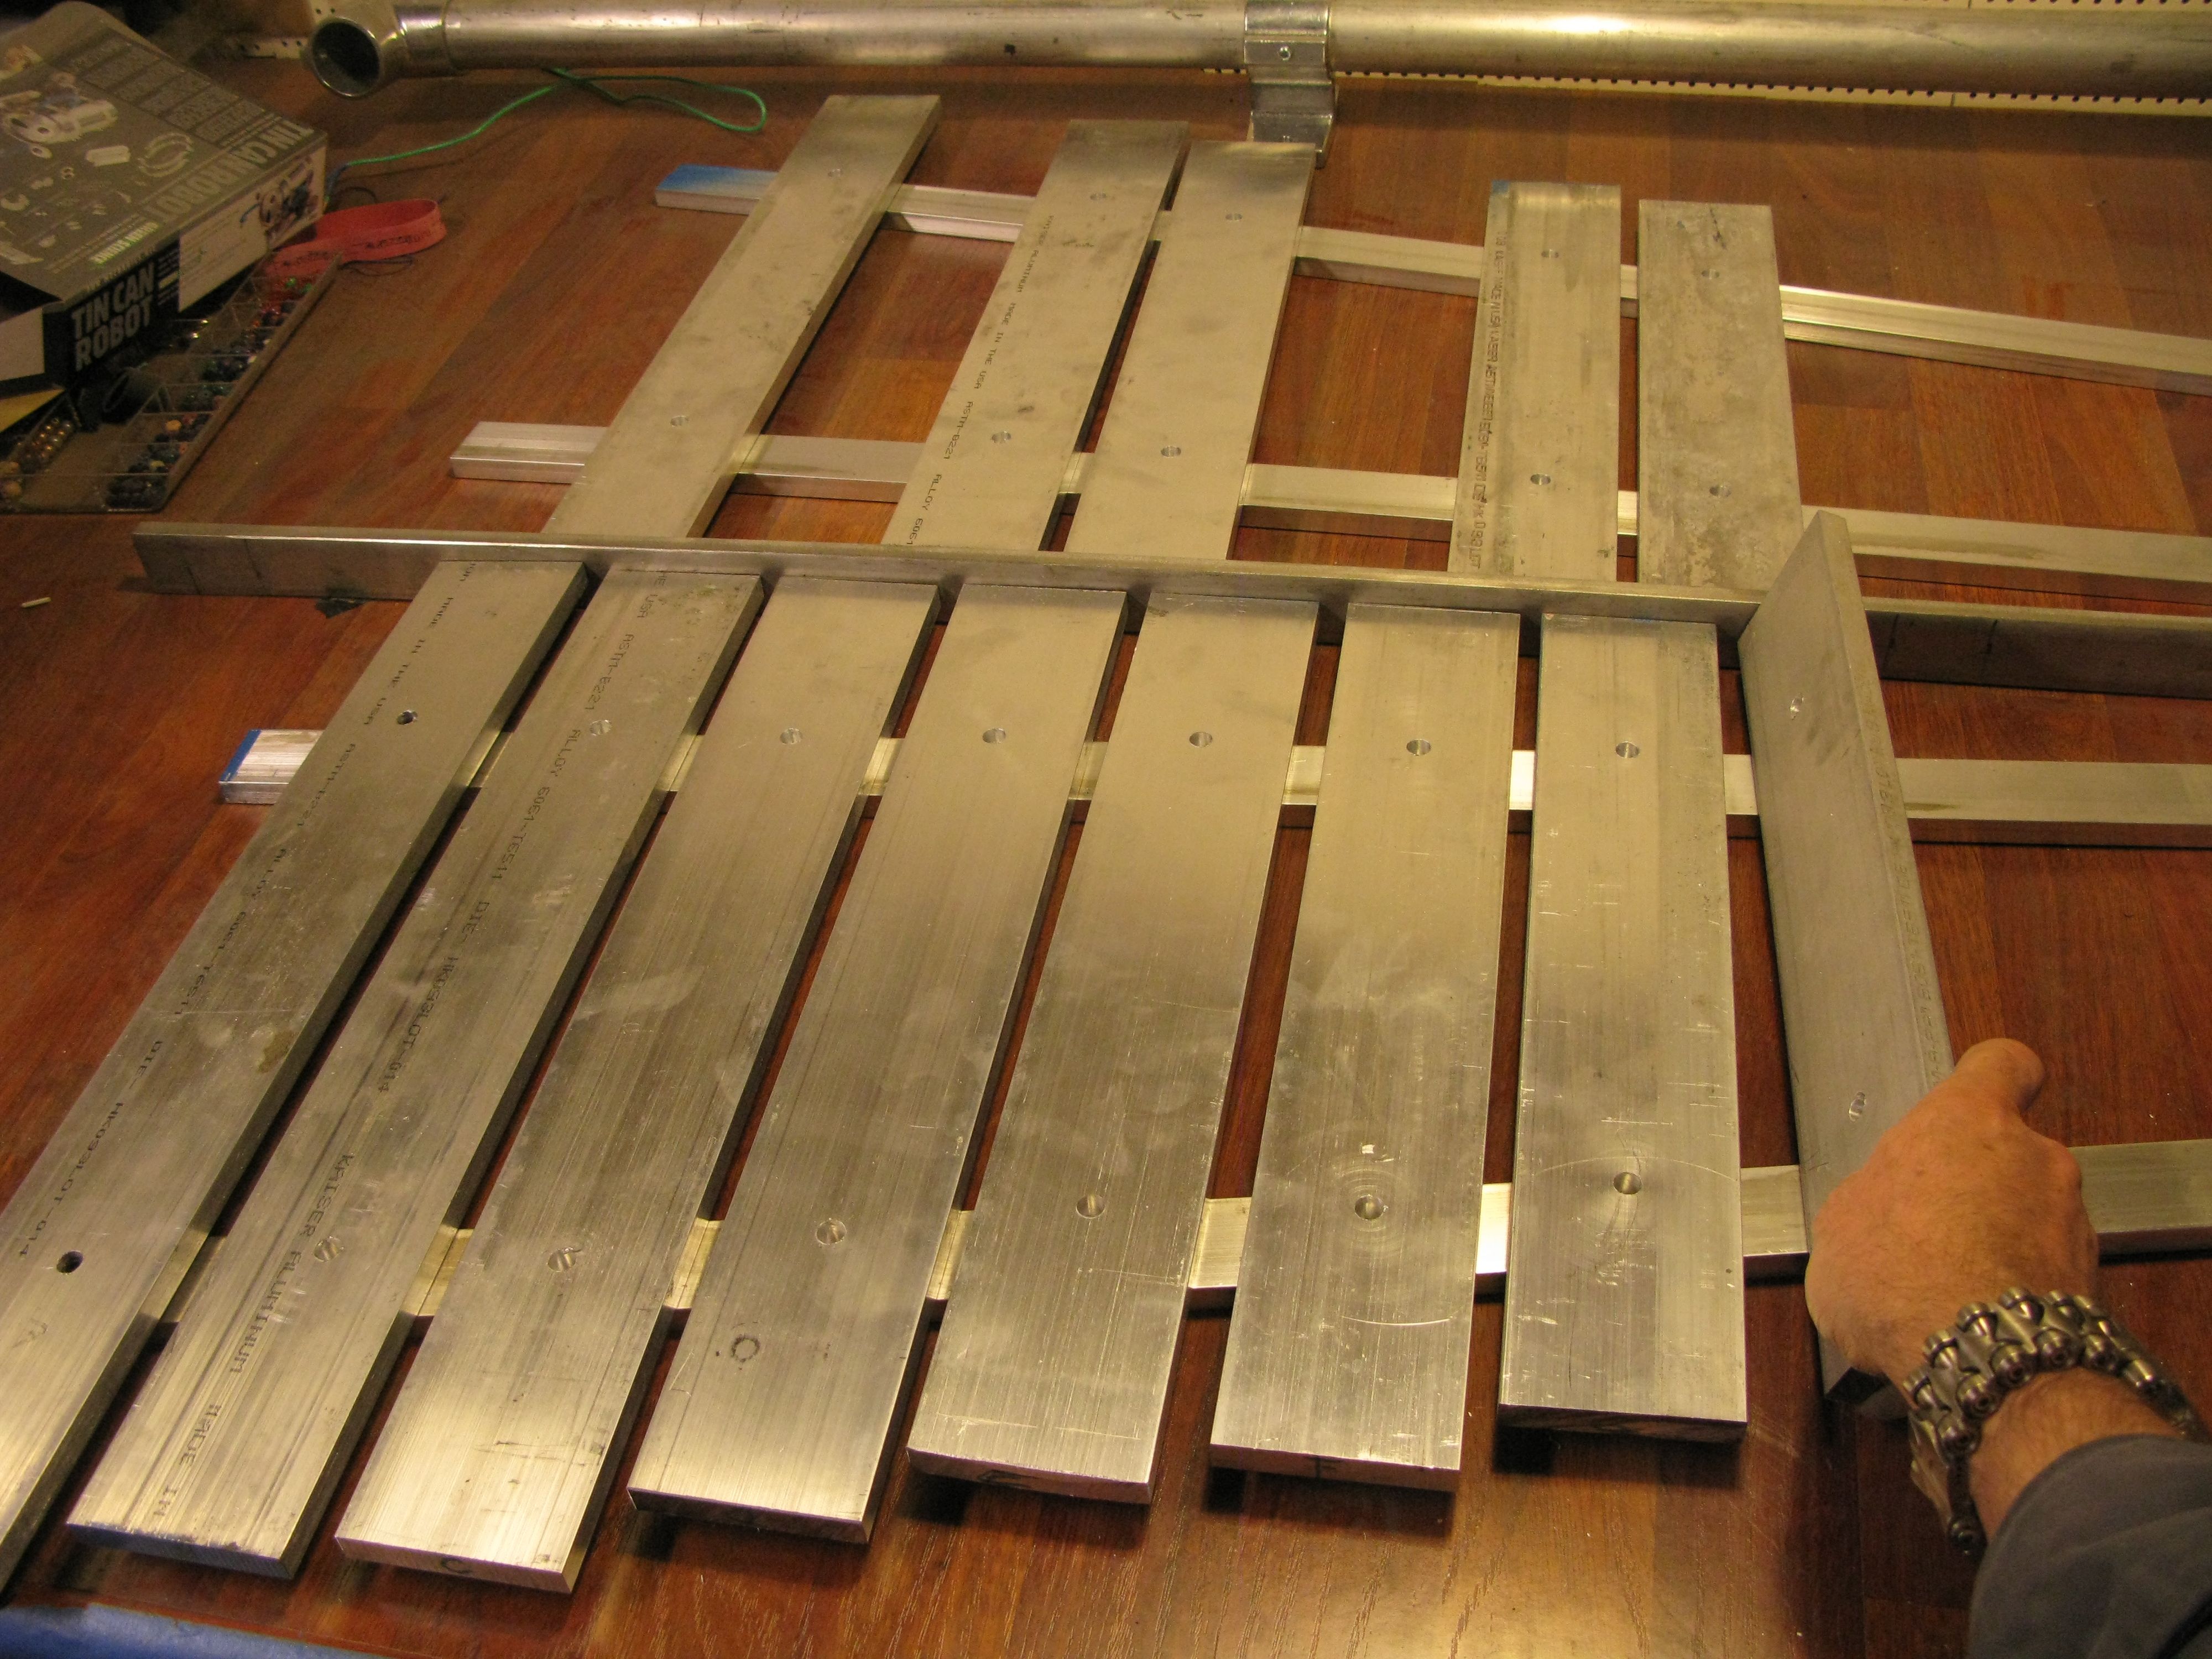
Tonight, I was alone, so I spent it cutting aluminum stringers to fit the frames and laying out Keyboard 2, which with Keyboard 3 will cover the passenger side of the van.

The full keyboard (about 2.5 octaves) would be seven or eight feet long, but we have to somehow accommodate the van’s sliding door …

More

There, I fixed it – Part 1

So here’s the solution to the problem I discovered yesterday.

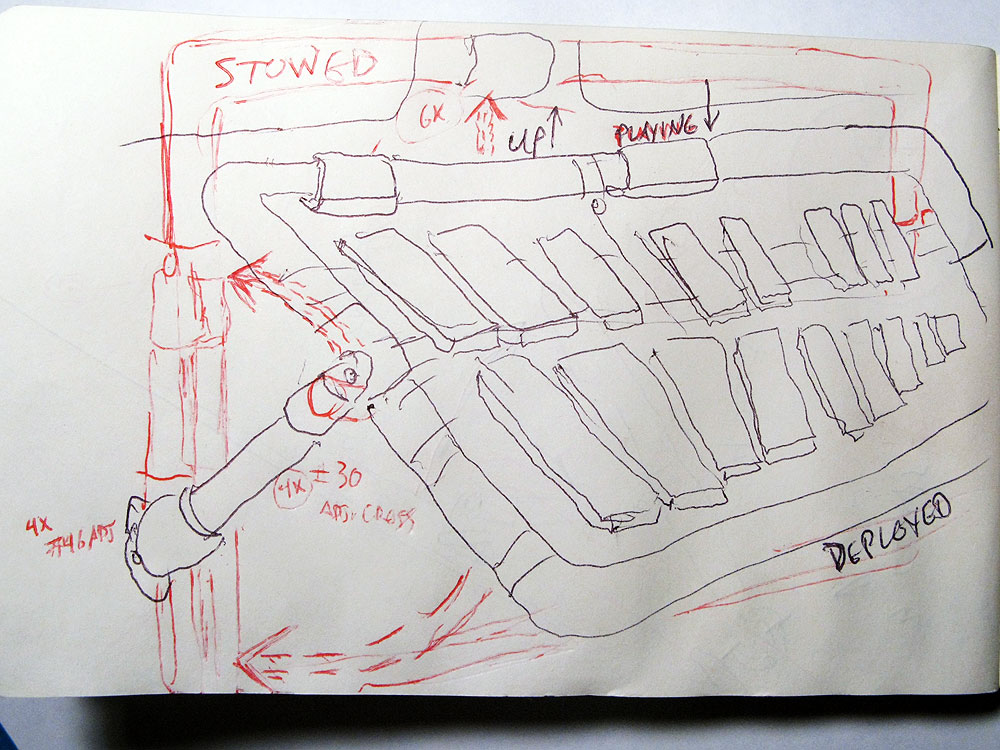
The problem was that the xylophone – if bolted to the van with the upper hinge of the frame just below the windows – would have scraped the ground.

Solution: Get a few more Speed-Rail parts and create a sort of offset cantilever hinge. Built right, it should pivot out and away from the van to playing position (about a 20-degree angle from the ground) when deployed, then fold up flat against the van when stowed for travel.

First, I have to modify one of the parts, a sort of T-joint that is too wide to fit between the anchors for the key stringers.

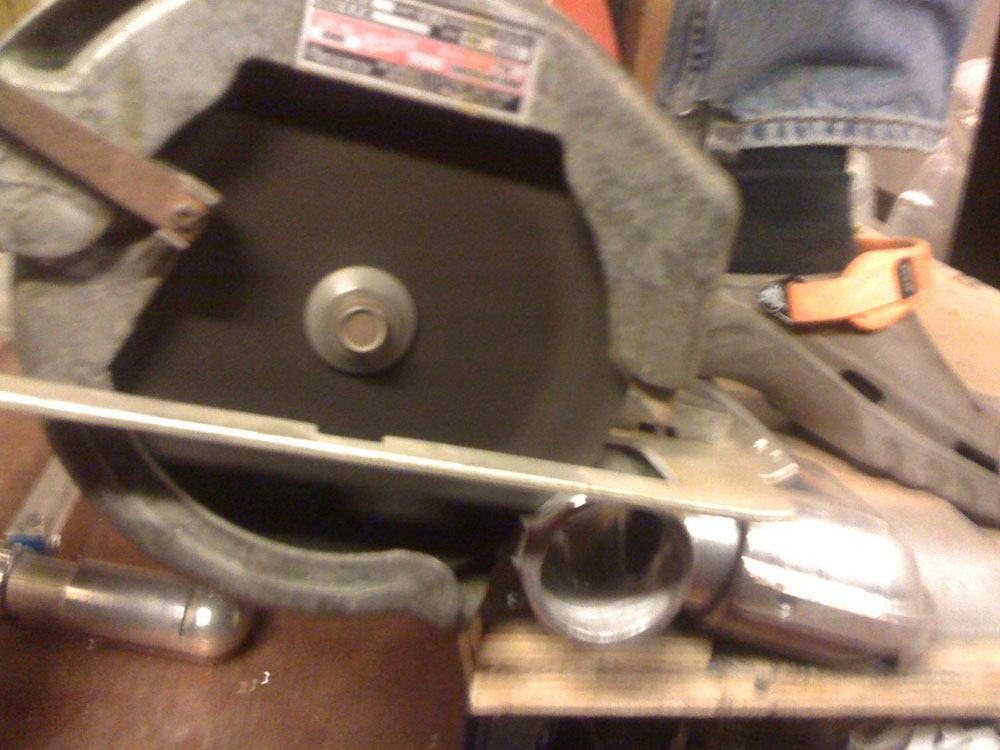
A little circular saw abuse – followed by much cursing and futzing and hollowing out the apparently mis-forged piece so that it actually *fits* over 1.5-inch pipe – and the piece now fits snugly between the stringer ends …

More

Roughing out the frame for keyboard 1

Now that the keys are all cut, price we have to lay out the frame.

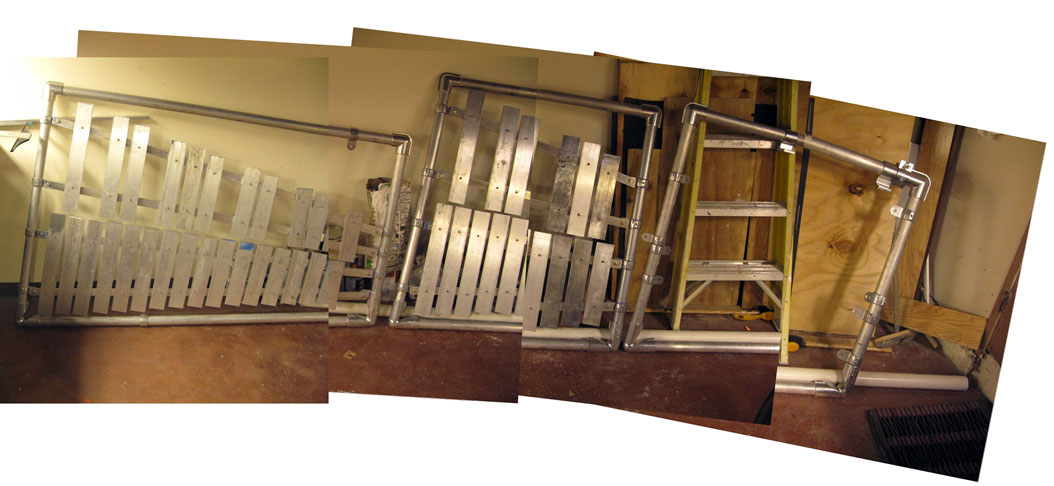
As I said, I don’t have strict engineering plans for this thing, I’m going by the seat of my pants. But I know what the materials will be, so I’ve laid out the frame – it’s 1-1/2-inch aluminum scaffold tubing, held together with Hollaender Speed Rail and then the keys ride on custom-fabricated 1/2 x 1-1/2-inch aluminum stringers … More

Finding the nodes, drilling the keys


(video lost when we quit Facebook)
Once the keys are cut and rough-tuned, they must be mounted.

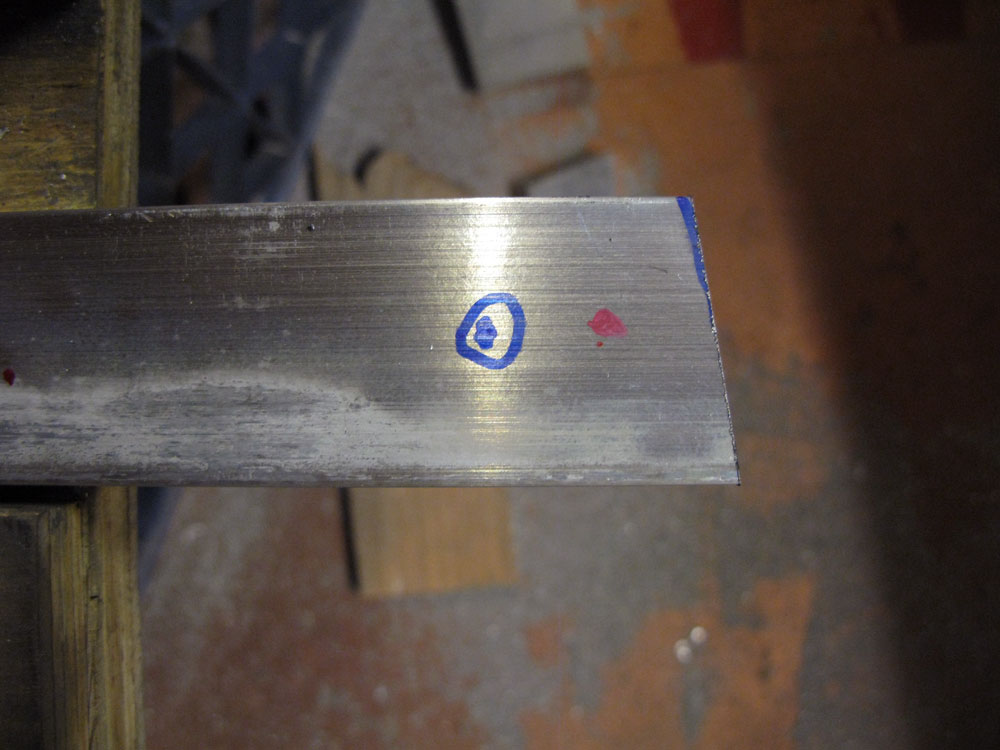
Step one is finding the “nodes,” or the dead spots at either end of the key where the metal doesn’t vibrate. This is where I’ll drill holes for mounting.

To do this, you park the key atop two pairs of balled-up socks so it vibrates when struck. Then sprinkle a little salt near either end of the key and whack it repeatedly. The resonating metal bounces the salt away from the most-vibrating part into the nodes, the deadest spot in each key …

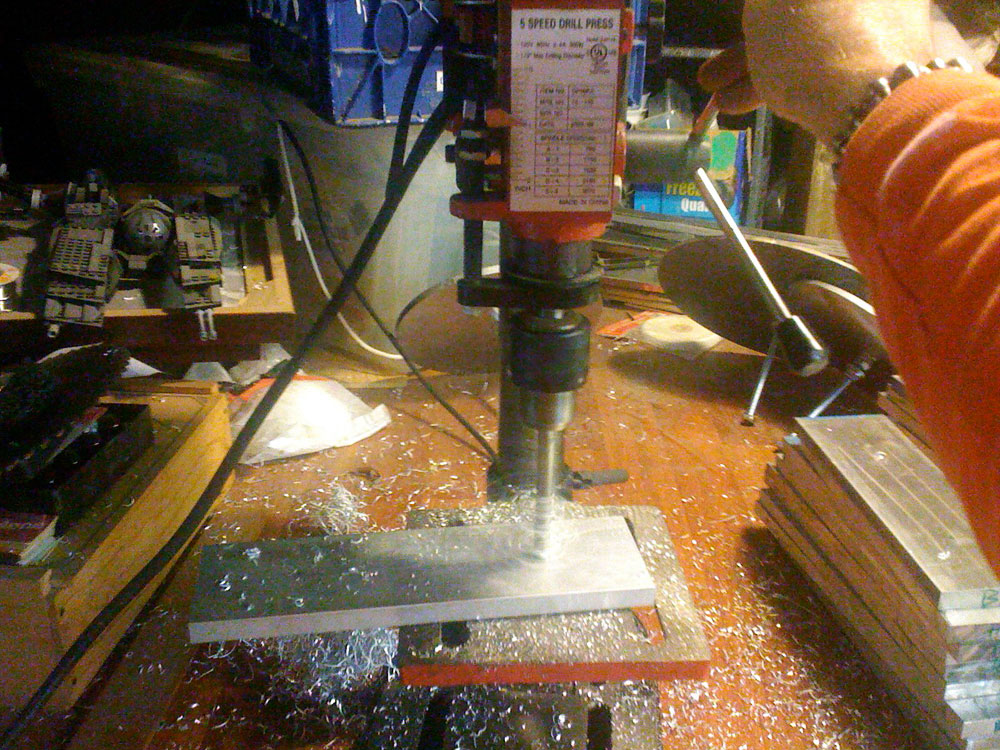
I mark each key, then put it on the drillpress and drill a 3/8-inch-diameter hole through each key’s nodes.

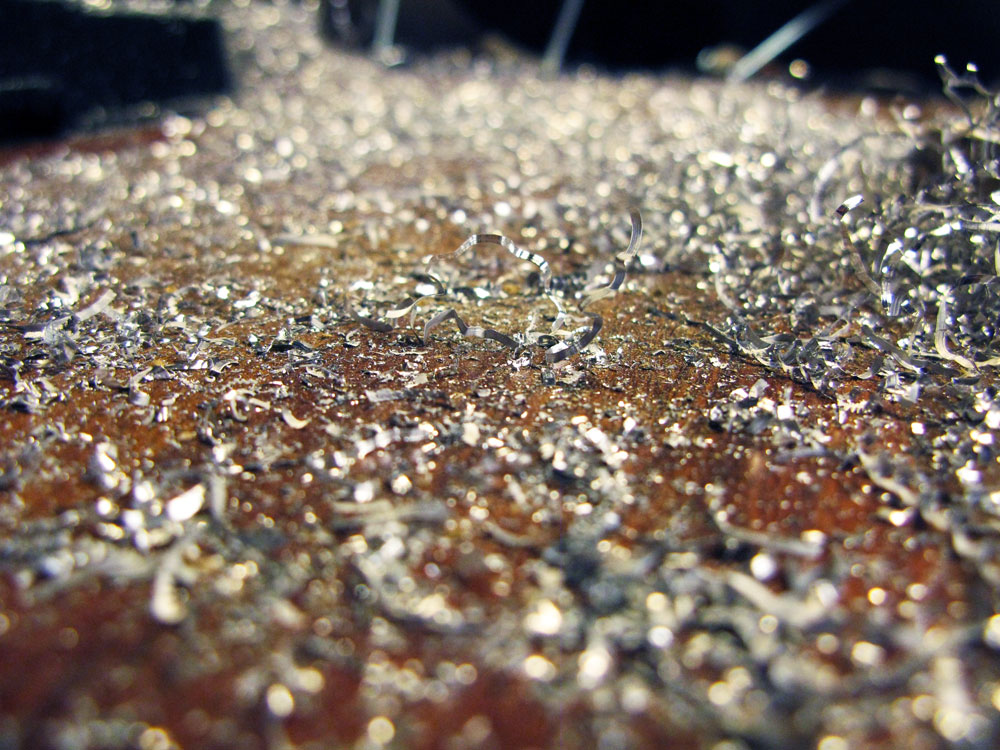
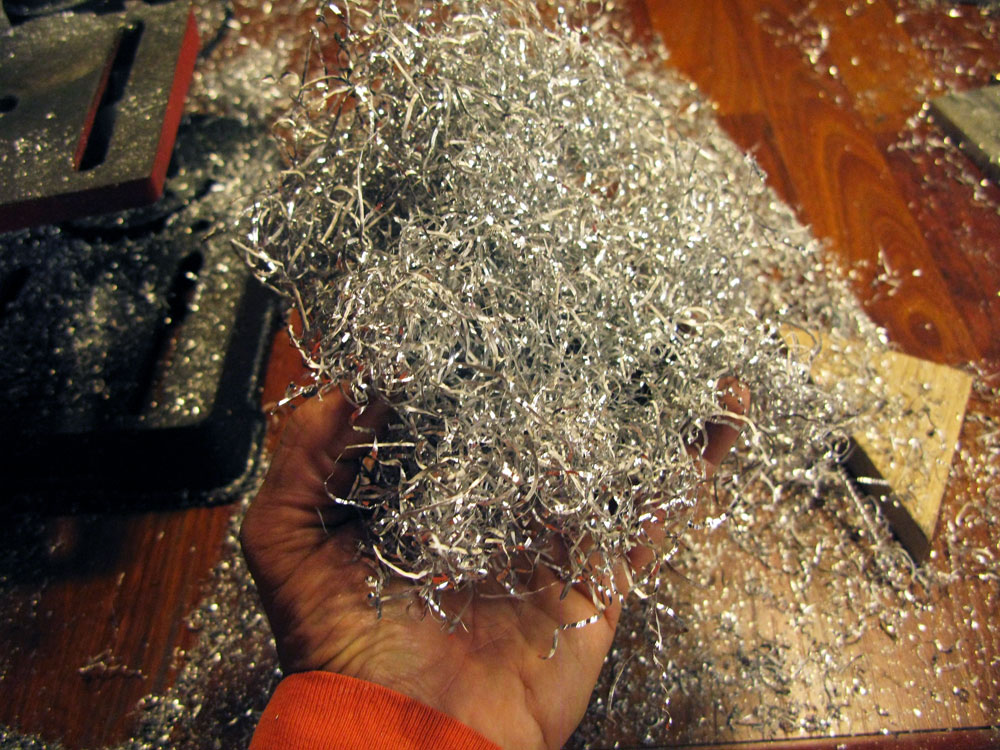
Drilling one of the two keyboards (about 30 keys) took the better part of an hour and resulted in several pounds of this fantastic aluminum chaff.

Wonder what I should do with it all …

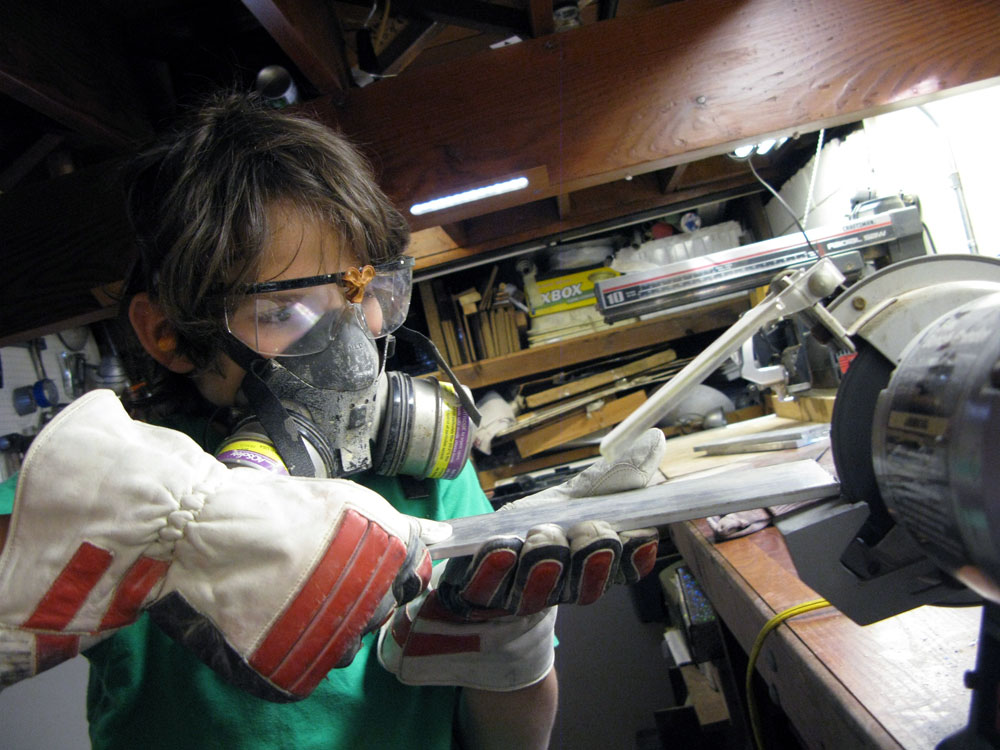
step 3 – grinding & polishing the keys

Last weekend we did some grinding and buffing and I got to use the bench grinder (woo!) but it was kind of scary. The grindstone and the buffer are both spinning at 6000 rpm and trying to concentrate over the noise while also knowing the fact that my fingers could get ripped off was – believe me – not easy. Anyway, I look forward to more grinding and buffing and blogging next time I have the chance.