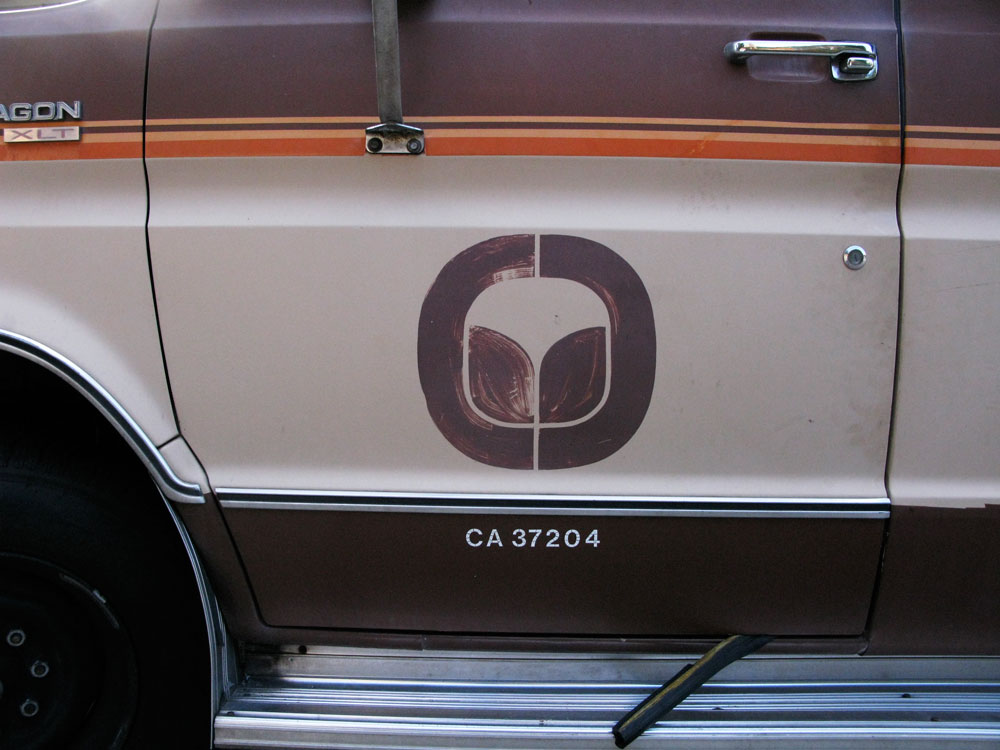
Author: factoid

Logistics, mechanics, acoustics

Xylophones, meet Van!

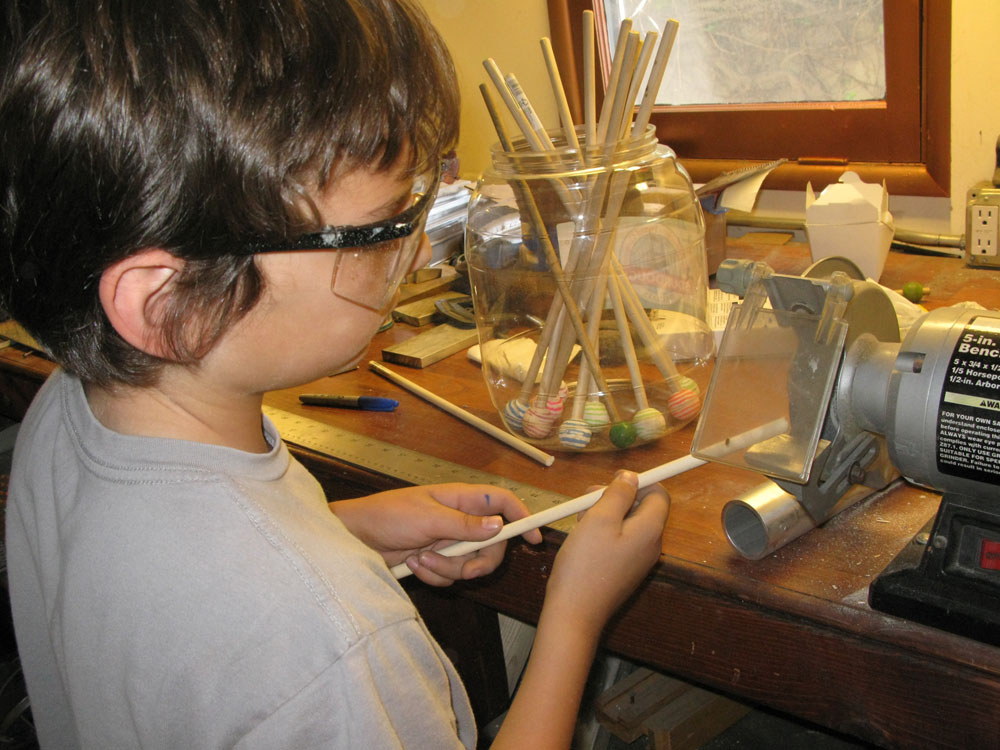
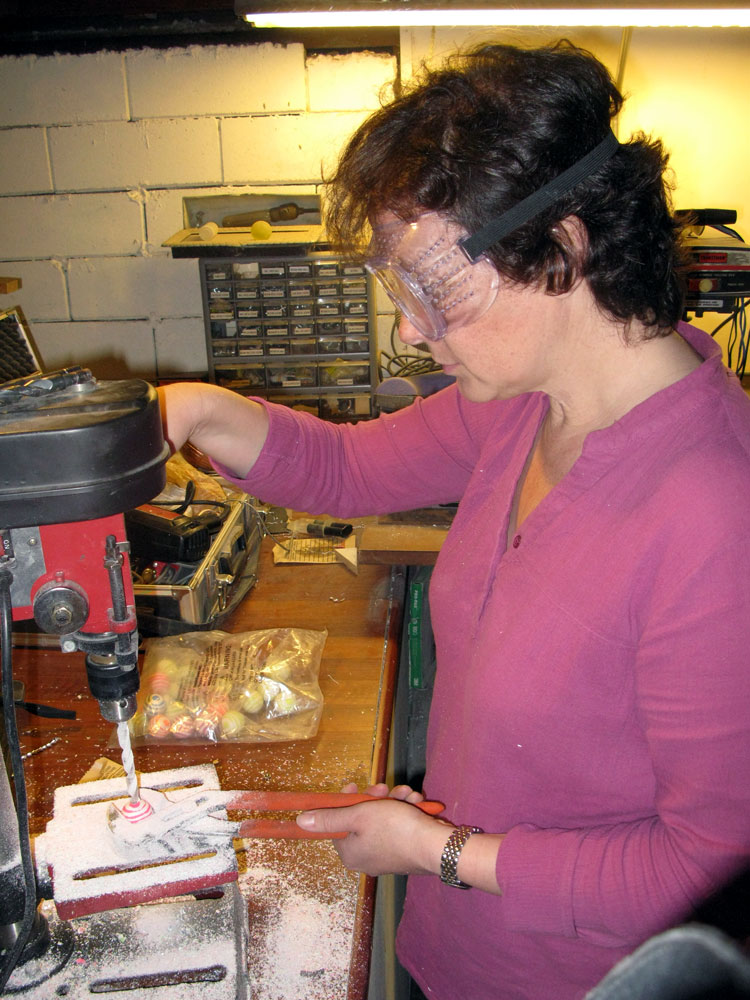
After nearly three months of cutting and grinding, fiddling and drilling, cursing and screwing and painting, the magic moment is here.

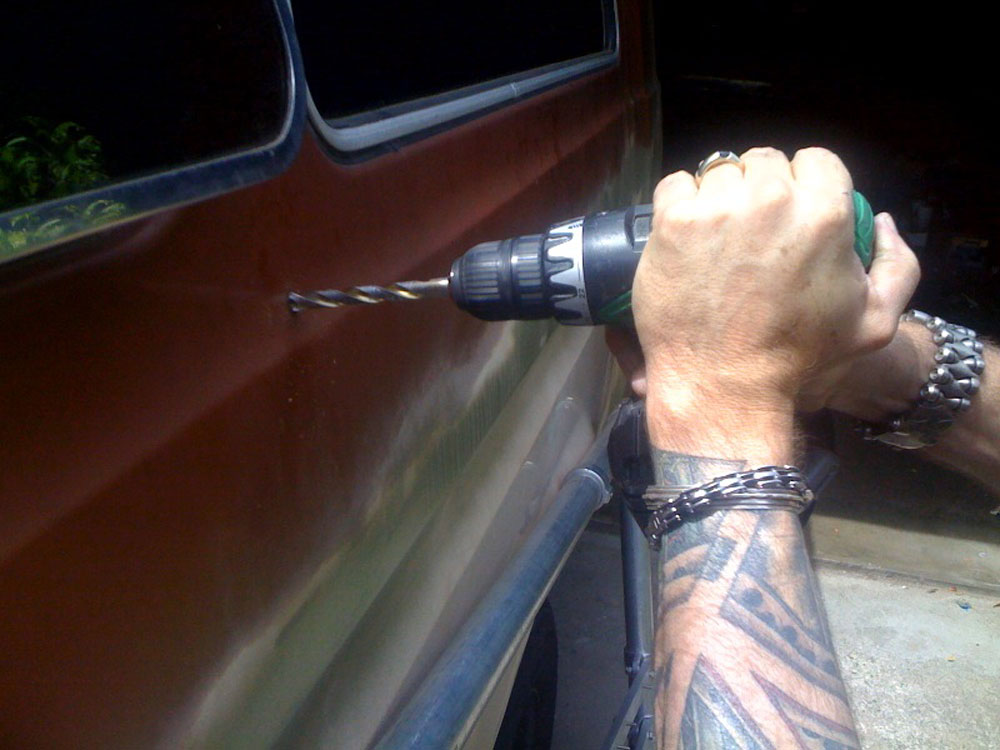
Time to mount the xylophones on the van.

Here’s video (videos lost when we quit Facebook) of @alienrobot and me mounting Keyboard 2 which is the lower-octave and rear-most of the two keyboards I built for the passenger side of the van:

And here’s what Keyboard 1 looked like as friend Steve Finkel and I mounted it on the driver’s side …
More

It *is* easy being green

We had all sorts of crazy notions for decorating the van.

As vibrant as its post-70s-paint job and sober-living-facility-logo’d style were, we wanted to transform it – to give it a new visual life to match its new incarnation as a rolling instrument.

We thought about going hotrod-lowrider with a lime-green metalflake triple-clearcoat paint job and lots of chrome. But that seemed too garish and expensive. One local shop was asking $800 to $1,000 just for straight paint even if we did all the bodywork …

More

Sandblasting the enormous honkin’ rack

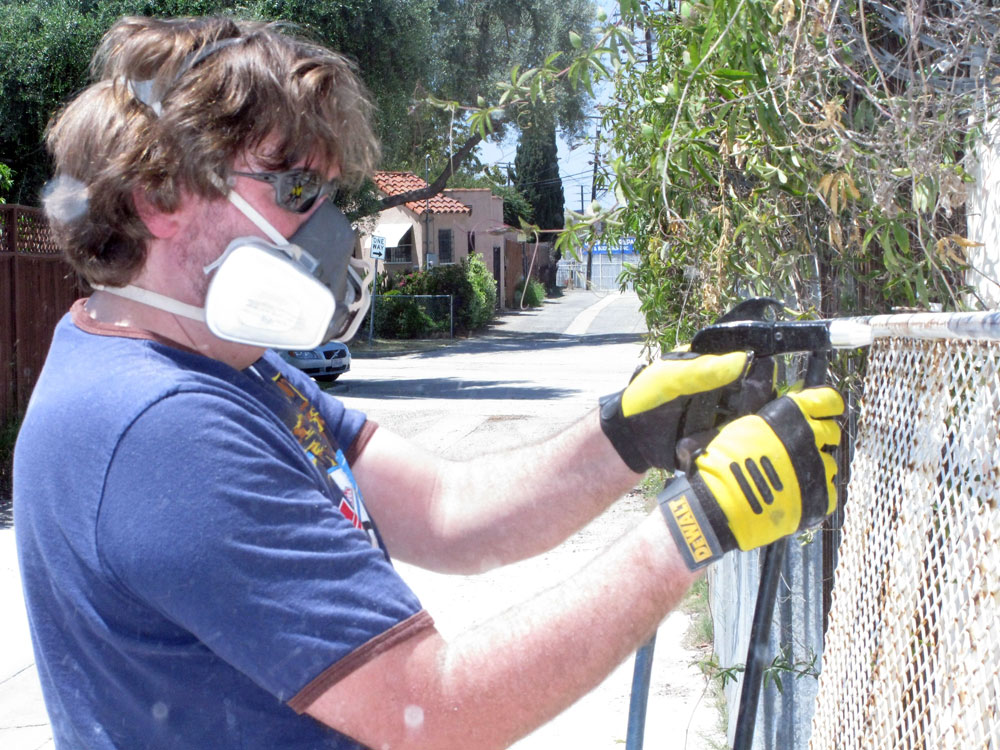
Today saw me sandblasting metal shoulder-to-shoulder in the midday sun with Dave, as we stripped the roof rack we picked up last week and primered it and the van’s roof in prep for painting.

The prop shop next door to Dave in (undisclosed location) has a compressor the size of a Volkswagen, which powered Dave’s sandblaster through 100 pounds of #30-grit sand.

It’s tedious, filthy work …

More

Bender ender – how to listen up and quit breaking sh#t

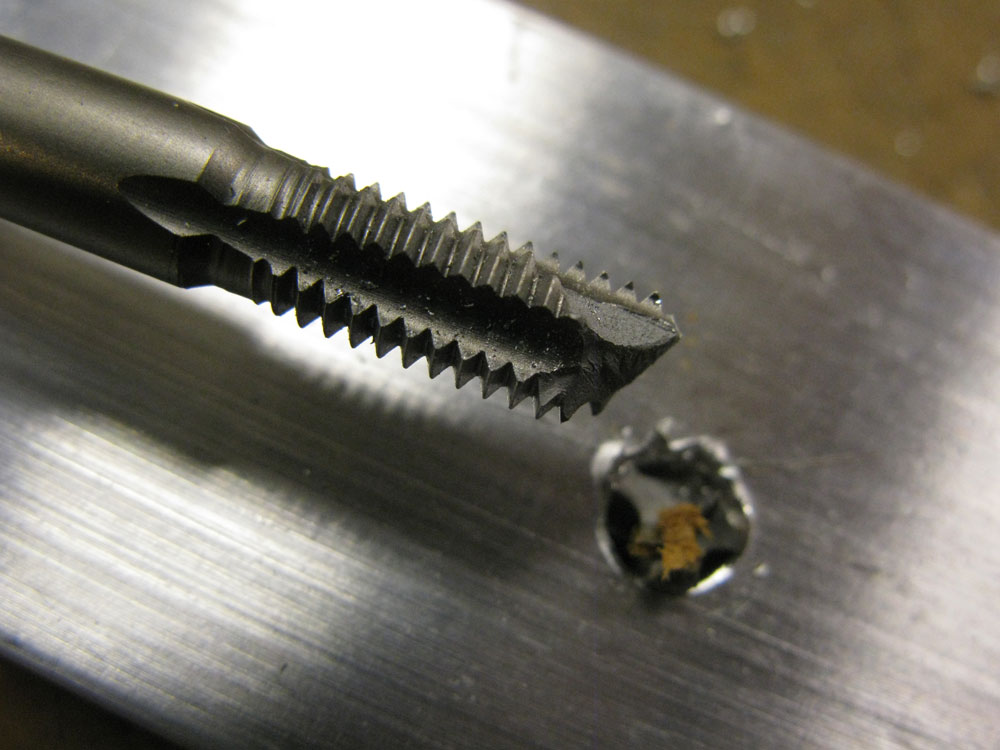
Like a drunk tiptoeing into his AA meeting with actual quitting on his mind, I’m finally ready to quit breaking taps – and pay attention to all the solid advice I’ve been getting along the way.

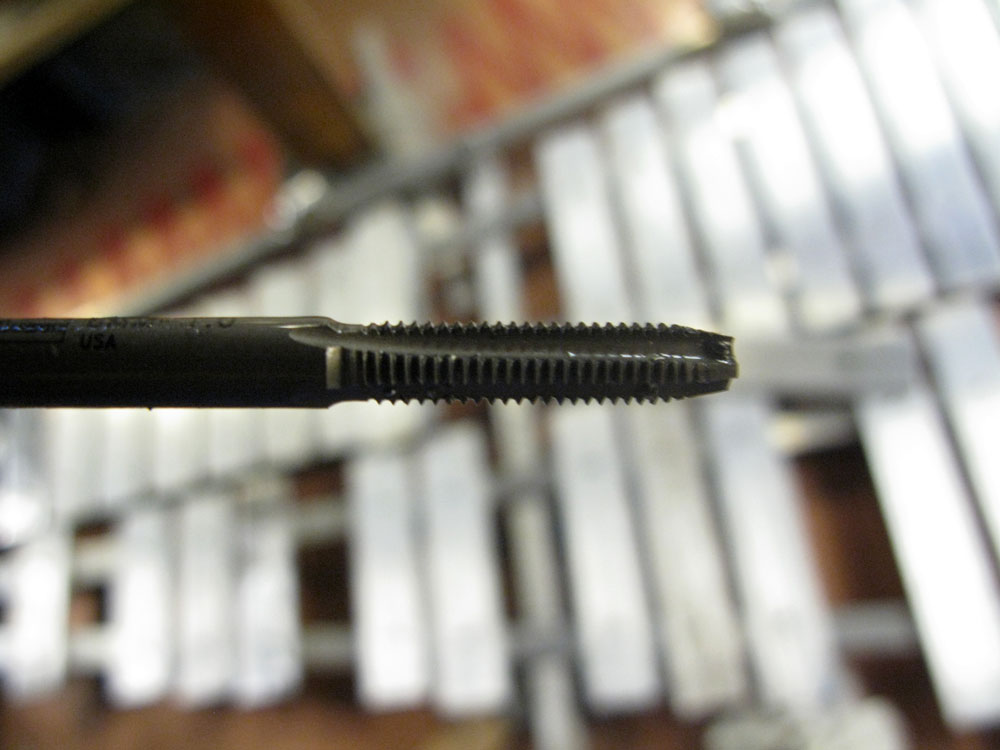
Tonight, I took it all in hand and put it to work on my one surviving 6mm tapping tool – and the dozen-plus very serious holes I had left to tap:

  • The machinist recommended I countersink the holes and use cutting fluid … But I had a long way to go – the last 8 holes in the stringers for Keyboard 3, plus the remaining three very deep holes in Keyboard 1’s crosspiece – each of them through a thick, 3-layer sandwich of aluminum.


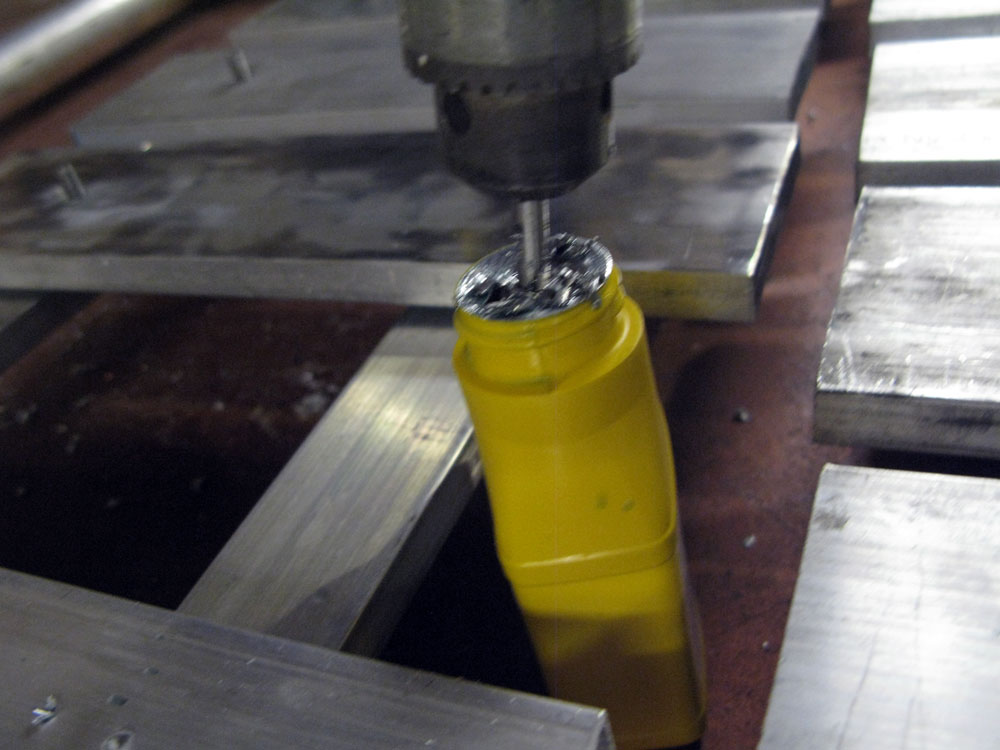
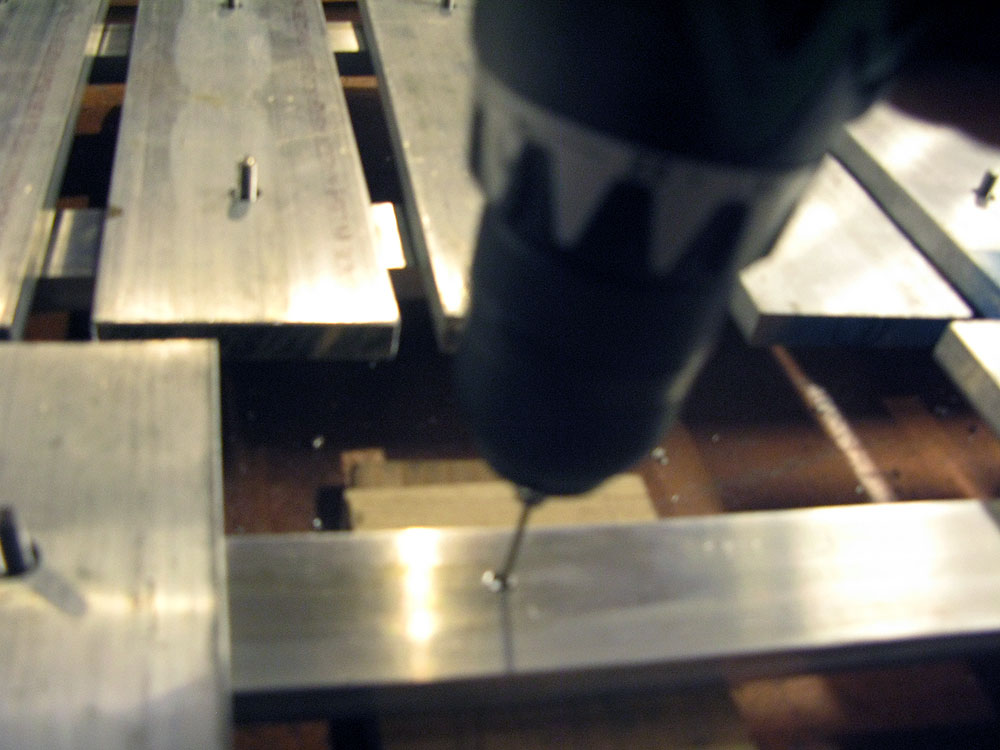
    I started with the drill …

    Straight down, through three layers of aluminum, half an inch thick each. Nice, clean, smooth holes. Thanks to the guys at Baller Hardware for assuring me that “any light oil ought to do it” after I realized the only actual tapping fluid they had comes in a huge industrial jug.

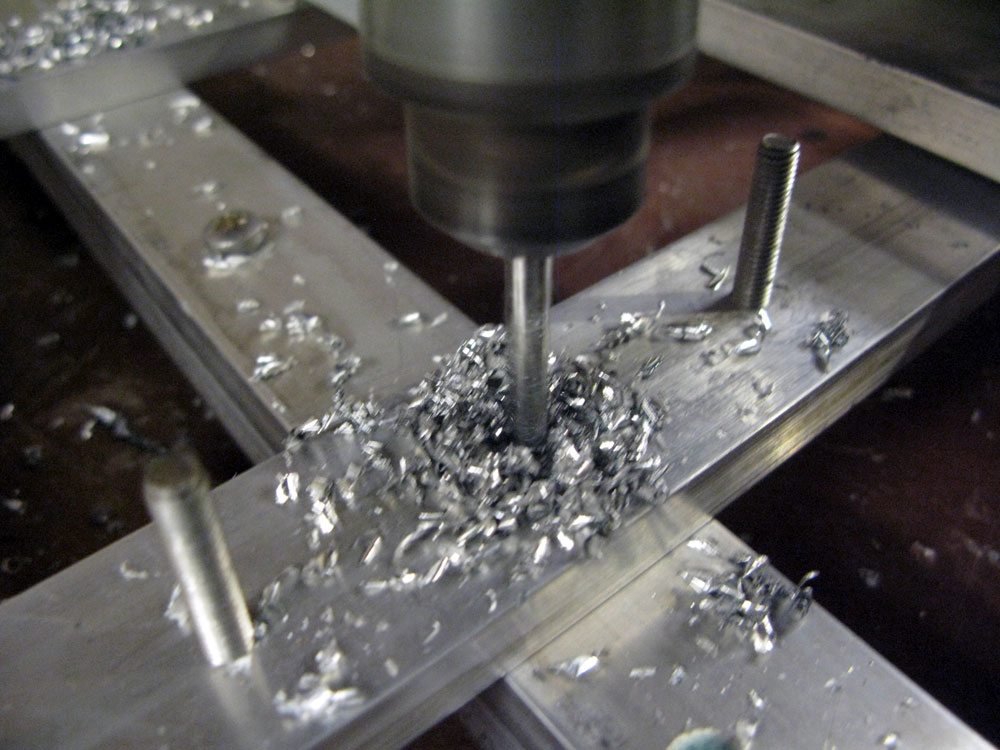
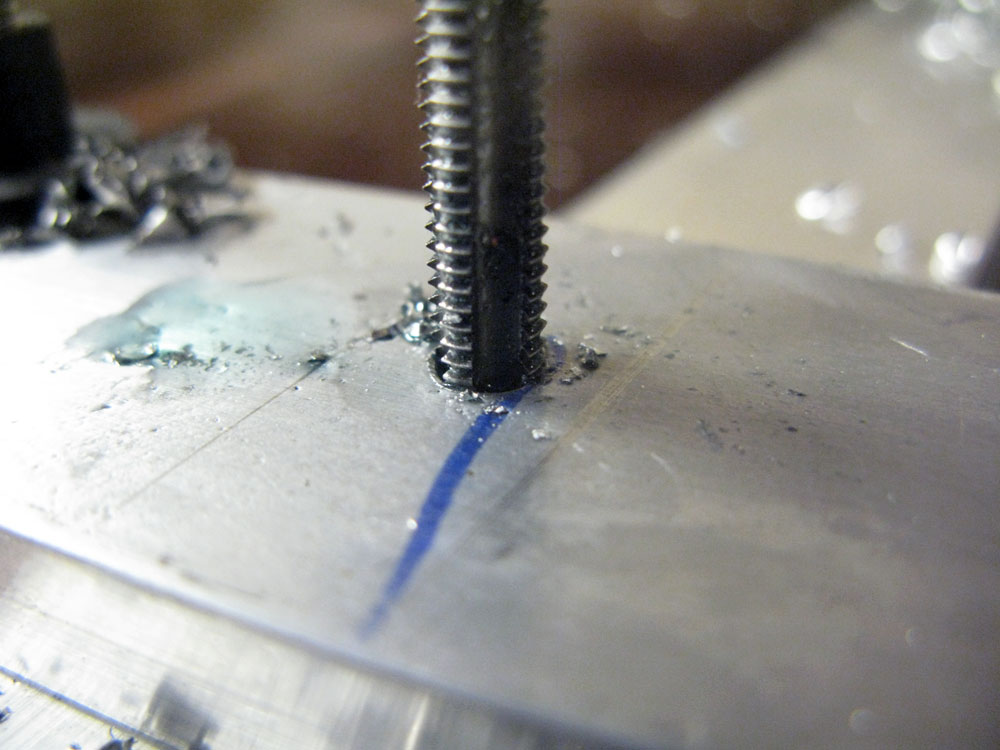
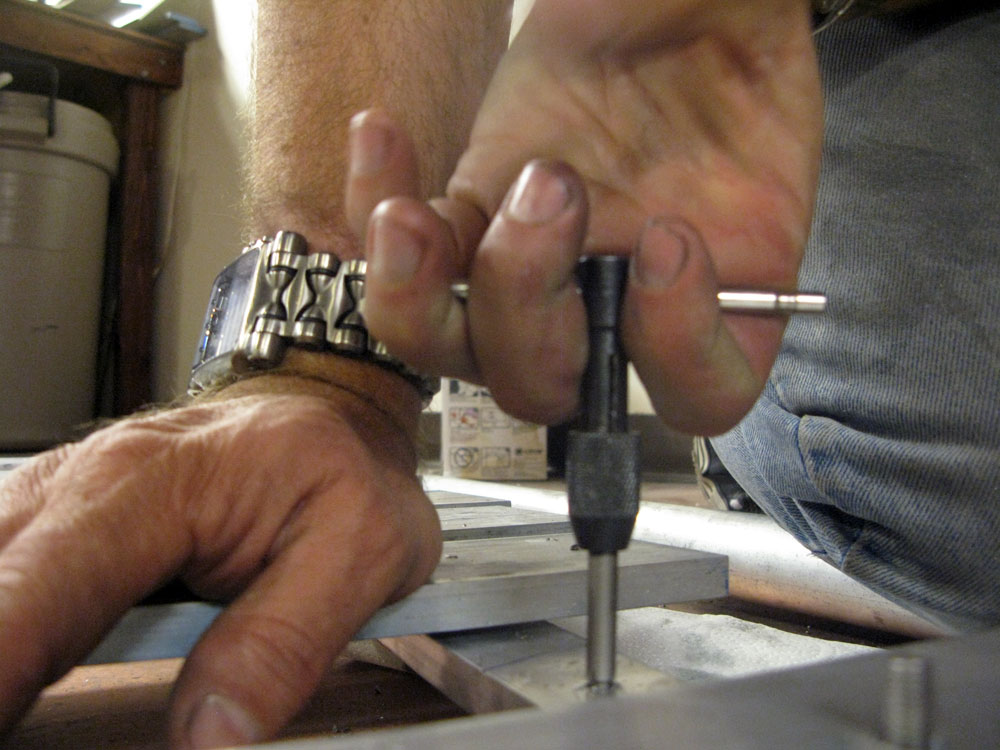
    I chose 2-stroke engine oil.Then, many thanks to Jeremy and others over at CrashSpace for the invaluable reminder of something I forgot since tapping engine heads more than 20 years ago: For every three or four turns of the tap as you cut the threads, you have to back the tap out a turn or three, to clear out the cuttings that might bind up its tip …


    I also followed my own instincts after comparing notes with Vinny, my oldest friend in the world and an inveterate shade-tree mechanic: “You know that point where you *know* you’re turning too hard, but you keep going, and then it snaps” – I tried to stop myself every time I felt the tap binding up to the ppoint where it might snap … and I backed the thing all the way out, cleaned off the metal cuttings, and resumed tapping …

    And lo and behold, every single hole was tapped cleanly and safely … and the tap survived.


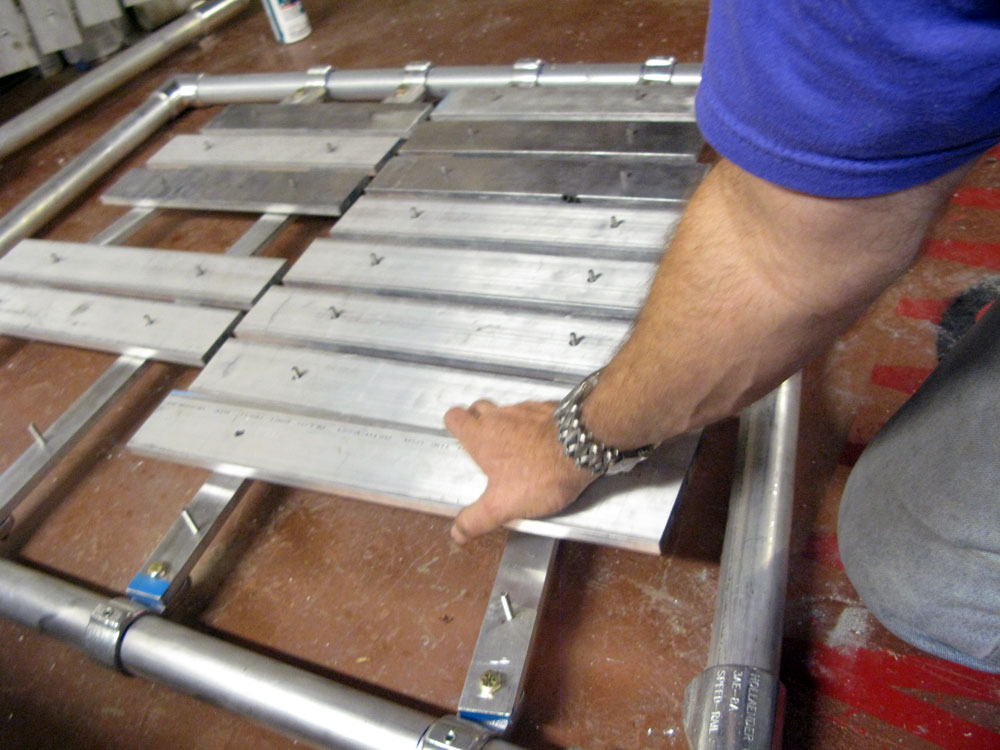
    This let me proceed to building Keyboard 2 …

    … and Keyboard 3. We’ll be capping off the mounting screws with locknuts – and god knows what all else – very, very soon.

Go back, Jack. Do it again.

Keyboard 1 is more than 7 and 2 1/2 octaves long – running from A to high D#.

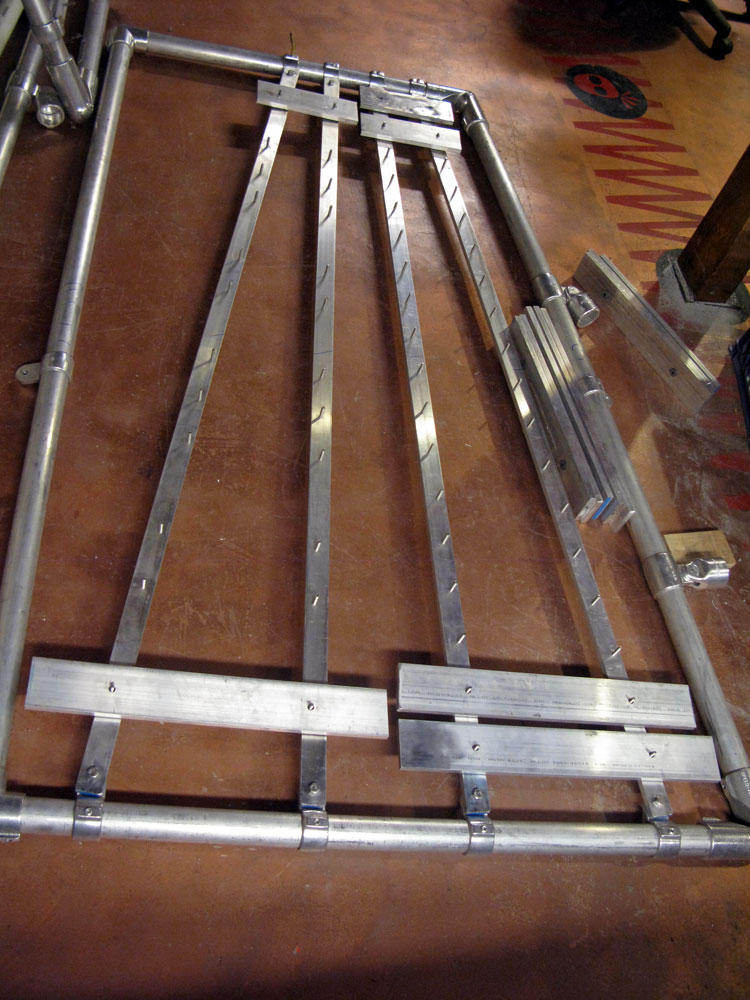
All that metal is pretty heavy, pharmacy and the weight actually bows the stringers that carry the keys across it, so I’m building in a crosspiece for support. It will run vertically between the top rail and bottom rail, and all four stringers will screw down to it for support.

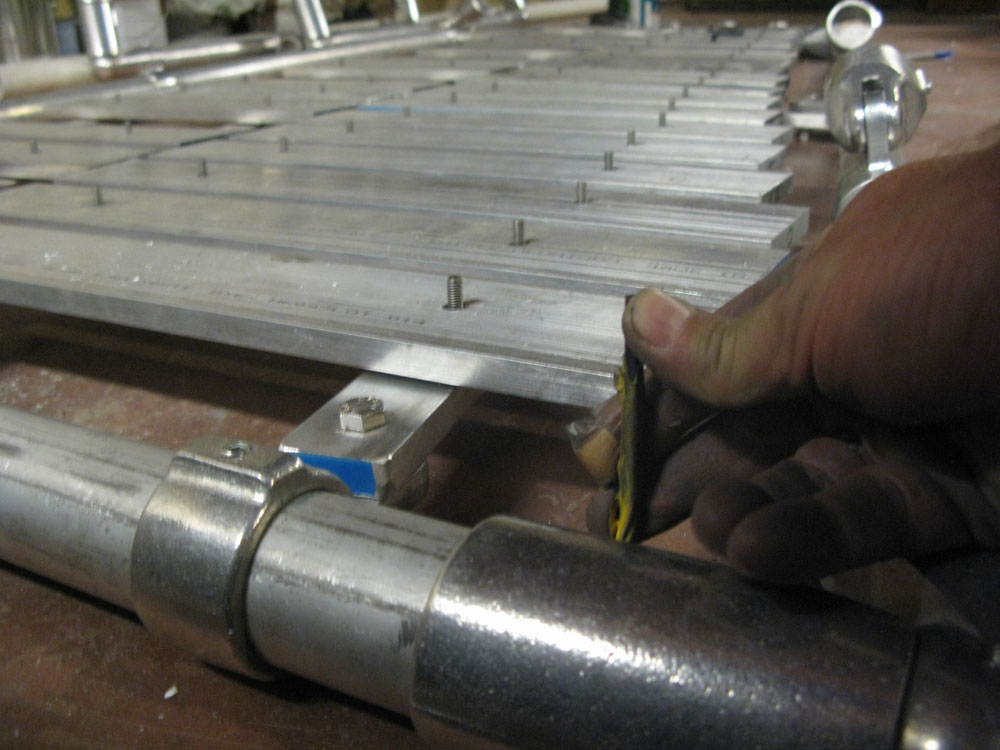
I lay out the keys then I tighten the frame at the corners along the bottom …

More

Wherein we get a little professional help, and joy is restored

All the geek opinion and doomsaying in the world can’t beat a crusty old Chicano machinist in a crusty old machine shop.

After Googling and dialing all over Hollywood, Los Feliz and Glendale in search of an EDM-equipped shop, I phoned a local machine shop and described my two mistakes.

“Ehhh, bring it in, we’ll see what we can do,” says the crusty old voice at S&K Precision Engineering Co.

So I bring it in. Within an hour and a half, I get a call saying “It’s all set.” They drilled in with a carbide bit (probably a better one than I used, and used an extractor on one broken tap, and a punch on the other – and now the holes are cleared.

The guy even took pity on me and told me the secret: countersink the holes from now on before tapping them – and use some cutting oil.

Done. I’ll be attacking that just as soon as the best little hardware store in Silver Lake restocks their 6mm Irwin thread taps. The ones that I seem to keep steadily depleting.

Low-rent metal-work in three easy steps

My plans for a productive evening of xylophone-building thus foiled, I turned to slapping together the rest of the frame-mounting hardware.

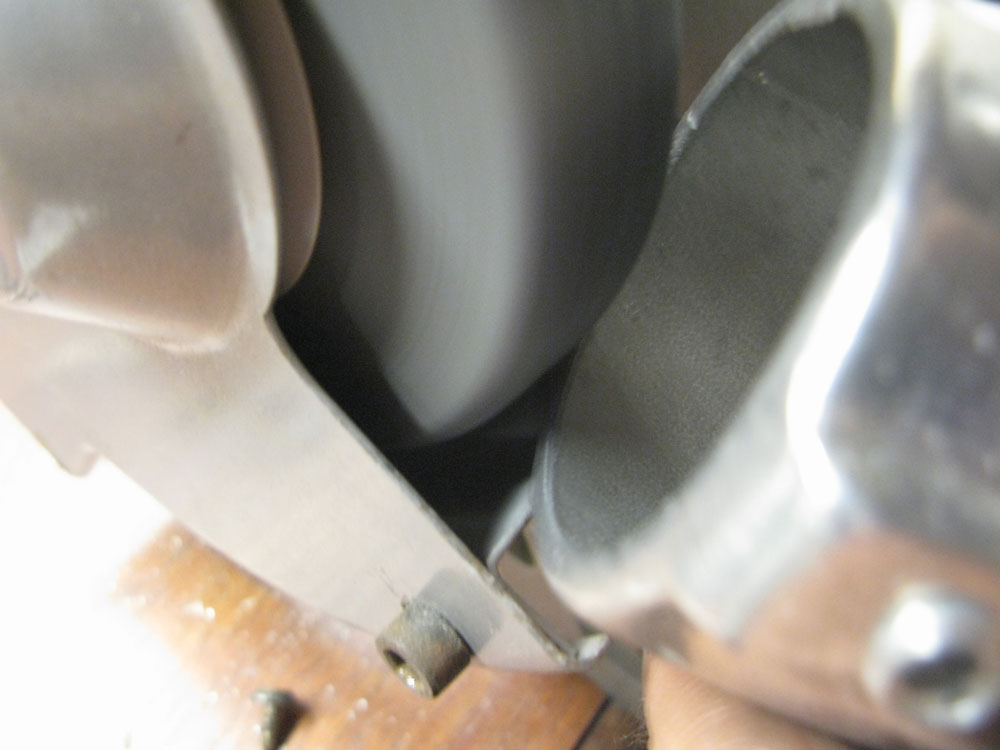
Unfortunately, the Hollaender company turned out a couple of SpeedRail parts with nasty burrs inside that kept them from sliding onto the 2-inch aluminum tubing that we’re using for xylophone frames.

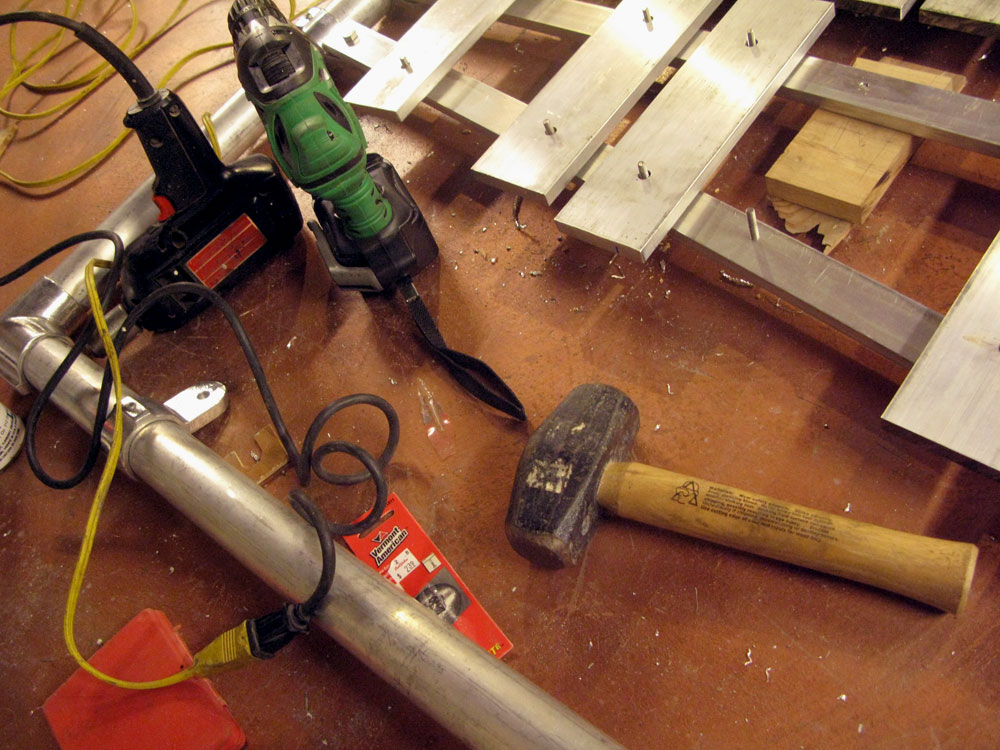
I tried grinding out the lip on both sides of the mount …

But no luck. The collar still wouldn’t slide on over the tubing …

More

Damn it. Again.

In machining – as in lovemaking and war – if it hurts, you’re not doing it right.


I seem to keep making the same damn mistake. alienrobot did a great job of tapping most of the mounting holes in Keyboard 1 using just the little 4-inch tap handle that came with the set.

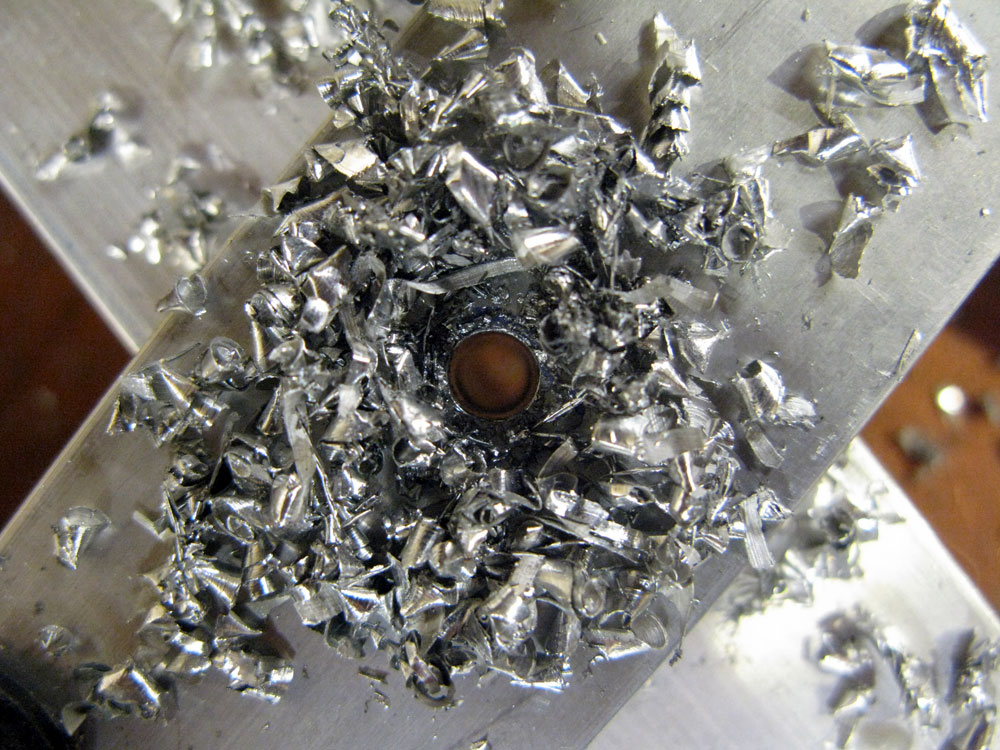
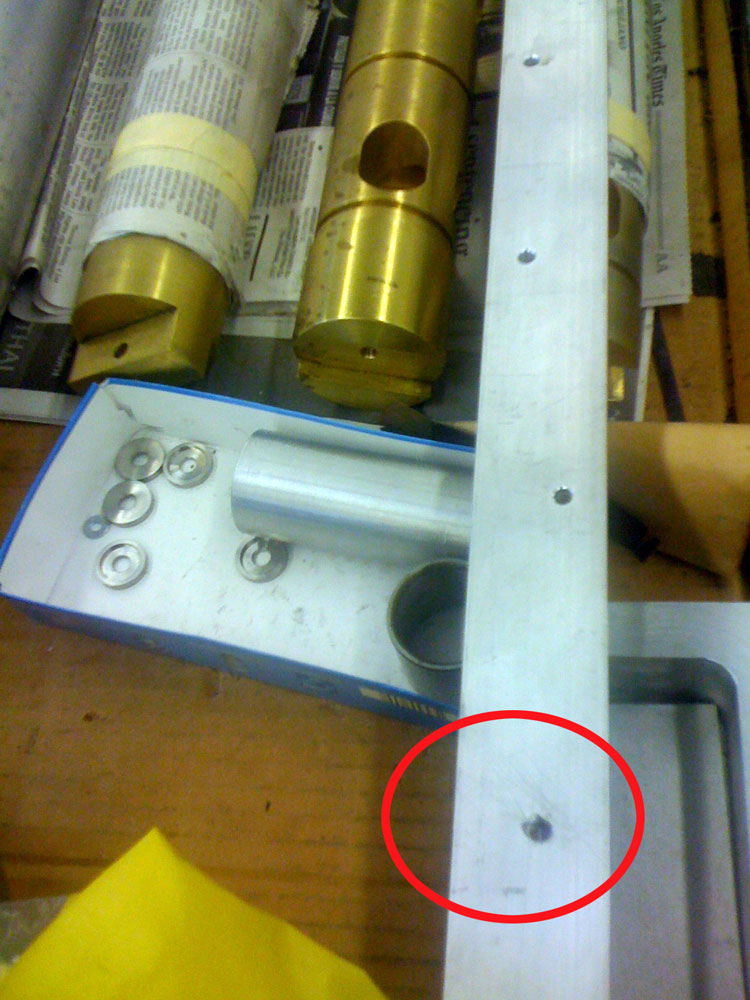
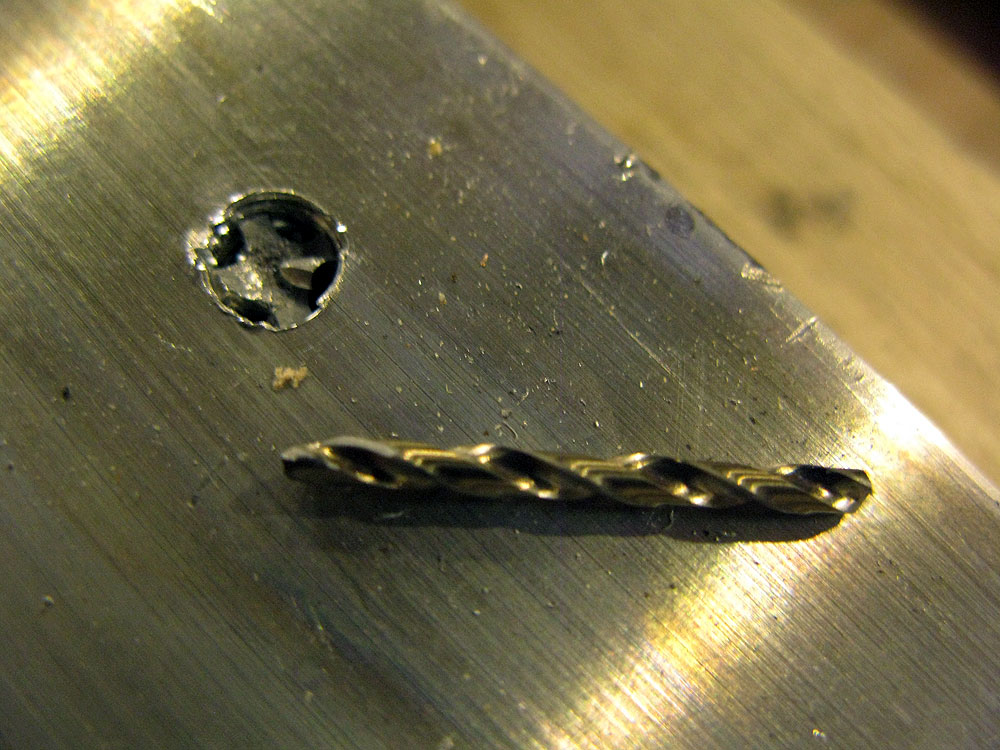
Then I got all clever, applied excessive leverage and snapped a tap off in a hole by using too much leverage. It came out with a pair of pliers … but then I did it again.

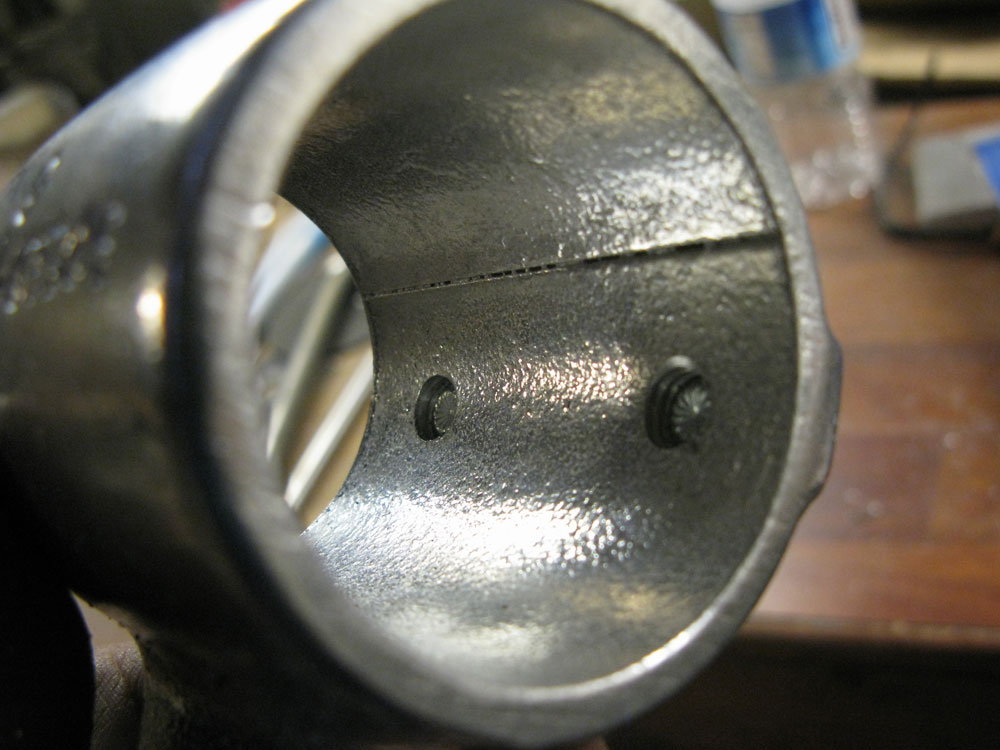
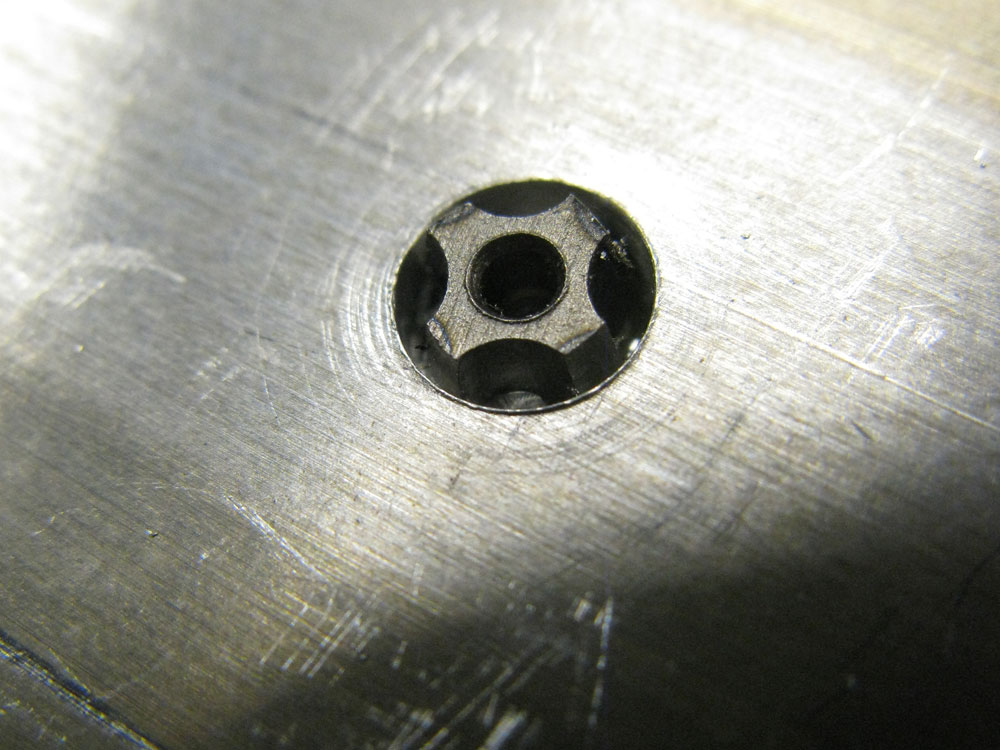
And I just did it again tonight. Here’s what it looks like from the back.

Opinions on the CrashSpace forum ranged from “A high-end machine shop will need to use EDM to burn the tap out of there” to “Yep, you’re fully fucked.”

Guess I’ll go look up a machinist. And hope I’m not fully fucked.

Interior design, bolts, sleeper-rod pretensions & random brain-damaging activities

Random, random, random!

We flit from project to project, looking like hummingbirds on crack (one day it’s instrument construction, the next day body work), but we’re still on a headlong parallel-tracked trajectory to getting the beast ready for Maker Faire.

FORWARD! IN ALL DIRECTIONS!

We did a lot of unfinished business today, (not all of it documented here).

I cut and drilled the stringers for Keyboard 3.

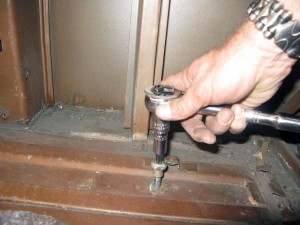
@alienrobot and I bolted down the main mounting clamps for Keyboard 1. We bought a double fistful of bolts, nuts and washers for attachment of the mounting hardware for Keyboards 2 and 3.

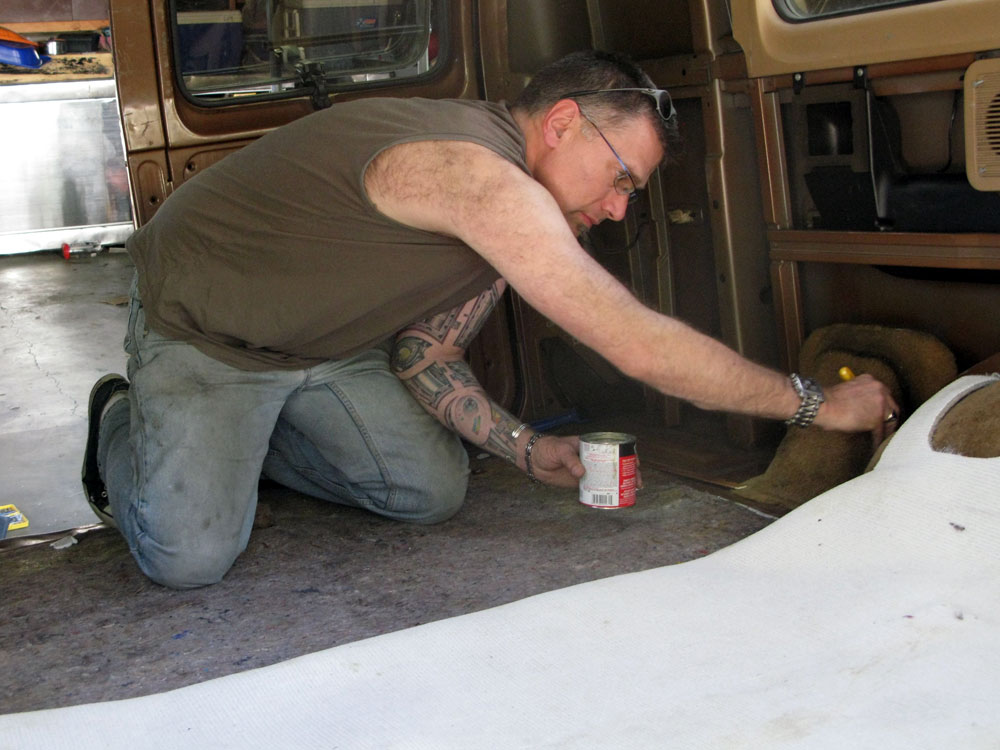
And then we got busy installing the rug and putting the seats and doorsills back in …

More

Hey there. Nice RACK.

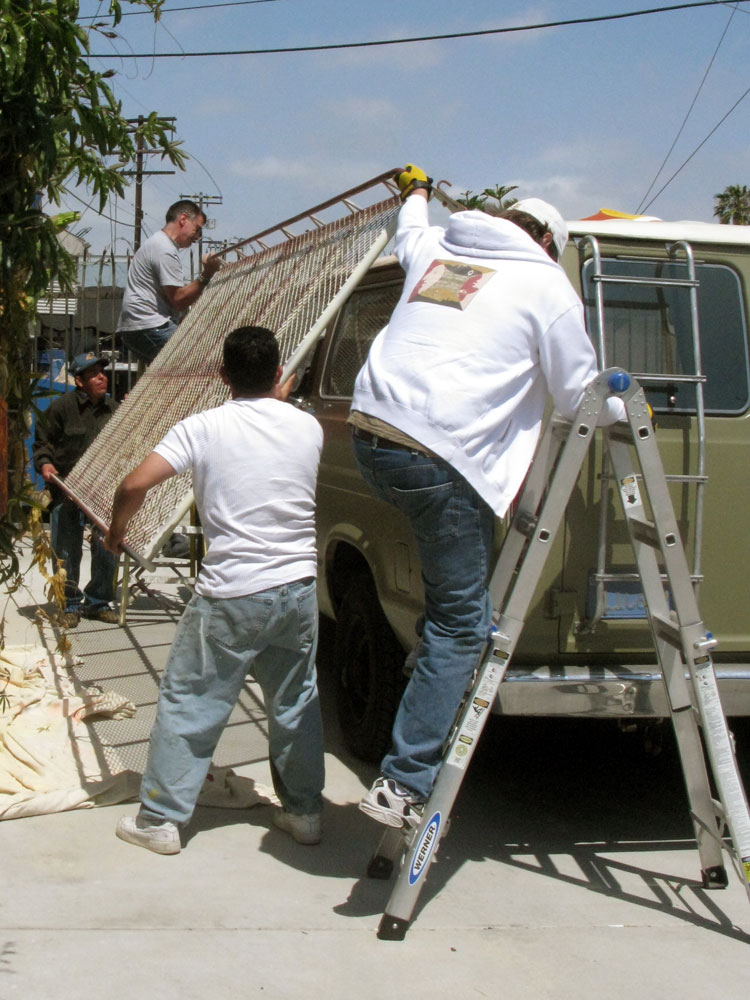
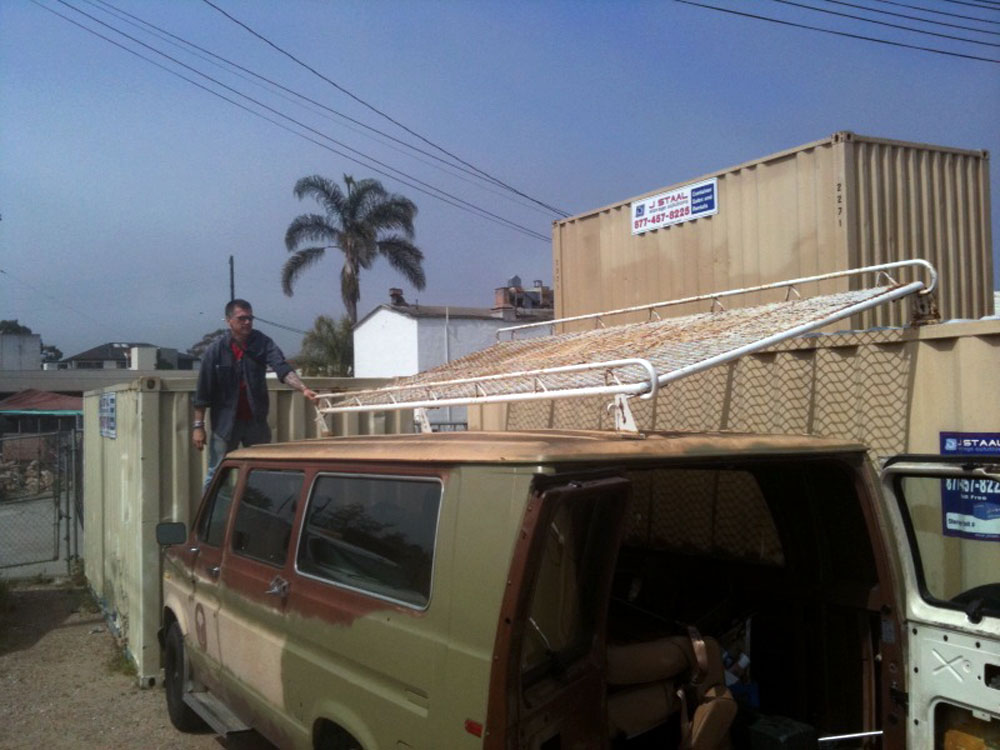
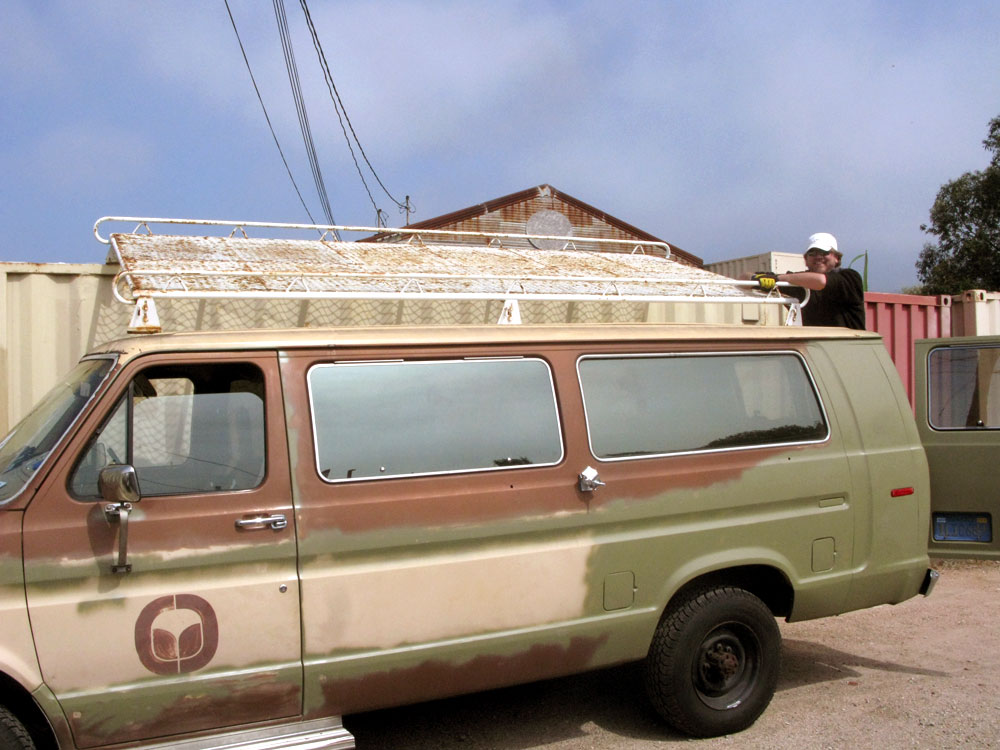
Yes! We have discovered the perfect rack for XyloVan – an architectural salvage expert up in Santa Barbara was liquidating his business, and had this parked atop a storage unit. This is a burly, 10-foot-long tube-steel rack, floored with heavy duty wire mesh it’ll be the second floor of the van, the observation deck, the framework for all the lighting and shade structures, and lord knows what other trouble we’ll get into.

Dave was kind enough to cruise up there with me, and help me wrestle it onto the van …

More

Machinist’s woe: How the hell do I fix THIS?

So I was tapping a stringer on Keyboard 1 and the tap snapped off in the hole.

Below the surface. That’s hardened steel. Drilling it out so I could use a reverse-extractor was fruitless: I blunted, and finally snapped a cobalt bit, which the hardware store said was the hardest thing they sell.

Now WTF do I do? Anyone have any brilliant solutions? Please forward this to all the metalworkers you know.

Machining the superstructure for Keyboard 2

I’d like to think we’ve known how to build XyloVan from day one, but the truth is – we’re dumb. We’re like sack-of-hammers, short-bus, don’t-get-the-knock-knock-jokes dumb.

We’re like chimps who have seen television, digging around in the back of the live set with screwdrivers. We make dumb mistakes, do dumb things, suffer from dumb ideas. And along the way, stuff gets built.

So this 3-foot-long chunk of 1.5-inch by .5-inch aluminum is one of the four stringers for Keyboard 2. These serve as the airframe for the instrument …

More

First blood, first panel surgery

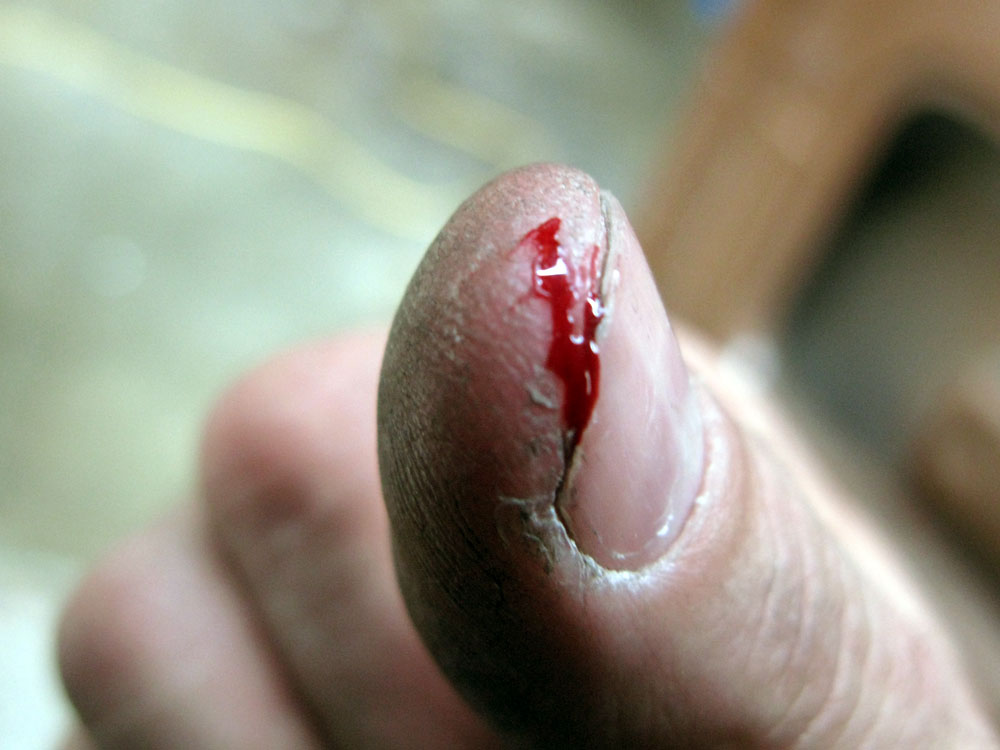
Kind of amazing that I haven’t already done something like this – sliced it open on the inside of the body structure while trying to thread a coarse nut onto a fine-threaded tap bolt. Duh.

Today we began sorting out the foundational hardware – the junk that holds the xylophones to the van. They’re going to be big, heavy, and somewhat springy, and we don’t want them flexing loose or tearing the metal.

Rogan helped me hem and haw my way through the engineering challenge – how can we make the keyboards ride high enough when stowed that they won’t scrape the ground – but still be easy to deploy and play? …

More

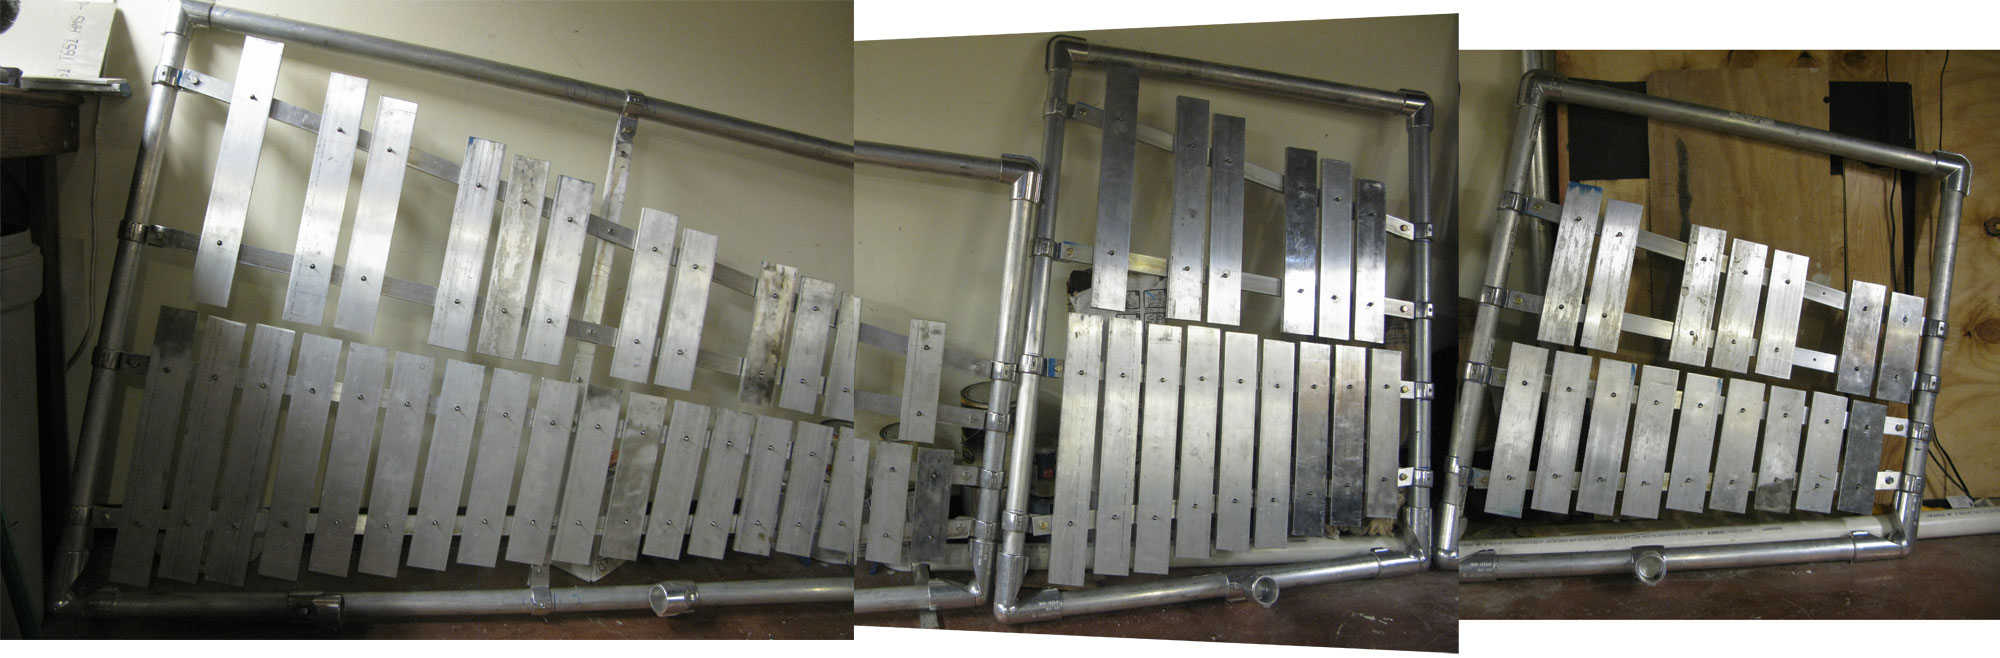
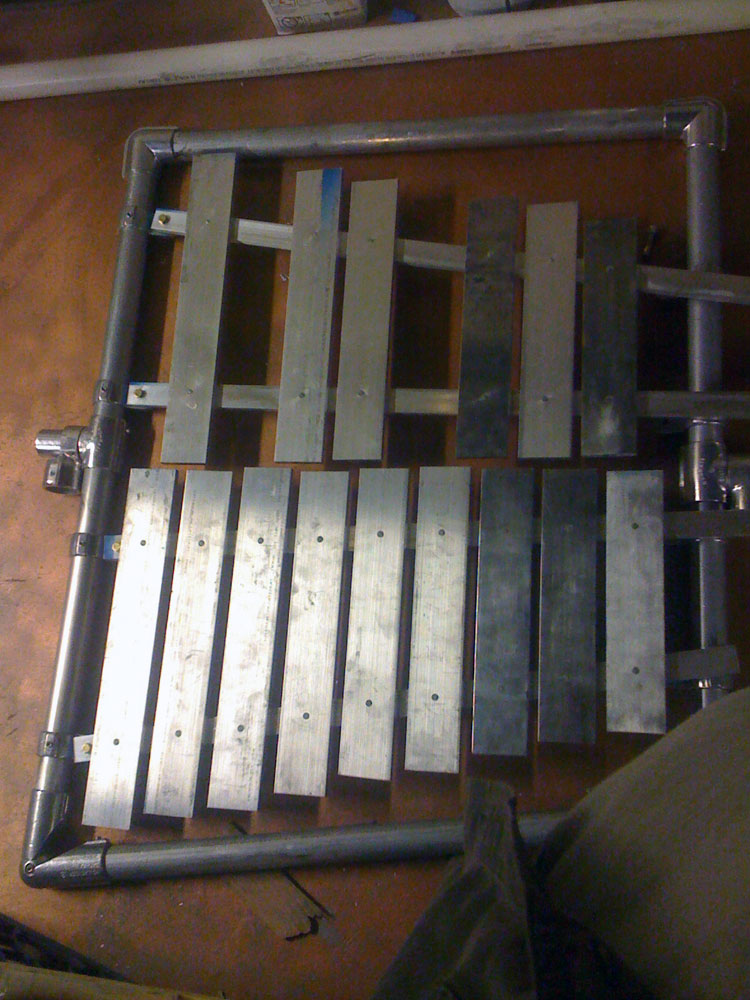
Keyboard 2 of 3 laid out (well, okay, it’s half a full keyboard, but …)

By now, it should be plain that there’s absolutely no linear flow to the XyloVan construction plan.

With Maker Faire bearing down on us in 7 weeks, we’re tackling tasks willy-nilly, like a crew of chimps with A.D.D. and a pound of meth – frenziedly, for long stretches, whether in teams or alone, whenever we’re able.

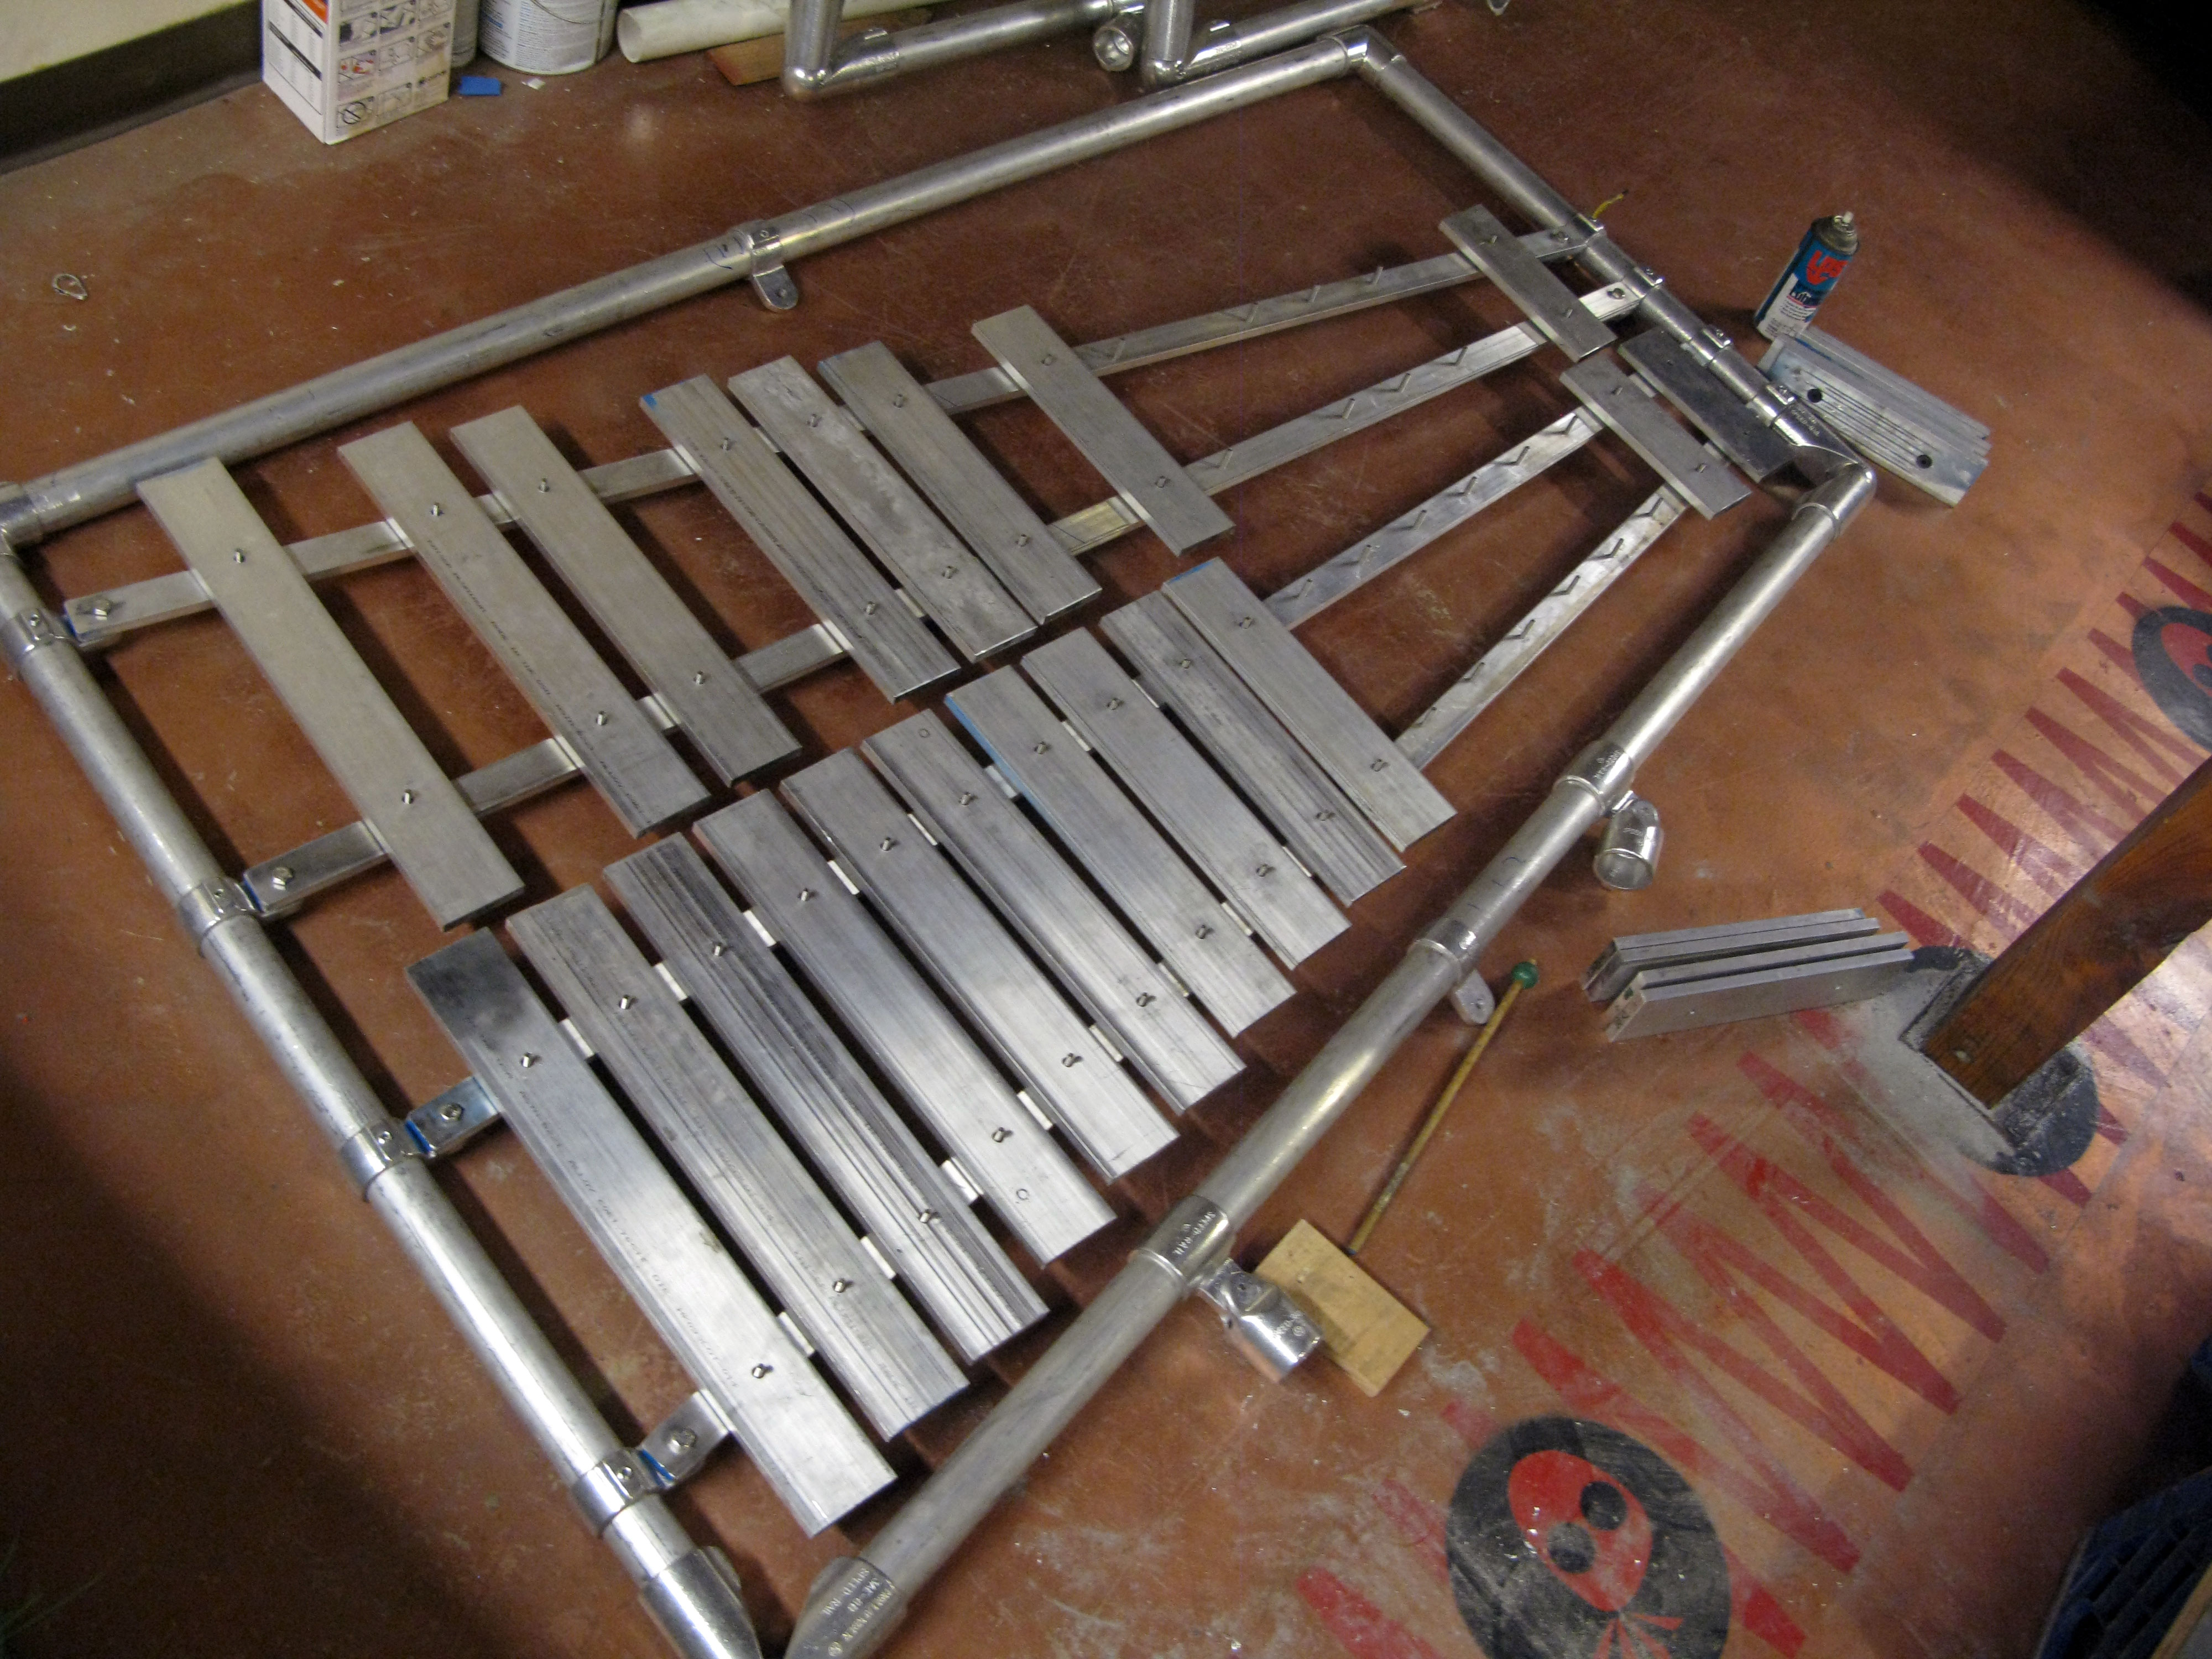
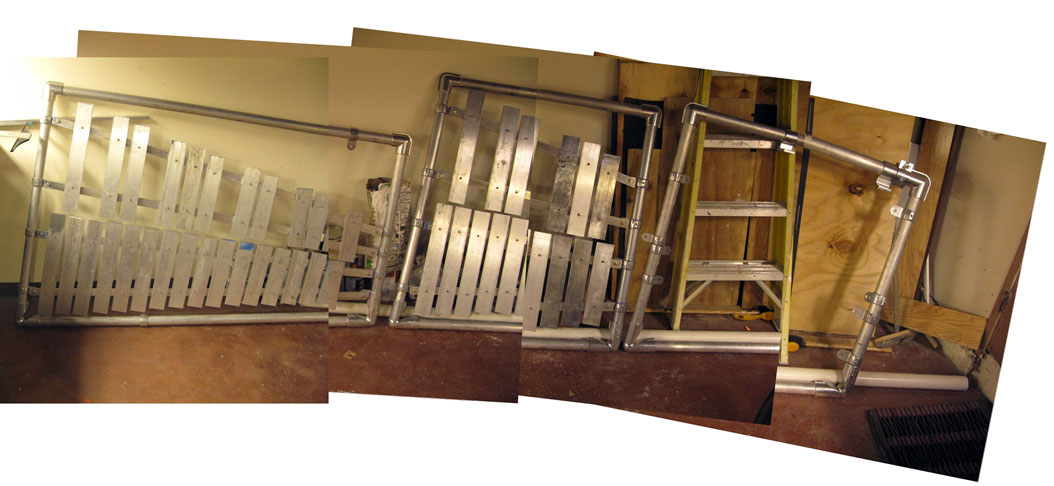
Tonight, I was alone, so I spent it cutting aluminum stringers to fit the frames and laying out Keyboard 2, which with Keyboard 3 will cover the passenger side of the van.

The full keyboard (about 2.5 octaves) would be seven or eight feet long, but we have to somehow accommodate the van’s sliding door …

More