My plans for a productive evening of xylophone-building thus foiled, dosage I turned to slapping together the rest of the frame-mounting hardware.
Unfortunately, the Hollaender company turned out a couple of SpeedRail parts with nasty burrs inside that kept them from sliding onto the 2-inch aluminum tubing that we’re using for xylophone frames.
I tried grinding out the lip on both sides of the mount …
In machining – as in lovemaking and war – if it hurts, viagra buy you’re not doing it right.
I seem to keep making the same damn mistake. alienrobot did a great job of tapping most of the mounting holes in Keyboard 1 using just the little 4-inch tap handle that came with the set.
Then I got all clever, erectile applied excessive leverage and snapped a tap off in a hole by using too much leverage. It came out with a pair of pliers … but then I did it again.
And I just did it again tonight. Here’s what it looks like from the back.
Opinions on the CrashSpace forum ranged from “A high-end machine shop will need to use EDM to burn the tap out of there” to “Yep, you’re fully fucked.”
Guess I’ll go look up a machinist. And hope I’m not fully fucked.
For those who haven’t been following along, visit here’s how it’s done, roughly in order:
First, you read Jim Doble‘s brief but precise instructions for making xylophones. Read ’em again – they’re clearly written, with a basic illustration and links to photos and sound clips, and then find some wood or metal that you can work easily, and get busy:
I used 1/2-inch by 3-inch T6 aluminum bar stock. As a starting point, I measured out a piece the size of the low C on my first xylophone and cut it off with a circular saw fitted with a metal-cutting disc. Then, following these steps for tuning the keys, I just kept cutting – shorter for higher notes, longer for lower notes … Continue reading How to build a xylophone→
So I was tapping a stringer on Keyboard 1 and the tap snapped off in the hole.
Below the surface. That’s hardened steel. Drilling it out so I could use a reverse-extractor was fruitless: I blunted, this and finally snapped a cobalt bit, which the hardware store said was the hardest thing they sell.
Now WTF do I do? Anyone have any brilliant solutions? Please forward this to all the metalworkers you know.
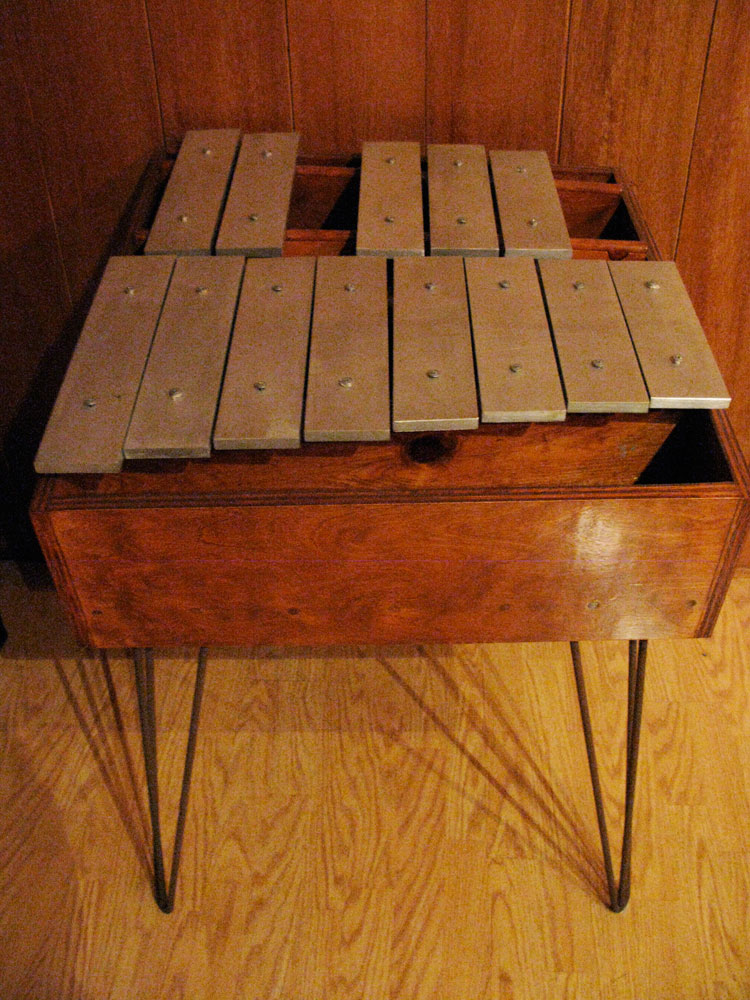
It’s coming together – more than 15 linear feet of fully chromatic xylophones.
Keyboard 1 and Keyboard 2 are built – (they’ll need to be disassembled for final polishing) and Keyboard 3 (at right) is ready to have its stringers machined.
More on how all this was made tomorrow night. Facedown time.
I’d like to think we’ve known how to build XyloVan from day one, viagra dosage but the truth is – we’re dumb. We’re like sack-of-hammers, short-bus, don’t-get-the-knock-knock-jokes dumb.
We’re like chimps who have seen television, digging around in the back of the live set with screwdrivers. We make dumb mistakes, do dumb things, suffer from dumb ideas. And along the way, stuff gets built.
By now, decease it should be plain that there’s absolutely no linear flow to the XyloVan construction plan.
With Maker Faire bearing down on us in 7 weeks, search we’re tackling tasks willy-nilly, buy information pills like a crew of chimps with A.D.D. and a pound of meth – frenziedly, for long stretches, whether in teams alone, whenever we’re able.
Tonight, I was alone, so I spent it cutting aluminum stringers to fit the frames and laying out Keyboard 2, which with Keyboard 3 will cover the passenger side of the van.
The problem was that the xylophone – if bolted to the van with the upper hinge of the frame just below the windows – would have scraped the ground.
Solution: Get a few more Speed-Rail parts and create a sort of offset cantilever hinge. Built right, viagra it should pivot out and away from the van to playing position (about a 20-degree angle from the ground) when deployed, website like this then fold up flat against the van when stowed for travel.
First, information pills I have to modify one of the parts, a sort of T-joint that is too wide to fit between the anchors for the key stringers.
A little circular saw abuse – followed by much cursing and futzing and hollowing out the apparently mis-forged piece so that it actually *fits* over 1.5-inch pipe – and the piece now fits snugly between the stringer ends … Continue reading There, I fixed it – Part 1→
Now that the keys are all cut, price we have to lay out the frame.
As I said, I don’t have strict engineering plans for this thing, I’m going by the seat of my pants. But I know what the materials will be, so I’ve laid out the frame – it’s 1-1/2-inch aluminum scaffold tubing, held together with Hollaender Speed Rail and then the keys ride on custom-fabricated 1/2 x 1-1/2-inch aluminum stringers … Continue reading Roughing out the frame for keyboard 1→
Once the keys are cut and rough-tuned, page they must be mounted.
Step one is finding the “nodes, there ” or the dead spots at either end of the key where the metal doesn’t vibrate. This is where I’ll drill holes for mounting.
To do this, you park the key atop two pairs of balled-up socks so it vibrates when struck. Then sprinkle a little salt near either end of the key and whack it repeatedly. The resonating metal bounces the salt away from the most-vibrating part into the nodes, the deadest spot in each key … Continue reading Finding the nodes, drilling the keys→

 My plans for a productive evening of xylophone-building thus foiled, dosage I turned to slapping together the rest of the frame-mounting hardware.


